Smart Watch Moto 360: a full analysis of iFixit (and 3 out of 10 scale of repairability)
Moto 360 is a smart watch from
It is clear that he was immediately disassembled into small parts, and the iFixit team presented the results to everyone. As always, the step by step disassembly of the gadget, Moto 360, in the sequel.
')
Used tools:

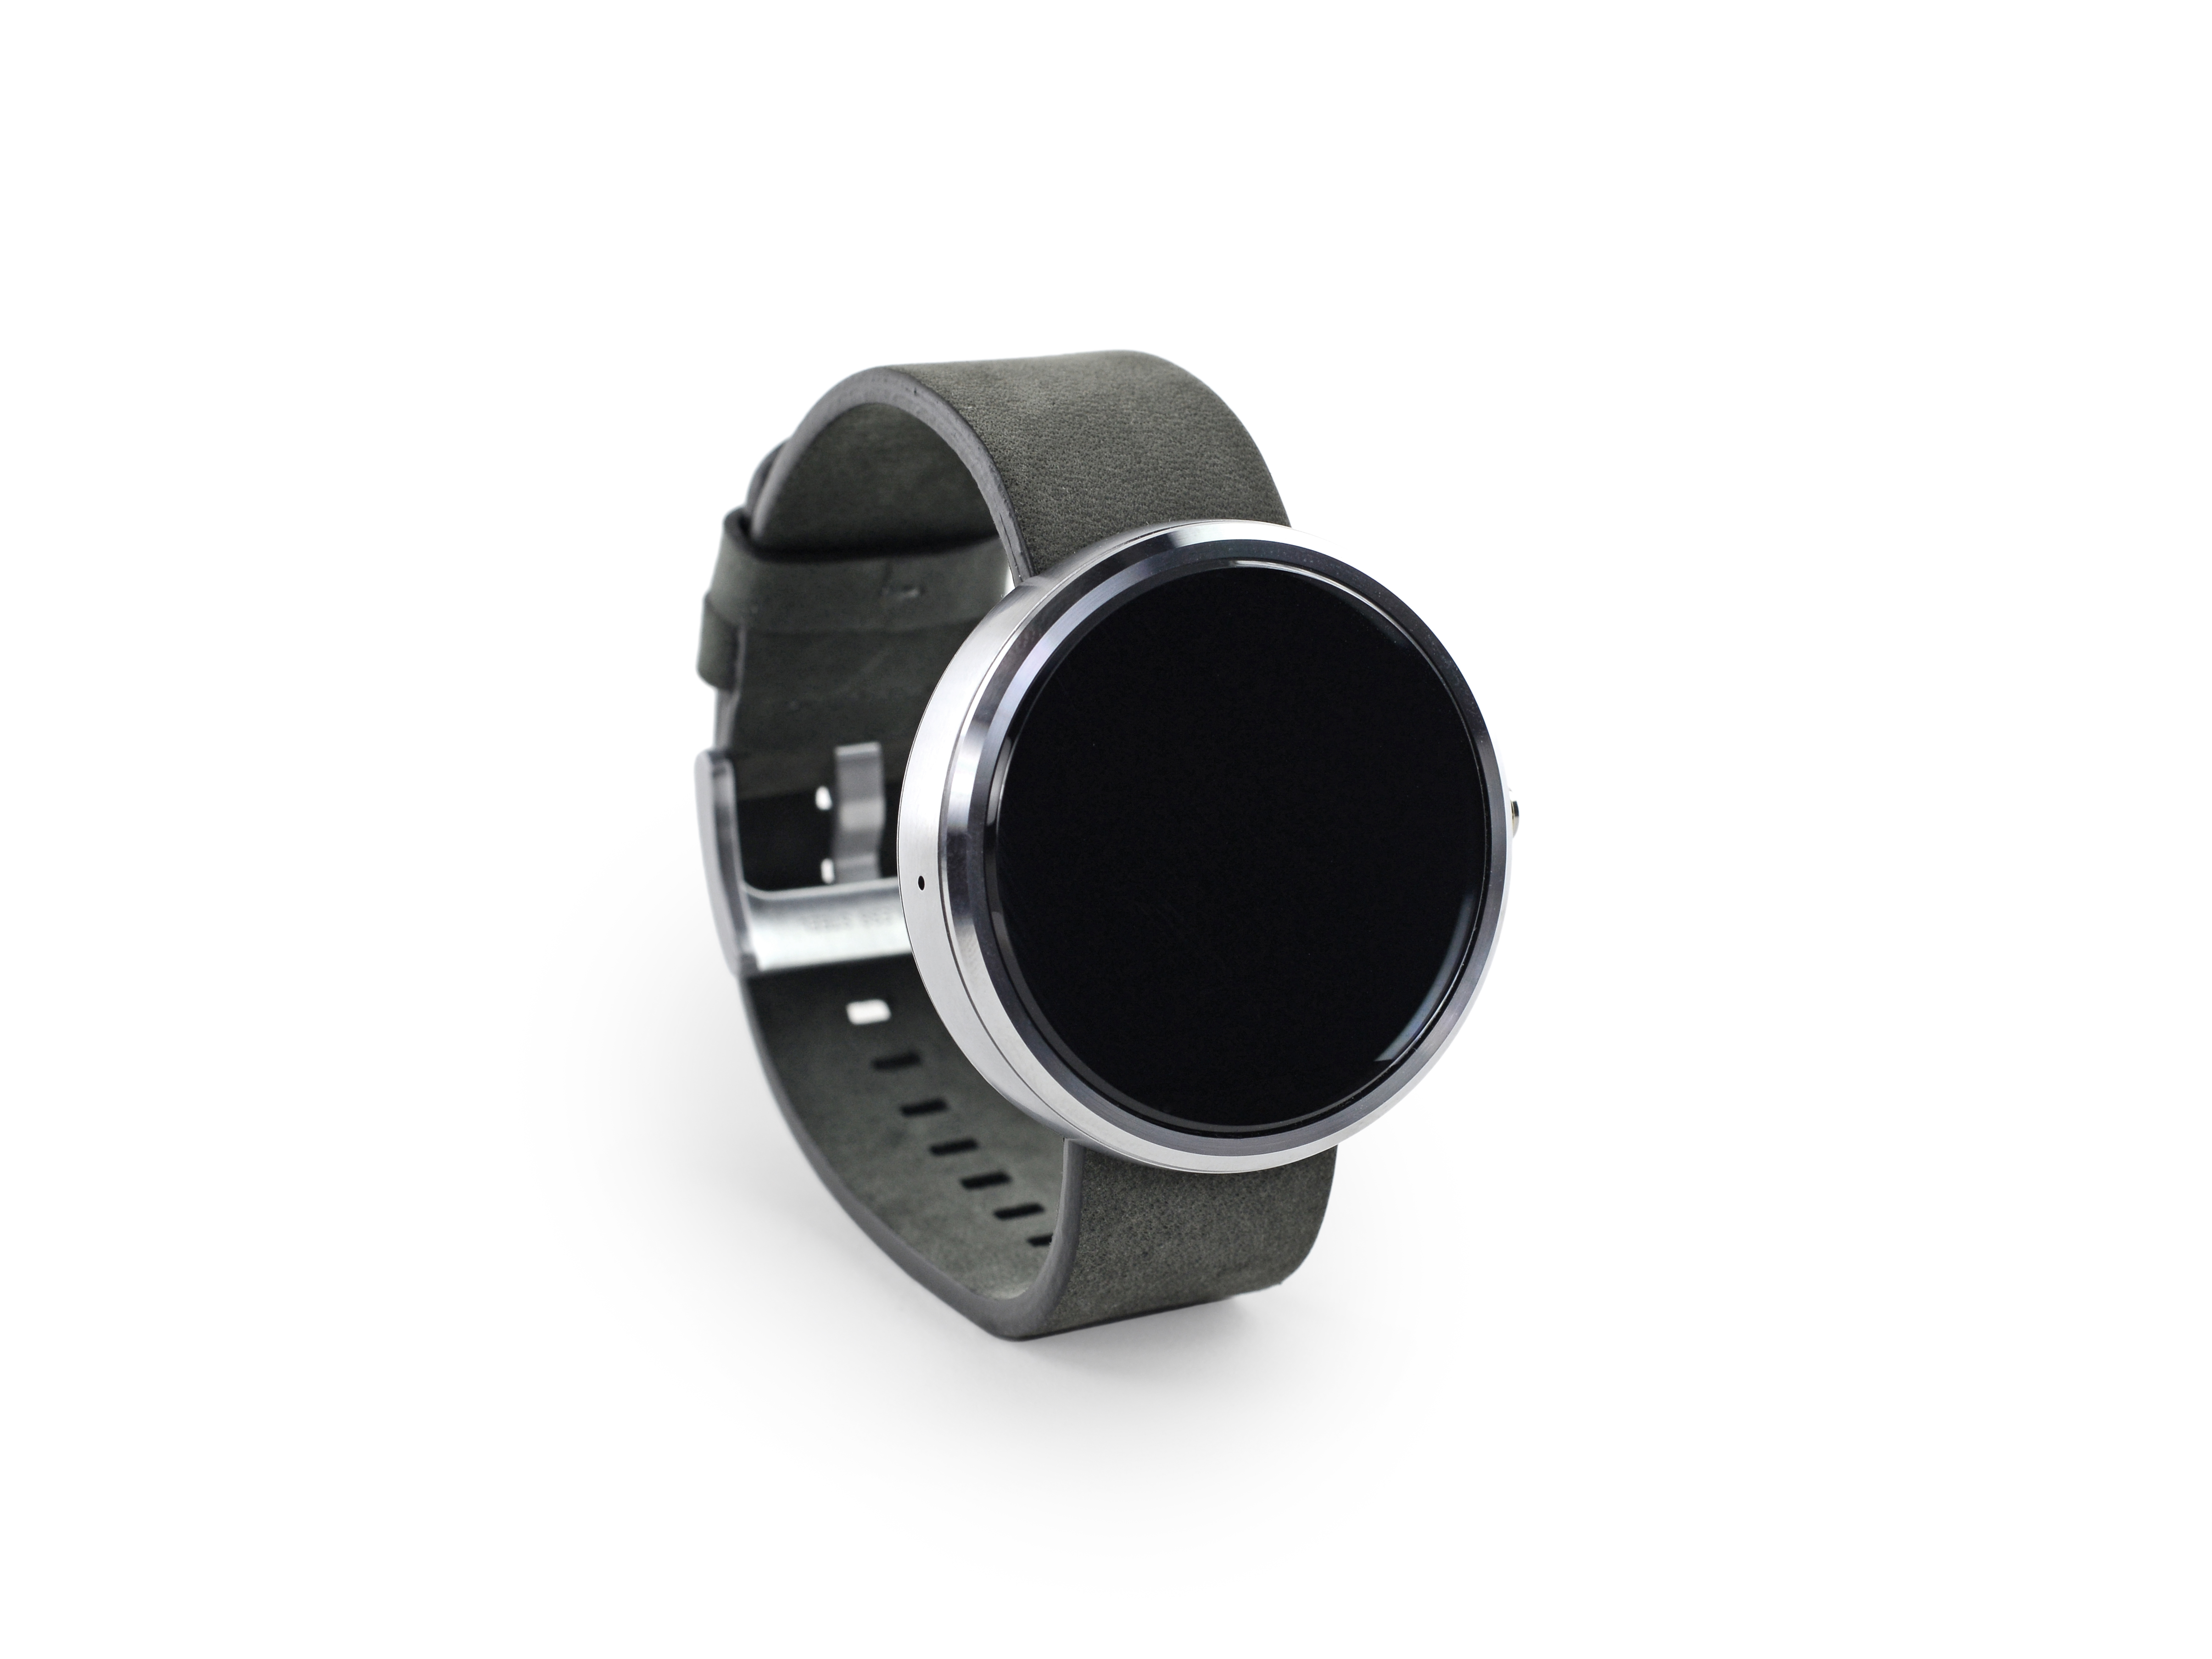
Step 1. Get out of the box

Technical specifications of the device:
- TI OMAP 3 processor;
- 4 GB of internal memory, 512 RAM;
- 1.56-inch display with a resolution of 320 * 295;
- Bluetooth 4.0 LE;
- Sensors: pedometer, optical heart rate monitor and others.

Step 2. Remove the strap
Leather good strap, yes. There is also an option with metal.


Step 3. Disassemble the case

Heating to soften the bonding compound, and remove the cover.

The protection standard of the Moto 360 is IP67, which makes disassembly more difficult.

Step 4. What's under the cover?
First look at the heart rate sensor.

Marking: FCC ID: IHDT6QC1
Anatel ID: 1510-14-0711 (Anatel is a Brazilian government agency that deals with the evaluation and approval of gadgets for sales in Brazil).

Step 5. Continuing to disassemble the case


Step 5. Remove the protective ring
This rubber ring does not let water inside the case when the watch is wetted.


Step 6. Separate the motherboard


Step 6. Battery compartment

Motorola made it easier to remove the battery by adding a plastic insert.
Battery capacity comparison of Moto 360 and competitors:
Motorola Moto 360: 3.8 V, 300 mAh, 1.1 Wh;
Samsung Gear Live: 3.8 V, 300 mAh, 1.14 Wh;
LG G Watch: 3.8 V, 400 mAh battery, 1.15 Wh.

Step 7. Here is the battery

Step 8. Inductive Charging

Moto 360 is the first Android watch capable of charging without wires. Here is the induction module.

Step 9. Motherboard


Step 10. Processor

Under the RAM module is the Texas Instruments X3630ACBP (OMAP3630) OMAP 3 Applications Processor. The same processor is installed in the Motorola Droid 2 and in the first smart watch from Motorola - MOTOACTV.
Step 11. Some more motherboard


Step 12. Display separation


Step 13. Disassembling the charging module


Step 14. Motherboard charging module

Red: Texas Instruments BQ500212A Qi Compliant 5 V Wireless Power Transmitter Manager
Orange: Texas Instruments 97376M Synchronous Buck NexFET Power Stage
Step 15. Everything, disassembly is finished

A few notes:
- to remove the cover of the case need heating;
- to replace the battery, the clock will have to be almost completely disassembled;
- to replace the display, the watch will also have to be completely disassembled.
As mentioned in the title, on a scale of maintainability, the watch gets 3 points. By the way, a competitor from LG earned 9 out of 10 .
Source: https://habr.com/ru/post/236301/
All Articles