About creating platformer on Unity. Part Two, star
Hi, Habr!
I, as promised, continue to share with you the knowledge acquired in the process of mastering the 2D mode of Unity. From a beginner, so to speak, beginners . I systematize, improve and progress with you. Today we will add to the content of the first article control of the camera, the collection of bonuses and the first way to die in the game. If you, like me, can not wait to start, then welcome under cat.
And yes, the gif there is even more than last time.
')
Rather, the battle!
In order for the camera not to be static during the game, but smoothly moving after the character, we use a previously prepared script. Everything is still simple: take it and drag it, but on the camera.
The script itself is very short and looks like this:
The main camera, on which this script is hung, follows the object specified by it (the script) in the public variable target. By the way - all public variables in scripts can be changed directly from the Unity editor. In our case, we point out the brave, noisy hero, run the game and check it out.
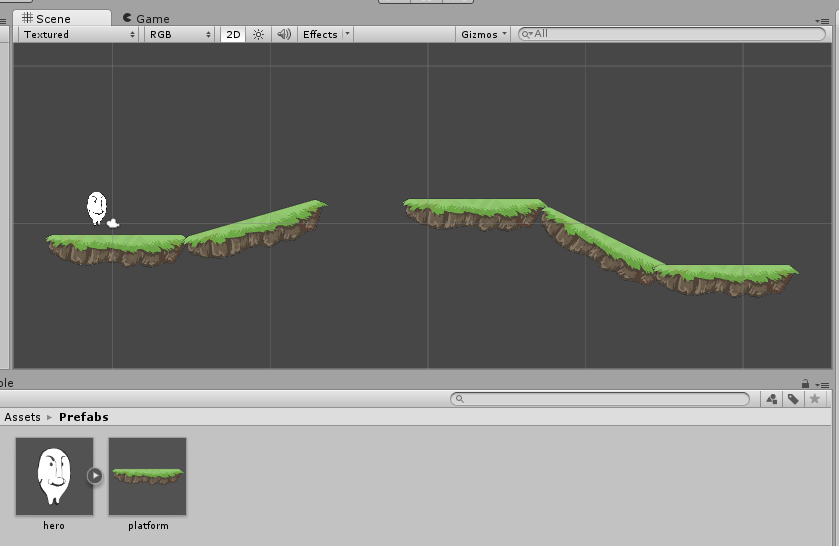
Now you can make a prefab out of the platform (remember how? If not, see the first article) and scatter them around the stage in an arbitrary way. In my case, it will look something like this:
Stroll through the level. A jump, another jump ... Unsuccessful movement and the hero falls into a hole and is not going to go back. How do we deal with this? Yes Easy! The basic idea is that in the void beneath the platforms invisible objects will be located, at the intersection of which you can load the level again or return the character back with, say, minus one life. To do this, we need an empty object, to which we add a Box Collider (stretched horizontally) and place the checkbox Is trigger on it in the inspector. A trigger in Unity differs from a simple collider in that it is not an obstacle, but when it intersects with an object, it can trigger an event. Rename the object to dieCollider and write some code to handle the crash. Here's a gif for you on the occasion of such a long paragraph:
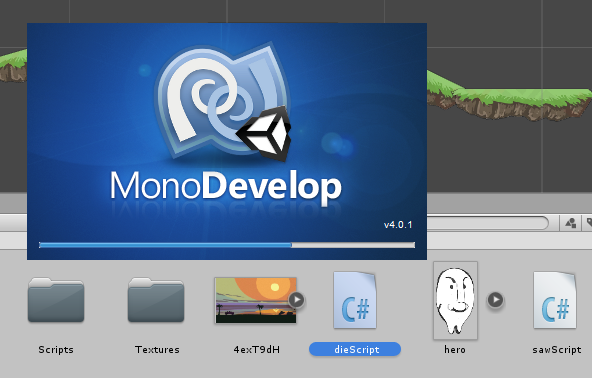
As soon as possible we will find in the Assets tab and, after a double click, for the first time we will get to know MonoDevelop in the framework of this series of lessons.
To handle the intersection with the trigger, use the OnTriggerEnter2D function. For a simple collider similar to OnCollisionEnter2D.
Add the following code:
As you can see, everything is logical. If the name of the object we encountered coincides with the string “dieCollider”, then reload the level with a completely obvious method — load the level that is already loaded again.
Now you can fall into the pit and ...
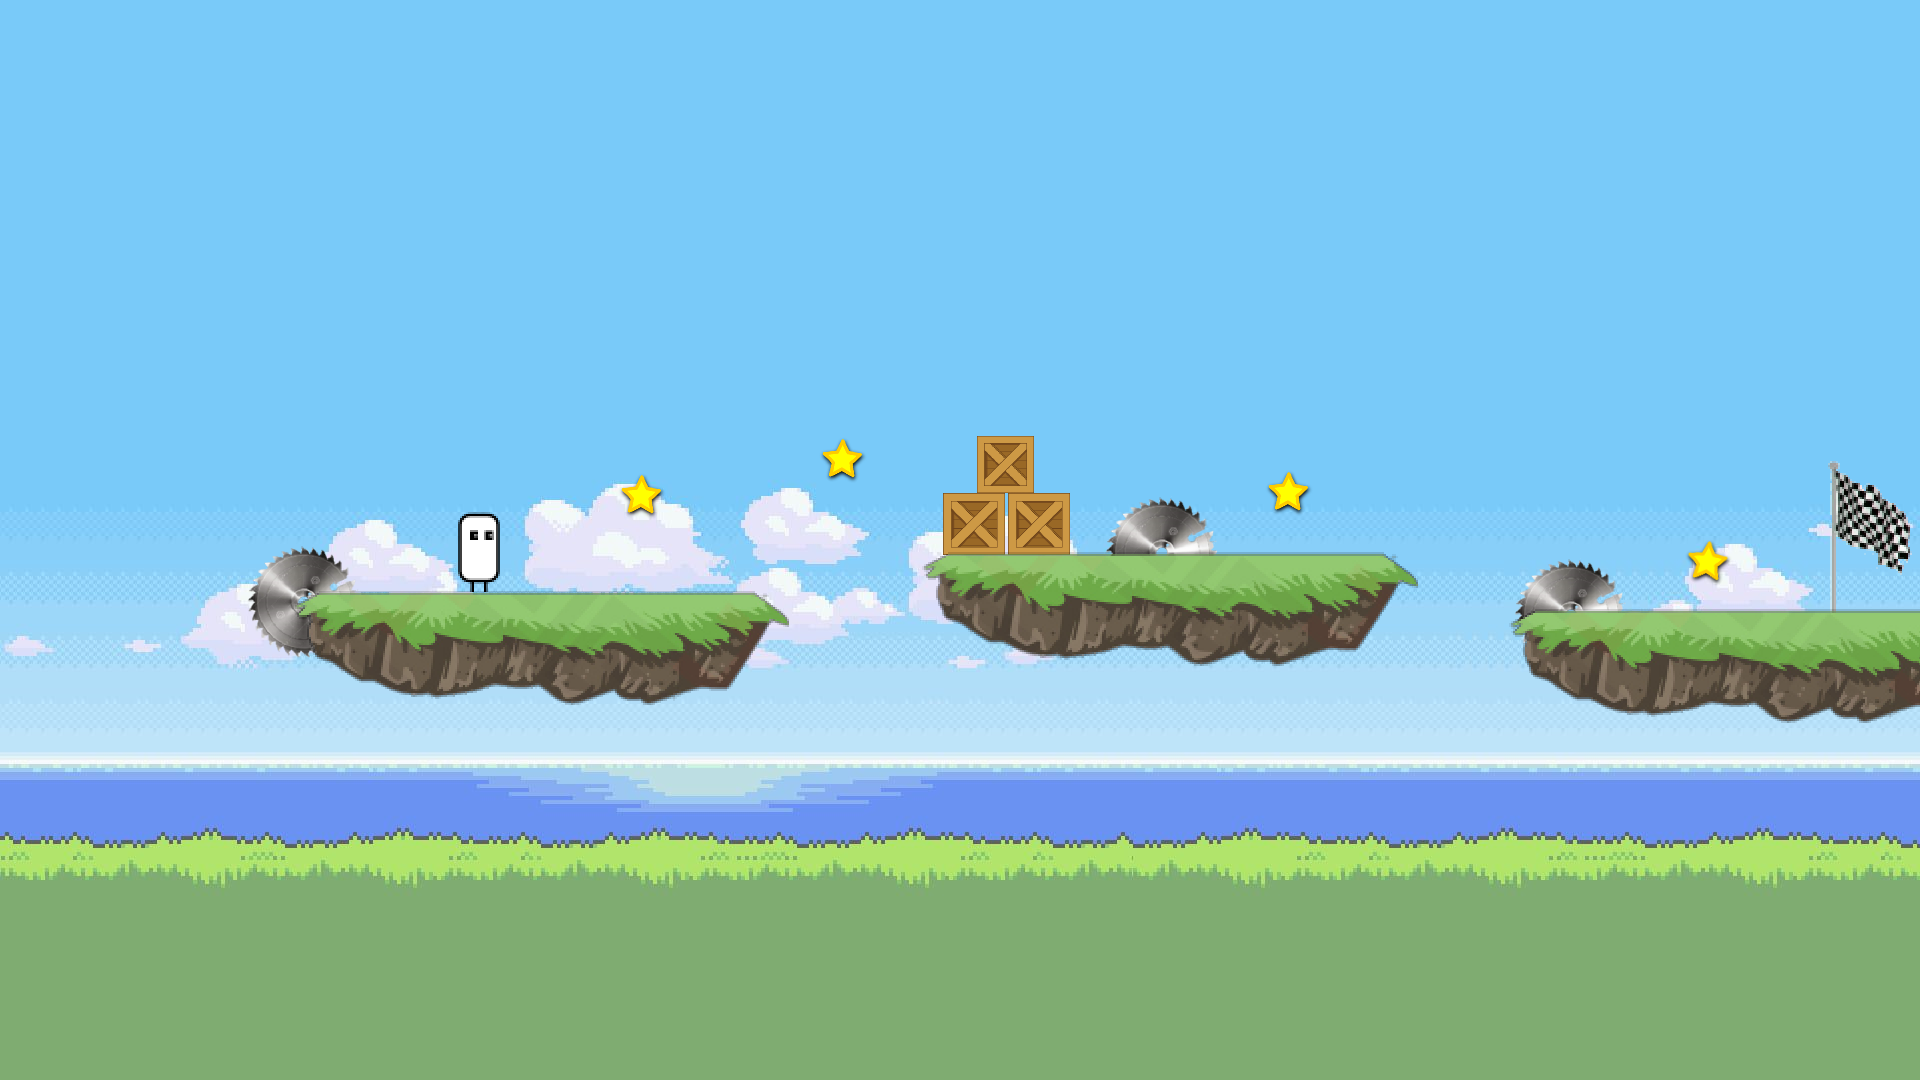
Great, the character returns to the starting position. Let's make a diecollider prefab, arrange copies of it in all dangerous places and take a look: something is clearly not enough. Of course, bonuses that you can collect! The principle of their creation is absolutely similar to the creation of areas that bring us back. We will again use triggers, only now we will encounter not a invisible object, but a quite specific star. It works like this:

Now go back to MonoDevelop and write some code. Let's declare a float score variable (which can be made public for the first time to monitor the result during the game creation process) and add the following code to the OnTriggerEnter2D function
It performs two simple functions - it increases the result by one and destroys the object with which we are confronted (in this case, the star). Since we have already made a prefab from the bonus, we will scatter a little on the level and see what happens if we collect them. Notice the score variable in the lower right corner of the screen.

Now let's learn how to display the result on the screen, because no one wants to play the game right in the editor and watch the number of collected stars somewhere on the side. The OnGUI () function will help us in this, which is perfectly able to draw text blocks, buttons and other useful things on the screen.
There is simply no place. Right on JiUAe a square is drawn with the coordinate of the upper left corner (0,0) and dimensions 100x100. It displays text directly telling us about the number of asterisks collected.
Like this. Following the two lessons, we learned how to create a game environment, added bonuses to the game, the ability to die and start anew. Next time I will show you how to make several levels and make our character rush something into something. But this is definitely not enough. Therefore, we will add a bit of interactivity to our training: vote in the attached survey and I will definitely add something to the topic you have chosen.
And yes: let me remind you that a game developer competition is taking place right now, in which you can take part and get an Xbox One or Lumia 930!
Stay tuned!
Previous part
I, as promised, continue to share with you the knowledge acquired in the process of mastering the 2D mode of Unity. From a beginner, so to speak, beginners . I systematize, improve and progress with you. Today we will add to the content of the first article control of the camera, the collection of bonuses and the first way to die in the game. If you, like me, can not wait to start, then welcome under cat.
And yes, the gif there is even more than last time.
')
Rather, the battle!
In order for the camera not to be static during the game, but smoothly moving after the character, we use a previously prepared script. Everything is still simple: take it and drag it, but on the camera.
The script itself is very short and looks like this:
using UnityEngine; using System.Collections; public class newcam : MonoBehaviour { public float dampTime = 0.15f; private Vector3 velocity = Vector3.zero; public Transform target; // Update is called once per frame void Update () { if (target) { Vector3 point = camera.WorldToViewportPoint(new Vector3(target.position.x, target.position.y+0.75f,target.position.z)); Vector3 delta = new Vector3(target.position.x, target.position.y+0.75f,target.position.z) - camera.ViewportToWorldPoint(new Vector3(0.5f, 0.5f, point.z)); //(new Vector3(0.5, 0.5, point.z)); Vector3 destination = transform.position + delta; transform.position = Vector3.SmoothDamp(transform.position, destination, ref velocity, dampTime); } } } The main camera, on which this script is hung, follows the object specified by it (the script) in the public variable target. By the way - all public variables in scripts can be changed directly from the Unity editor. In our case, we point out the brave, noisy hero, run the game and check it out.
Now you can make a prefab out of the platform (remember how? If not, see the first article) and scatter them around the stage in an arbitrary way. In my case, it will look something like this:
Stroll through the level. A jump, another jump ... Unsuccessful movement and the hero falls into a hole and is not going to go back. How do we deal with this? Yes Easy! The basic idea is that in the void beneath the platforms invisible objects will be located, at the intersection of which you can load the level again or return the character back with, say, minus one life. To do this, we need an empty object, to which we add a Box Collider (stretched horizontally) and place the checkbox Is trigger on it in the inspector. A trigger in Unity differs from a simple collider in that it is not an obstacle, but when it intersects with an object, it can trigger an event. Rename the object to dieCollider and write some code to handle the crash. Here's a gif for you on the occasion of such a long paragraph:
As soon as possible we will find in the Assets tab and, after a double click, for the first time we will get to know MonoDevelop in the framework of this series of lessons.
To handle the intersection with the trigger, use the OnTriggerEnter2D function. For a simple collider similar to OnCollisionEnter2D.
Add the following code:
void OnTriggerEnter2D(Collider2D col){ if (col.gameObject.name == "dieCollider") Application.LoadLevel (Application.loadedLevel); } As you can see, everything is logical. If the name of the object we encountered coincides with the string “dieCollider”, then reload the level with a completely obvious method — load the level that is already loaded again.
Now you can fall into the pit and ...
Great, the character returns to the starting position. Let's make a diecollider prefab, arrange copies of it in all dangerous places and take a look: something is clearly not enough. Of course, bonuses that you can collect! The principle of their creation is absolutely similar to the creation of areas that bring us back. We will again use triggers, only now we will encounter not a invisible object, but a quite specific star. It works like this:
Now go back to MonoDevelop and write some code. Let's declare a float score variable (which can be made public for the first time to monitor the result during the game creation process) and add the following code to the OnTriggerEnter2D function
if (col.gameObject.name == "star") { score++; Destroy (col.gameObject); } It performs two simple functions - it increases the result by one and destroys the object with which we are confronted (in this case, the star). Since we have already made a prefab from the bonus, we will scatter a little on the level and see what happens if we collect them. Notice the score variable in the lower right corner of the screen.
Now let's learn how to display the result on the screen, because no one wants to play the game right in the editor and watch the number of collected stars somewhere on the side. The OnGUI () function will help us in this, which is perfectly able to draw text blocks, buttons and other useful things on the screen.
void OnGUI(){ GUI.Box (new Rect (0, 0, 100, 100), "Stars: " + score); } There is simply no place. Right on JiUAe a square is drawn with the coordinate of the upper left corner (0,0) and dimensions 100x100. It displays text directly telling us about the number of asterisks collected.
Like this. Following the two lessons, we learned how to create a game environment, added bonuses to the game, the ability to die and start anew. Next time I will show you how to make several levels and make our character rush something into something. But this is definitely not enough. Therefore, we will add a bit of interactivity to our training: vote in the attached survey and I will definitely add something to the topic you have chosen.
And yes: let me remind you that a game developer competition is taking place right now, in which you can take part and get an Xbox One or Lumia 930!
Stay tuned!
Previous part
Source: https://habr.com/ru/post/236135/
All Articles