Logitech MX Air Mouse Repair
I purchased the Logitech MX Air mouse in 2009, and used it mainly for controlling the HTPC. A distinctive feature of this mouse is the presence of a MEMS-gyroscope, which allows you to control the cursor by moving the mouse in space, without contact with the surface. However, the traditional optical (laser) sensor is also available.
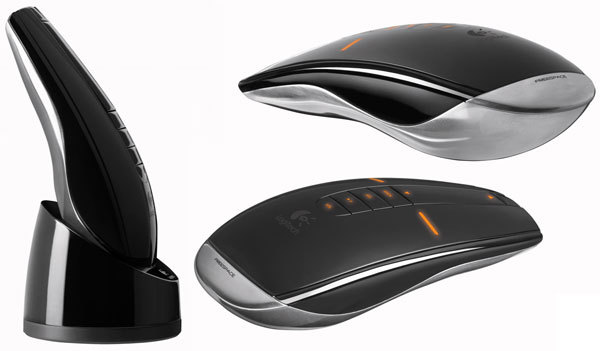
The MX Air mouse is a top model and is equipped with everything that can come to mind: a touch sensor instead of a scroll wheel, a speaker to simulate the scroll wheel clicks, separate buttons to control the media player, a wireless interface (of course), and a built-in battery. The design and build quality is also beyond praise (it is also completely insane).
')
I used this mouse for several years, but then for various reasons I set it aside, and it lay in the closet for a long time until it was needed again. Put it on the charge and soon realized that something was wrong. The mouse turns on, but the buttons are pressed poorly, and, most importantly, the motion sensor in space does not work.
It was necessary to urgently find out the reason.
Having examined the mouse, I immediately found out the cause of the malfunction: the rechargeable battery swelled and cracked. This led to the deformation of the body (the buttons began to press badly), and the gyroscope did not work if the supply voltage was insufficient.

It is necessary to disassemble the mouse very carefully, paying special attention to undocking the flexible cables from the connectors.
The internal structure of the mouse is striking in its complexity and high technology. The main board has a two-sided installation, a gyroscope, an optical sensor, a capacitive sensor that simulates a scroll wheel and LEDs on the display are located on separate boards (I counted 5 boards in total). The mouse contains two microcontrollers, STR715FR0 and Atmega32L, a nRF24L01 transceiver with an SMD antenna. Why are there two microcontrollers, it is not clear, but so it is done.
These batteries are not on sale, so I bought the closest in size.
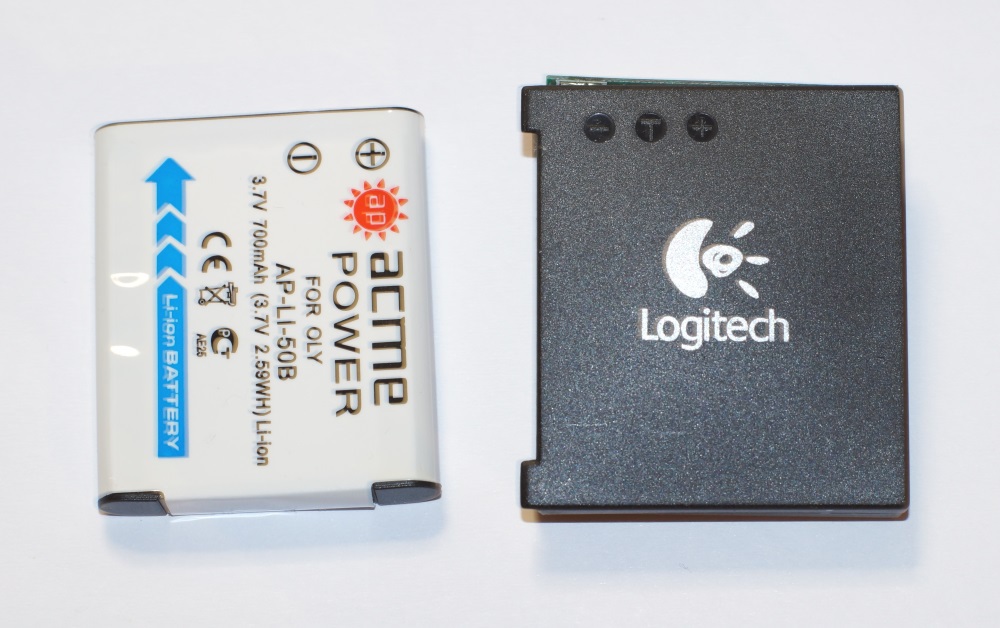
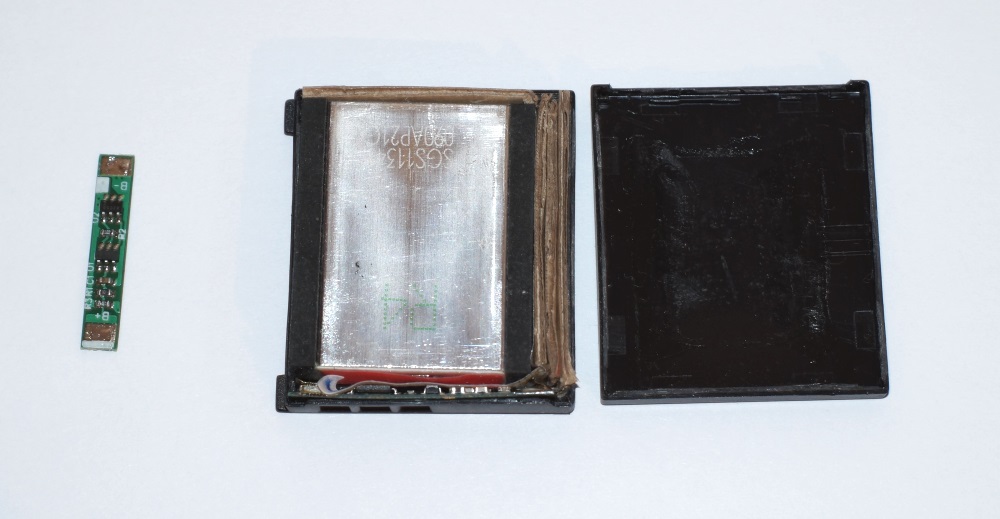
You can’t just take and insert a battery instead of the old one, if only because it has different contacts. Inside the battery there is a small printed circuit board on which the temperature sensor chips and a ROM with identification information are located. It makes sense to leave the case and the board from the old battery, changing only the chemical element itself.
Now it's time to take on the soldering iron. We open both the battery and unsolder the contacts from the printed circuit board. Solder the PCB from the old battery to the new one, and place it in the old case. Since the dimensions do not coincide a bit, the remaining space is filled with cartons.
Next to compare is the board from the new battery.
We collect, and, lo and behold, everything works great!
I hope that this post can be useful, and will inspire you to repair gadgets on your own, which have failed their Li-Ion battery.
The MX Air mouse is a top model and is equipped with everything that can come to mind: a touch sensor instead of a scroll wheel, a speaker to simulate the scroll wheel clicks, separate buttons to control the media player, a wireless interface (of course), and a built-in battery. The design and build quality is also beyond praise (it is also completely insane).
')
I used this mouse for several years, but then for various reasons I set it aside, and it lay in the closet for a long time until it was needed again. Put it on the charge and soon realized that something was wrong. The mouse turns on, but the buttons are pressed poorly, and, most importantly, the motion sensor in space does not work.
It was necessary to urgently find out the reason.
Having examined the mouse, I immediately found out the cause of the malfunction: the rechargeable battery swelled and cracked. This led to the deformation of the body (the buttons began to press badly), and the gyroscope did not work if the supply voltage was insufficient.
It is necessary to disassemble the mouse very carefully, paying special attention to undocking the flexible cables from the connectors.
The internal structure of the mouse is striking in its complexity and high technology. The main board has a two-sided installation, a gyroscope, an optical sensor, a capacitive sensor that simulates a scroll wheel and LEDs on the display are located on separate boards (I counted 5 boards in total). The mouse contains two microcontrollers, STR715FR0 and Atmega32L, a nRF24L01 transceiver with an SMD antenna. Why are there two microcontrollers, it is not clear, but so it is done.
These batteries are not on sale, so I bought the closest in size.
You can’t just take and insert a battery instead of the old one, if only because it has different contacts. Inside the battery there is a small printed circuit board on which the temperature sensor chips and a ROM with identification information are located. It makes sense to leave the case and the board from the old battery, changing only the chemical element itself.
Now it's time to take on the soldering iron. We open both the battery and unsolder the contacts from the printed circuit board. Solder the PCB from the old battery to the new one, and place it in the old case. Since the dimensions do not coincide a bit, the remaining space is filled with cartons.
Next to compare is the board from the new battery.
We collect, and, lo and behold, everything works great!
I hope that this post can be useful, and will inspire you to repair gadgets on your own, which have failed their Li-Ion battery.
Source: https://habr.com/ru/post/235839/
All Articles