Usb web notifier in backlight
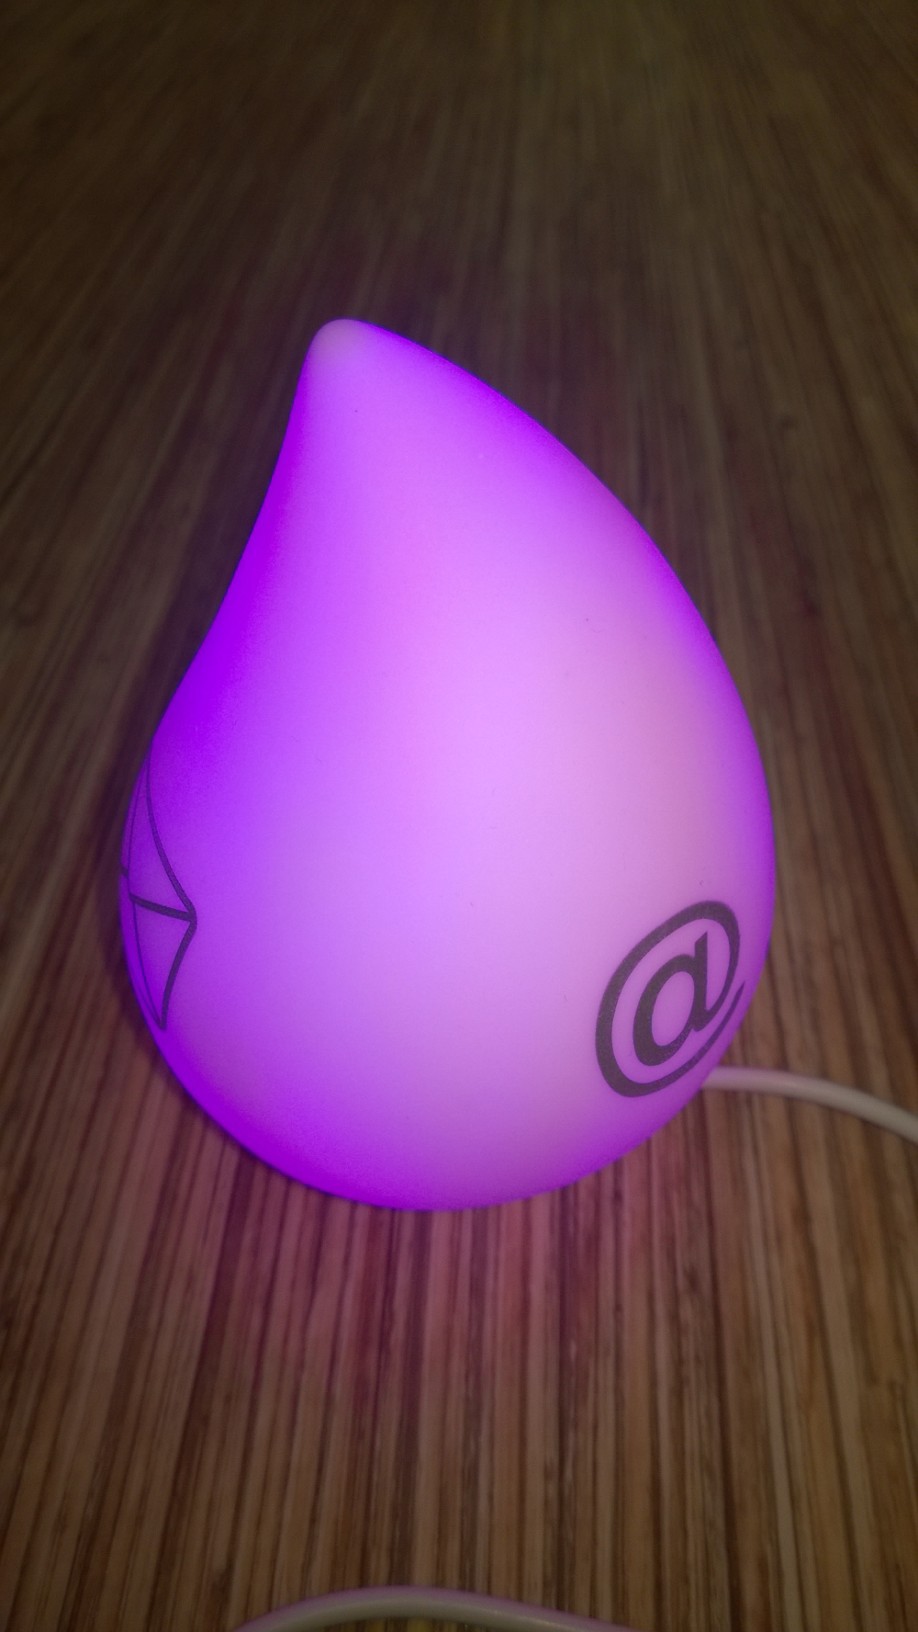
Unfortunately, I had a chance to catch a cold, to get stuck at home for three days, and from uncontrolled merriment start to sort out the “long box”. In this box, I found a “usb notifier” from the company CBR. The device is designed to notify about incoming messages to email, by changing the color gamut.
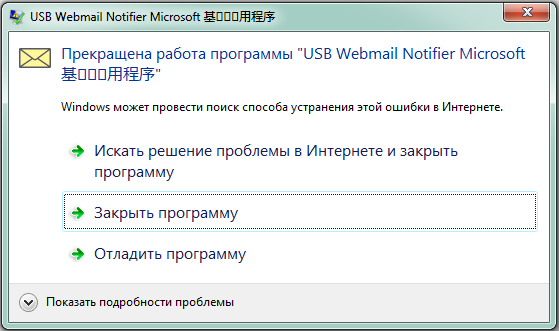
I do not know if I was lucky, or vice versa, but the device refused to perform its immediate functions. He was identified as a HID compatible device, but he didn’t want to work wonder software.
')
At first, I thought about writing software that would repeat the declared functionality, but after a thorough thought, I realized that I needed the fifth leg as a dog. On the other hand, the appearance of the LED in a drop attracted me and I decided to make an ordinary nightlight backlight from the device.
To begin with, it was necessary to find out which bytes are responsible for the color change (don't forget the same HID). No intelligible documentation was found and it was necessary to act empirically (the scientific method “with a finger to the sky”). For such research there is a wonderful software SimpleHIDWrite . I thought it would take a decent time for me to recruit teams, but everything turned out to be very simple. We put ReportID 00, send 01 00 00 00 00 and our miracle device turns red. The list of remaining control bytes for the color change is shown below:
- 00 00 00 00 00 - turn off
- 01 00 00 00 00 - red
- 02 00 00 00 00 - green
- 03 00 00 00 00 - light green
- 04 00 00 00 00 - purple
- 05 00 00 00 00 - lilac
- 06 00 00 00 00 - blue
- 07 00 00 00 00 - light blue

Great, now it remains the case for small, write a small shell to control the device. Since no GUI is foreseen, I decided to control the device as a windows service on c #. The implementation of data exchange between the host and the HID device using HidLibrary is as follows:
// vendor id, , . private int vid = 0x1294; // vid' var devs = HidDevices.Enumerate(vid).ToList(); // , num_devices. .config var dev = devs[device_num]; if(dev != null) { // var data = new byte[5]; // obj data[0] = (byte)(int)obj; // Report, .. HID_SET_REPORT var report = dev.CreateReport(); // Report report.Data = data; // dev.WriteReport(report); } Now it is necessary to decide how and when to change color, at first I wanted to implement it by timer, but it seemed boring, so I decided to change the color according to the sound level from the audio input (it is assumed that there is a microphone or webcam with a microphone). For this used NAudio . How to manage this library is described here ; I will only provide a handler who is responsible for determining the peak of the sound level. In principle, the code is borrowed for the most part from the article by reference.
// - 0, 8000 - var dev = new WaveIn(WaveCallbackInfo.FunctionCallback()); dev.DeviceNumber = 0; // - dev.DataAvailable += dev_DataAvailable; dev.WaveFormat = new WaveFormat(8000, 1); dev.StartRecording(); void dev_DataAvailable(object sender, WaveInEventArgs e) { // var max = getValueMax(e.Buffer, e.BytesRecorded); // if(max > _trigger) { if(ChangeLevelVolumeMax != null) { // , ChangeLevelVolumeMax(this, e); } } } private float getValueMax(byte[] buffer, int lenght) { // List<float> l_sample32 = new List<float>(); // , for (int index = 0; index < lenght; index += 2) { float sample32 = (float)(short)((buffer[index + 1] << 8) | buffer[index + 0]) / 32768f; l_sample32.Add(sample32); } // var max = l_sample32.Max(); return max; } Well, the above code is wrapped in the windows service :
protected override void OnStart(string[] args) { //USB Notifier device = new cApi(cSettings.Usb); //Audio audio = new cAudio(cSettings.Audio, cSettings.Rate, cSettings.Chanel, cSettings.Trigger); audio.ChangeLevelVolumeMax += audio_ChangeLevelVolumeMax; base.OnStart(args); } void audio_ChangeLevelVolumeMax(object sender, NAudio.Wave.WaveInEventArgs e) { // device.setNextColor(); } protected override void OnStop() { device.Off(); device.Dispose(); audio.Dispose(); base.OnStop(); } Next, create a service deployment using Wix. For more details, welcome to git . And finally, the video:
Source: https://habr.com/ru/post/232729/
All Articles