Cocos2d-x: Writing on Lua

Good day.
Let's start with the fact that I did not find tutorials on Cocos2d and Lua on the habre, so I had to suffer a lot and so that you did not repeat my mistakes, I decided to write a post. In this article I will explain how to create a simple game using ocos2d-x , Cocos Code IDE and Lua. Earlier , I already wrote about the creation of games on Love2d. In this article, I adapt an old tutorial for a coconut and how to run it on an android (I have neither an apple nor a poppy).
What do we need?
List of important things:
- Java jdk
- Cocos2d-x itself. At the time of this article, Cocos2d-x 3.2 was released and can be downloaded here . Need to download the same bit depth as the JDK
- IDE for lua. The developers of the engine have tried and released their IDE based on Eclipse. We swing here .
- [Windows-only] Python 2.7. It lies here .
If you want to write games for android, you will have to download a couple more things, namely:
- Android SDK . If you are not going to write under android, then it is better to find the tab “GET THE SDK FOR AN EXISTING IDE”
- Android NDK . I use Android NDK r9, and with r10 problems are possible
- Apache Ant . I have 1.9.4
Installation
First we install Java JDK and Python. After unpacking cocos2d-x and Cocos Code IDE (If you downloaded the zip version, if not, just run the installation) in a convenient place for you. Unpacking the Android SDK, NDK and Apache Ant also in a convenient place. The path to them should not contain spaces to avoid problems. Open the folder with the SDK, find the SDK Manager. We launch and install the necessary API versions for us and the entire Tools folder.
Launch the Cocos Code IDE. In Window-> Preferences-> Cocos specify the desired path. It looks like this to me:
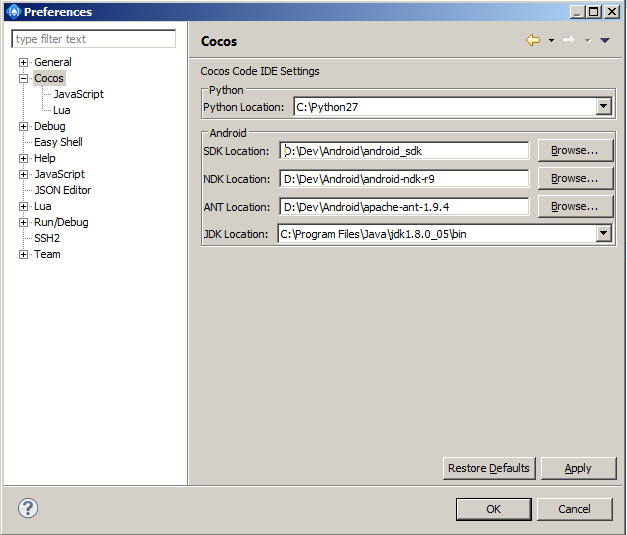 .
.Now click on the Lua tab which is in the Cocos tab and choose the path to cocos2d-x:
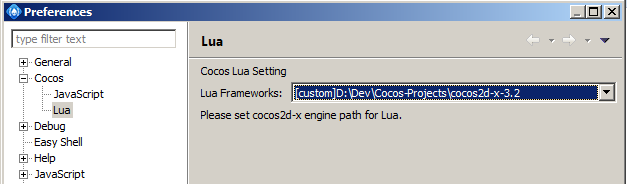
Configured.
Some theory
Cocos2d-x, a cross-platform engine written in C ++, was created as a copy of Cocos2d. Cocos2d uses Object C and can only be used for iOS .
Now let's talk about the basic mechanics of the engine and compare it with Love2D. In coconut, all objects are in layers, and layers are in scenes. In Love2D, there are no layers, no scenes. The advantages of scenes and layers are that you can use them to create a flexible application in simpler ways. The downsides are that for a simple game, this may be too cumbersome and inconvenient. In the coconut everything is represented by objects and in order for something to appear on the screen you just need to add it to the scene, and in love2d everything is represented by simple variables and in order for something to appear on the screen you need to draw it every frame. This can be described for a long time, so I will say the conclusion now, and you can feel the difference yourself. Cocos2d-x is a big engine with a lot of features, however, access to them is often not done as desired. Love2d is a simple, not requiring much knowledge, engine with a responsive community, but with the lack of many necessary things that users themselves later write, but do it quite well.
And now the code itself
Create a new project. And we will have two files in the source: hello2.lua and main.lua. If you do not want to look at the miracle of the Chinese game maiden, then the first can be immediately removed, and the second clean. It is designed to demonstrate the capabilities of require . Open the main.lua and see a bunch of code that is needed to understand how to use the port under lua. To see what it is, press F11. You can play. This running creature is a dog, not a squirrel as you might think. We looked, played and enough. Delete hello2.lua and all the code in main.lua and clear the res folder. Add a picture to the res folder and call it habr.png. Now we write the following code in main:
-- require "Cocos2d" -- require "Cocos2dConstants" -- cclog = function(...) print(string.format(...)) end -- function __G__TRACKBACK__(msg) cclog("\n----------------------------------------") cclog("LUA ERROR: " .. tostring(msg)) cclog(debug.traceback()) cclog("----------------------------------------") return msg end collectgarbage("collect") -- collectgarbage("setpause", 100) collectgarbage("setstepmul", 5000) -- "src" "res" cc.FileUtils:getInstance():addSearchResolutionsOrder("src"); cc.FileUtils:getInstance():addSearchResolutionsOrder("res"); -- SCREEN_WIDTH = cc.Director:getInstance():getWinSize().width SCREEN_HEIGHT = cc.Director:getInstance():getWinSize().height local function main() print("Resolution: " .. SCREEN_WIDTH .. "x" .. SCREEN_HEIGHT) -- require "mainScene.lua" end -- main local status, msg = xpcall(main, __G__TRACKBACK__) if not status then error(msg) end In the main function, we call the mainScene.lua file. It is the main scene of the game. Create it and write the following code there:
-- local NONE = 0 local ROTATION = 1 local SCALLING = 2 local MOVING = 3 -- local state, rotation, scale, ox, oy, delta, habrImage, moving -- local function onTouchBegan(touch, event) -- state = (state + 1) % 4 -- resetVariables() end -- , dt -- . dt == 1.0, -- local function update(dt) if state == ROTATION then -- rotation = rotation + delta * dt elseif state == SCALLING then -- scale = scale + dt * delta elseif state == MOVING then -- , : -- moving, -- -- moving = moving + delta * dt local radius = 50 ox = radius * math.sin(moving) oy = radius * math.cos(moving) end -- love2d -- -- -- habrImage:setScale(scale) -- habrImage:setRotation(rotation) -- habrImage:setPosition(cc.p(SCREEN_WIDTH / 2 + ox, SCREEN_HEIGHT / 2 + oy)) end local function init() print("Creating main scene") -- local mainScene = cc.Scene:create() -- -- -- 2 -- . 1) C++ cc.c4b(r,g,b,a) -- , C++ , -- cocos2d-x-js, .. cocos2d-x-lua -- C++, -- JavaScript , local gameLayer = cc.LayerColor:create(cc.c4b(255, 255, 255, 255)) -- habrImage = cc.Sprite:create("res/habr.png") -- habrImage:setAnchorPoint(0.5, 0.5) -- habrImage:setPosition(cc.p(SCREEN_WIDTH / 2, SCREEN_HEIGHT / 2)) -- gameLayer:addChild(habrImage) state = 0 resetVariables() -- update , -- cc.Director:getInstance():getScheduler():scheduleScriptFunc(update, 0, false) -- . , -- . local listener = cc.EventListenerTouchOneByOne:create() -- , listener:registerScriptHandler(onTouchBegan, cc.Handler.EVENT_TOUCH_BEGAN ) -- local eventDispatcher = gameLayer:getEventDispatcher() eventDispatcher:addEventListenerWithSceneGraphPriority(listener, gameLayer) -- mainScene:addChild(gameLayer) -- - if cc.Director:getInstance():getRunningScene() then cc.Director:getInstance():replaceScene(mainScene) else cc.Director:getInstance():runWithScene(mainScene) end end function resetVariables() rotation = 0 scale = 1 ox = 0 oy = 0 delta = 20 moving = 0 end -- init() ')
Now a little about help finding answers. First: The port on lua is almost identical to C ++ and the main differences can be found here . Secondly: as I wrote earlier, if you can not find anything in port C ++, then try to look for this problem for the JS engine. It is more popular than Lua, but there are many differences in it, but very often it helped me. To run what we have, press F11. To launch on Android, click on the “Debug configurations” button and select Android. To start, you need a customized adb, but there are so many articles about it, so I will not write about it here. That's all Thank you for reading (:
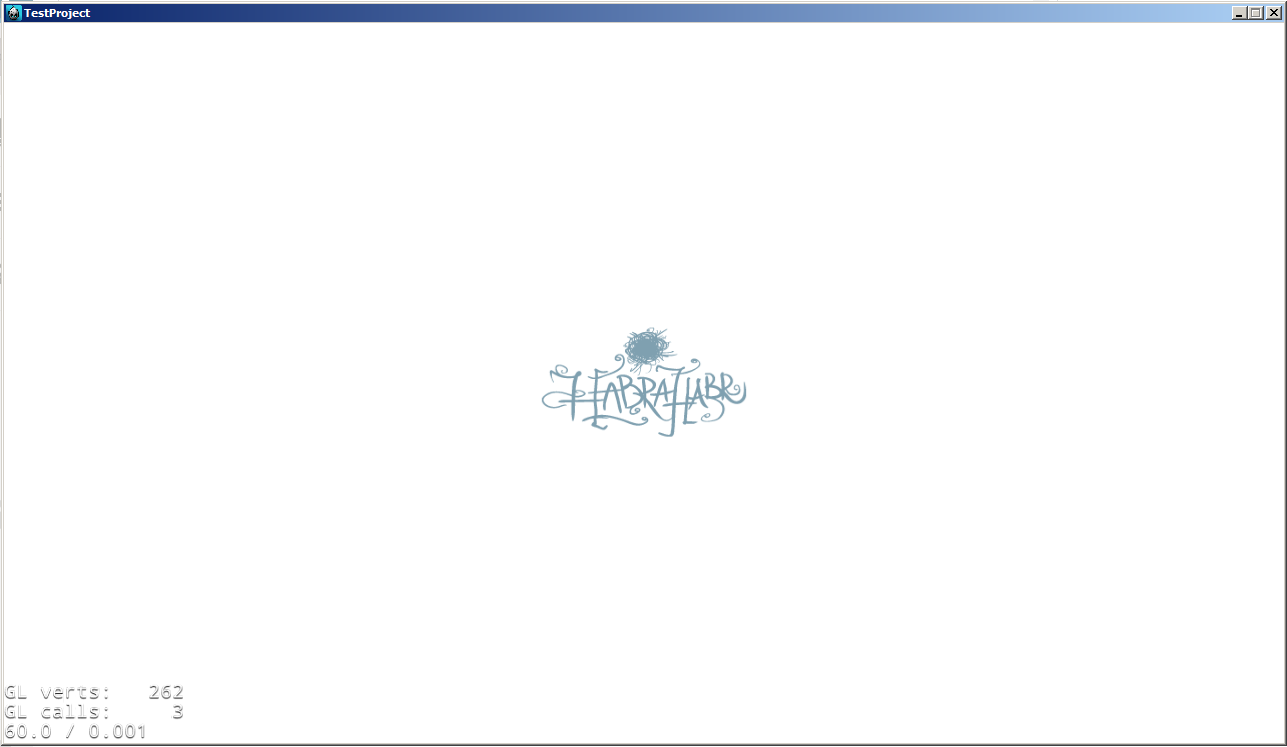
Here's what happened in the end:
Source: https://habr.com/ru/post/232013/
All Articles