We unlock the bike computer VDO A4 to A8
How to pay 600 rubles and get the functionality for 1200? Probably everyone knows the way to "upgrade" the bike computer - we put 2 magnets on the wheel and the speed doubles, but we will go the other way. We will increase the number of bicycle computer functions by one movement of the screwdriver.
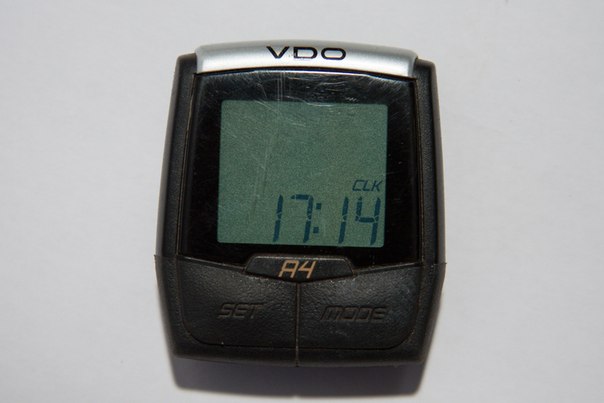
Working in the corporation Bicycle Driving, I often rummaged around in accessories and noticed that with some cycling computers the release form, housing, and segment cells on the display are the same, only the markings and, accordingly, the price are different. For example, the VDO A4 cycle computer carries the declared functions:
The current speed (0 - 199.5 km / h).
Distance meter (0 - 999.99 km).
Total distance counter
Clock (24 hour mode)
')
While his older brother, more expensive in the price list, promises us:
The current speed (0 - 199.5 km / h).
Distance meter (0 - 999.99 km).
Total distance counter
Clock (24 hour mode)
Average speed.
Maximum (peak) speed.
Trip Timer (0 - 23:59:59).
The average pace indicator (shows current speed is above or below average).
Twice more functions. But, you see, it is unprofitable for the manufacturer to run two different pipelines for identical bicycle computers that differ only in the data displayed on the screen and the formulas for calculating them in the chips. Therefore, they rivet them on one elementary base, and a cute Chinese woman (or Thai or Malaysian) at the final stage of assembly packs a tail in-body into the computer to become an A4 or A8 computer.
So, we take the patient from the warehouse and go to the back room with the camera. For the operation, we need:
1) Screwdriver "slot" wide
2) hour cross screwdriver
3) hour screwdriver "slot"
4) Thermoglue or sealant
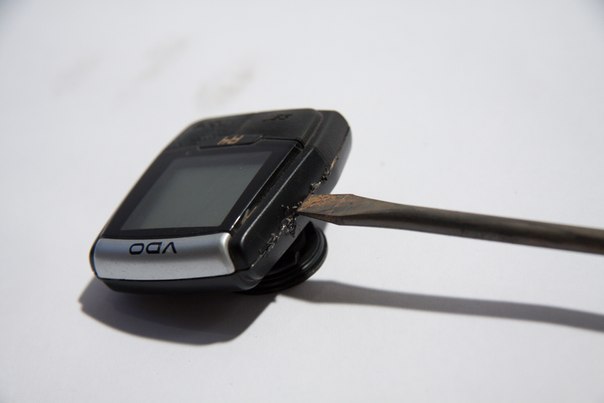
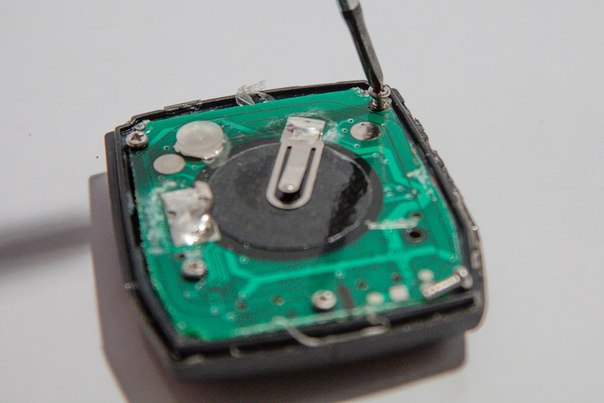
To begin, open the case. To do this better from the edge, there the screwdriver most confidently fits into the groove. Do not be afraid to push, the case is glued with hot melt and you have to break the internal legs-clamps position.
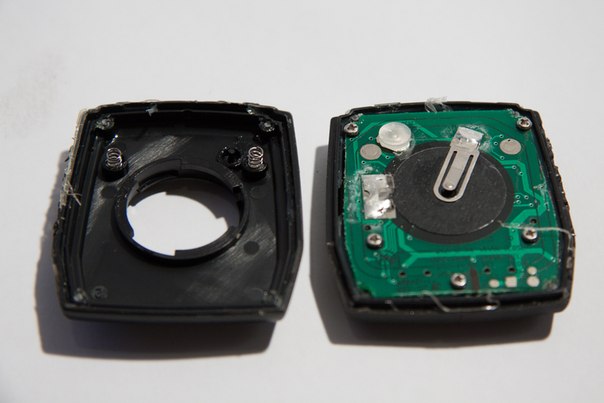
After opening, we see inside the printed circuit board secured with five screws. Remove the scraps of hot melt at the edges, they can further prevent the enclosure from closing.
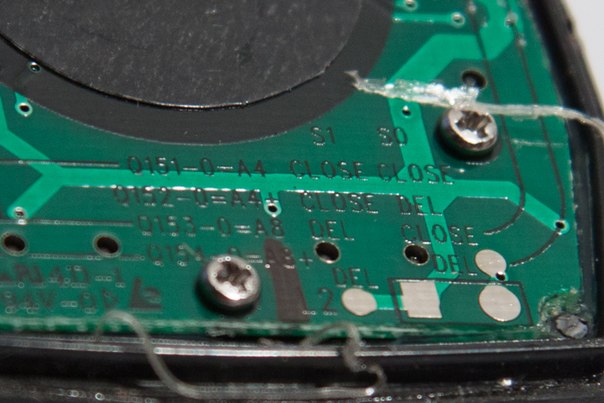
Caring engineer Liao left pretty girls on the assembly line with instructions on the board itself. From it we see that in order to transform the A4 cycle computer into the A8 model, we need to remove (DEL) the S1 jumper and leave the S0 jumper closed (CLOSE).
It is time to find the jumpers. When removing the screws, be careful, right behind the board is the display and its contact group. I recommend raising the board by lightly pressing the “slot” screwdriver in the opening between the bottom (single) screw and the edge of the case, since the board still keeps on hot melt. At this point, on the other side of the board, there is nothing to damage.
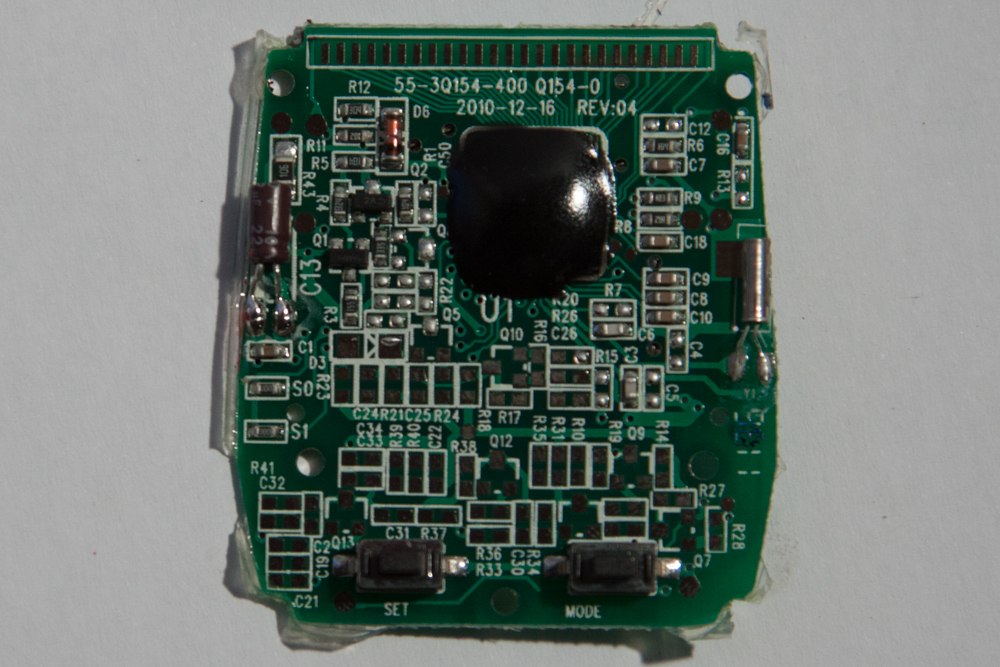
Here is the board after removing the screws. Immediately lay the case with the display to the side, removing the remnants of hot melt.

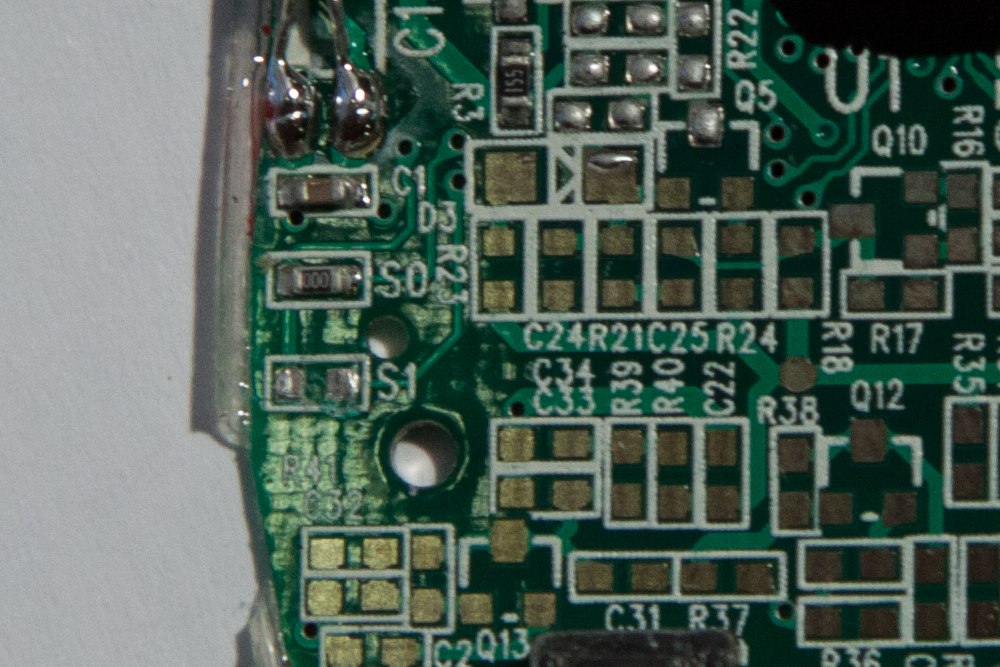
Fee close up. The jumpers we need are on the left-bottom. On the old models of bicycle computers, they were simply filled with solder, now they began to install conductors, for easy removal.
This jumper is simply removed. We put the board on a flat soft surface, take the slotted screwdriver and, putting the tip on the side of the letter S, lightly palm it on the end of the screwdriver. 1-2 hits and jumper removed.
Next, we carry out the assembly in the reverse order, carefully tighten the screws so that the contact of the display is established, close the case and coat it with hot glue around the perimeter.
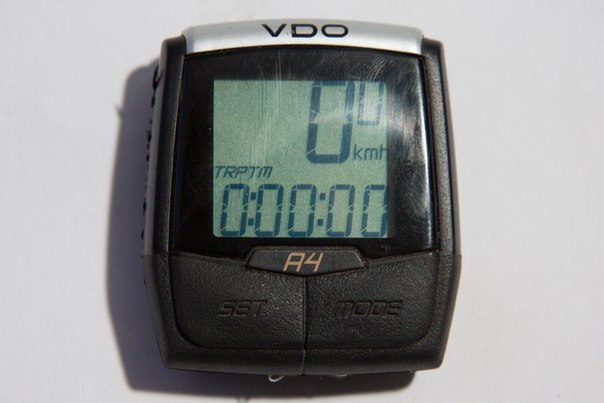
As you can see, besides the basic functions, speed, distance per trip and odometer appeared: travel time, average and maximum speed, as well as an icon showing above or below the average speed we drive.
Everything.
Source: https://habr.com/ru/post/228973/
All Articles