SQLite is now for mobile C # applications for any platform
Most recently, a new version of the library has been released, which will be useful for C # developers who are developing or planning to develop cross-platform mobile applications.
SQLitePCL can be used to implement a local database in Windows, Windows Store, Windows Phone, Android ( Xamarin ) and iOS ( Xamarin ) applications. It is free and its code is open to anyone.
')
I checked it in action, and I want to share it with you.
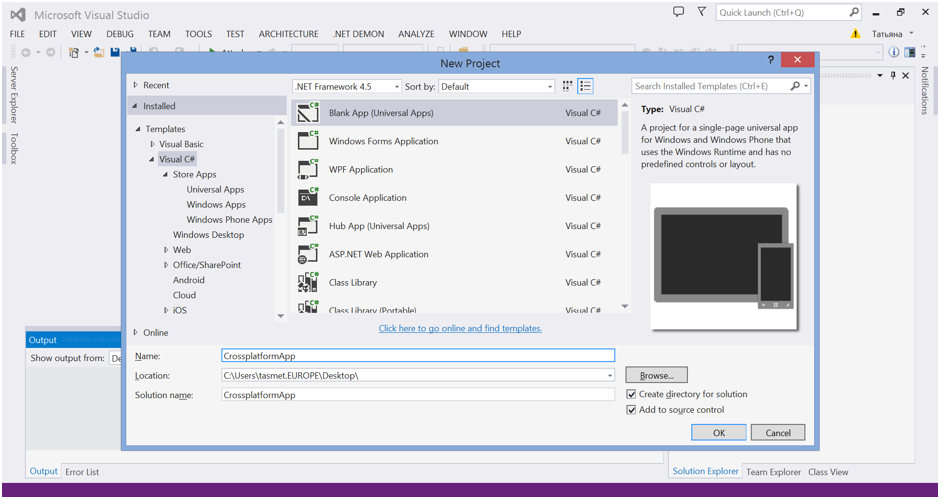
Create a project
For experiments, we need a universal application project for Windows and Phone.
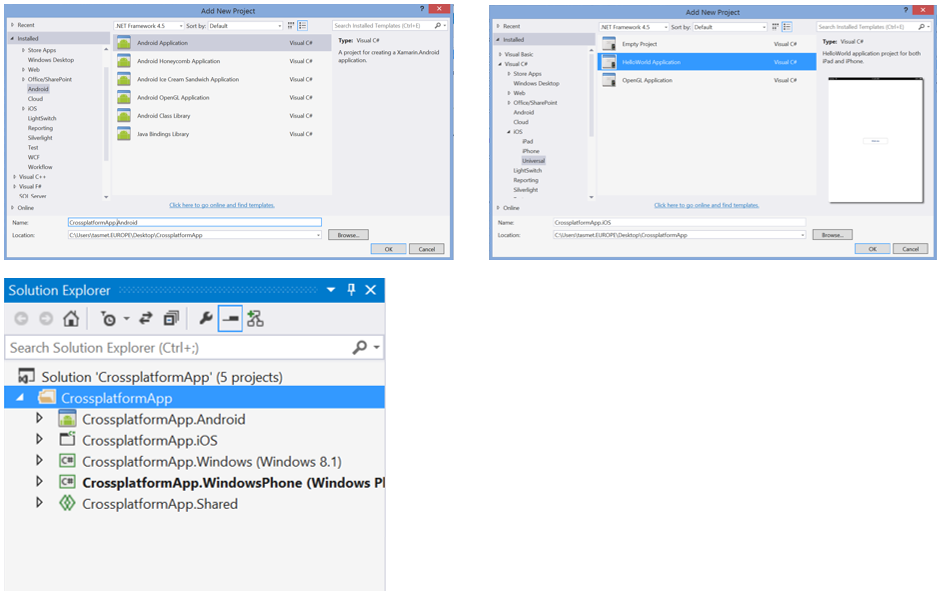
And Xamarin projects for Android and iOS applications.
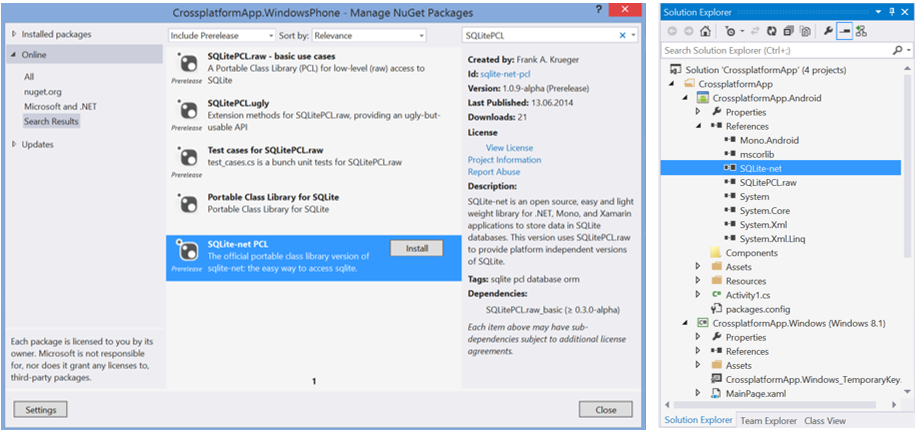
We connect the necessary libraries
For each project, we install and add SQLite-net PCL package to References . It will automatically install and SQLitePCL.raw . That's all we need to use.
Create a database and implement CRUD operations
We will implement the logic of working with data in the project that we already have, which is common to all applications, Shared . But you can do it in the new Portable Class Library created for this purpose.
So, let's add two files to the Shared project. One of them, MessageItem.cs , will contain the structure of the object that we will store in the database, the second DataBase.cs will implement interaction with the SQLite database.

MessageItem.cs code
using SQLite; using System; using System.Collections.Generic; using System.Text; namespace CrossplatformApp { public class MessageItem { [PrimaryKey, AutoIncrement] public Guid Id { get; set; } public string Text { get; set; } public string User { get; set; } public string Created { get; set; } } } DataBase.cs Code
using System; using System.Collections.Generic; using System.Text; using SQLitePCL; using System.Threading.Tasks; using System.Linq; using System.IO; using SQLite; namespace CrossplatformApp { public class Database { private const string _db = "CrossplatformApp.db"; private SQLiteConnection _connection = null; public Database(string path) { string _dbpath = Path.Combine(path, _db); _connection = new SQLiteConnection(_dbpath); _connection.CreateTable<MessageItem>(); } ~Database() { if(_connection!=null) _connection.Close(); } public int AddNewItem(MessageItem item) { var result = _connection.Insert(item); return result; } public int UpdateItem(MessageItem item) { var result = _connection.Update(item); return result; } public int DeleteItem(MessageItem item) { var result = _connection.Delete(item); return result; } public IQueryable<MessageItem> GetAllItems() { var result = _connection.Table<MessageItem>().OrderByDescending(t => t.Created); return result.AsQueryable<MessageItem>(); } } } Use for W8, WP, iOS, Android
Let's see how our database will work on Windows Phone.
Let's move to the Windows Phone application project and finalize the main page.
1. Replace all XAML code in MainPage.xaml to make the application interface simple and display data from the database to the user.
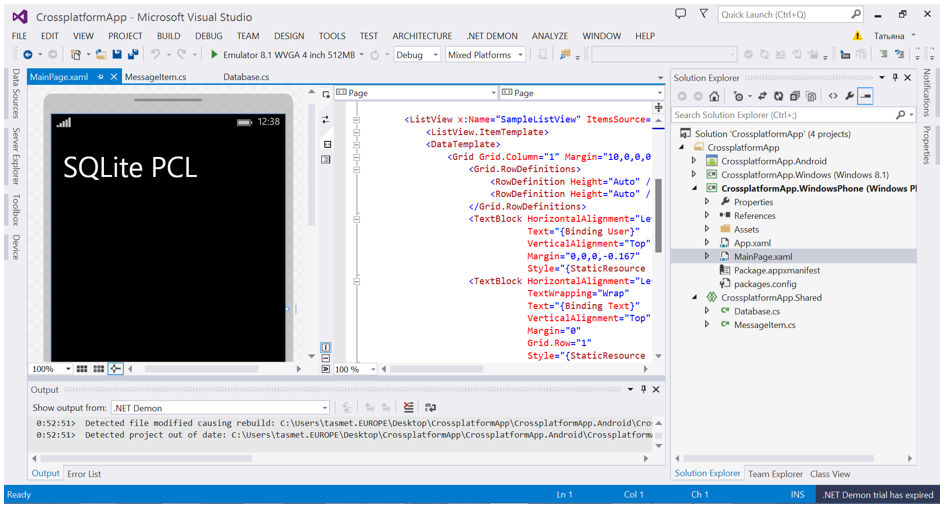
MainPage.xaml
<Page x:Class="CrossplatformApp.MainPage" xmlns="http://schemas.microsoft.com/winfx/2006/xaml/presentation" xmlns:x="http://schemas.microsoft.com/winfx/2006/xaml" xmlns:local="using:CrossplatformApp" xmlns:d="http://schemas.microsoft.com/expression/blend/2008" xmlns:mc="http://schemas.openxmlformats.org/markup-compatibility/2006" mc:Ignorable="d" Background="{ThemeResource ApplicationPageBackgroundThemeBrush}"> <Grid Background="{ThemeResource ApplicationPageBackgroundThemeBrush}"> <Grid.RowDefinitions> <RowDefinition Height="100*"/> <RowDefinition Height="567*"/> </Grid.RowDefinitions> <ListView x:Name="SampleListView" ItemsSource="{Binding}" Grid.RowSpan="2" Grid.Row="1" Margin="20,20,20,0" > <ListView.ItemTemplate> <DataTemplate> <Grid Grid.Column="1" Margin="10,0,0,0"> <Grid.RowDefinitions> <RowDefinition Height="Auto" /> <RowDefinition Height="Auto" /> </Grid.RowDefinitions> <TextBlock HorizontalAlignment="Left" Text="{Binding User}" VerticalAlignment="Top" Margin="0,0,0,-0.167" Style="{StaticResource ListViewItemTextBlockStyle}"/> <TextBlock HorizontalAlignment="Left" TextWrapping="Wrap" Text="{Binding Text}" VerticalAlignment="Top" Margin="0" Grid.Row="1" Style="{StaticResource ListViewItemSubheaderTextBlockStyle}"/> </Grid> </DataTemplate> </ListView.ItemTemplate> </ListView> <TextBlock HorizontalAlignment="Left" TextWrapping="Wrap" Text="SQLite PCL" VerticalAlignment="Bottom" FontSize="48" FontFamily="Global User Interface" Margin="20,0,0,0"/> </Grid> </Page> 2. Write the application code. Create a database, fill it with data and display it on the screen.
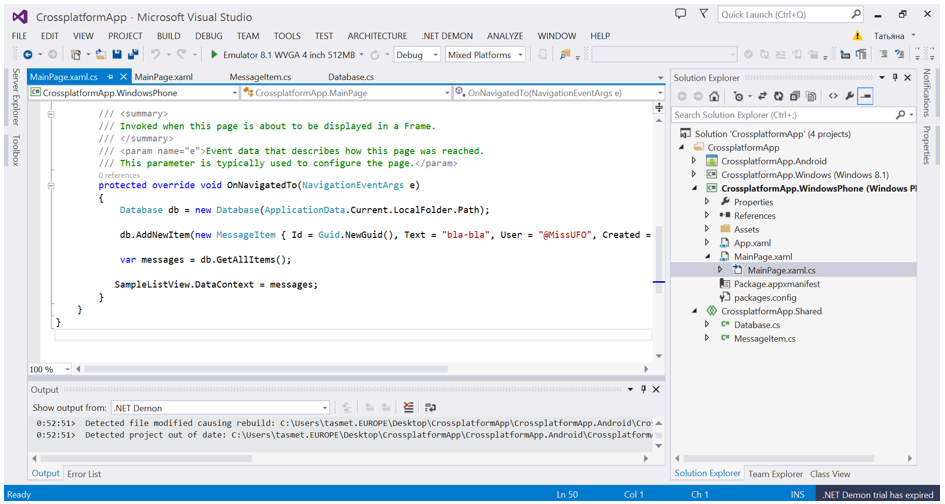
MainPage.xaml.cs
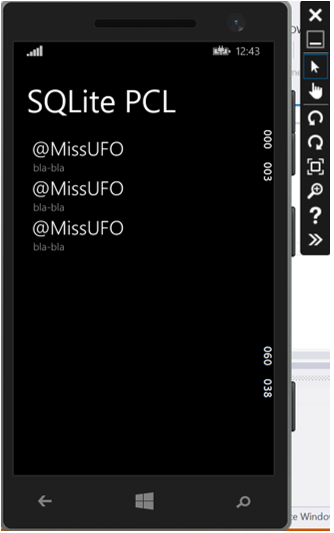
Database db = new Database(ApplicationData.Current.LocalFolder.Path); db.AddNewItem(new MessageItem { Id = Guid.NewGuid(), Text = "bla-bla", User = "@MissUFO", Created = DateTime.UtcNow.ToString() }); var messages = db.GetAllItems(); SampleListView.DataContext = messages; 3. Run the project and look at the result. The database was created successfully, the data is written and read.
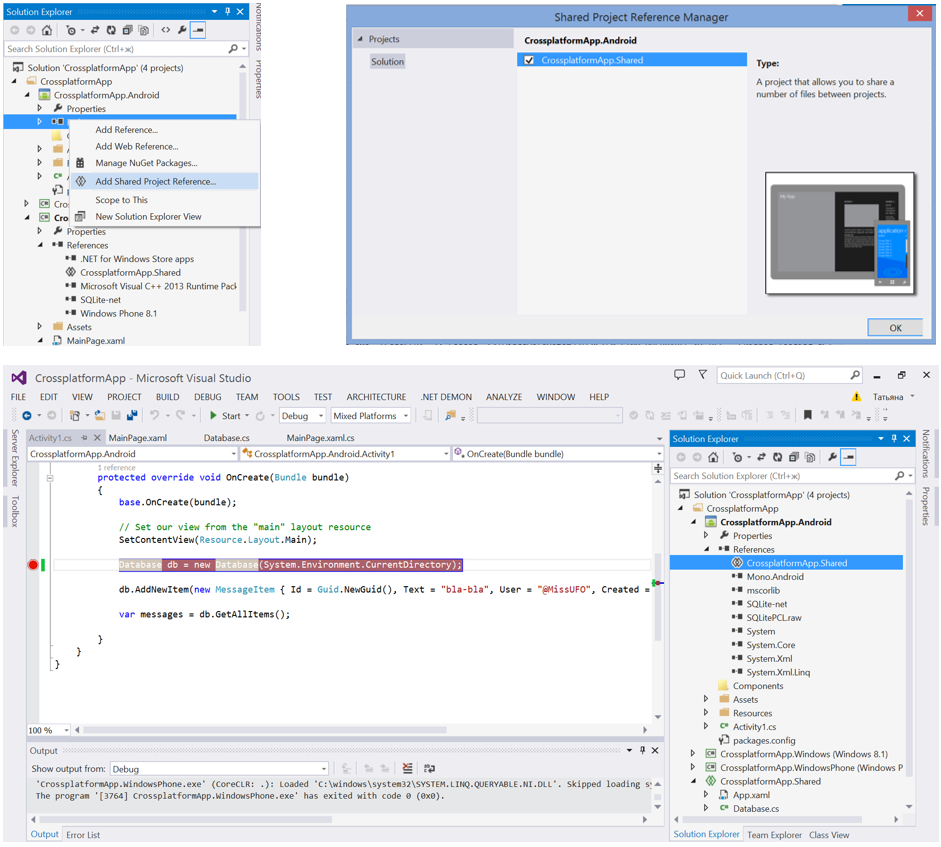
For Android and iOS, the procedure looks exactly the same. You can connect the Shared project as References and use our classes.
Conclusion
The latest version of the SQLitePCL library was just released, so if something goes wrong, see the documentation and write your problems and questions to the codeplex to its authors.
useful links
Download SQLitePCL
Read SQLite documentation
Download Visual Studio 2013 Update 2
Additional links
Try Azure for free for 30 days!
Download free or trial Visual Studio
Take a training course at the Microsoft Virtual Academy (MVA)
- Application Development on the Microsoft Platform
- Cross-platform application development for Windows Phone and Windows 8
- Developing applications with common code for Windows 8 and Windows Phone platforms
- Complicated techniques for developing applications for Windows Phone 8
- Advanced Development Features for Windows Phone 8
- or Azure cloud development courses
- or many other free MVA courses !
Become a Windows Phone Application Developer
Source: https://habr.com/ru/post/228193/
All Articles