"Hacking" SmartDeblur 2.2
We will scoff at the wonderful program of Mr. YUVladimir called SmartDeblur , which is designed to correct blurred images. Of course, it is impossible to call this a full-fledged hack. So, a little exercise with pictures.
We take the picture spoiled by a tinker
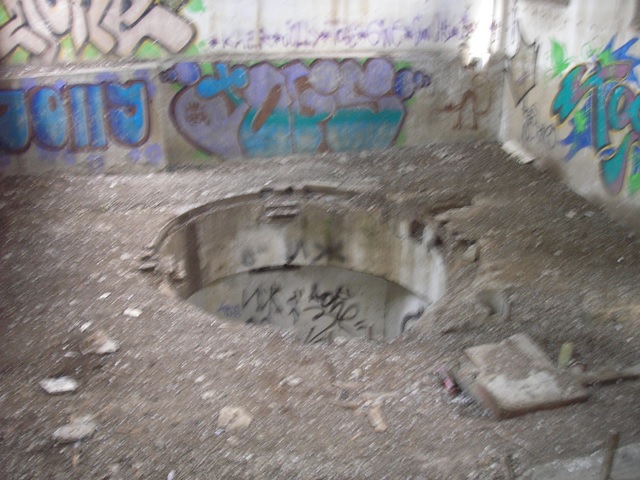
')
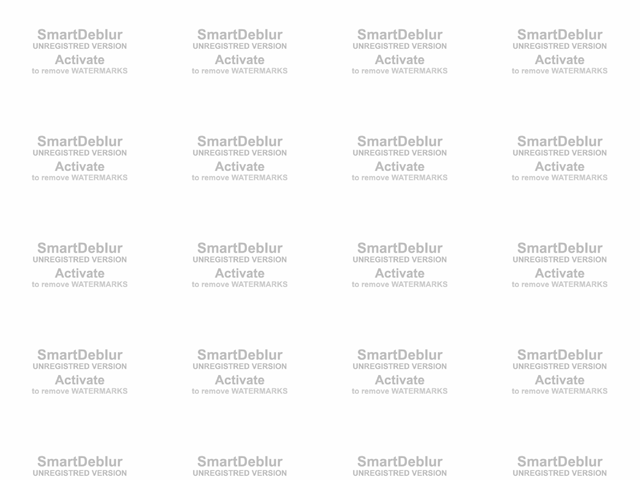
We run through the demo version SmartDeblur and get

We notice watermarks that we do not like. If you repeat the experiment several times with the same original picture, you can see that the signs are very static: neither the text nor the position of the inscriptions change. So, for applying watermarks, SmartDeblur simply applies some kind of mask. Which one? Very easy to learn! Slip the white field to the program the same size as the original picture. Switch to the Gauss blur correction mode with a radius of 0.1 and get
This is the desired mask. The space between the inscriptions, by the way, is not quite white, hmm, okay ... We will perform calculations in the RGB system with integer values from 0 to 255, in general, without exotics. It was experimentally possible to determine that the mask is superimposed using the formula R out = R in * R mask ÷ 255 , where R in is the value of the red channel before applying the mask, R mask is the value of the red channel of the mask itself, R out is the value of the red channel resulting mask overlay, ÷ - integer division. For the green and blue channels the same. In graphic editors, this method is usually called simply "multiplication."
Against "multiplication" we will apply "division." True, with the loss of accuracy. We calculate by the inverse formula R in = R out * 255 ÷ R mask and we see

Some traces still remained. Whether the loss of accuracy is to blame, or if I was a little mistaken in the formulas. But now watermarks are not so sharply striking, which is quite enough for our purposes. And we will be grateful to the author of the program SmartDeblur for comments.
We take the picture spoiled by a tinker
')
We run through the demo version SmartDeblur and get
We notice watermarks that we do not like. If you repeat the experiment several times with the same original picture, you can see that the signs are very static: neither the text nor the position of the inscriptions change. So, for applying watermarks, SmartDeblur simply applies some kind of mask. Which one? Very easy to learn! Slip the white field to the program the same size as the original picture. Switch to the Gauss blur correction mode with a radius of 0.1 and get
This is the desired mask. The space between the inscriptions, by the way, is not quite white, hmm, okay ... We will perform calculations in the RGB system with integer values from 0 to 255, in general, without exotics. It was experimentally possible to determine that the mask is superimposed using the formula R out = R in * R mask ÷ 255 , where R in is the value of the red channel before applying the mask, R mask is the value of the red channel of the mask itself, R out is the value of the red channel resulting mask overlay, ÷ - integer division. For the green and blue channels the same. In graphic editors, this method is usually called simply "multiplication."
Against "multiplication" we will apply "division." True, with the loss of accuracy. We calculate by the inverse formula R in = R out * 255 ÷ R mask and we see
Some traces still remained. Whether the loss of accuracy is to blame, or if I was a little mistaken in the formulas. But now watermarks are not so sharply striking, which is quite enough for our purposes. And we will be grateful to the author of the program SmartDeblur for comments.
Source: https://habr.com/ru/post/227593/
All Articles