How to make friends with Android, Visual Studio and Parallels Desktop
Introduction
A few months ago, after reading Habré articles about cross-platform development using Mono and Xamarin, I was inspired to write my own applications on Android, iOS and Windows Phone platforms. After some time, finding a job in a company that is just developing applications using Xamarin, became the proud owner of iMac and realized that it would be good, besides a device with Android on board (yes, I get along well with Apple and Google products although I prefer to be the first) to have an Android emulator on the iMac (as it’s not possible to keep the entire zoo of devices for my projects).
Problems
Honestly, writing code in Xamarin is a pain, especially when Visual Studio and ReSharper exist. This was one of the reasons for installing on iMac Parallels Desktop with Windows 8.1 on board (the first was the ability to develop for Windows Phone). This solved the problem with the development environment, but left the problem with the Android emulator. A search on the Internet gave knowledge of such a cool thing as Genimotion. There was only one snag - Parallels Desktop didn’t really get along well with it. Already thinking that I’ll have to slowly acquire the entire Android'a zoo, I noticed from Parallels Desktop the ability to install using their Android toolkit on a virtual machine, which worked fine paired with Windows, again on the virtual machine. It only remained to find a way to connect one with the other. I will tell you about the search and application of the found.
Decision
So, for success, we need:
- Mac device family
- Parallels Desktop with Android and Windows installed
- Visual studio
- Xamarin (on Windows)
Instructions for installing an android on Parallels Desktop
How to install android on Parallels Desktop?
As I already mentioned, this can be done using standard tools, but if for some reason the standard Parallels Android does not suit you (for example, I didn’t find a way to rotate the screen, but on an android installed on my own, this is done easily) the ability to install any image you like. I tried several sources, but from here the installation is successful in 100% of cases.
')
So, download any image of your liking, I have android-x86-4.4-RC1.iso, open Parallels Desktop. If this is the first run, then select immediately "Install Windows or another OS from a DVD or image", if not, then click on “+” -> Create, and then select the installation from the image and click “Continue”. In the window that opens, select the image and drag it inside.

Parallels Desktop immediately notifies us that defining the OS on this image is an impossible task for it, however, you shouldn’t worry about it, feel free to click “Continue”. In the drop-down menu, select Other versions of Linux -> Another version of Linux, click OK.

Then you can enter the name and location of the virtual machine. I strongly recommend that you select the “Configure settings before installation” item. I have configured as follows:

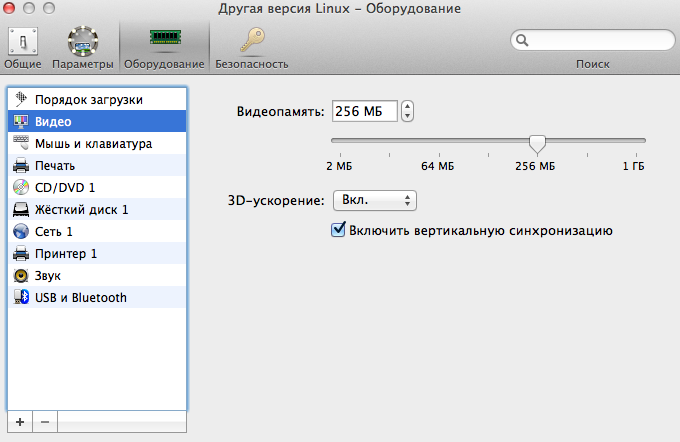
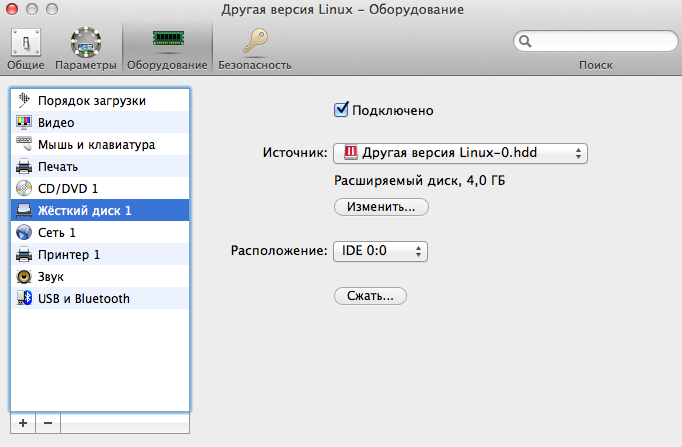

After setting, click "Continue", the installation of our Android starts. Next, follow the steps: Installation - Install Android x86 to harddisk -> Create / Modify partitions -> New -> Primary -> Bootable -> Write -> yes -> Quit -> sda1 Linux -> ext3 -> Yes -> Yes -> Yes -> Reboot.
That's all, you have Android on Parallels Desktop!
As I already mentioned, this can be done using standard tools, but if for some reason the standard Parallels Android does not suit you (for example, I didn’t find a way to rotate the screen, but on an android installed on my own, this is done easily) the ability to install any image you like. I tried several sources, but from here the installation is successful in 100% of cases.
')
So, download any image of your liking, I have android-x86-4.4-RC1.iso, open Parallels Desktop. If this is the first run, then select immediately "Install Windows or another OS from a DVD or image", if not, then click on “+” -> Create, and then select the installation from the image and click “Continue”. In the window that opens, select the image and drag it inside.
Parallels Desktop immediately notifies us that defining the OS on this image is an impossible task for it, however, you shouldn’t worry about it, feel free to click “Continue”. In the drop-down menu, select Other versions of Linux -> Another version of Linux, click OK.
Then you can enter the name and location of the virtual machine. I strongly recommend that you select the “Configure settings before installation” item. I have configured as follows:
After setting, click "Continue", the installation of our Android starts. Next, follow the steps: Installation - Install Android x86 to harddisk -> Create / Modify partitions -> New -> Primary -> Bootable -> Write -> yes -> Quit -> sda1 Linux -> ext3 -> Yes -> Yes -> Yes -> Reboot.
That's all, you have Android on Parallels Desktop!
First of all, we start Parallels Desktop
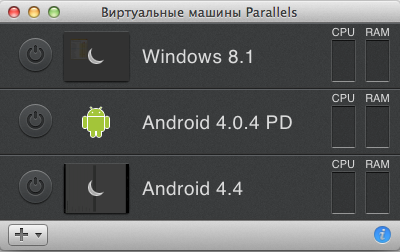
A list of available virtual machines opens - for now we leave it open. Now go to Parallels Desktop -> Settings

And open the Advanced tab, and on it Network: Change settings
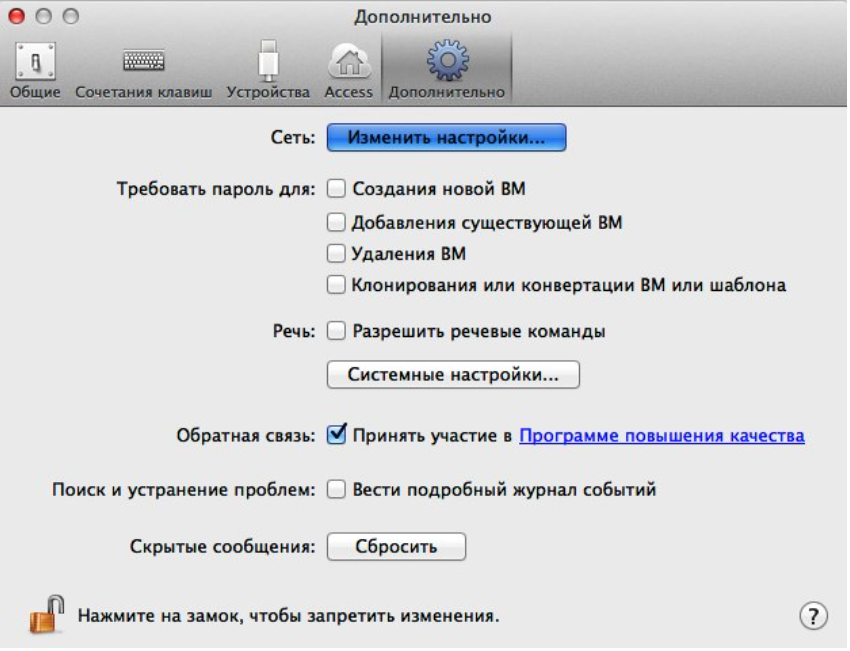
We will need to add the IP of our Android here a bit later, to which we will deploy the project from Visual Studio.
We return to the list of virtual machines, right-click on Android, and go to the settings of this virtual machine:
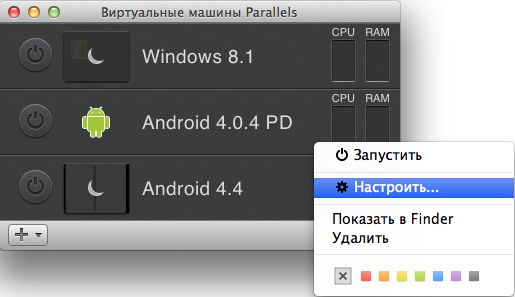
Here we will be interested in the tab "Equipment" item "Network". In the connection type, select the one to which the Mac is connected in the list of bridge networks:

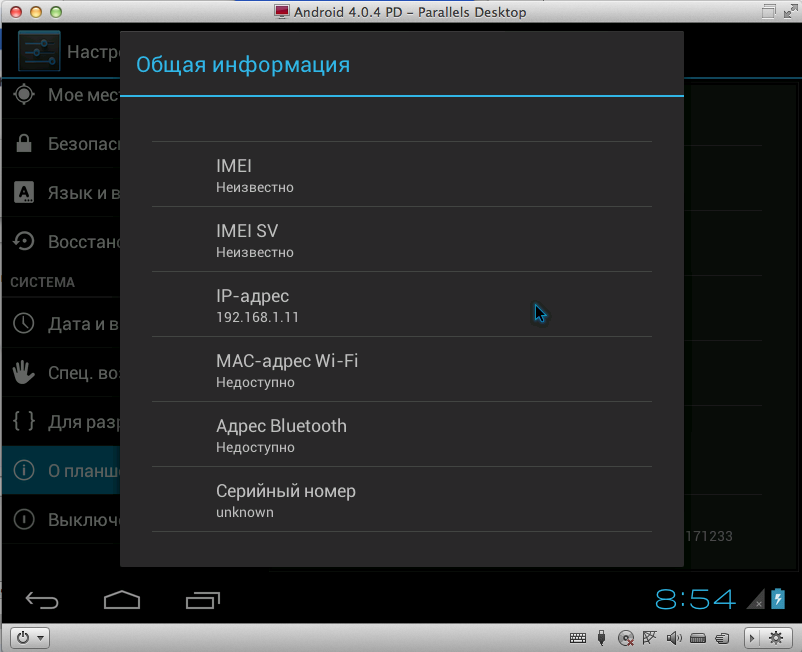
We close the settings of the virtual machine with Android and launch it. Now go to the settings of the Android itself -> About the Tablet PC -> General Information and scroll through the list until we find the IP of our Andorid:
Go back to the Parallels Desktop settings (Settings -> Advanced -> Network: Change settings), click on the “+” under the list of port forwarding rules, where we enter the information as follows (of course changing the IP address to the address of your Android)
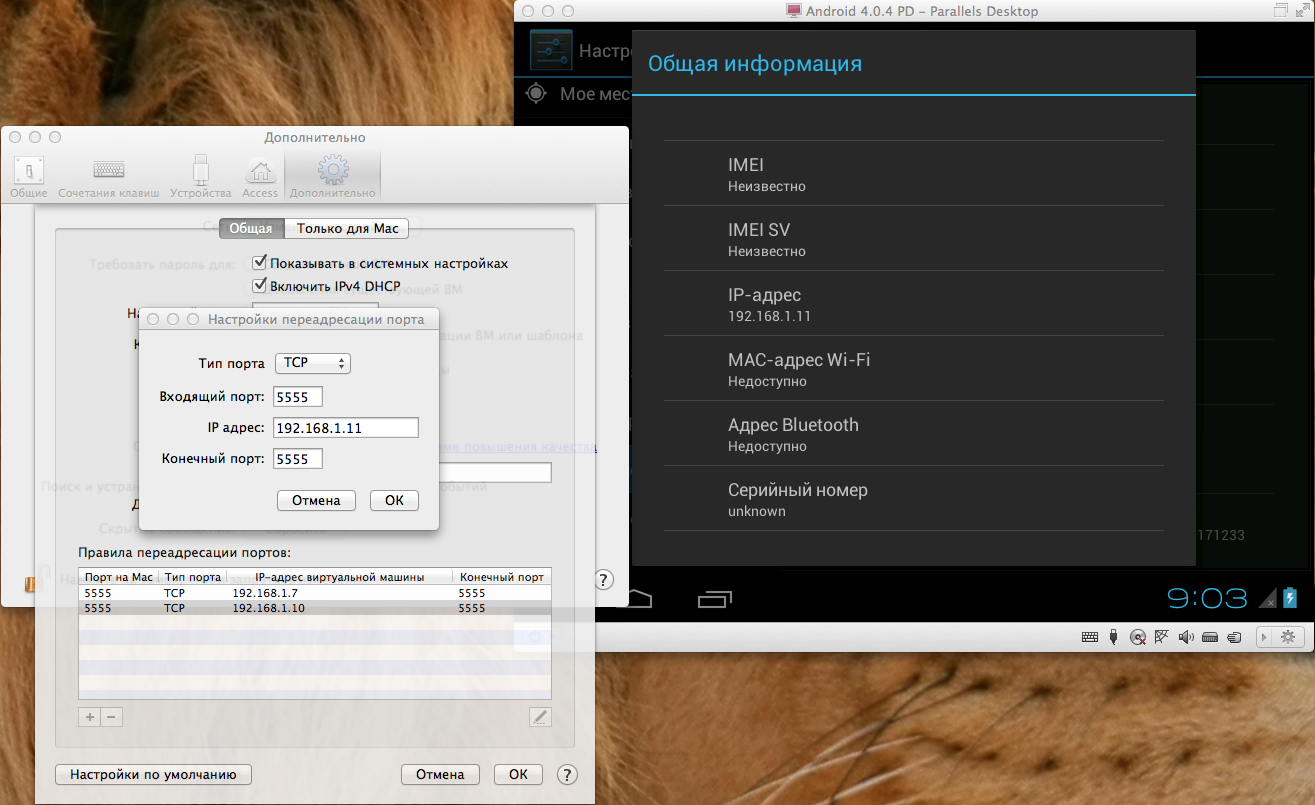
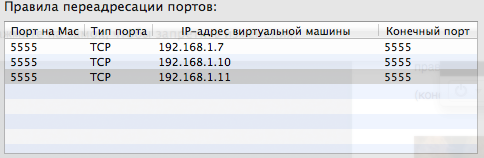
Click OK and see our IP in the list:
The Android setup is now complete, now you need to prepare Windows, namely the adb server. Therefore we start virtualka from WIndows onboard.
Instructions for preparing Windows and Xamarin with installing a USB driver from Samsung
For everything to work correctly, first of all, you need to update and install all Extra and Tools in the Android SDK Manager, as well as download and install API for the version of the android (and for others, if necessary) that you have on the device (yes, in the end Anyway, at first, you need a device on an android, though, it pleases that any will do) After this is done, you should download the Samsung USB driver from the official site (it did not work for me) or from here , or try one of these . If the choice fell on the driver from the Samsung, then after its installation, you must restart the computer, connect your device on the android, then open the device manager, find your device in the list and select the driver update. Next, select the search for drivers on the computer, then click on the driver selection from the list. Choose from the list of ADB Interface and finally SAMSUNG Android ADB Interface. After that, everything is ready!
Once Windows is running, go to C: \ Users \ * username * \ AppData \ Local \ Android \ android-sdk \ platform-tools and launch the console from this folder (just in case for those who do not know - right-click - > open command window here)
Register in the console:
add kill-server
adb connect * IP address of your Android'a *
It should look like this:

Now we start Visual Studio, in which we create a new Android Application project:

The list of devices should look like this (it may not load immediately):
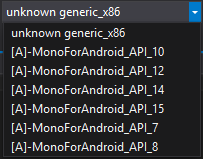
Select the first one in the list and launch the project. Actually the result:
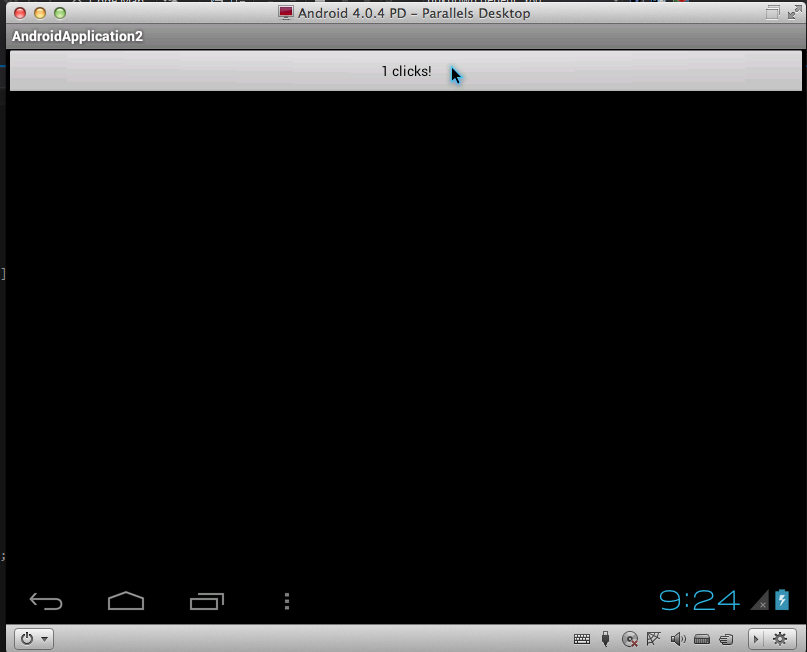
Now you can write code in Visual Studio paired with ReSharper and enjoy the process.
Conclusion
Although everything turned out, but this approach has its pros and cons. From the minuses and start:
- Every time you start Windows, you have to write adb commands to the server;
- I have so far managed to put on the virtual machine only the tablet versions of Android without the possibility of changing the screen size and changing the orientation of the virtual machine (the screen orientation changes with the combination Ctrl + F9 / F10 / F11 / F12 though in Android installed from www.android-x86. org / download ).
Pros:
- Really fast work of Android (even faster than on my device);
- Ability to compare the application on three platforms simultaneously, without the need to restart Windows to connect / disconnect Hyper-V;
- Using Visual Studio as a development environment.
That's all, I hope this guide is useful to you. Thanks for reading!
Source: https://habr.com/ru/post/224517/
All Articles