Meet AppCode 3.0: Built-in UI Designer, Reveal Plugin, and More
Hi, Habr! We are in a hurry to make you happy with the new, just released version of our IDE for developers for iOS / OS X - AppCode 3.0 . Inside there are a lot of interesting things: from the long-awaited built-in designer UI to a big surprise in the form of integration with Reveal. But first things first.
We went to him for quite some time. Some of you could even try the very first version of our UI-plug back in December last year . And now we are pleased to announce that our embedded UI designer has appeared in AppCode 3.0. It supports both .xib format and .storyboard, and gives you the opportunity to fully develop your application's UI in AppCode. You have access to the entire palette of elements from the iOS SDK, convenient navigation through the component tree, various settings for the appearance and behavior of UI elements and, of course, the ability to create methods for processing the behavior of a visual element in one click.

Thinking about possible tools for developing UI, we decided not to dwell only on the designer. And together with our friends from Itty Bitty Apps, we created a plugin that allows you to use all the advantages of their application called Reveal in AppCode 3.0. With it, you can live to explore the entire hierarchy of objects UI in your application, select and study individual layers, change the properties of visual components and immediately see these changes in real time on the simulator or live device.
')
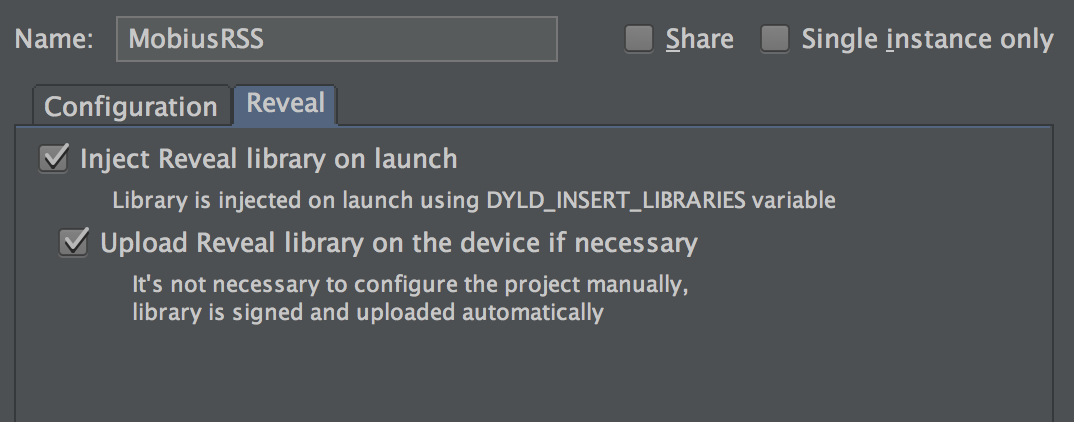
If you want to try, be sure to upgrade your existing Reveal to version 1.0.4 or download a free trial version from the application site if you have not installed Reveal yet. Then everything is extremely simple. In the configuration settings in AppCode, a special tab Reveal appeared, in which there are only two parameters - whether to connect the library at the start of your application and whether to load it onto the device if necessary:
In the Debug panel after launching the application, the button becomes available.

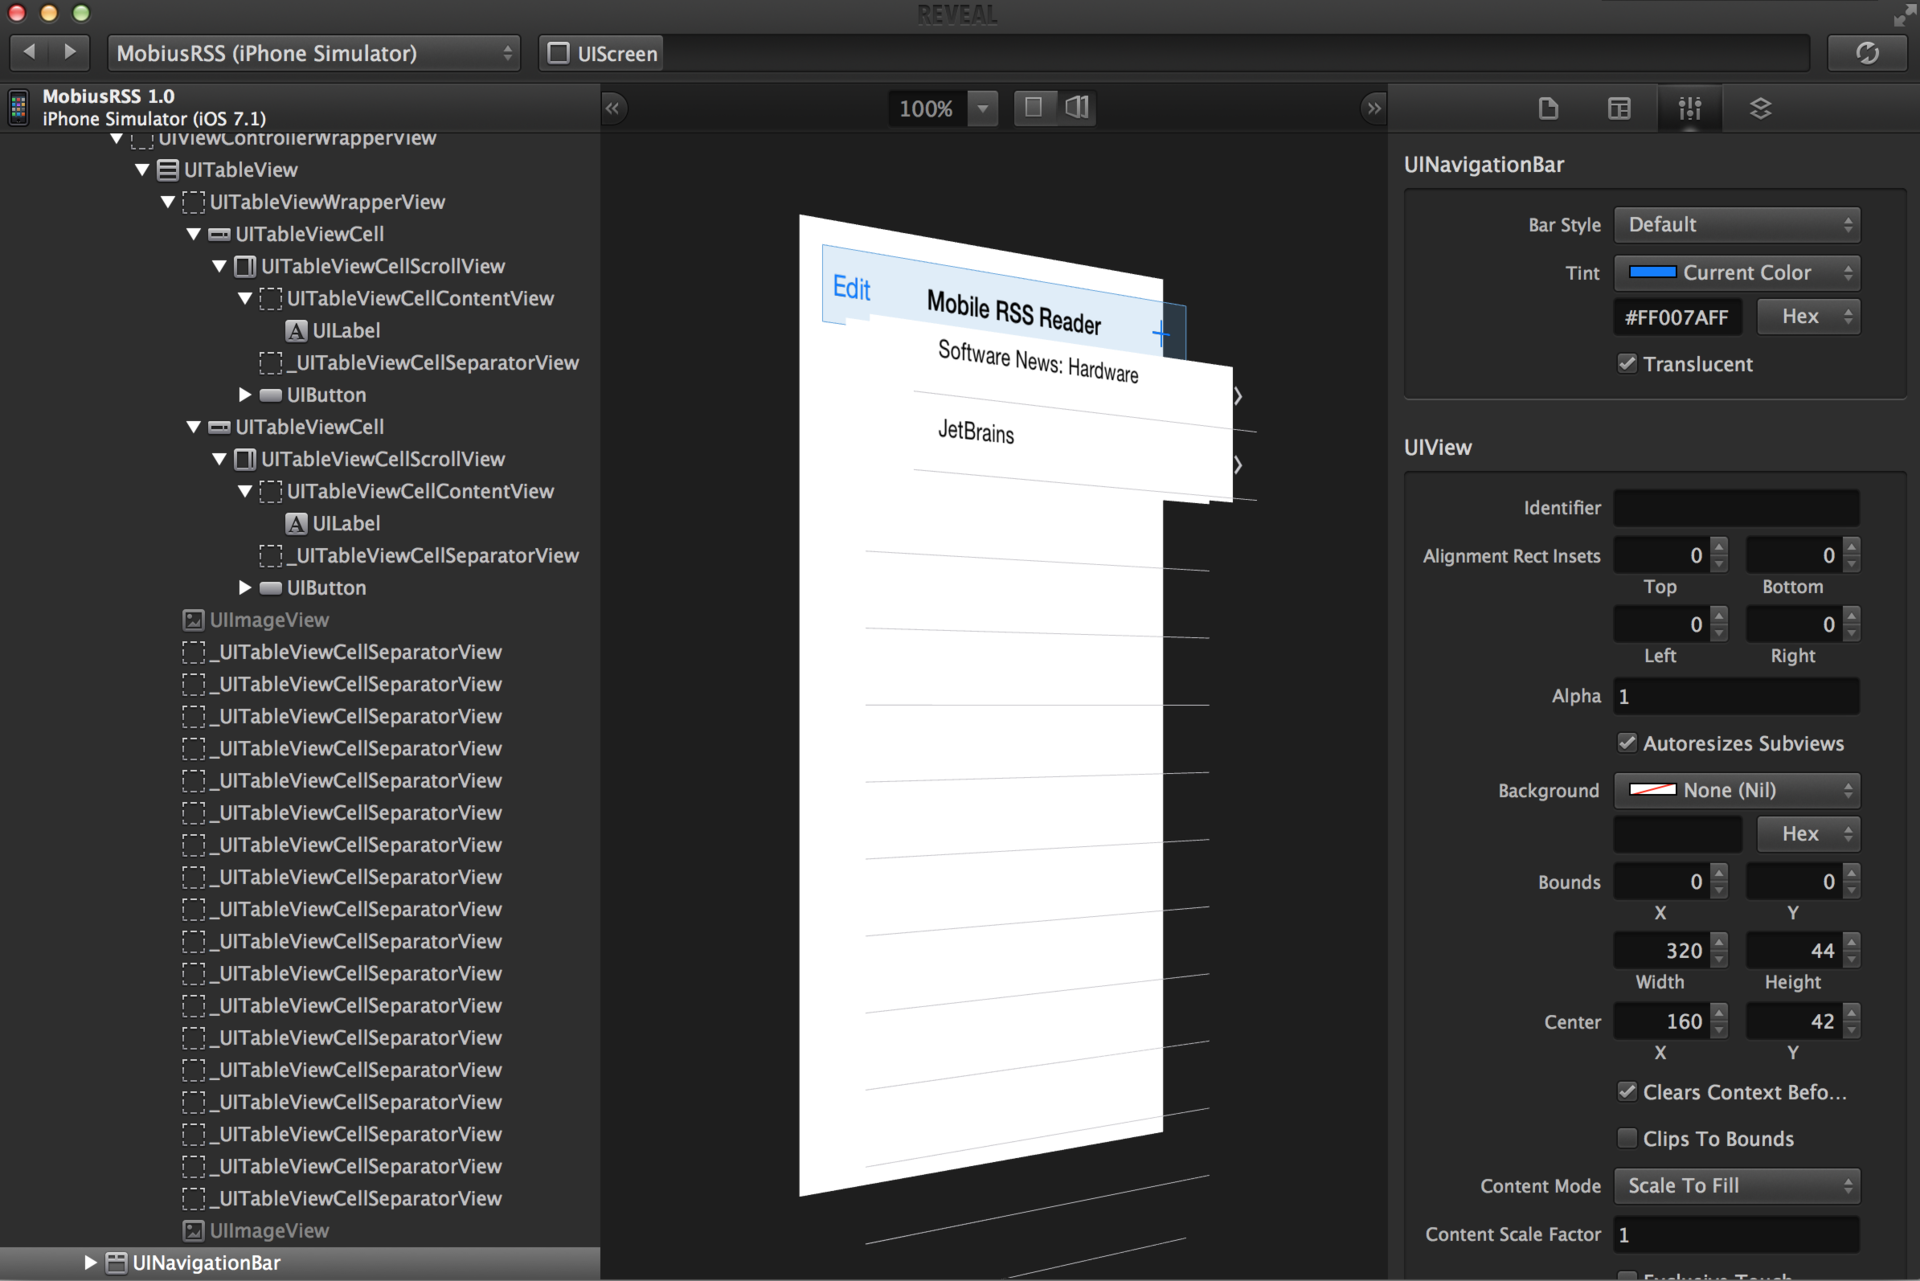
Click, and Reveal starts from the current moment of your application execution - you can play with 2D and 3D visualization, select layers, change settings:
JetBrains' various IDE users are often cited as their favorite shortcut key,
For the frameworks OCUnit, XCTest and Google Test,
For Google Test, the base test method TEST () will initially be created, but after you specify a name, the AppCode will automatically replace this macro with a more suitable one: TEST (), TEST_F (), TEST_P (), TYPED_TEST () or TYPED_TEST_P () .
A small demo of the new AppCode features for unit tests:
By version 3.0, we completely changed the project settings interface (Project Settings -
At JetBrains, we always listen to our users as much as possible. Knowing the existing discrepancies in behavior and layout in relation to native ones, we tried to fix some of them in the new version of AppCode. For example, the
As for the appearance of the AppCode, scrolbars now appear and disappear in accordance with the system settings (you can always keep it turned on, you can customize their appearance in certain situations). And for those who switched from Xcode and misses their favorite color scheme from there, you can add it to the AppCode:
Probably one of the most requested features in all IDEs this year - now in AppCode 3.0! You can place the cursors in several places using
There are quite a few different tools built into AppCode that allow you not to switch the window and along with it the context in order to add changes to the repository, close the task in the issue tracker, etc. And now the terminal can be run directly from the IDE. Press

In AppCode 3.0, we did not forget about C ++ 11, supporting:
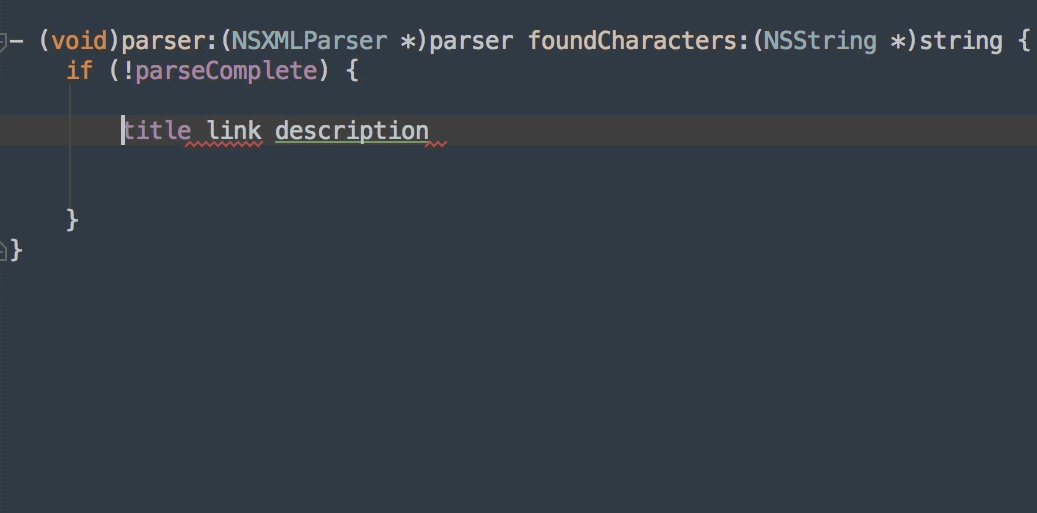
We also improved the code analysis (now it knows even more about your application!) And refined the formatting of macros.
In addition, there are several new and enjoyable navigation features:
Download the 30-day free version of AppCode 3.0 from our website . Upgrading to version 3.0 is free for anyone who has acquired a license after May 20, 2013.
We will be happy to answer your questions in the comments. Remarks and suggestions for the new version are also waiting for us in our bug tracker .
Program with pleasure!
Your JetBrains AppCode Team
UI Designer
We went to him for quite some time. Some of you could even try the very first version of our UI-plug back in December last year . And now we are pleased to announce that our embedded UI designer has appeared in AppCode 3.0. It supports both .xib format and .storyboard, and gives you the opportunity to fully develop your application's UI in AppCode. You have access to the entire palette of elements from the iOS SDK, convenient navigation through the component tree, various settings for the appearance and behavior of UI elements and, of course, the ability to create methods for processing the behavior of a visual element in one click.
Integration with Reveal app
Thinking about possible tools for developing UI, we decided not to dwell only on the designer. And together with our friends from Itty Bitty Apps, we created a plugin that allows you to use all the advantages of their application called Reveal in AppCode 3.0. With it, you can live to explore the entire hierarchy of objects UI in your application, select and study individual layers, change the properties of visual components and immediately see these changes in real time on the simulator or live device.
')
If you want to try, be sure to upgrade your existing Reveal to version 1.0.4 or download a free trial version from the application site if you have not installed Reveal yet. Then everything is extremely simple. In the configuration settings in AppCode, a special tab Reveal appeared, in which there are only two parameters - whether to connect the library at the start of your application and whether to load it onto the device if necessary:
In the Debug panel after launching the application, the button becomes available.
Click, and Reveal starts from the current moment of your application execution - you can play with 2D and 3D visualization, select layers, change settings:
Code Generation in Unit Tests
JetBrains' various IDE users are often cited as their favorite shortcut key,
Cmd+N It is understandable, automatic code generation is one of the most powerful modern tools in stock with developers. Therefore, we decided to expand the capabilities of this key combination by adding new functionality in the case of use in unit tests.For the frameworks OCUnit, XCTest and Google Test,
Cmd+N will help you create a new test method, as well as setUp / tearDown methods . In the case of Kiwi, you can choose from it , context , beforeEach , afterEach, and specify from the blocks. By the way, for Kiwi, a new template (live template) kiwi , which creates a Spec .For Google Test, the base test method TEST () will initially be created, but after you specify a name, the AppCode will automatically replace this macro with a more suitable one: TEST (), TEST_F (), TEST_P (), TYPED_TEST () or TYPED_TEST_P () .
A small demo of the new AppCode features for unit tests:
Project Settings
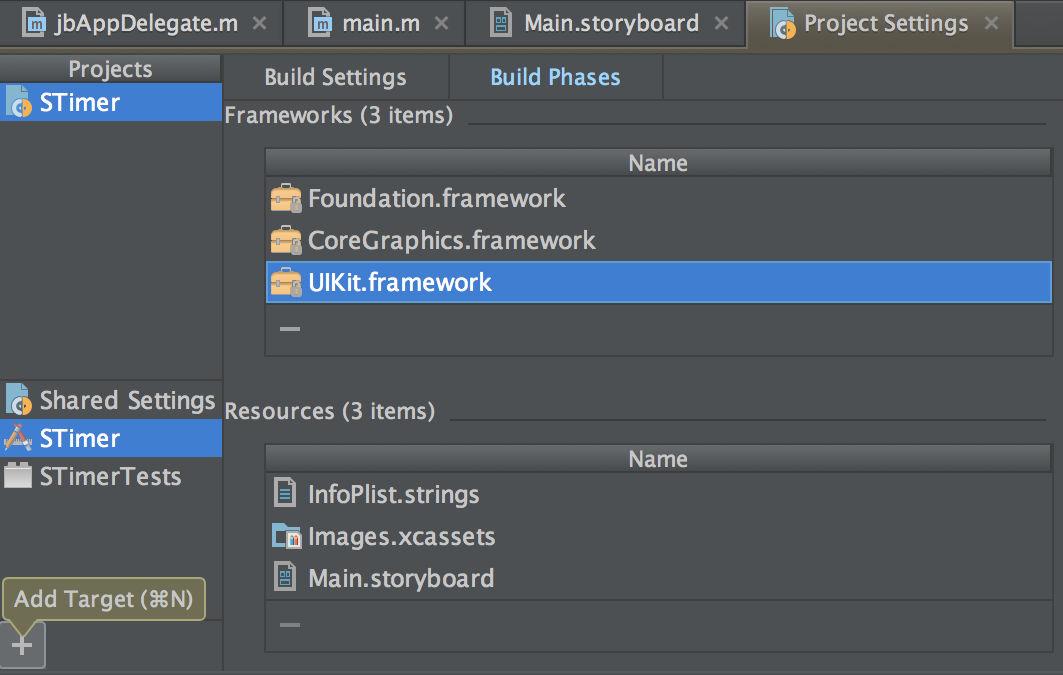
By version 3.0, we completely changed the project settings interface (Project Settings -
Cmd+; ). The main task was to add new features:- adding targets to the project;
- setting up used frameworks and resource files using the simplest drag-and-drop action.
More native
At JetBrains, we always listen to our users as much as possible. Knowing the existing discrepancies in behavior and layout in relation to native ones, we tried to fix some of them in the new version of AppCode. For example, the
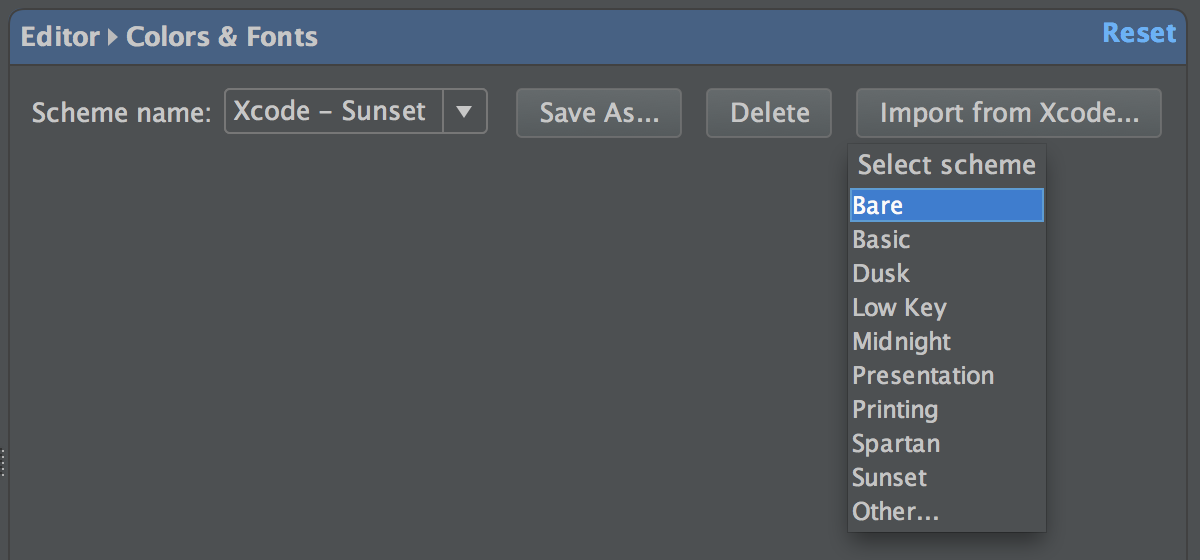
Cmd+del keyboard shortcut so desired and familiar to Mac users now works in AppCode. You can delete text in the editor, files in the project tree, resources and frameworks in the project settings, etc. The Xcode layout in the AppCode was quite redesigned to fit the Xcode IDE.As for the appearance of the AppCode, scrolbars now appear and disappear in accordance with the system settings (you can always keep it turned on, you can customize their appearance in certain situations). And for those who switched from Xcode and misses their favorite color scheme from there, you can add it to the AppCode:
Multiple Cursors, Multiple Selection
Probably one of the most requested features in all IDEs this year - now in AppCode 3.0! You can place the cursors in several places using
Alt+Shift+Click or add the following match to the selection using Ctrl+G (to delete - Ctrl+Shift+G ). Now start typing and see that you are editing the code at the same time in several places — those that you put the cursors at. Auto-completion and code templates (live templates) will work too!Terminal
There are quite a few different tools built into AppCode that allow you not to switch the window and along with it the context in order to add changes to the repository, close the task in the issue tracker, etc. And now the terminal can be run directly from the IDE. Press
Alt+F12 and AppCode 3.0 will launch it right inside your window:And that is not all
In AppCode 3.0, we did not forget about C ++ 11, supporting:
- initializer lists
- raw string literals
- variadic templates
- type traits
We also improved the code analysis (now it knows even more about your application!) And refined the formatting of macros.
In addition, there are several new and enjoyable navigation features:
- Search Everywhere (double-click Shift or magnifier icon
 in the right corner of the editor) - for those who want to search everywhere: in the current or recently used files, in the available actions, in the IDE settings, etc .;
 - when navigating through files (
Shift+Cmd+O), you can search through folders too - just put '/' at the end; - in the project search, you can, if you want, now search only by comments or by string literals.
Download the 30-day free version of AppCode 3.0 from our website . Upgrading to version 3.0 is free for anyone who has acquired a license after May 20, 2013.
We will be happy to answer your questions in the comments. Remarks and suggestions for the new version are also waiting for us in our bug tracker .
Program with pleasure!
Your JetBrains AppCode Team
Source: https://habr.com/ru/post/223445/
All Articles