We program stm32 microcontrollers with QtCreator
Somehow so imperceptibly it turned out that the programmer who developed the firmware for the microcontroller to us didn’t have time to keep up, and at some points I began to intercept the initiative and take it myself to correct errors.
The development was conducted in the IAR environment, and many will agree with me that, compared with the development in QtCreator, this is pain and suffering.
At some point, we decided that it would be faster to hire a new programmer and rewrite the stm32 controller firmware again with it, as I already knew a little about programming them and also found that QtCreator can debug on bare hardware (BareMetal plugin), I decided to take an active part in this.
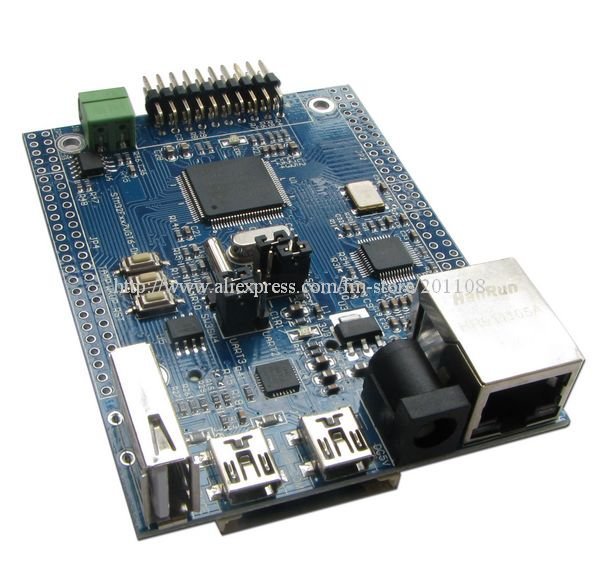
Here I want to share a project template for stm32f407 from Terra Electronica and talk about the features of its settings.
Test project
Stage One - Toolchain
The development used Yagarto, or gcc-arm-embedded, which can be downloaded here . For platforms other than Linux, there is a significant limitation: gdb is built without Python support, which makes debugging impossible via QtCreator, the best way out is still using Linux, or at worst OSX, where it is not difficult to rebuild gdb from python support.
QtCreator can be used as from the repository, if its version is not lower than 3.1, or it can be downloaded as part of QtSDK. The main thing is that it includes support for qbs and BareMetal
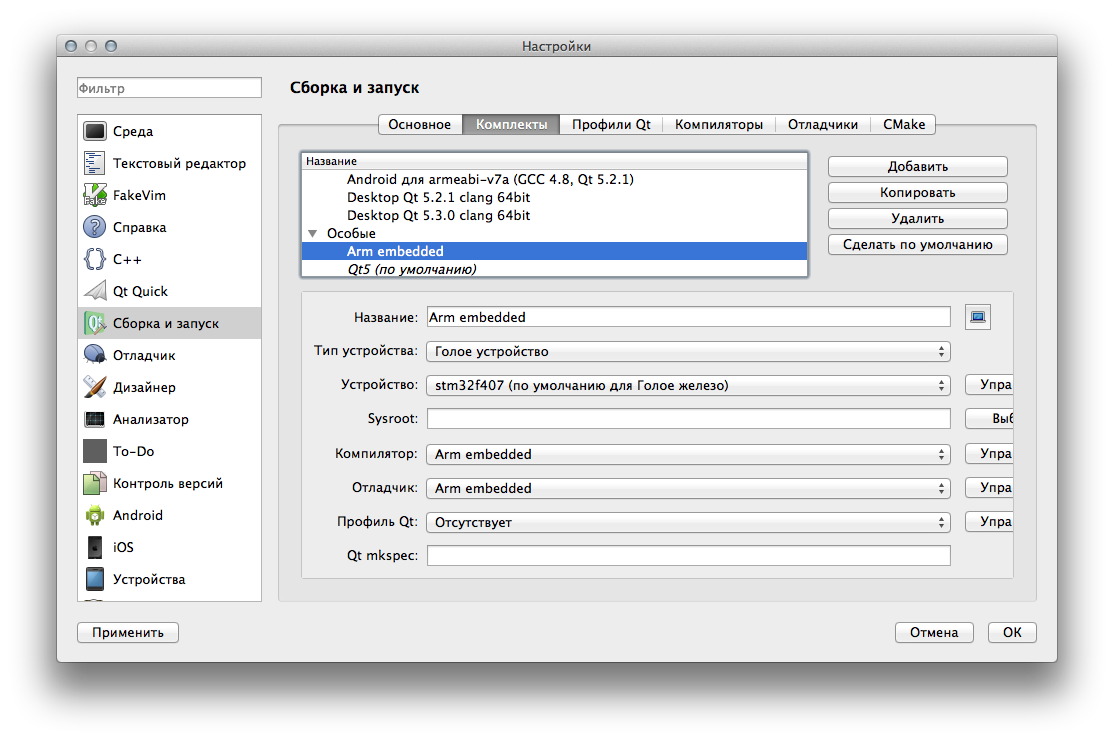
Stage Two - IDE Setup
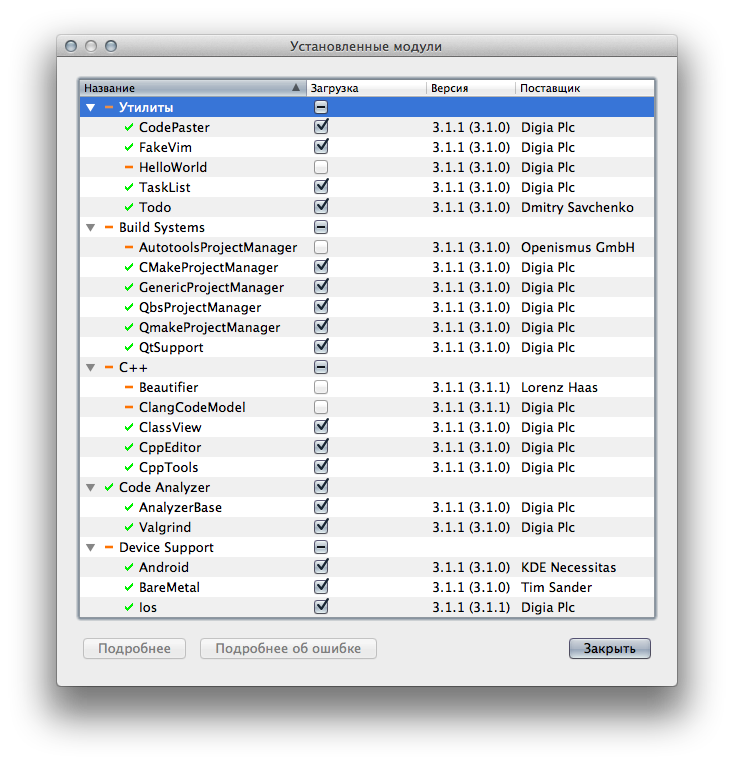
Turn on BareMetal and QbsProjectManager and reboot.
')
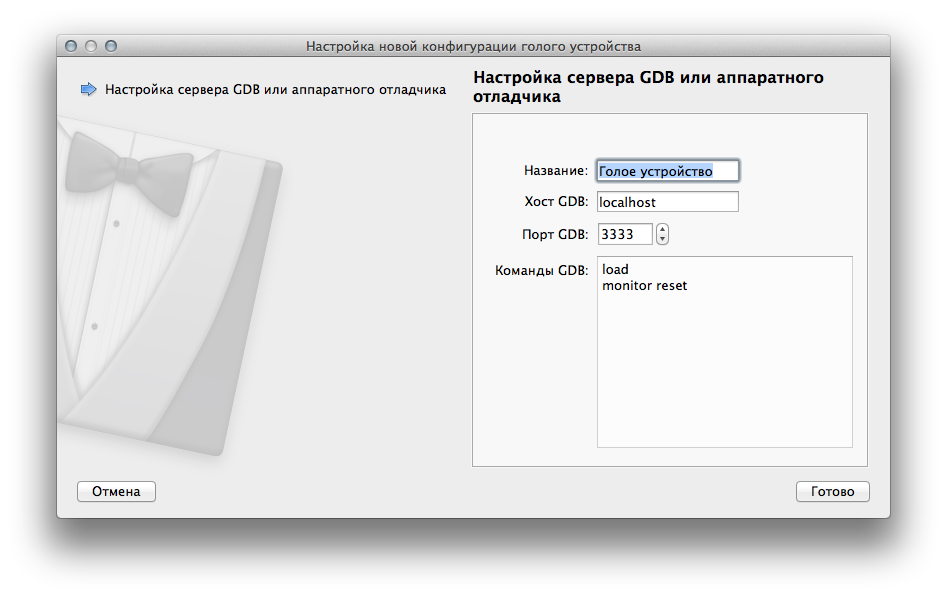
Now we can go to the “Devices” tab and click on “add device”, if you did everything correctly, then the “Bare device” type should appear there. Gdb-server will be used for debugging, so you need to make sure that its address and port are correct.
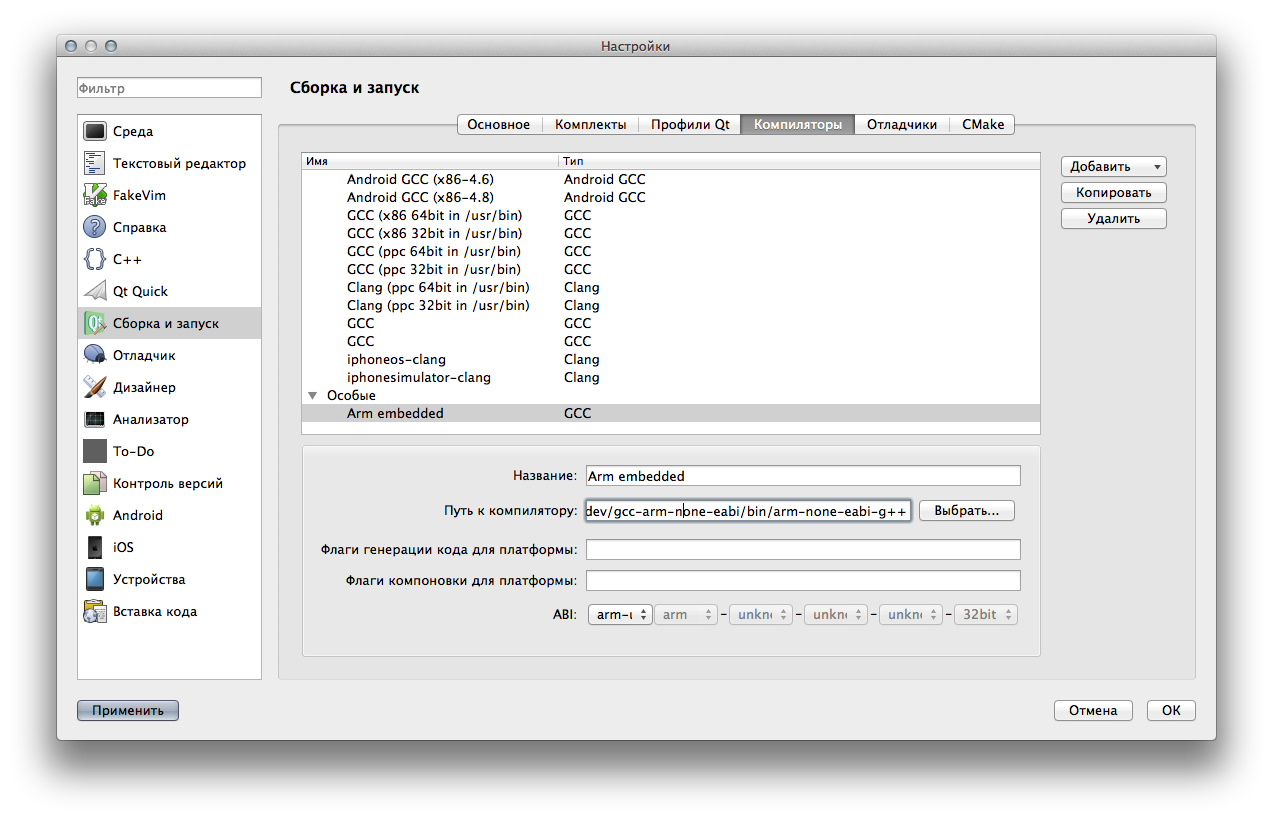
In the compilers tab, add our arm-none-eabi-g ++
Similarly, we add the debugger arm-none-eabi-gdb, after which we create a new bundle, in which we indicate the device type “Naked Device” as well as our compiler and debugger.
Stage Three - Build a Test Project
Everything is simple, a template with a github , open the stm32.qbs file, select the arm-embedded profile we created and compile. The output should be an elf file with firmware, which somehow will need to run on the device.
Stage Four - Launch
Here it all depends on the type of debugger that you use, I use the jlink clone and run it using openocd, QtCreator is not able to independently raise the debug server, so we will need to run it in the template folder with the openocdf.cfg file, with profile for jlink.

After you start openocd, you can simply click on the “Start Debugging” button in QtCreator and get a completely familiar environment. In this template, work with tcp via lwip is implemented and a simple tcp echo server is written, which is located at 192.168.1.10 and listens to port 7000, and also responds to ping requests. If everything is successfully assembled and started, then you will see the following picture:

But I think this article would not be complete without a description of the internals of the project.
What does this project have under the hood?
For the assembly uses qbs, the merits of which have already been discussed on Habré.
In order not to litter the project file itself, I created the modules Stm32Product, Stm32Application, in which I set all the compiler and linker keys necessary for the assembly
Stm32Product
import qbs Product { Depends { name: "cpp" } cpp.commonCompilerFlags: [ "-mcpu=cortex-m4", "-mthumb", "-mfpu=fpv4-sp-d16", // "-mfloat-abi=softfp" // ] cpp.linkerFlags: [ "-mcpu=cortex-m4", "-mthumb", "-mfpu=fpv4-sp-d16", "-mfloat-abi=softfp", ] } Stm32Application
Stm32Product { type: "application" // To suppress bundle generation on Mac consoleApplication: true cpp.positionIndependentCode: false cpp.executableSuffix: ".elf" cpp.linkerFlags: { base.push("-Xlinker"); base.push("--gc-sections"); return base; } } Actually project file app.qbs
import qbs import Stm32Application import qbs.FileInfo import qbs.ModUtils Stm32Application { name: "Application" cpp.includePaths: [ "app", "libs", "libs/cmsis", "libs/port/gcc", "libs/periphery", "libs/system", "libs/ethernet", "libs/lwip/src/", "libs/lwip/src/arch/", "libs/lwip/src/include", "libs/lwip/src/include/lwip", "libs/lwip/src/include/ipv4", //Use old internet protocol due ipv6 has experimental status "libs/lwip/src/include/netif", "libs/lwip/src/netif", "libs/lwip/include", ] cpp.defines: [ "STM32F4XX", // cmsis "STM32F40_41xxx", "USE_STDPERIPH_DRIVER", "HSE_VALUE=168000000", ] Properties { condition: cpp.debugInformation cpp.defines: outer.concat("DEBUG") } cpp.linkerScripts: [ "../ldscripts/libs.ld", // : , , , "../ldscripts/mem.ld", "../ldscripts/sections.ld", ] Group { name: "sources" prefix: "../**/" files: [ "*.c", "*.cpp", "*.h", "*.s" ] excludeFiles: [ "ipv6/*.*", "test/unit/**/*.*", ] cpp.cxxFlags: [ "-std=c++11" ] //gcc C++11 cpp.cFlags: [ "-std=gnu99" ] cpp.warningLevel: "all" } Group { name: "ldscripts" prefix: "../ldscripts/" files: "*.ld" } } In general, it seems to me that this template will not be too difficult to adapt for other microcontrollers, the main thing is that they have gcc support and libraries available in the source code for working with peripherals. I hope that many, like me, feel more comfortable working in QtCreator than in IDEs such as Eclipse, Keil or IAR.
Source: https://habr.com/ru/post/222877/
All Articles