Auto Layout and UIScrollView. How to cook it?
In iOS 6, Apple introduced a great opportunity for UI layout for iOS applications - Auto Layout. But what is surprising, so far very few projects use this opportunity. But this is a very powerful tool, if you wisely approach the UI layout, you can save a lot of time on adjusting elements for 3.5 ”and 4” screens, portrait-landscape screen layout and even on universal layout for iPhone and iPad.
And all this apart from the fact that the iPhone 6 will be presented soon and no one still knows for sure what the resolution will be there and what screen. It would be better to insure in advance.
Basically, the Auto Layout theme is pretty simple, and it's easy to learn. But personally, I ran into a big problem when locating elements in a UIScrollView. I spent a lot of time and nerves on learning how to properly position the elements and specify the size of the content for ScrollView to start scrolling.
')
Although the solution is quite simple, it is not so easy to get there. In this article I would like to tell you how to properly prepare the UIScrollView in Auto Layout.
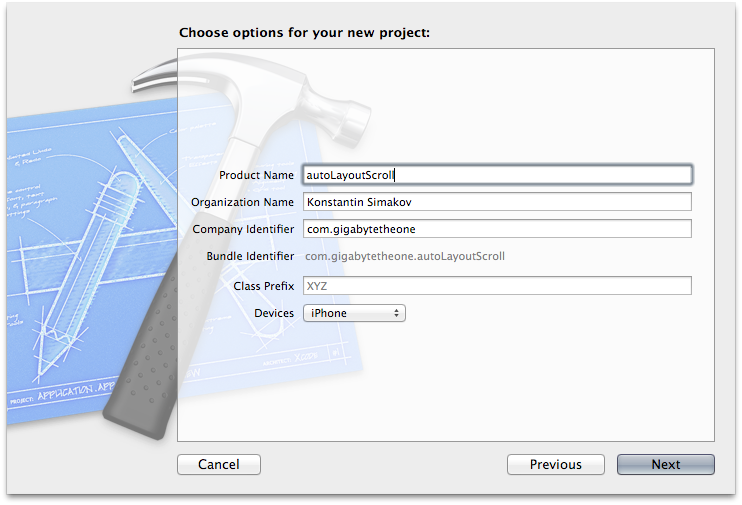
So, we will create our project from scratch. Open Xcode and create a Single View Application. Next, enter the name and other settings. We will analyze everything on the example of an application for the iPhone.
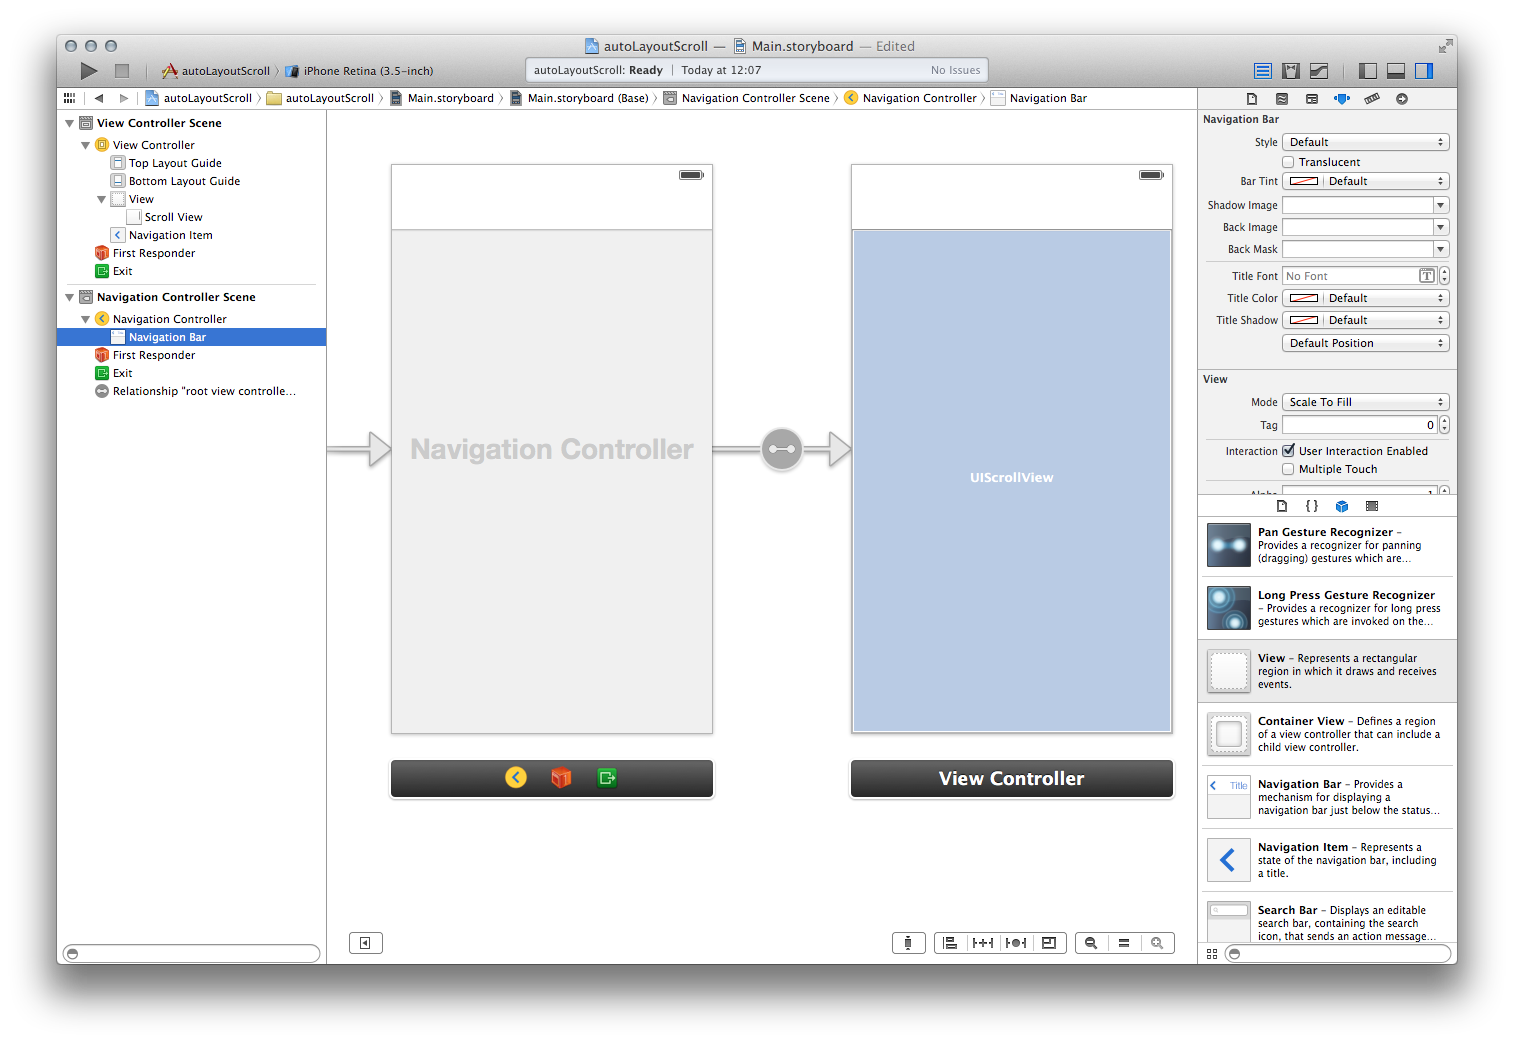
Next, in the resulting project, open the Main.storyboard file, select the only ViewController and wrap it in NavigationController (for example, selecting Editor - Embed in - Navigation Controller).
Add to ViewController ScrollView. At the same time, we set the Translucent property to NavigationBar to the off state (this is done just to ensure that our elements do not climb under the top panel).
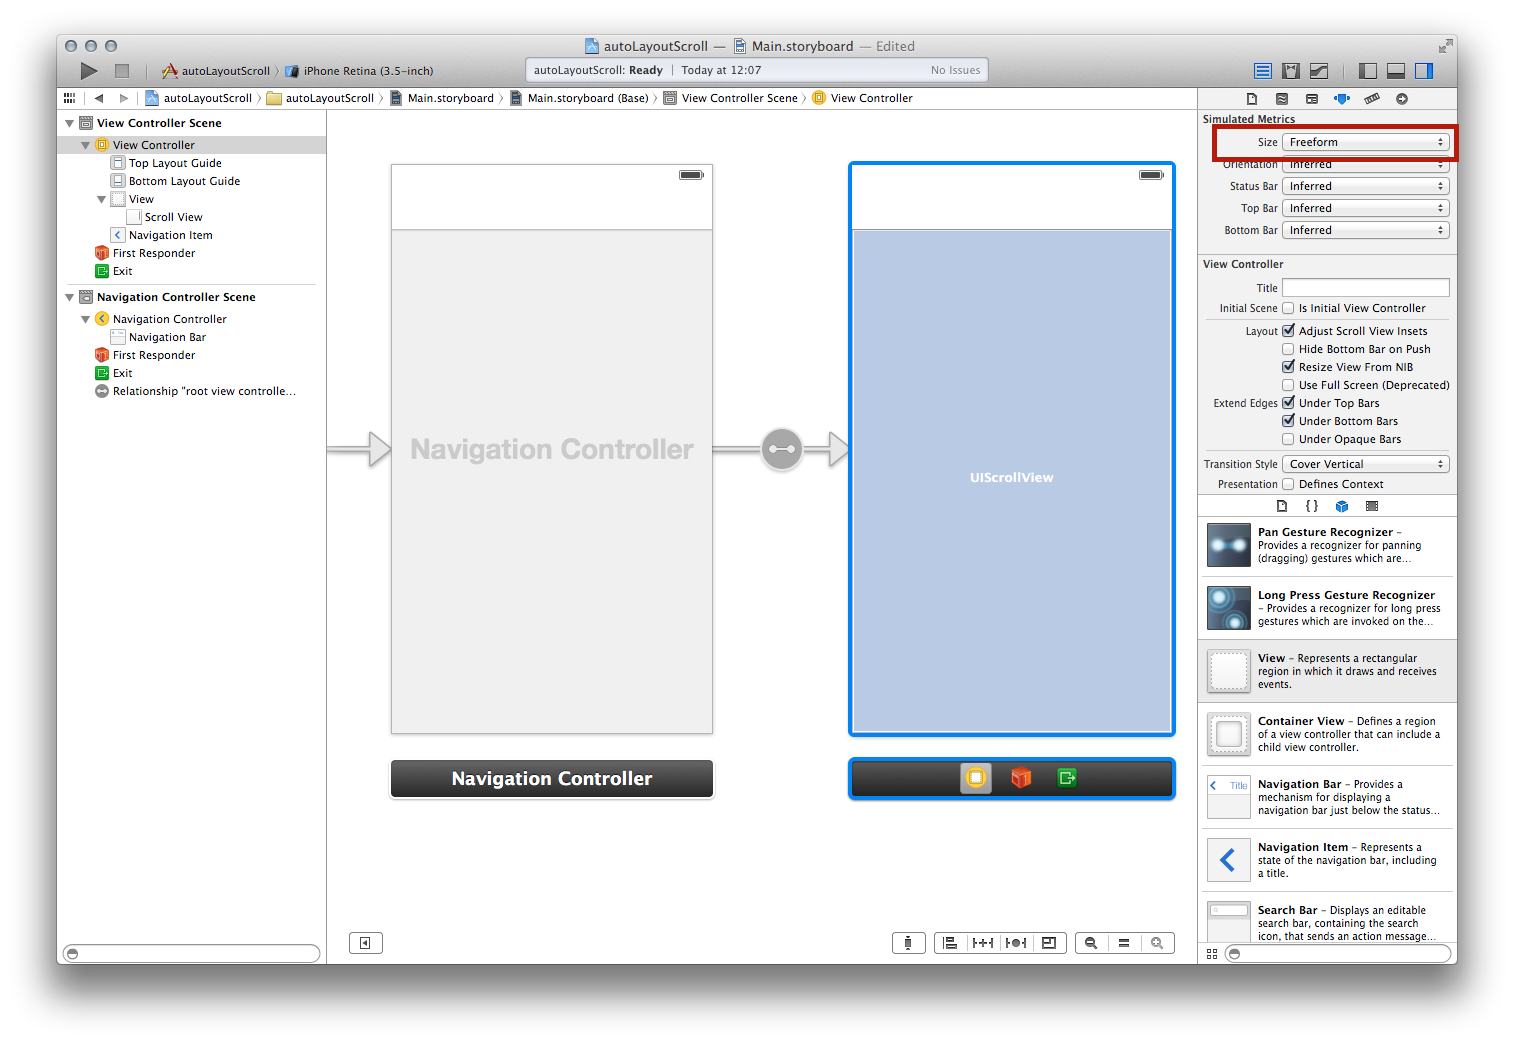
Since ScrollView is usually designed to show content whose total height is greater than the height of the screen, for this we set our ViewController Size property in Freeform, and then set the height and width we need in the parameters (I set 320x700).
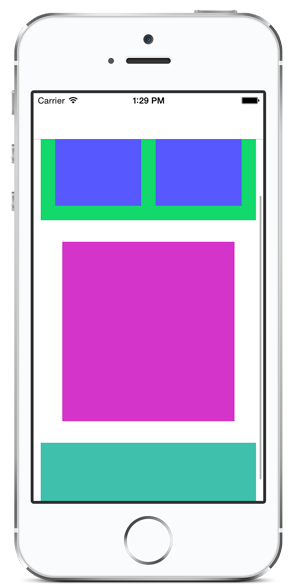
After that, you can finally sketch out the elements we need. For example, I'll just sketch out a few color View.

Here, in general, our small sketch is ready, now we will use Auto Layout.
To begin with, select ScrollView and set all indents to 0, this will allow it to literally stick to the edges of the parent View, which in turn will allow working in any size: at least 3.5 ”, at least 4”.
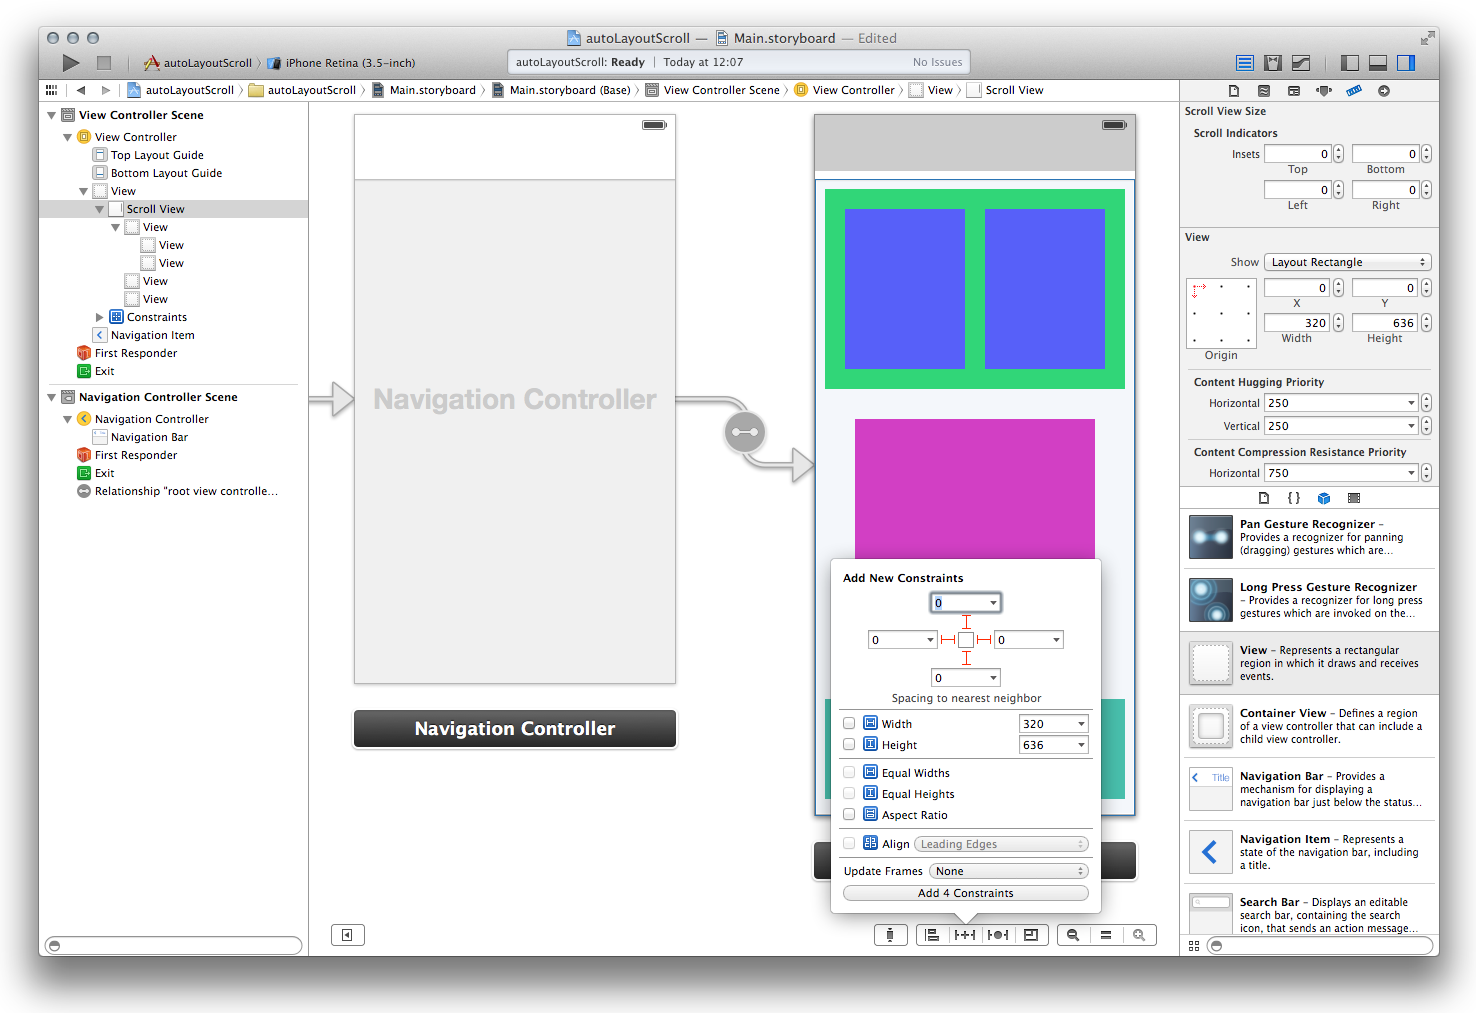
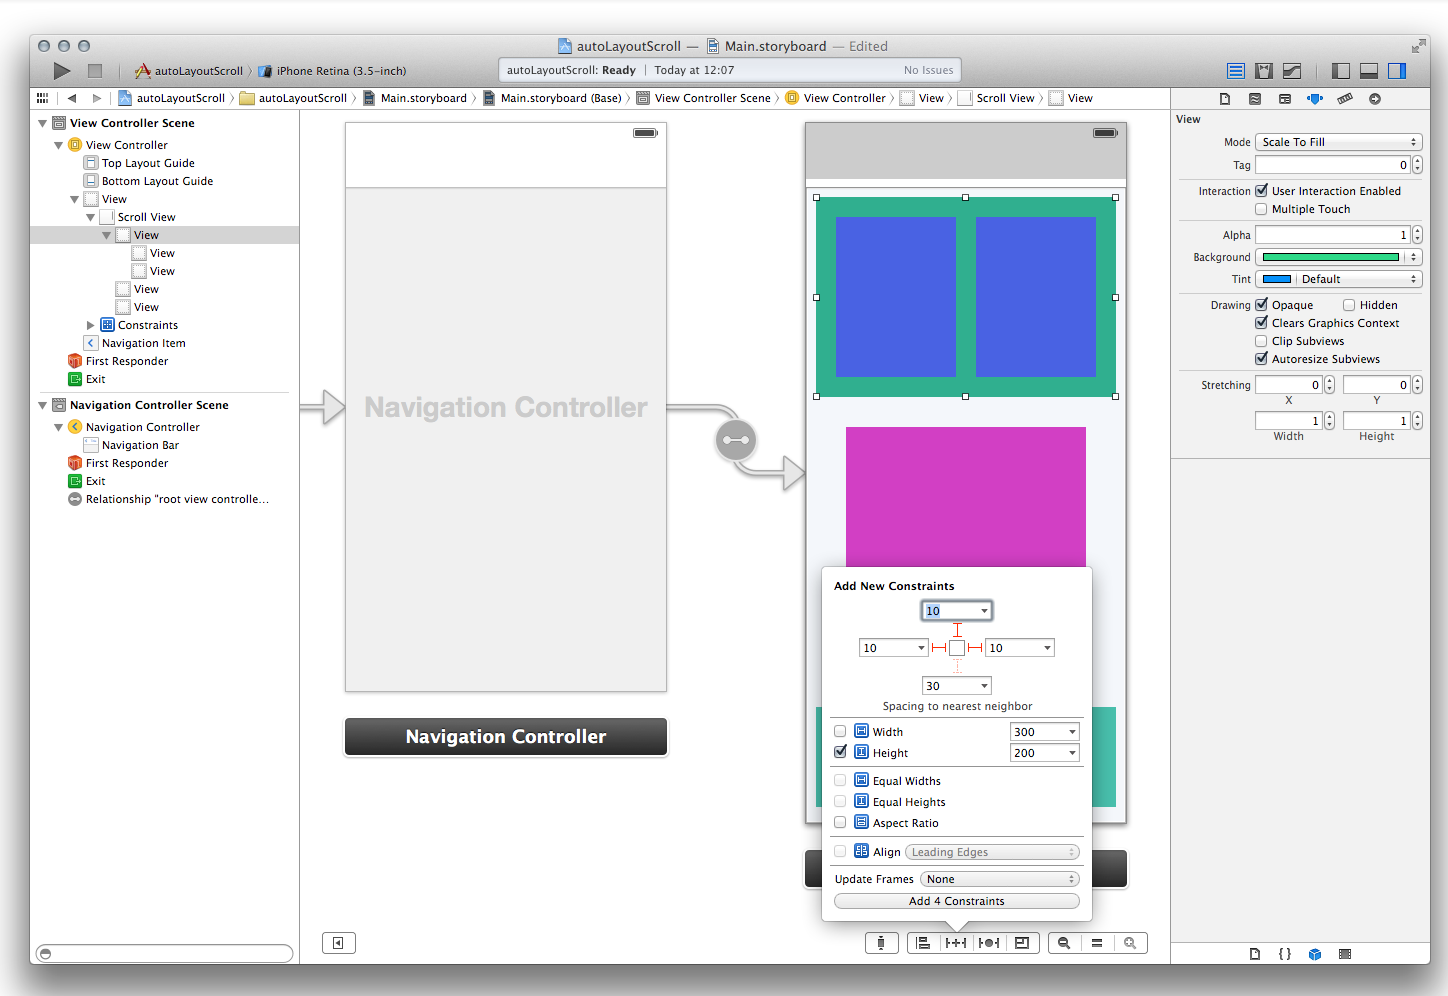
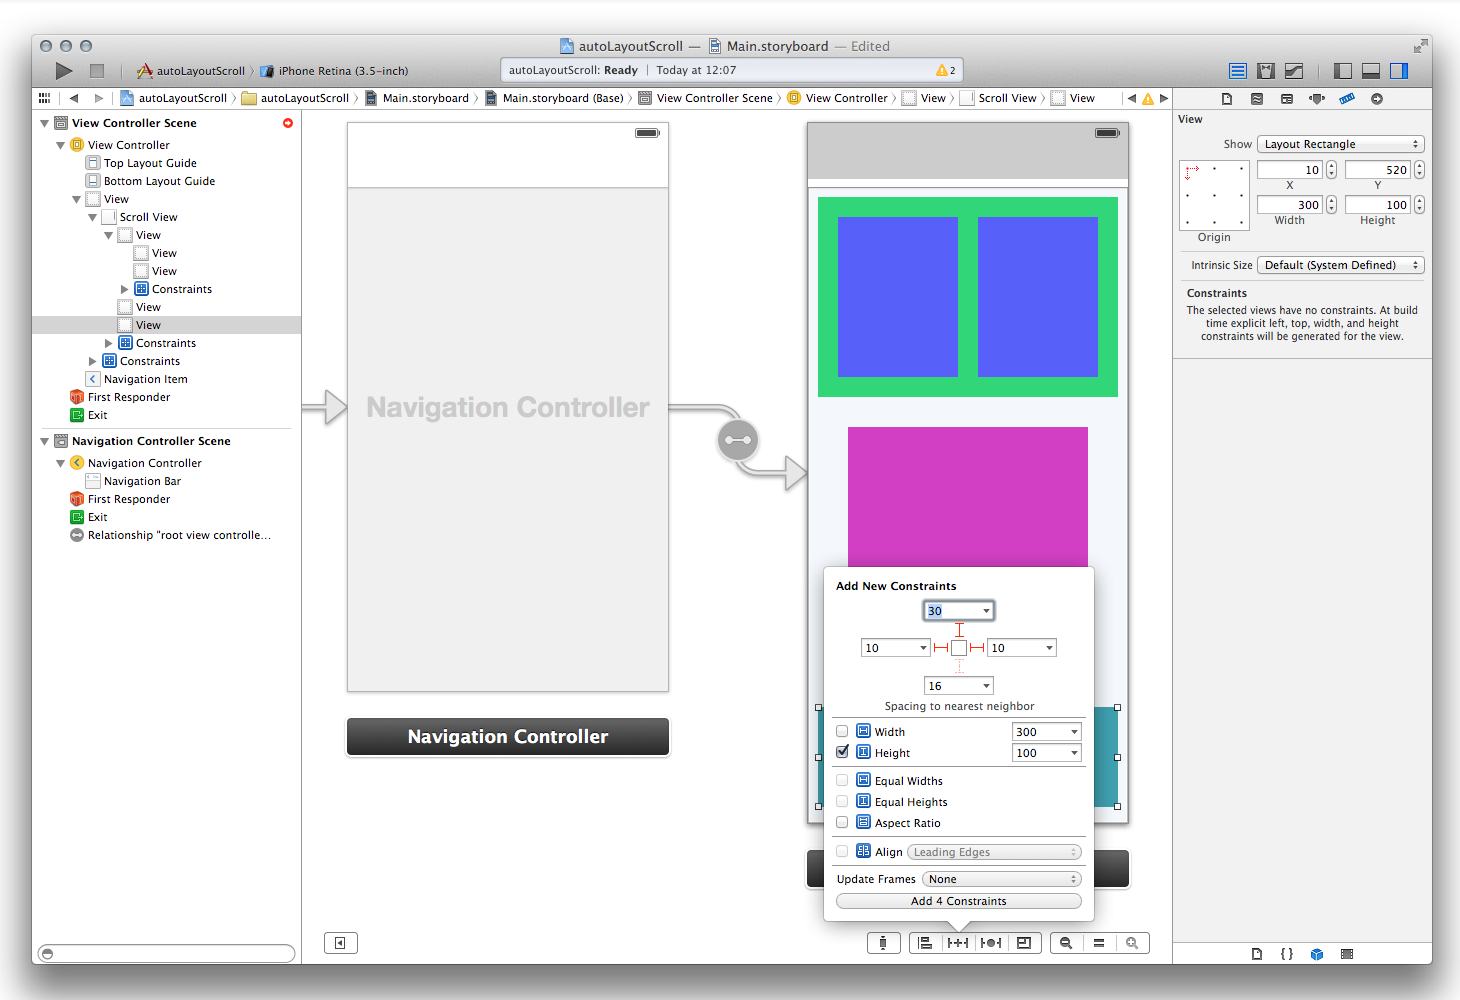
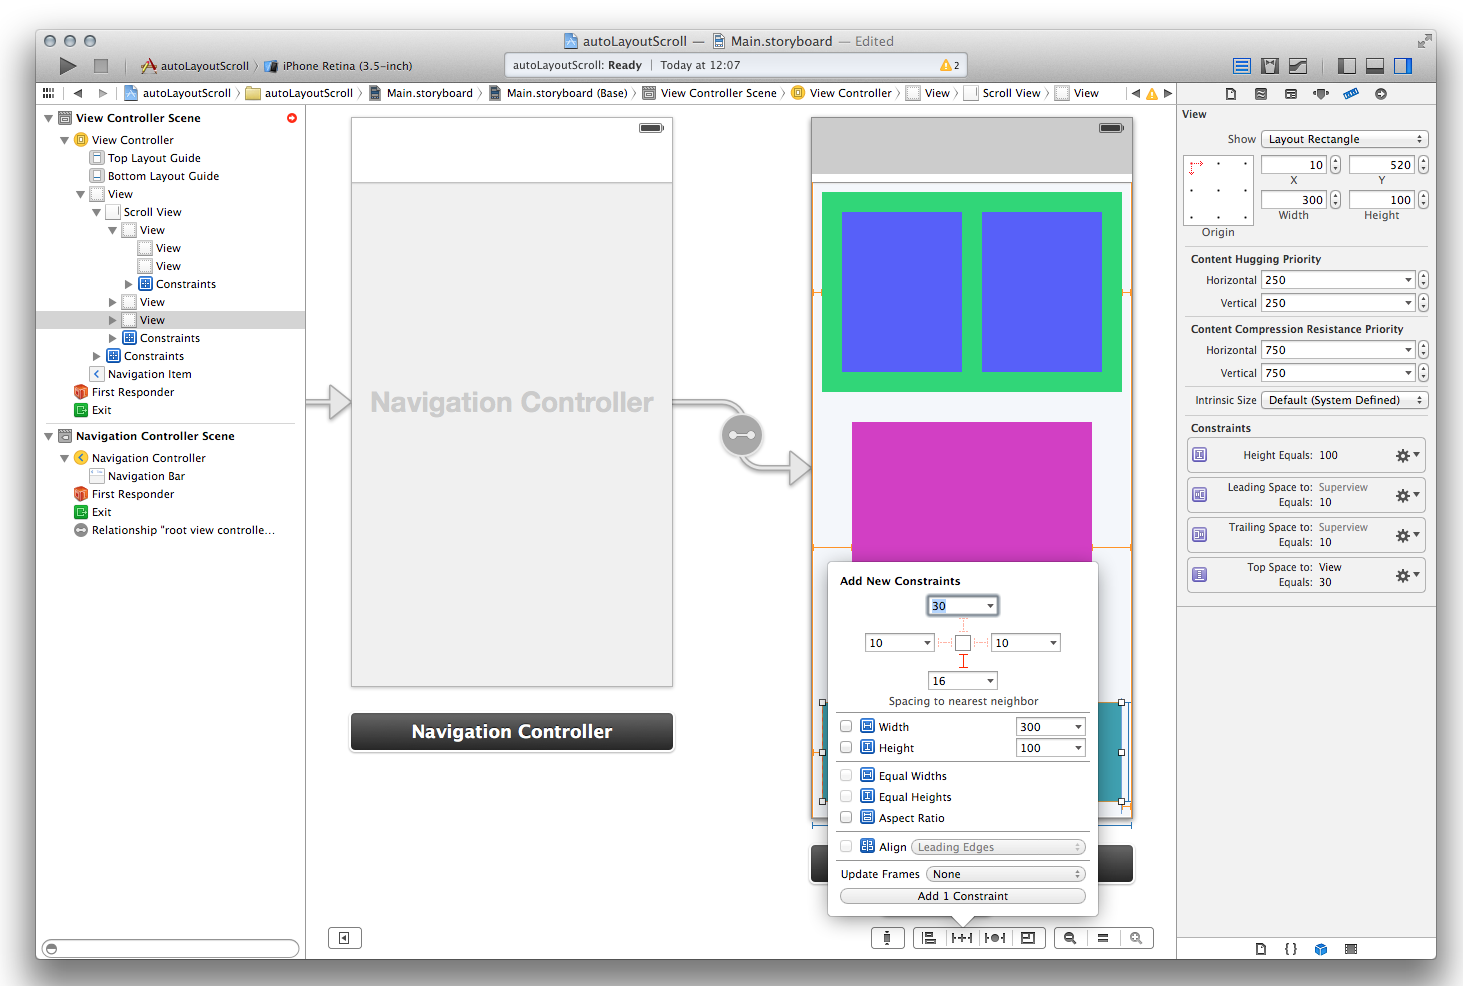
Next, we start adding interesting indents for our View. For all views, you need to add indents at the top, left and right, as well as specify the height. When you add indents, you may notice that Xcode will start swearing on the storyboard and display the warnings “ScrollView-Has ambiguous scrollable content height” and “ScrollView-Has ambiguous scrollable content width”. Do not pay attention to it yet and continue to add indents.

There are 2 key points left.
1. Add the bottom most View indent bottom
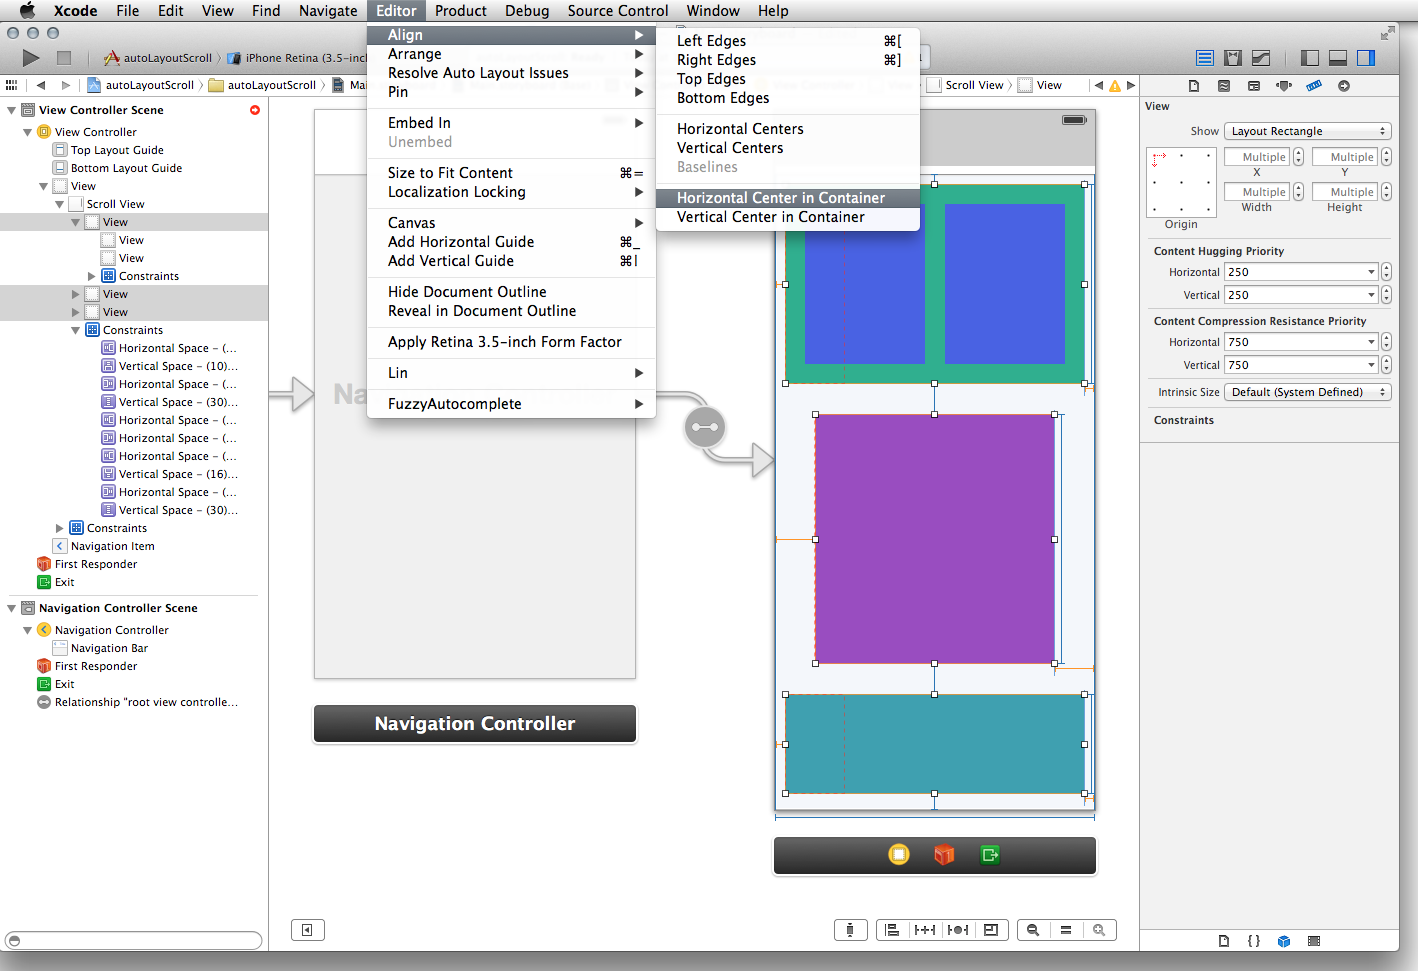
2. Select our main View (those that are directly inside the ScrollView) and center them horizontally (Editor - Align - Horisontal Center in Container)
That's all. Our warning'i gone, everything is perfectly attached. You can run the application and enjoy the running scrolling. Works great on both 3.5 "and 4".
I hope this tutorial will help you save time and nerves in the future.
Source: https://habr.com/ru/post/222725/
All Articles