Installing and configuring Windows Server 2012 R2 Essentials
Good day everyone. I would like to talk about installing and configuring Windows Server 2012 R2 Essentials. This article is not a call for ubiquitous installation of Windows or promotion of Microsoft products. I would like to just talk about an interesting product and maybe someone will be interested in this product and it will be useful in work. I tried to write an article for an unprepared reader, therefore a minimum of terminology and a maximum of generalization of some concepts.
Windows Server 2012 R2 Essentials is one of the editors of the server operating system from Microsoft. However, it has many differences from the Standard and Datacenter editions. What Essentials can do:
To summarize, Essentials Edition has most of the Windows Server roles. Some of these roles are configured, some are fully accessible, some like Hyper-V with severe limitations. Compensation for all these restrictions is a lower price, 25 client licenses included, centralized and simple configuration. I would also like to note that the licensing process is very different. You can use this edition only for organizations where the number of users does not exceed 25. But again, you do not need to purchase any client licenses.
Thus, Essentials is very well suited for small organizations that would like to use the majority of modern solutions for securing corporate networks, document storage, remote access, and perhaps mail systems. For those organizations that do not want to spend a lot of money on the IT infrastructure itself, and on the work of highly qualified system administrators.
Installing this OS is quite a standard procedure. If you have ever installed Windows Vista / 7/8/8.1, then you will also install Essentials without any problems. However, if you have not installed either of the above OSs or any of the latest versions of server OSs, then I recommend or trust a professional or at least a second-year student.
The only thing I would recommend at the time of installation, if you have one hard drive, split it into two sections. Those. make it so that after installing the system there is a second already formatted hard disk. Of course, this is only a recommendation, you can prepare a second disk in the future, but you will have to transfer some folders.
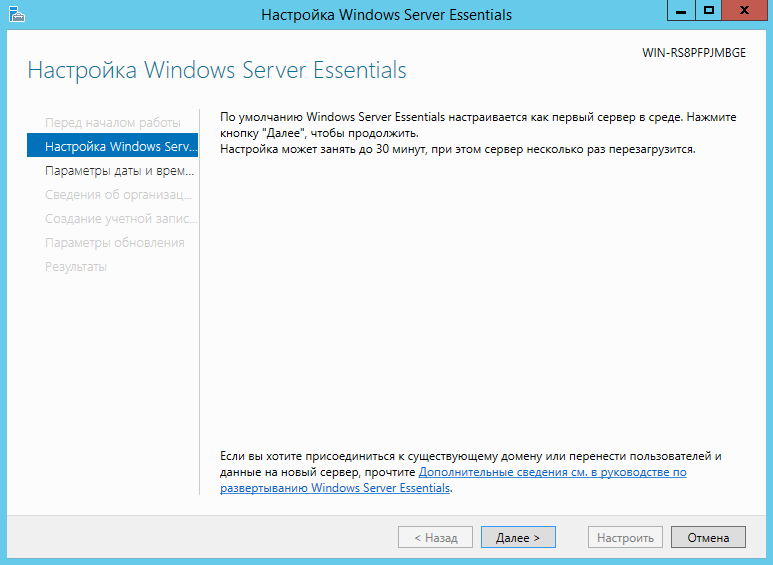
After the first login to the newly installed OS, the Setup Windows Server Essentials wizard will start, which will help you to make the initial configuration.
')
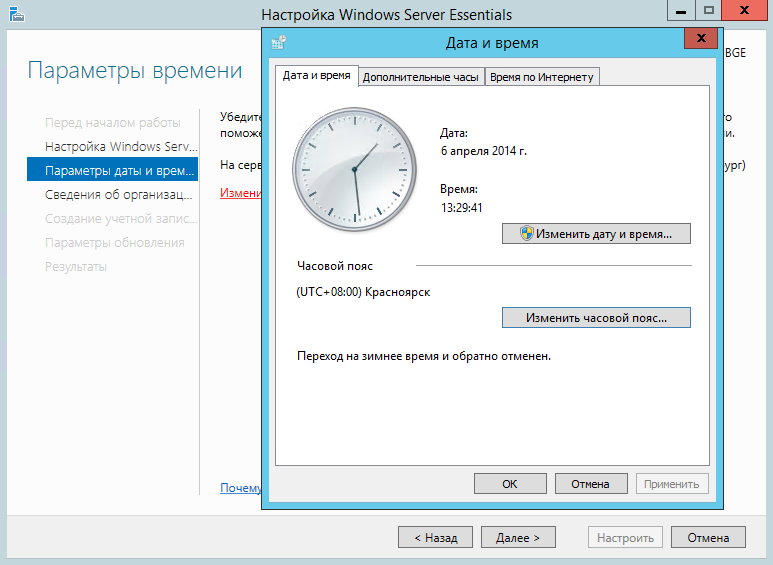
In the first step, you need to set the date and time settings.
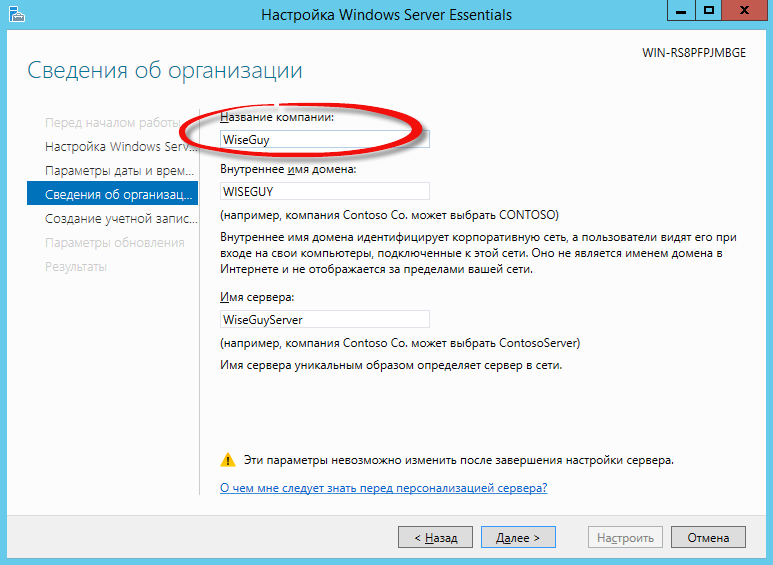
In the second step, you need to fill in the company name in English. The domain name and server name will be automatically generated in this case, although of course you can change them.
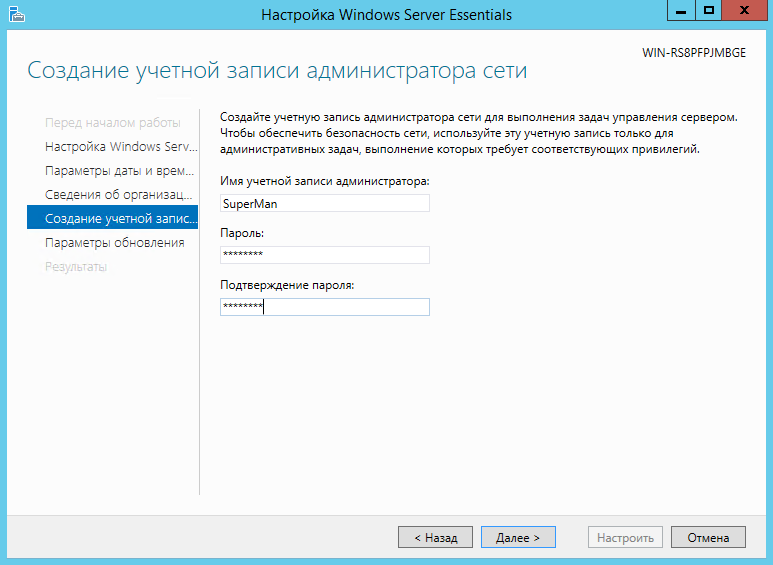
In the next step, you need to fill in the name of the administrator and set his password.
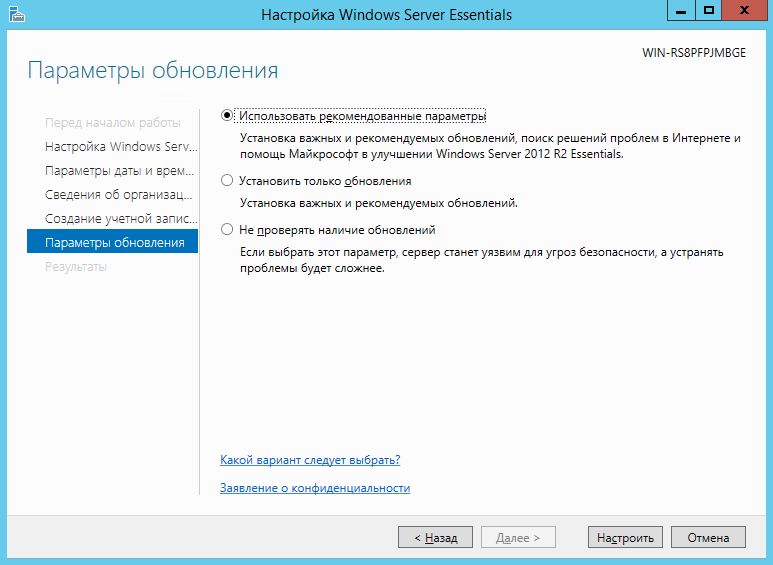
At the last step, you need to specify the operating system update method and click configure.
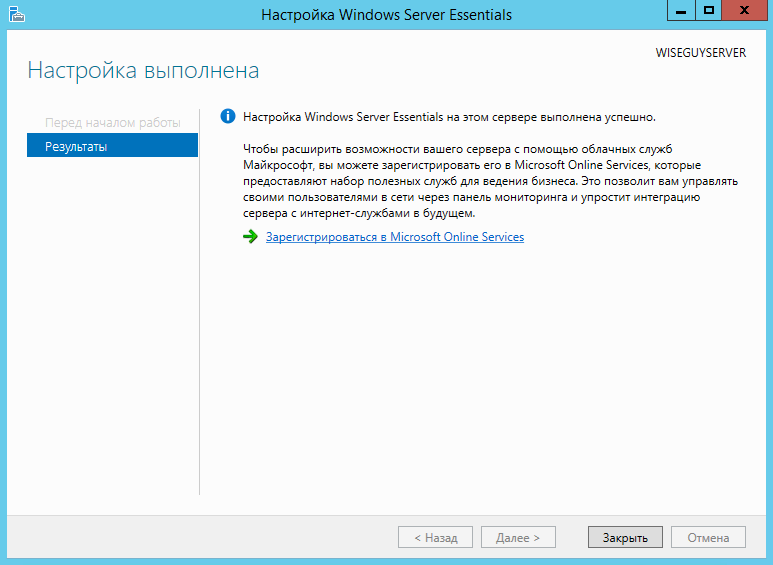
After that, the process will start, which will make all the necessary initial settings. It will take about 30 minutes and will require several reboots. During this time, the OS will have time, in particular, to install the necessary roles and configure the server as a domain controller for the new domain.
The product is very large and extensive, I would like to talk about the most basic configuration options, such as creating users, setting up remote access, creating folders, connecting clients.
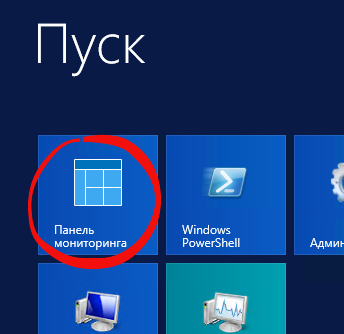
All configuration occurs in the dashboard, access to it is from the desktop, quick launch panel and the start screen.
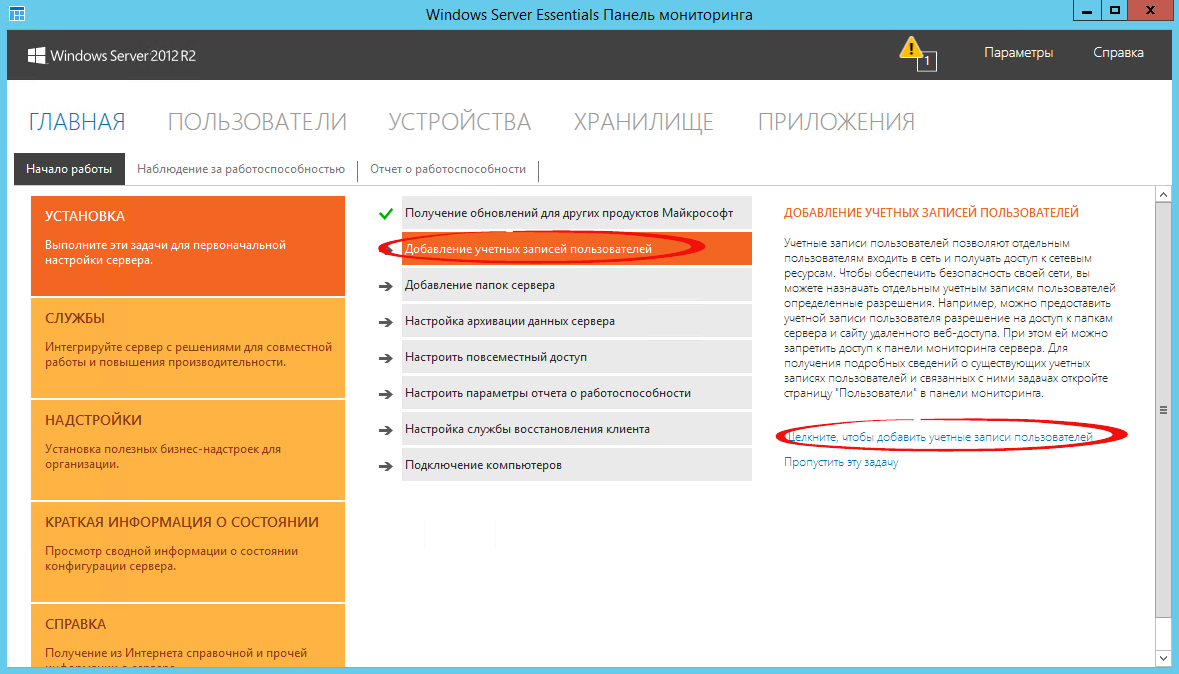
When you launch this panel for the first time, you will see the installation tab, where you can perform a number of server setup tasks.
I'll start by adding users. Click the link to add accounts.
Fill in the form fields and click next.

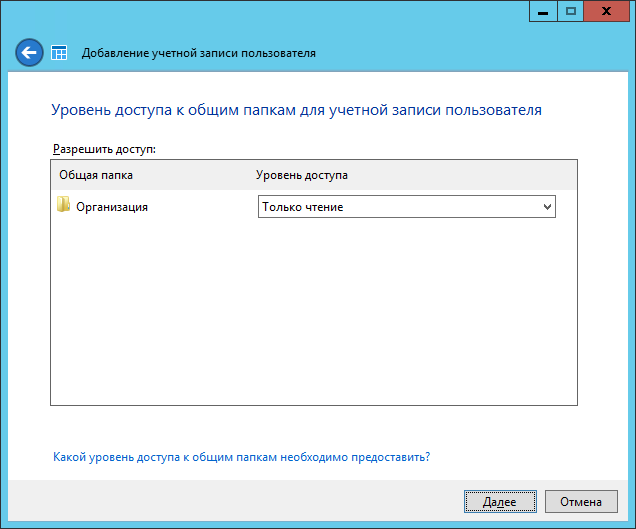
Select the level of access to shared folders that have been created. At the initial stage, there is only one - the Organization. In the future, you can change access permissions from both user properties and folder properties.
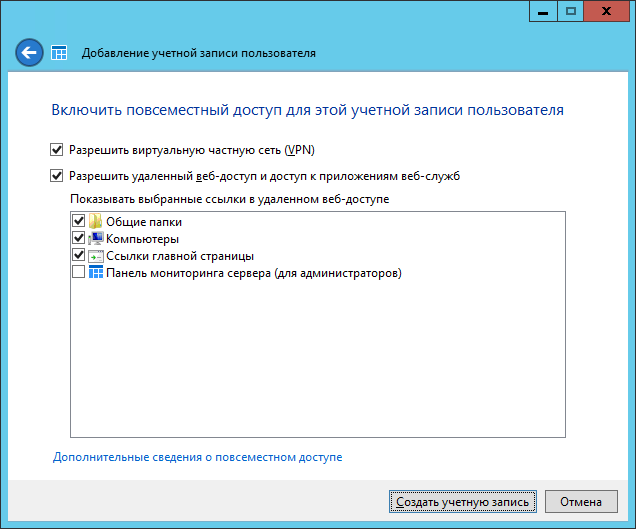
Next, install what will be available to the user remotely. I will tell about remote access a bit later.
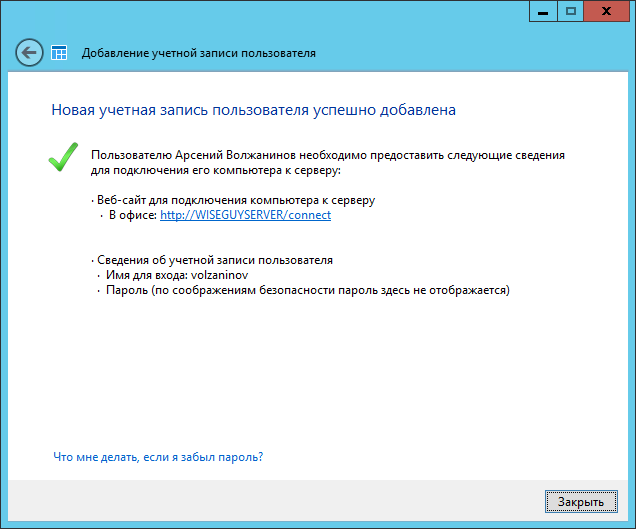
Account created. We press close.
Similarly, you can create multiple accounts. Of course, you can use both the familiar and familiar Active Directory Users and Computers interface for you, but in this case, you will have to issue permissions for access with handles.
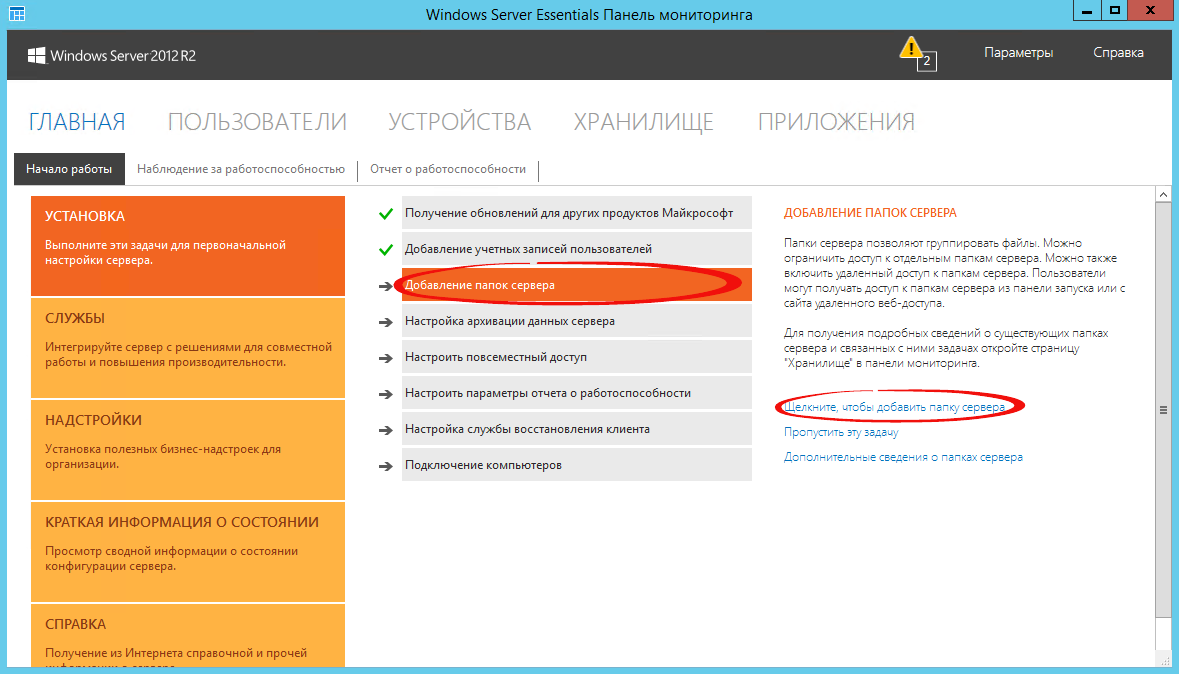
To add folders, there is another wizard, which will help you to create a folder on the disk, and to share it for you, and issue permissions. To launch it, click the corresponding link in the dashboard.
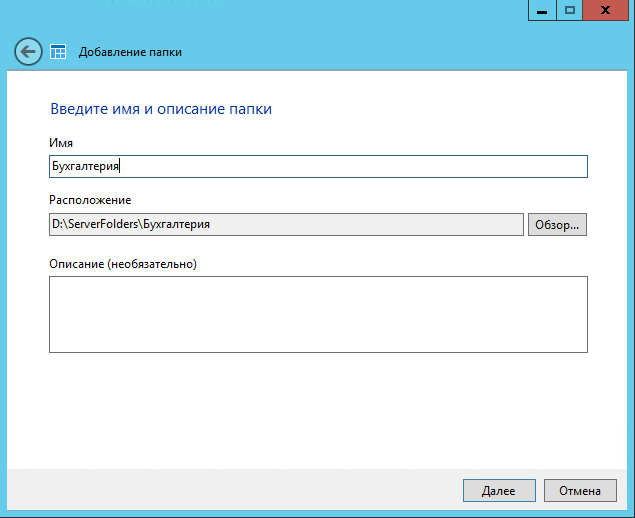
In the wizard window that opens, enter the name. You can change the location and add a description. Click next.
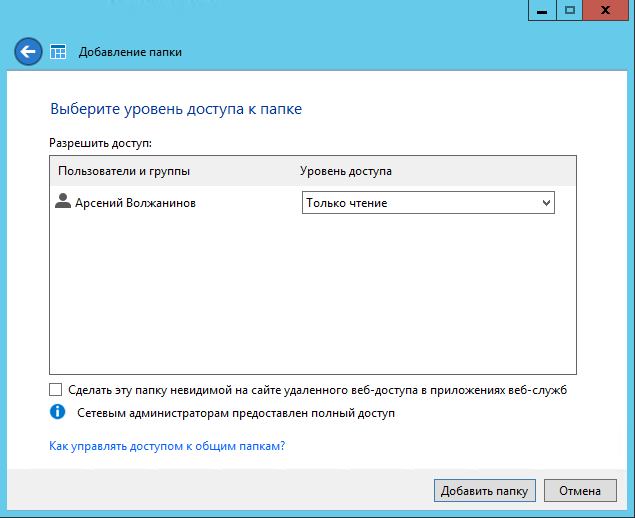
On the next page we indicate the necessary permissions. If necessary, make it unavailable for remote access.
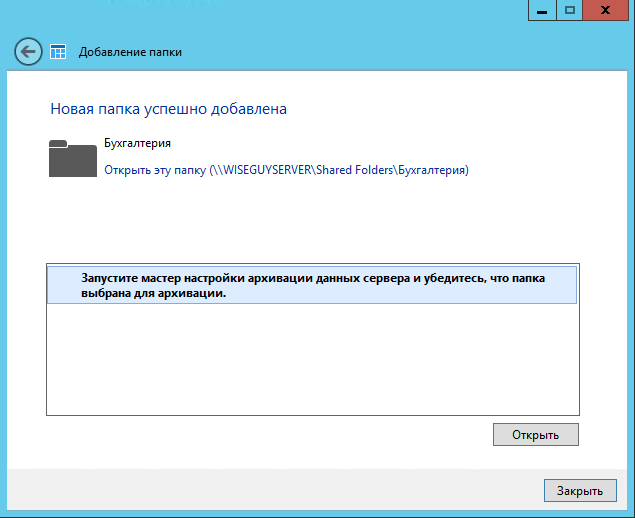
From the last step of this wizard, you can run the backup setup wizard. Click close.
One, probably, from the most difficult stages of setup of Windows Server 2012R2 Essentials. Setup also occurs using the wizard. The wizard is traditionally launched from the dashboard.
The first thing you need to do is configure your router — the wizard reports it to you. In fact, you need to configure port forwarding on the router. To do this, the router must have a “white” IP address. And on the server itself is better to configure a static IP address. You need to redirect the following ports 80, 443, 1723, 987 to the IP address of your server. In general, the master can perform the setup procedure if your router supports UPnP. I did the setup with pens, so I skipped this step.
After that, a new domain name setup wizard opens. Click next.
The wizard prompts you to enter the name of the external domain or create a new one. For your own domain, you will need a certificate, so here we consider the option to configure using the Microsoft domain. Choose another domain name and click next.
Consider the option with the domain of Microsoft.
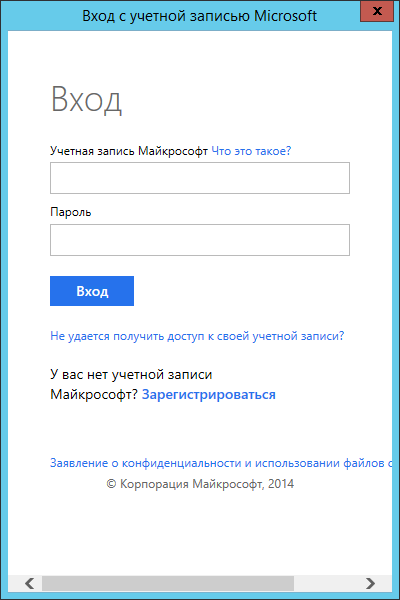
Here he will ask you to log in to Microsoft Account.
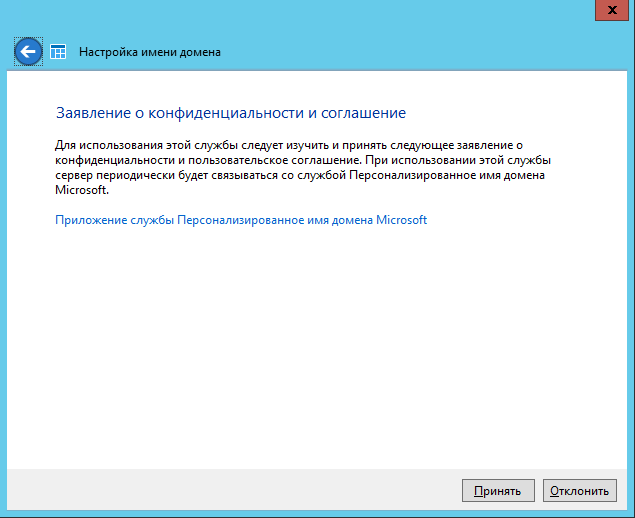
After authorization, we accept a privacy statement.
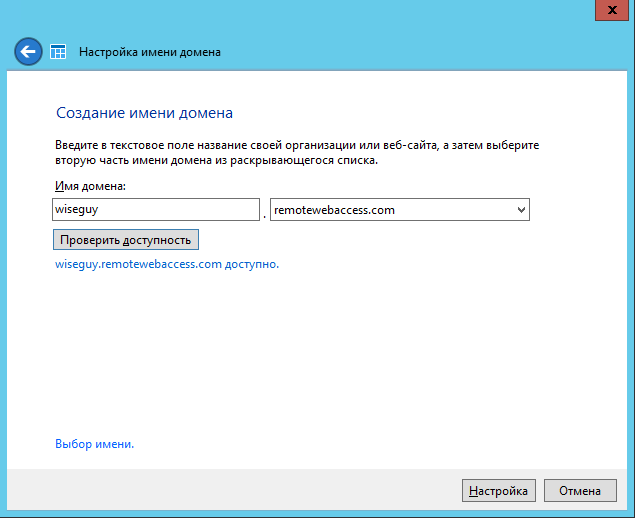
Enter the domain name and check availability, click configure.
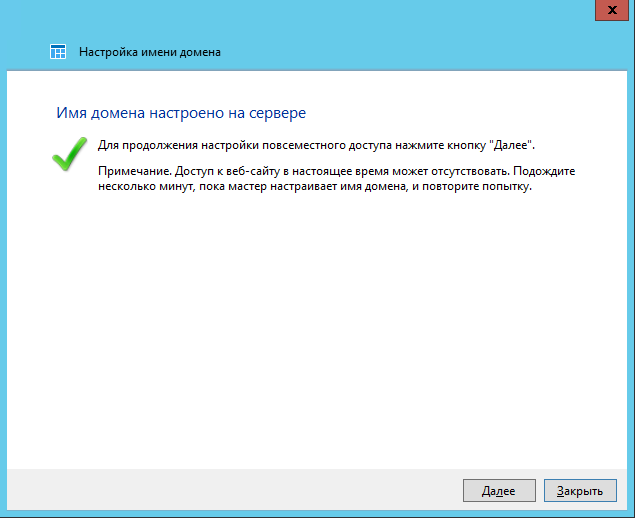
Well, the domain name sorted out. We continue - further.
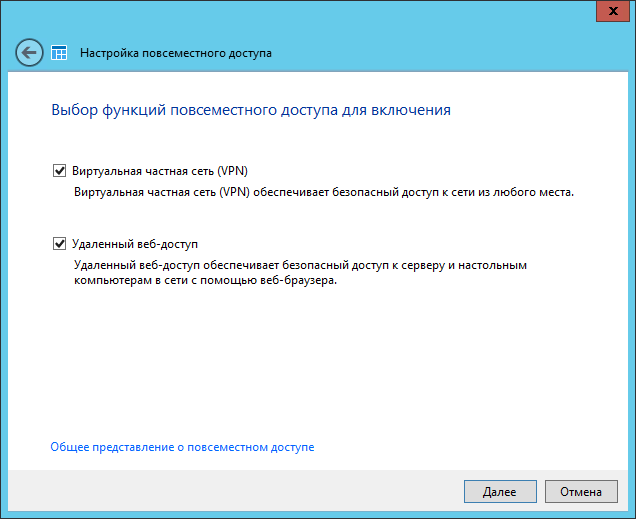
Choose exactly what features will be available.
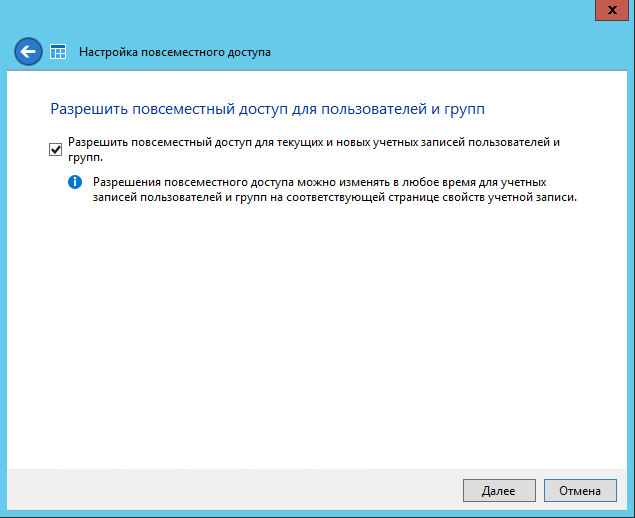
Choose whether remote access is available for current users.
Well, that's all you can try to go to the site wiseguy.remoteweaccess.com .
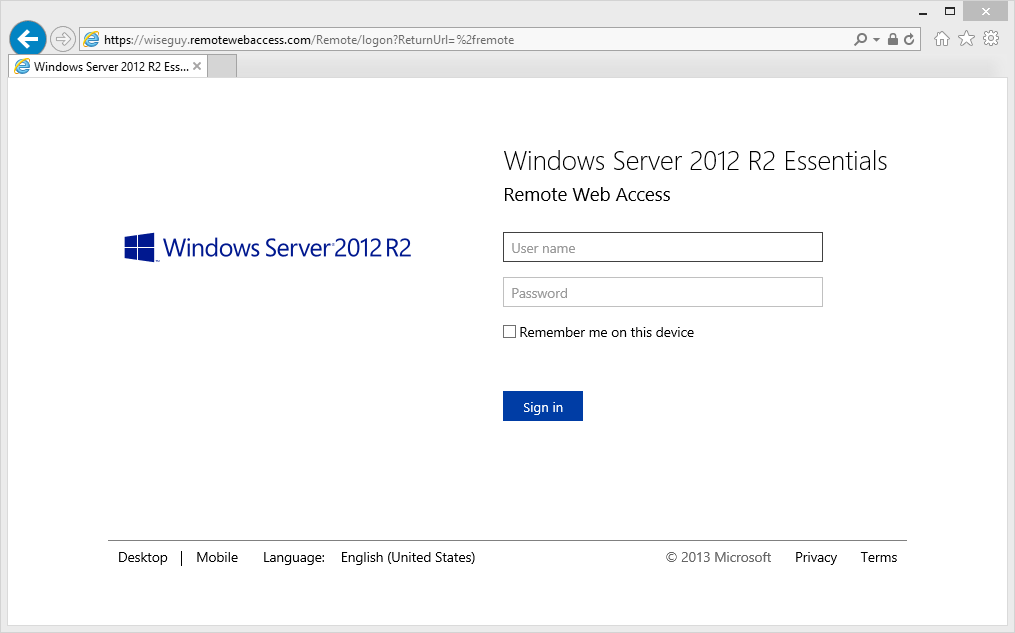
From this web site, you can access shared folders and access to users' desktops.
If we open the dashboard this time and go to the computer connection page, we will see there only an instruction for action
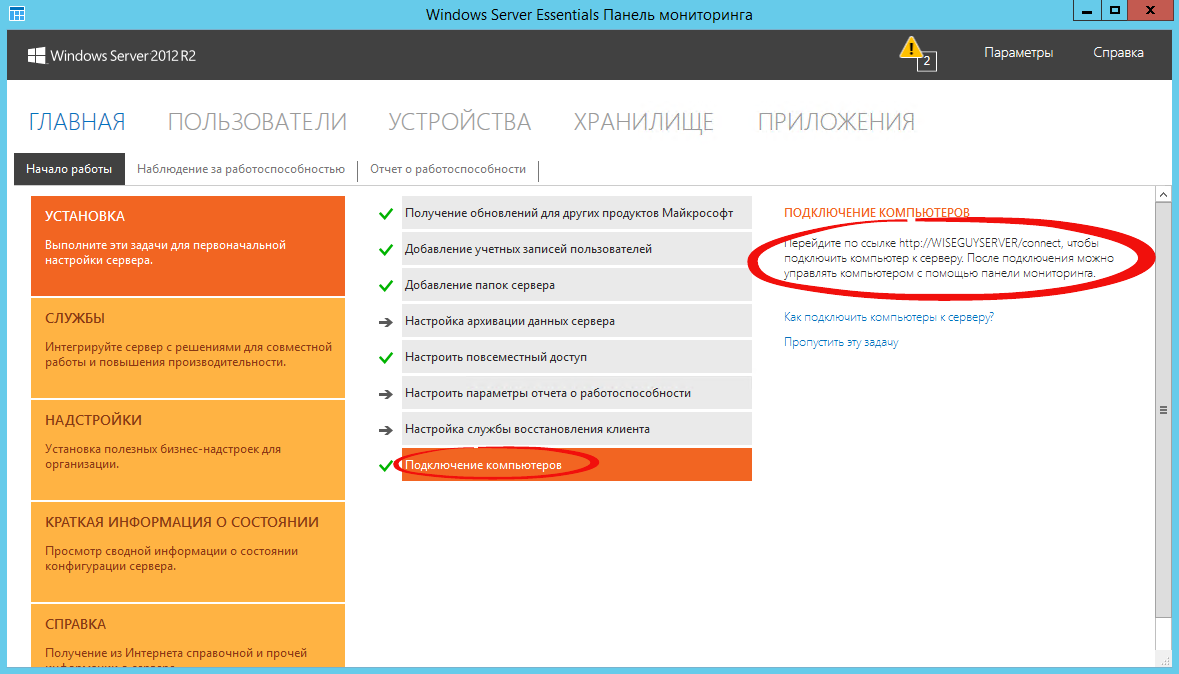
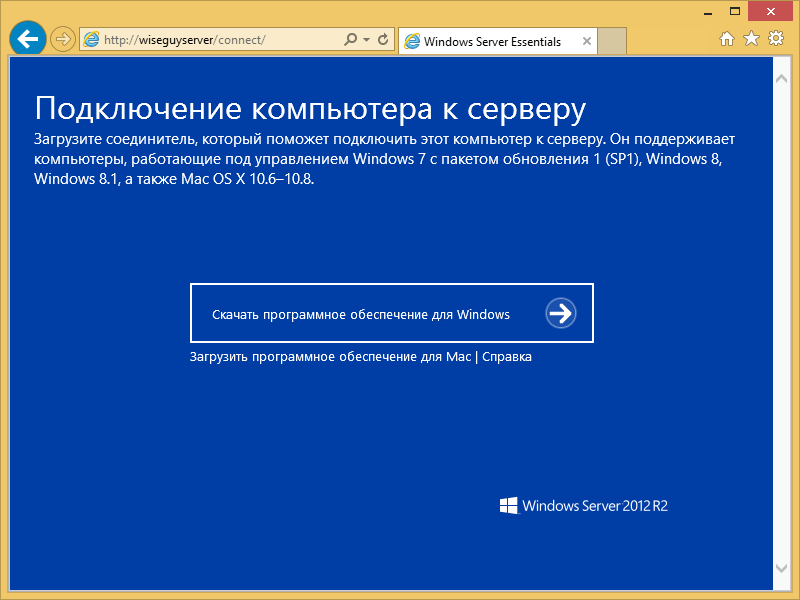
Following the instructions on the client in the browser, open the page http: // <Server name> / connect. Click the download link.
We choose to perform.

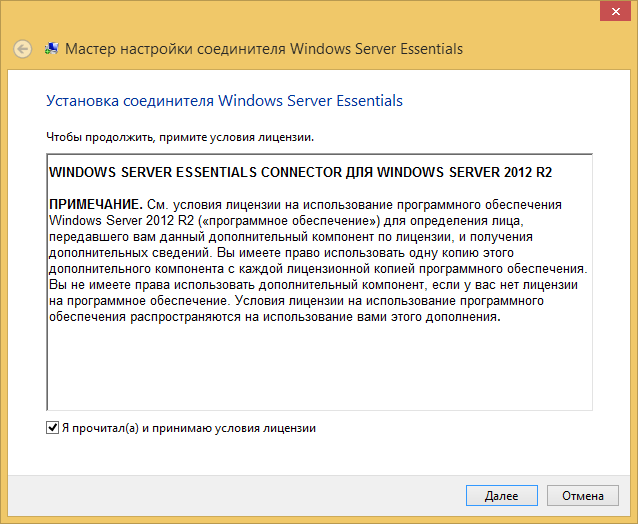
We accept the license and wait.
Enter the username and password of the user of this computer or administrator. I entered the user account.

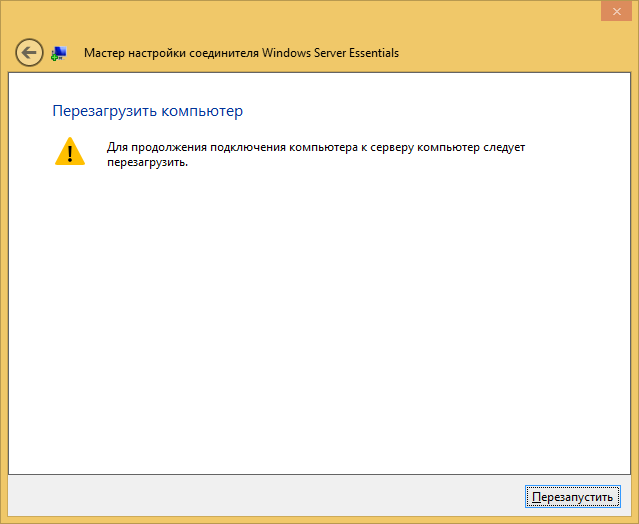
Reboot the server.
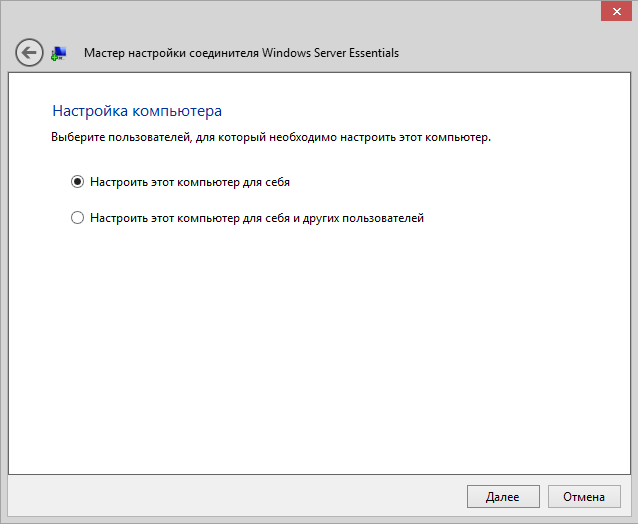
We choose who will use the computer.
Enter a description of the computer.
Archiving options.
Hooray! Is done.

We go to the computer under a user account.
You can work. The desktop already has all the necessary shortcuts.
By all means, Windows Server 2012R2 Essentials is not a panacea. Automated much in it, but not all. However, for small organizations, this is a very interesting decision and needs to be considered. In this article, I talked only about the most basic Essentials settings. If you want to get a little closer acquainted with the product, you can watch my video reports on the site Techdays.ru.
Windows Server 2012 R2 Essentials first look: www.techdays.ru/videos/7351.html - here you can carefully study the installation process of Essentials.
Windows Server 2012 R2 Essentials setting: www.techdays.ru/videos/7370.html - the settings of all features are considered, the setting of remote access for your domain is shown.
Windows Server 2012 R2 Essentials Office 365 integration: www.techdays.ru/videos/7380.html - integration with the cloud office from Microsoft.
Comments and questions are welcome.
A little about the editors Essentials
Windows Server 2012 R2 Essentials is one of the editors of the server operating system from Microsoft. However, it has many differences from the Standard and Datacenter editions. What Essentials can do:
- Authorization and authentication of users on your network (domain Active Directory directory service controller)
- File Storage (File Server Role)
- Remote access to the corporate network (VPN and DirectAccess server)
- Remote access to file storage via a web interface (configured for this IIS)
- Remote access to client desktops (Remote Desktop Gateway)
- Backup client machines (windows backup)
- Backup server itself (windows backup)
- Integration with Microsoft cloud technologies (Office 365, Azure backup, etc.)
- The Essentials unified configuration console, which will allow you to configure the features described above even to a non-trained system administrator.
To summarize, Essentials Edition has most of the Windows Server roles. Some of these roles are configured, some are fully accessible, some like Hyper-V with severe limitations. Compensation for all these restrictions is a lower price, 25 client licenses included, centralized and simple configuration. I would also like to note that the licensing process is very different. You can use this edition only for organizations where the number of users does not exceed 25. But again, you do not need to purchase any client licenses.
Thus, Essentials is very well suited for small organizations that would like to use the majority of modern solutions for securing corporate networks, document storage, remote access, and perhaps mail systems. For those organizations that do not want to spend a lot of money on the IT infrastructure itself, and on the work of highly qualified system administrators.
Installation and Initial Setup
Installing this OS is quite a standard procedure. If you have ever installed Windows Vista / 7/8/8.1, then you will also install Essentials without any problems. However, if you have not installed either of the above OSs or any of the latest versions of server OSs, then I recommend or trust a professional or at least a second-year student.
The only thing I would recommend at the time of installation, if you have one hard drive, split it into two sections. Those. make it so that after installing the system there is a second already formatted hard disk. Of course, this is only a recommendation, you can prepare a second disk in the future, but you will have to transfer some folders.
After the first login to the newly installed OS, the Setup Windows Server Essentials wizard will start, which will help you to make the initial configuration.
')
In the first step, you need to set the date and time settings.
In the second step, you need to fill in the company name in English. The domain name and server name will be automatically generated in this case, although of course you can change them.
In the next step, you need to fill in the name of the administrator and set his password.
At the last step, you need to specify the operating system update method and click configure.
After that, the process will start, which will make all the necessary initial settings. It will take about 30 minutes and will require several reboots. During this time, the OS will have time, in particular, to install the necessary roles and configure the server as a domain controller for the new domain.
Customization
The product is very large and extensive, I would like to talk about the most basic configuration options, such as creating users, setting up remote access, creating folders, connecting clients.
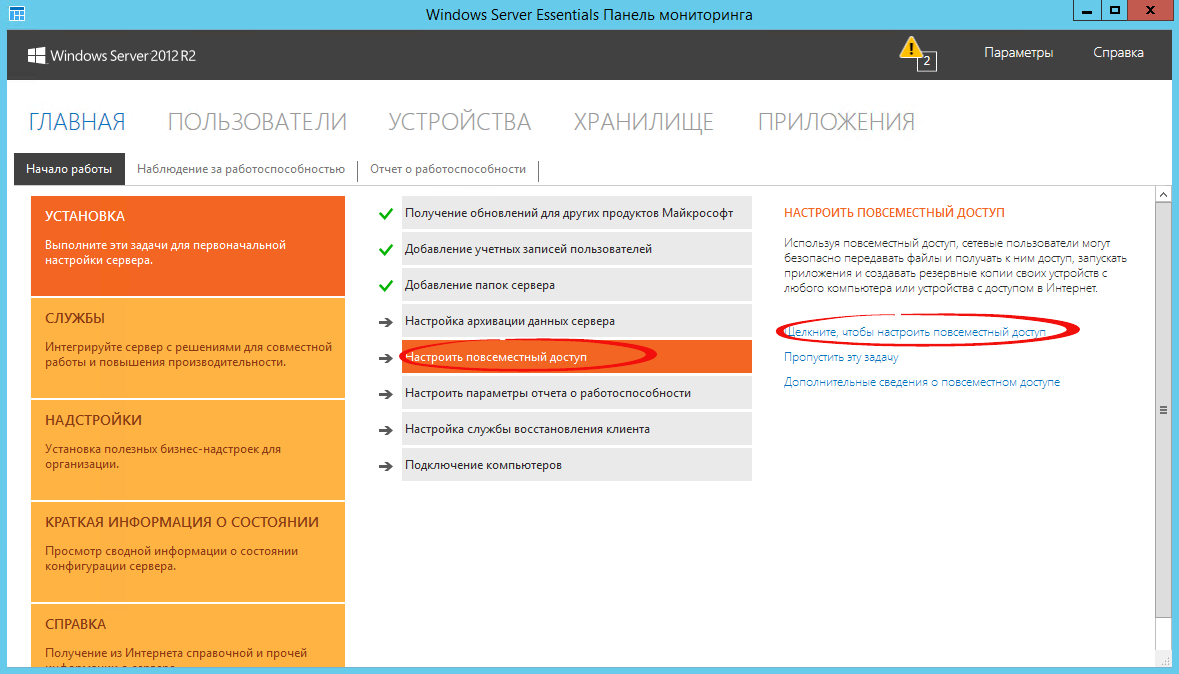
All configuration occurs in the dashboard, access to it is from the desktop, quick launch panel and the start screen.
Create users
When you launch this panel for the first time, you will see the installation tab, where you can perform a number of server setup tasks.
I'll start by adding users. Click the link to add accounts.
Fill in the form fields and click next.
Select the level of access to shared folders that have been created. At the initial stage, there is only one - the Organization. In the future, you can change access permissions from both user properties and folder properties.
Next, install what will be available to the user remotely. I will tell about remote access a bit later.
Account created. We press close.
Similarly, you can create multiple accounts. Of course, you can use both the familiar and familiar Active Directory Users and Computers interface for you, but in this case, you will have to issue permissions for access with handles.
Adding server folders
To add folders, there is another wizard, which will help you to create a folder on the disk, and to share it for you, and issue permissions. To launch it, click the corresponding link in the dashboard.
In the wizard window that opens, enter the name. You can change the location and add a description. Click next.
On the next page we indicate the necessary permissions. If necessary, make it unavailable for remote access.
From the last step of this wizard, you can run the backup setup wizard. Click close.
Remote Access Setup
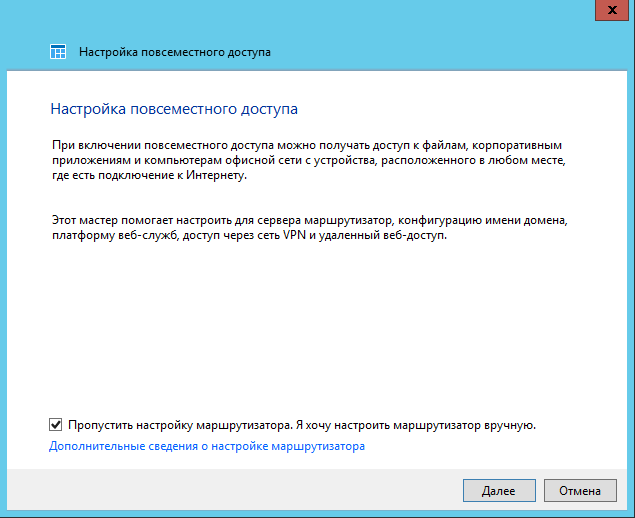
One, probably, from the most difficult stages of setup of Windows Server 2012R2 Essentials. Setup also occurs using the wizard. The wizard is traditionally launched from the dashboard.
The first thing you need to do is configure your router — the wizard reports it to you. In fact, you need to configure port forwarding on the router. To do this, the router must have a “white” IP address. And on the server itself is better to configure a static IP address. You need to redirect the following ports 80, 443, 1723, 987 to the IP address of your server. In general, the master can perform the setup procedure if your router supports UPnP. I did the setup with pens, so I skipped this step.
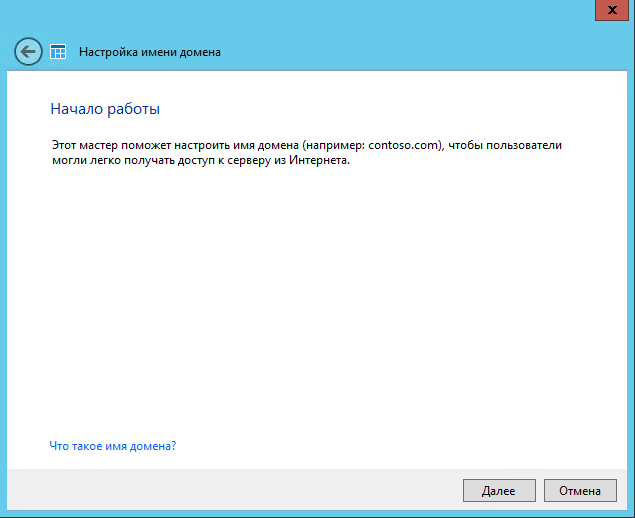
After that, a new domain name setup wizard opens. Click next.
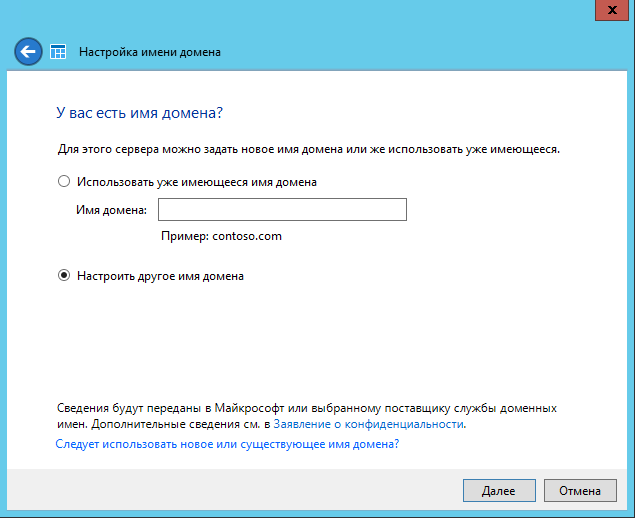
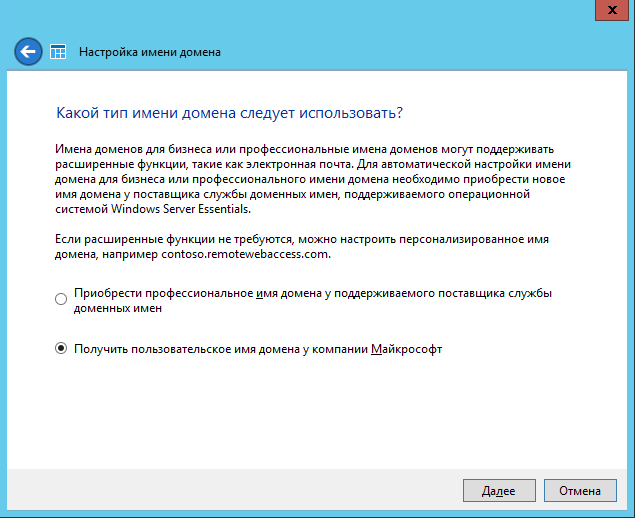
The wizard prompts you to enter the name of the external domain or create a new one. For your own domain, you will need a certificate, so here we consider the option to configure using the Microsoft domain. Choose another domain name and click next.
Consider the option with the domain of Microsoft.
Here he will ask you to log in to Microsoft Account.
After authorization, we accept a privacy statement.
Enter the domain name and check availability, click configure.
Well, the domain name sorted out. We continue - further.
Choose exactly what features will be available.
Choose whether remote access is available for current users.
Well, that's all you can try to go to the site wiseguy.remoteweaccess.com .
From this web site, you can access shared folders and access to users' desktops.
Connect Workstations
If we open the dashboard this time and go to the computer connection page, we will see there only an instruction for action
Following the instructions on the client in the browser, open the page http: // <Server name> / connect. Click the download link.
We choose to perform.
We accept the license and wait.
Enter the username and password of the user of this computer or administrator. I entered the user account.
Reboot the server.
We choose who will use the computer.
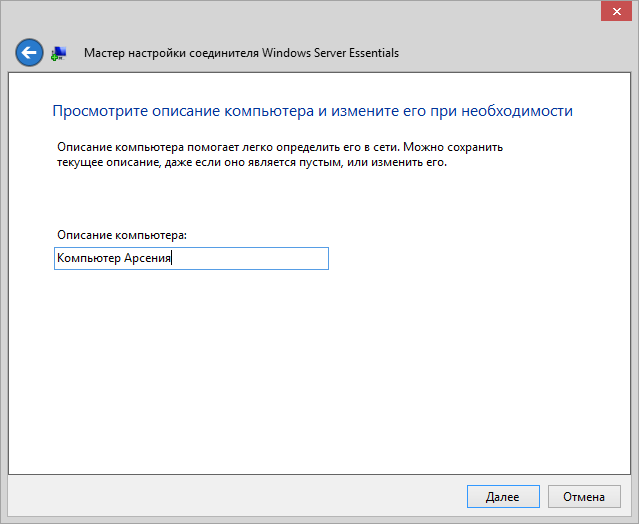
Enter a description of the computer.
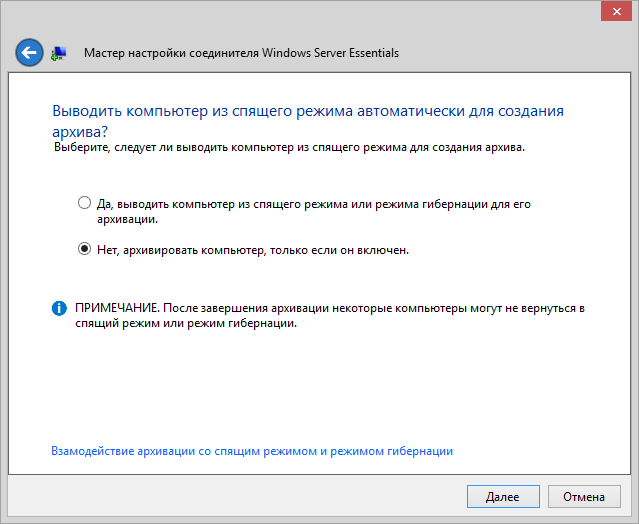
Archiving options.
Hooray! Is done.
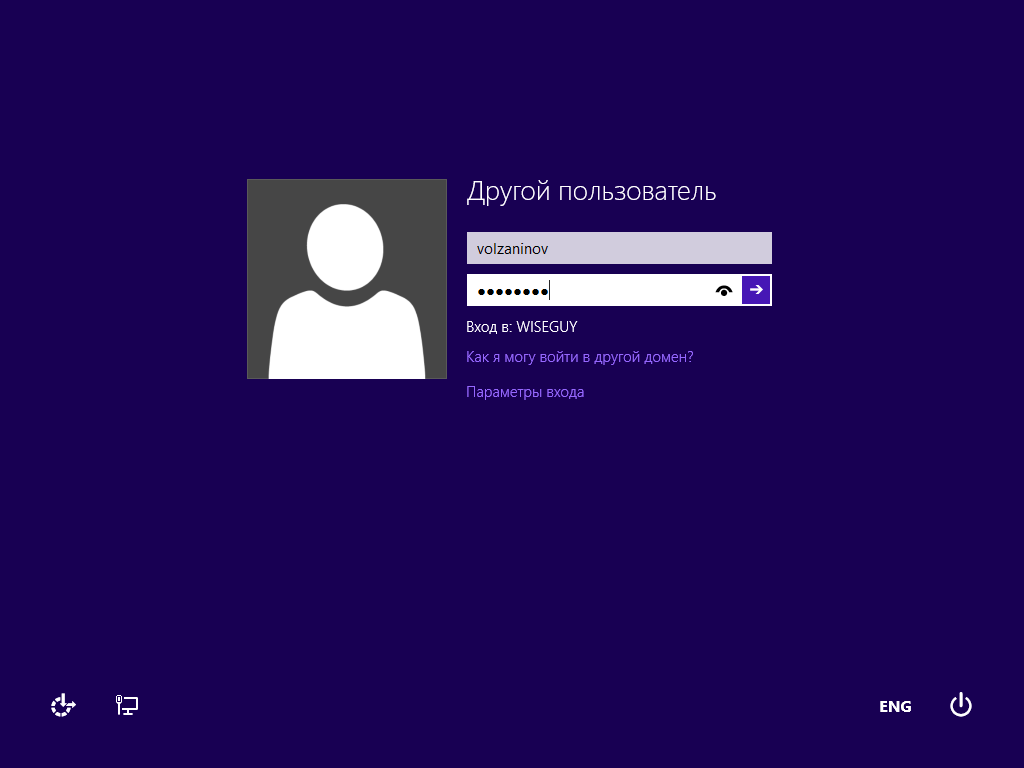
We go to the computer under a user account.
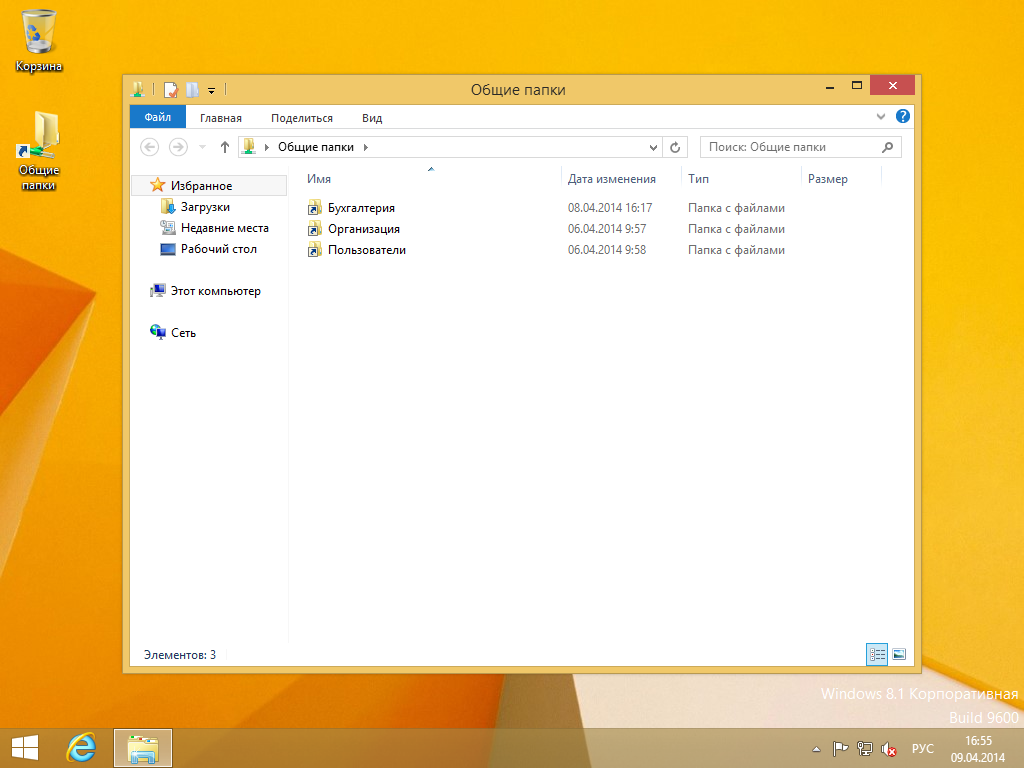
You can work. The desktop already has all the necessary shortcuts.
Post scriptum
By all means, Windows Server 2012R2 Essentials is not a panacea. Automated much in it, but not all. However, for small organizations, this is a very interesting decision and needs to be considered. In this article, I talked only about the most basic Essentials settings. If you want to get a little closer acquainted with the product, you can watch my video reports on the site Techdays.ru.
Windows Server 2012 R2 Essentials first look: www.techdays.ru/videos/7351.html - here you can carefully study the installation process of Essentials.
Windows Server 2012 R2 Essentials setting: www.techdays.ru/videos/7370.html - the settings of all features are considered, the setting of remote access for your domain is shown.
Windows Server 2012 R2 Essentials Office 365 integration: www.techdays.ru/videos/7380.html - integration with the cloud office from Microsoft.
Comments and questions are welcome.
Source: https://habr.com/ru/post/222501/
All Articles