Where to start your extension for Photoshop, Illustrator, etc. on HTML5
In this article, I will explain how to use HTML and JavaScript to create my own extension for Photoshop, Illustrator, Premier, Flash, Prelude or InDesign.
')
Since June 2013, Adobe has added HTML5 support for extensions, thereby simplifying their creation.
Immediately, I note that I myself am a designer and have a very mediocre attitude to programming, so I apologize for any mistakes in terminology.
Instruments
To work we need a favorite text editor and basic knowledge of HTML, CSS and JavaScript.
Yes, yes, now no Adobe Configurator and Flash.
Eclipse and Brackets / Edge Code CC will help automate the creation of a basic set of necessary files.
What it consists of
Let's create the simplest extension for Photoshop.
The minimum set of files and their structure are as follows:
ExtensionName/ CSXS/ manifest.xml index.html where manifest.xml is a file with a description of all its parameters,
and index.html is the extension itself.
Manifest.xml contain about the following
<?xml version="1.0" encoding="UTF-8" standalone="no"?> <ExtensionManifest ExtensionBundleId="com.extensionname" ExtensionBundleName="Extension Name" ExtensionBundleVersion="1.0" Version="4.0"> <ExtensionList> <Extension Id="com.extensionname" Version="1.0"/> </ExtensionList> <ExecutionEnvironment> <HostList> <Host Name="PHXS" Version="[14.0,14.9]"/> </HostList> <LocaleList> <Locale Code="All"/> </LocaleList> <RequiredRuntimeList> <RequiredRuntime Name="CSXS" Version="4.0"/> </RequiredRuntimeList> </ExecutionEnvironment> <DispatchInfoList> <Extension Id="com.extensionname"> <DispatchInfo> <Resources> <MainPath>./index.html</MainPath> </Resources> <UI> <Type>Panel</Type> <Menu>ExtensionName</Menu> <Geometry> <Size> <Height>400</Height> <Width>400</Width> </Size> </Geometry> </UI> </DispatchInfo> </Extension> </DispatchInfoList> </ExtensionManifest> Detailed description of all parameters
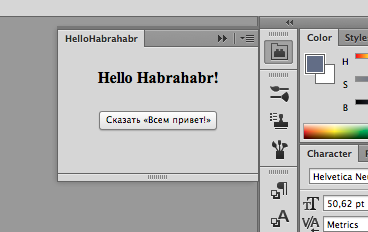
and in index.html, whatever you want. For example:
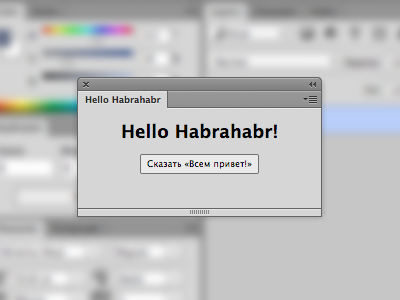
<!doctype html> <html> <body> Hello Habrahabr! </body> </html> That's all.
Our first expansion is ready.
Launch
To run unsigned applications, you need to enable PlayerDebugMode.
To do this, add the PlayerDebugMod key with a String value equal to 1
OS X: ~/Library/Preferences/com.adobe.CSXS.4.plist Windows: HKEY_CURRENT_USER/Software/Adobe/CSXS.4 Next, the folder with the created extension should be put here.
OS X: ~/Library/Application Support/Adobe/CEPServiceManager4/extensions/ Windows: %APPDATA%\Adobe\CEPServiceManager4\extensions Start Photoshop and choose Window> Extensions> our extension

All further changes can be made directly in the CEPServiceManager4 \ extensions folder.
How to make changes without restarting Photoshop below
Debugging
To enable this mode, you need to create in the root folder of the extension a .debug file,
ExtensionName/ .debug CSXS/ manifest.xml index.html the content of which is approximately the following
<?xml version="1.0" encoding="UTF-8"?> <ExtensionList> <Extension Id="com.extensionname"> <HostList> <Host Name="PHXS" Port="8088"/> </HostList> </Extension> </ExtensionList> where the Extension Id = "com.extensionname" is the ID of our extension,
Port = “8088” is the port for connection.
In the browser, open the link http: // localhost: 8088 ,
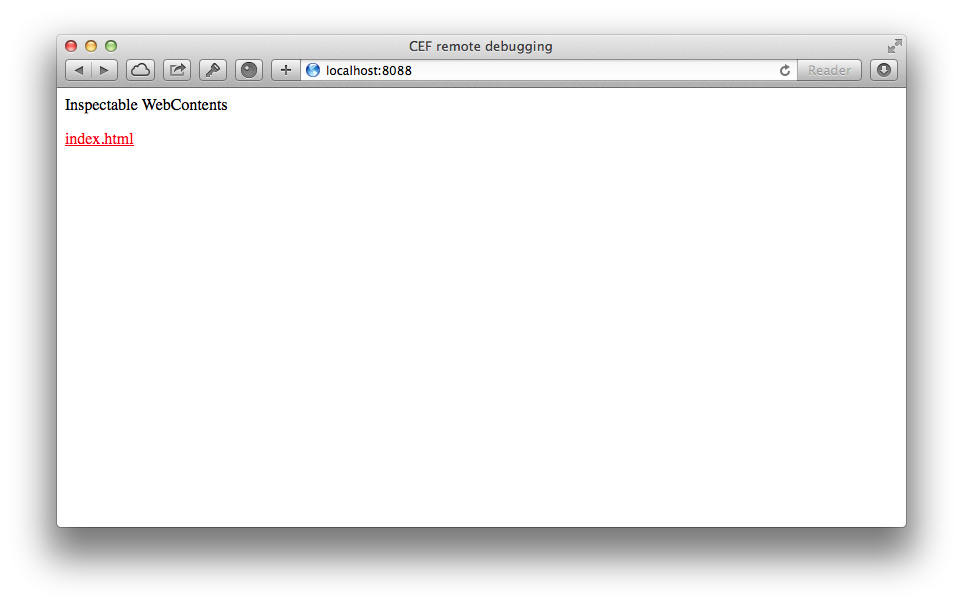
choose our index.html.
And here they are Developer Tools

Tested in Safari and Chrome
Life-simplifying tools
Adobe Edge Code CC / Brackets
David Deraedt made a great extension for these editors Creative Cloud Extension Builder for Brackets
It automatically creates:
- All the necessary files in the right place for Photoshop, Illustrator, Premier, Flash, Prelude or InDesign to choose
- jQuery and CSInterface libraries
- pattern for icons
- its own library of design of all interface elements in the style of Adobe
- script automatically repainting the panel in the color of the application interface
- “Refresh” button
- .debug with all the data
The main advantages are a set of everything you need and the ability to edit the extension without having to restart the program.
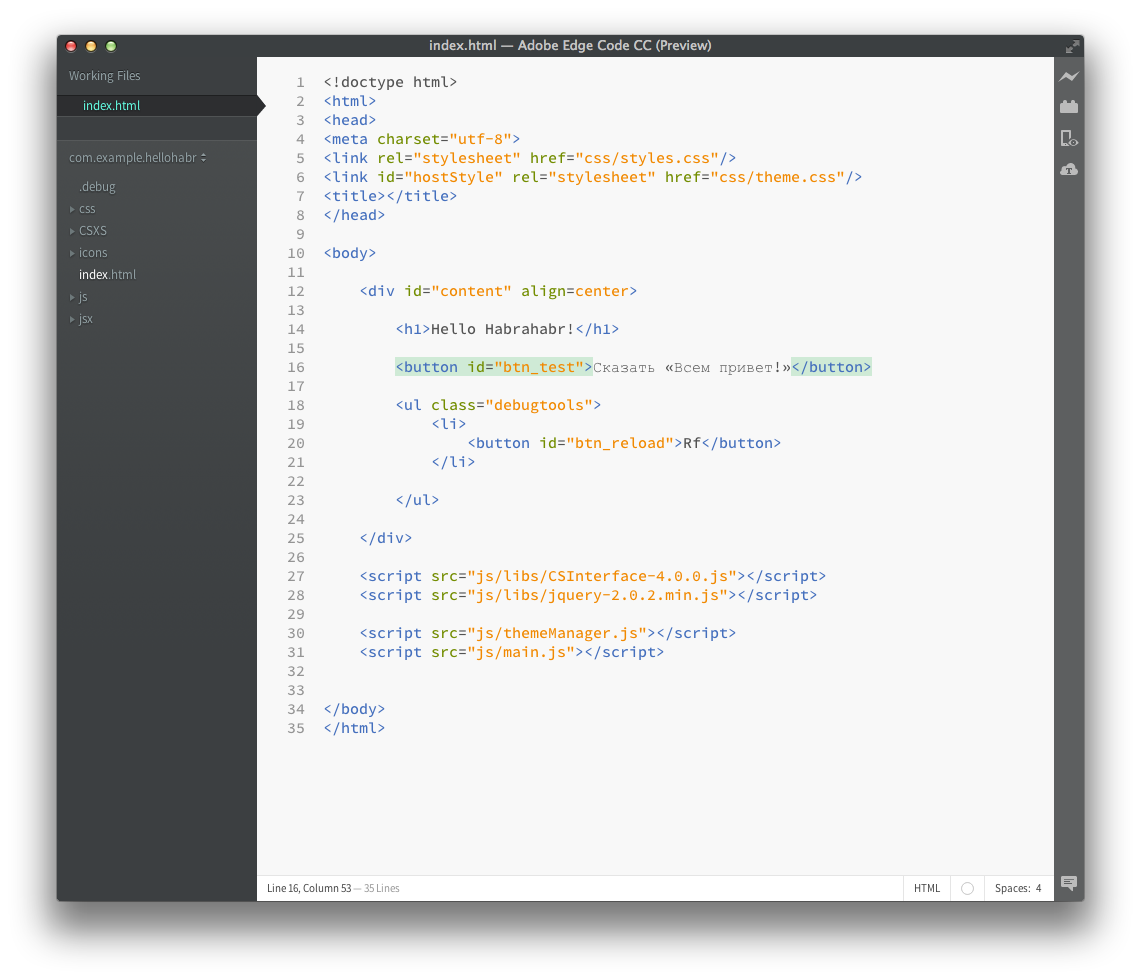
After installing the extension in the Edge Code CC, select File> New Creative Cloud Extension

We make the necessary changes in index.html
We save. Run Photoshop and open what happened.

Pay attention to the small “Rf” button in the upper right corner - it allows you to reload the extension without restarting Photoshop.
By the way, all the scripts that work directly with the functionality of Photoshop are stored in the jsx folder of the extension folder.
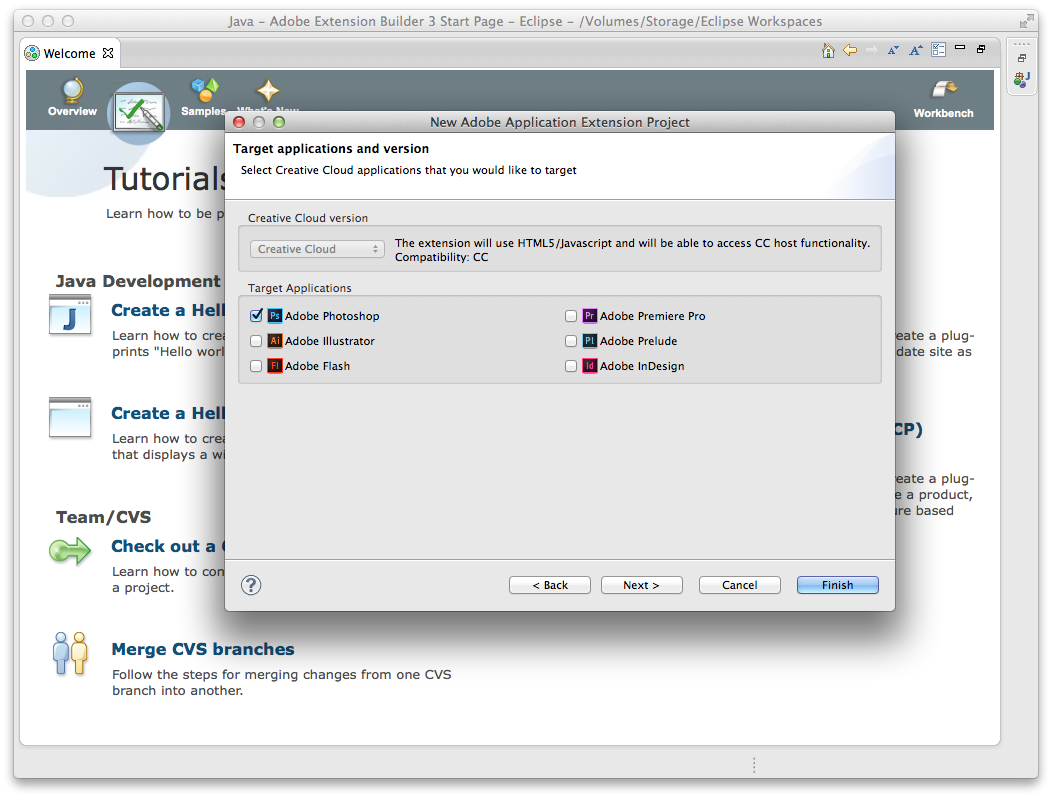
Eclipse
For this editor, download this add-on Adobe Extension Builder 3 and install it.
It creates:
- Photoshop, Illustrator, Premier, Flash, Prelude or InDesign templates
- jQuery and CSInterface libraries
- its own library of design of all interface elements in the style of Adobe
- script for automatic repainting the extension in the color of the application interface
The essence is approximately the same as in the first case.
Only here it is very inconvenient that you need to restart the photoshop every time to view the changes made.
There is also no icon and .debug file.
And the Eclipse itself is harder to lift.

Build in ZXP
The final step is to collect the result in a ZXP file and sign it.
For lack of Windows, I'll tell you how it is done in OS X.
To do this, download the CC Extensions Signing Toolkit
Open the terminal and get a certificate command
ZXPSignCmd -selfSignedCert <countryCode> <stateOrProvince> <organization> <commonName> <password> <outputPath.p12> example
ZXPSignCmd -selfSignedCert RU RU Saint-Petersburg "My Company" "Igor Volkov" myPassword myCertificate.p12 After the certificate is received, we pack our extension in ZXP using this certificate.
ZXPSignCmd -sign <inputDirectory> <outputZxp> <p12> <p12Password> example
./ZXPSignCmd -sign HelloHabrahabr/ HelloHabrahabr.zxp myCertificate.p12 myPassword That's all.
I hope this article will help many to take the first step towards the development of their improvements by all well-known programs.
useful links
HTML Panel Tips by Davide Barranca - several useful articles on the topic.
Introduction To Photoshop Scripting By Kamil Khadeyev - where to start your first script for Photoshop.
USING The Adobe Eextension SDK - detailed instructions from Adobe
Adobe Photoshop Scripting - Adobe Scripting Documentation
A Short Guide to HTML5 Extensibility is about the same as I described in the first part of my article.
Introducing HTML5 Extensions - a couple of introductory videos for working with Eclipse
Adobe Extension Builder 3 - Eclipse extension and packer for ZXP files
Creative Cloud Extension Builder for Brackets - extension for Adobe Edge Code CC / Brackets
Source: https://habr.com/ru/post/221863/
All Articles