ZNC bouncer on RPi
It so happened that recently, IRC chats have become one of the communication channels for me. Almost immediately it became clear that the “bare” IRC was deprived of some of the amenities that I was so used to on Skype, for example:
- Message history available directly from the chat window
- Ability to connect from multiple points
To solve these problems, some time later, a virtual company with an IRC booster appeared in our company, and everything became much better and more convenient. It is clear that for a company to keep a virtual one for such purposes is absolutely not a problem, but what if you want to start such a small animal for personal needs (and I at some point wanted to)? Discarding the options with hosting (it’s not worth the extra money), a separate computer (for not), and a virtual machine on the existing one (100 watts consumed around the clock also cost money) I settled on RaspberryPi, which at that time acted as NAS, but by fact most of the time idle.
')
Brief description of what everything is collected on and what will be mentioned in the article:
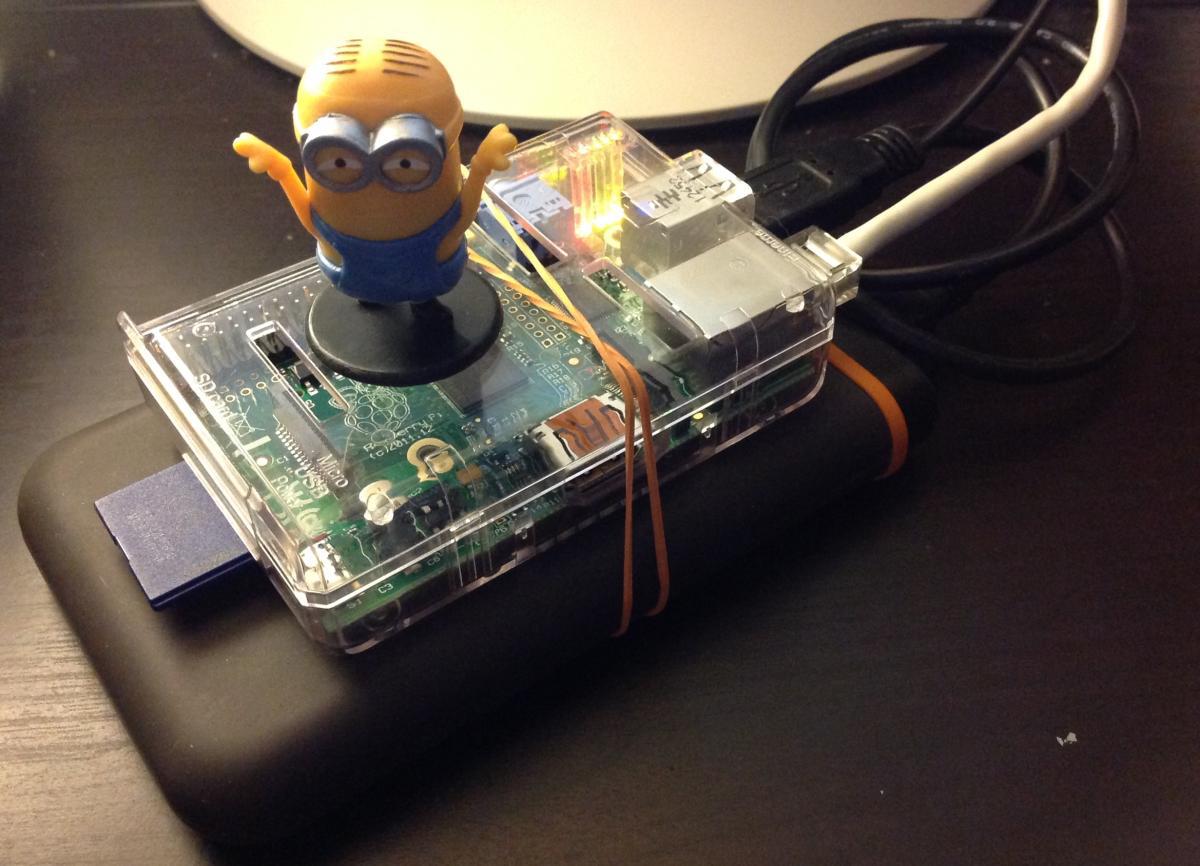
- Platform - RaspberryPi Model B (512 Mb / Ethernet).
- OS - Raspbian.
- Features of the OS installation - the root partition is fully migrated to a USB 2.0 hard drive, only the boot partition is left on the SD card. Unfortunately, not a word about this, but I can write if it is interesting.
- Bouncer - ZNC, version 1.2.
- Features of the installation of the bouncer - assembly from tarball, installation in chroot, assembly of the modpython module (modperl, modtcl optional).
I chose ZNC as a bouncer for the following reasons:
- A fairly common bouncer.
- The possibility of expanding functionality through modules.
- Quite a lot of these modules.
- The ability to write my own modules in python (as well as perl and tcl, although I did not need this).
- After reading the project wiki, one more item added the ability to easily transfer the bouncer to chroot.
For a start, I tried to put the ZNC on a “normal” ubuntu, just to see how it should look in working condition. Everything turned out to be simple and clear, so inspired by this intermediate success, I proceeded to tune up the RPi.
The first unpleasant surprise was the presence of a very old assembly ZNC in the repositories - it seems it was 0.206. However, this only strengthened my intention to assemble a ZNC from a tarball, especially since the process is well described on the project wiki.
Basically, I will be typing the commands typed in the console, so as not to duplicate the existing and quite useful installation guide. Most of the comments will be only in those places where there will be differences with the official document.
First you need to install the necessary packages for the assembly:
pi@raspberrypi ~ $ sudo apt-get install build-essential pkg-config libssl-dev If you need to build a python, perl or tcl support module, you will need to install the appropriate packages from the list:
- modpython is the python-dev package.
- modperl - libperl-dev package.
- modtcl - tcl-dev package.
I need only a module for python:
pi@raspberrypi ~ $ sudo apt-get install python-dev Download and unpack tarball:
pi@raspberrypi ~ $ wget http://znc.in/releases/znc-1.2.tar.gz pi@raspberrypi ~ $ tar xzvf znc-1.2.tar.gz Create a user to run the bouncer:
pi@raspberrypi ~ $ sudo adduser bouncer pi@raspberrypi ~ $ sudo passwd bouncer Create a directory structure for chroot (I’ll put everything in / opt / znc ):
pi@raspberrypi ~ $ sudo mkdir /opt/znc pi@raspberrypi ~ $ cd /opt/znc/ pi@raspberrypi /opt/znc $ sudo mkdir -p etc dev usr/lib usr/local/{share,bin,lib} lib home/bouncer pi@raspberrypi /opt/znc $ sudo mkdir -p lib/arm-linux-gnueabihf usr/lib/arm-linux-gnueabihf pi@raspberrypi /opt/znc $ sudo chown bouncer:bouncer home/bouncer/ pi@raspberrypi /opt/znc $ cd dev/ pi@raspberrypi /opt/znc/dev $ sudo mknod -m 644 random c 1 8 pi@raspberrypi /opt/znc/dev $ sudo mknod -m 644 urandom c 1 9 pi@raspberrypi /opt/znc/dev $ sudo mknod -m 666 null c 1 3 pi@raspberrypi /opt/znc $ sudo cp /etc/hosts etc/ pi@raspberrypi /opt/znc $ sudo cp /etc/resolv.conf etc/ pi@raspberrypi /opt/znc $ sudo cp /lib/arm-linux-gnueabihf/libnss_dns.so.2 lib/arm-linux-gnueabihf/ pi@raspberrypi /opt/znc $ sudo cp /lib/arm-linux-gnueabihf/libresolv.so.2 lib/arm-linux-gnueabihf/ pi@raspberrypi /opt/znc/dev $ cd We configure source codes for assembly. To build modules for perl or tcl, add
--enable-perl and / or --enable-tcl respectively: pi@raspberrypi ~ $ cd znc-1.2/ pi@raspberrypi ~/znc-1.2 $ ./configure --enable-python Run the build (the process takes about 1.5-2 hours):
pi@raspberrypi ~/znc-1.2 $ make Install in the chroot directory. With this installation method (
DESTDIR=/opt/znc ), all files are immediately located in the specified subdirectory and do not affect the main system. In addition, we eliminate the need to copy files into the chroot, as suggested in the official document: pi@raspberrypi ~/znc-1.2 $ sudo DESTDIR=/opt/znc make install Now you need to see which libraries are needed for the application to work ...
pi@raspberrypi ~/znc-1.2 $ ldd /opt/znc/usr/local/bin/znc ... and copy them:
pi@raspberrypi ~/znc-1.2 $ cd /opt/znc/ pi@raspberrypi /opt/znc $ sudo cp /usr/lib/arm-linux-gnueabihf/libcofi_rpi.so ./usr/lib/arm-linux-gnueabihf/libcofi_rpi.so pi@raspberrypi /opt/znc $ sudo cp /lib/arm-linux-gnueabihf/libdl.so.2 ./lib/arm-linux-gnueabihf/libdl.so.2 pi@raspberrypi /opt/znc $ sudo cp /lib/arm-linux-gnueabihf/libz.so.1 ./lib/arm-linux-gnueabihf/libz.so.1 pi@raspberrypi /opt/znc $ sudo cp /usr/lib/arm-linux-gnueabihf/libstdc++.so.6 ./usr/lib/arm-linux-gnueabihf/libstdc++.so.6 pi@raspberrypi /opt/znc $ sudo cp /lib/arm-linux-gnueabihf/libm.so.6 ./lib/arm-linux-gnueabihf/libm.so.6 pi@raspberrypi /opt/znc $ sudo cp /lib/arm-linux-gnueabihf/libgcc_s.so.1 ./lib/arm-linux-gnueabihf/libgcc_s.so.1 pi@raspberrypi /opt/znc $ sudo cp /lib/arm-linux-gnueabihf/libpthread.so.0 ./lib/arm-linux-gnueabihf/libpthread.so.0 pi@raspberrypi /opt/znc $ sudo cp /lib/arm-linux-gnueabihf/libc.so.6 ./lib/arm-linux-gnueabihf/libc.so.6 pi@raspberrypi /opt/znc $ sudo cp /lib/ld-linux-armhf.so.3 ./lib/ld-linux-armhf.so.3 It remains only to create a few symlinks on the znc directories, so that the bouncer can be run not only from chroot, but also “as usual”. We will need this when we first start (to create a configuration file), and also in the future, if we need to start compiling modules for ZNC.
Create symlinks:
pi@raspberrypi ~ $ sudo ln -sv /opt/znc/usr/local/lib/znc /usr/local/lib/ pi@raspberrypi ~ $ sudo ln -sv /opt/znc/usr/local/share/znc /usr/local/share/ pi@raspberrypi ~ $ sudo ln -sv /opt/znc/usr/local/include/znc /usr/local/include/ Before launching a bouncer, you need to create an initial config for it and copy the resulting config to the chroot directory. To do this, we become a bouncer user, go to the home directory, and run znc with the
--makeconf key: pi@raspberrypi ~ $ su bouncer bouncer@raspberrypi /home/pi $ cd bouncer@raspberrypi ~ $ /opt/znc/usr/local/bin/znc --makeconf The setup process itself is quite simple thanks to very informative prompts. Upon completion of the configuration, we should get a running, efficient bouncer. You can continue the configuration by opening the web browser interface (if the webadmin module was activated), or via the IRC client.
The last thing left to do is to move the resulting config to chroot and run the bouncer from there. By the way, do not edit the config file bowser hands. We recommend using webadmin for this.
First, stop the bouncer. The first command will save the current configuration to the config file, and the second will stop the bouncer:
bouncer@raspberrypi ~ $ pkill -SIGUSR1 znc bouncer@raspberrypi ~ $ pkill znc Copy the directory with the settings in chroot:
bouncer@raspberrypi ~ $ cp -r .znc /opt/znc/home/bouncer And run from the chroot directory with the command:
pi@raspberrypi ~ $ sudo start-stop-daemon --chroot /opt/znc/ --chuid bouncer:bouncer --start --exec /usr/local/bin/znc You can stop the bouncer with the command:
pi@raspberrypi ~ $ sudo start-stop-daemon --chroot /opt/znc/ --chuid bouncer:bouncer --stop --exec /usr/local/bin/znc Well, that seems to be all. To start the boiler automatically at system startup, you can add a start command in /etc/rc.local .
As usual, questions and comments are welcome.
Link to the project website: ZNC
Source: https://habr.com/ru/post/217973/
All Articles