Quadcopter based on AeroQuad Open Source project
Good day!
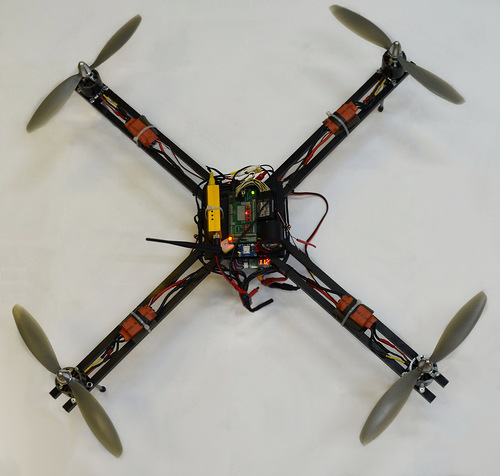
I would like to tell you a little about the AeroQuad Open Source project and about my experience building a quadrocopter.
The AeroQuad project supports:
1. In the future, the ability to connect gps, flight to waypoints, which can be downloaded via AeroQuad Configurator.
2. Stabilization of the camera. To compensate for quadcopter movements, you can use 3 servo drives.
3. On-screen-display. Overlay graphics on video stream.
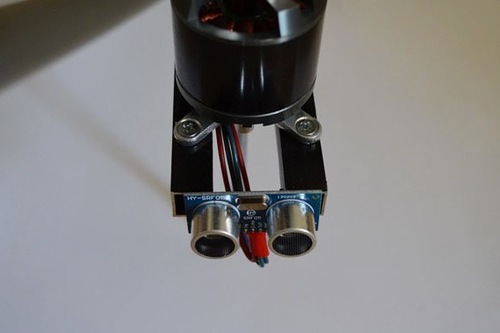
4. In addition to connecting the gyro accelerometer and magnetometer, it is possible to connect other sensors, such as an ultrasonic range finder and a barometer.
')
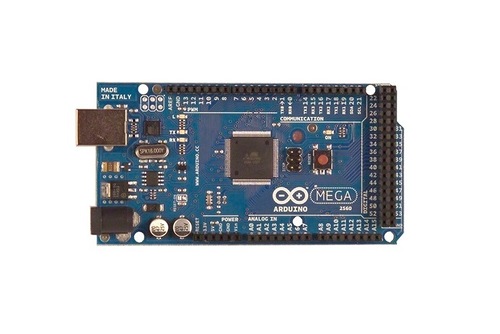
It all started with the purchase of the Arduino Mega 2560 and when I just got tired of flashing the LEDs I decided to build a quadrocopter. I wanted to make a good toy with my hands. The process itself is very interesting and fascinating. A great option for exploring microcontrollers.
If you devote time to about 2 hours. a day, after 2-3 weeks you can test your quadcopter in the air.
Assembly process:
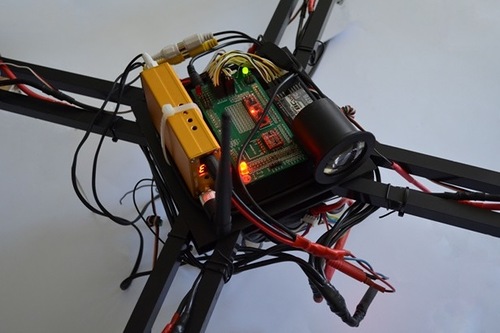
1. AeroQuad Shield v2.1 significantly reduces the number of wires and simplifies the assembly process. You can buy here for $ 30 + shipping. I bought ready, but delivery took about 6 months. For the first time made such.
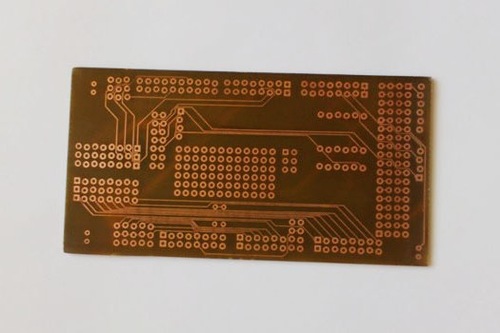
Sources here

2. Logic Level Converter. It costs about $ 2.
(8 10K resistors and 2-channel n-channel MOS transistor. Total: 8 rubles.)
A little crooked, but it works.

3. Arduino Mega 2560
3. 9DOF. The site AeroQuad costs $ 99. There is $ 24. (ITG3205 gyroscope)

includes: ITG-3200 gyroscope (ITG3205), ADXL 345 accelerometer, HMC5883L magnetometer.
When soldering you need to be extremely careful, my gyroscope deteriorated from static electricity, I had to re-solder. New chip cost 700r.
4. Barometer BMP085 ($ 20)
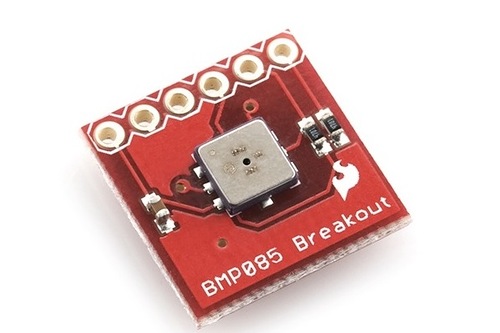
Assembly should be like this:

5. Ultrasonic sensor. LV-MAXSONAR-EZx (from 1500 rub. For piece) I used a little another.
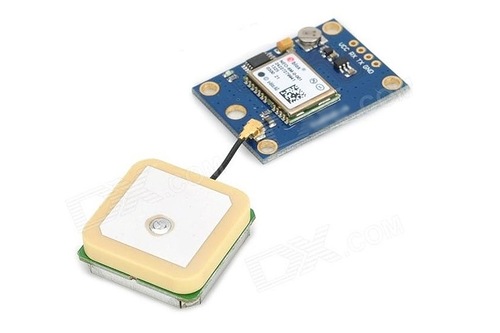
6. GPS.
7. RU. Folk equipment RU Turnigy 9x. 60 $

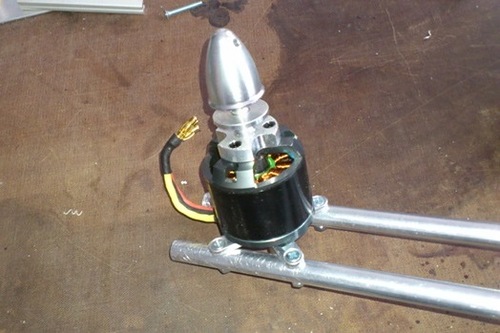
8. Engines. NTM Prop Drive 50-50 580Kv / 2000W ($ 37 for 1pc.) + NTM Prop Drive 50 Series Accessory Pack ($ 2 for 1pc.)
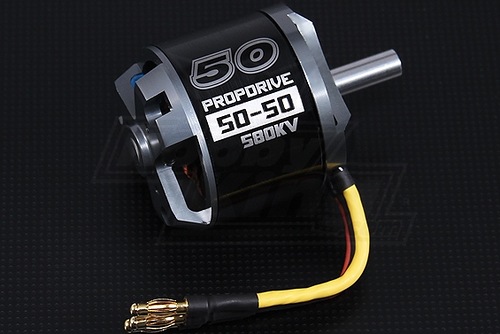

With engines of course bust. NTM Prop Drive 28-36 1200KV / 530W would be enough.
9. Controllers. HobbyKing 100A ESC 4A UBEC ($ 40 for 1pc.)

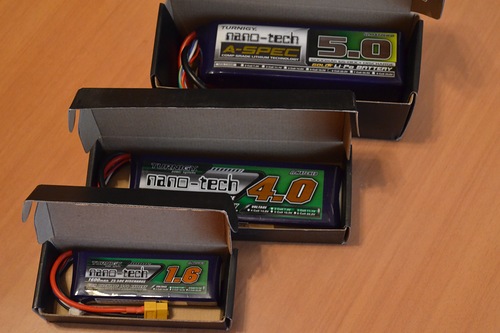
10. Batteries:
Turnigy nano-tech 4000mah 3S 25 ~ 50C Lipo for FPV ($ 28.51 $)
Turnigy nano-tech 1600mah 3S 25 ~ 50C Lipo for RU ($ 14.92)
Turnigy nano-tech A-SPEC 5000mah 6S 65 ~ 130C Lipo ($ 145)
11. Turnigy Accucel-6 50W 6A Balancer / Charger

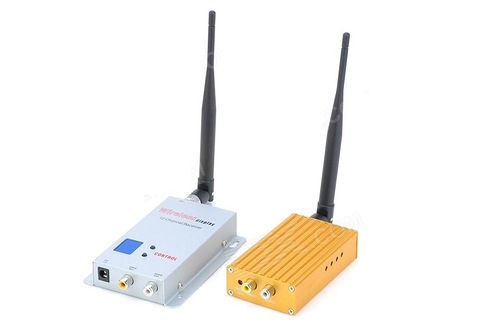
12. FPF
On the question of which kit to choose FPV, there is no definite answer.
Regarding frequencies:
900Mhz-range with good penetrating power, but the equipment does not allow to fly long distances.
1.2 / 1.3 GHZ - a good frequency with a long transmission distance. Large selection of kits from different manufacturers at different prices and quality.
2.4 GHZ - the distance and penetrating power is slightly lower, but it is possible to transmit video of better quality.
5.8 GHZ - short range and penetrating power. The plus of this frequency is free, pure air.
For myself chose: 1.2GHz, 1W.
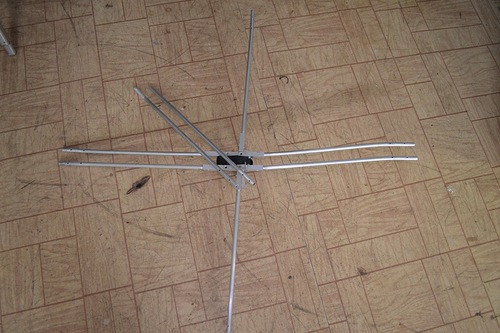
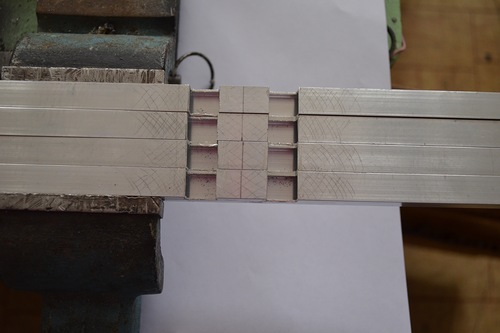
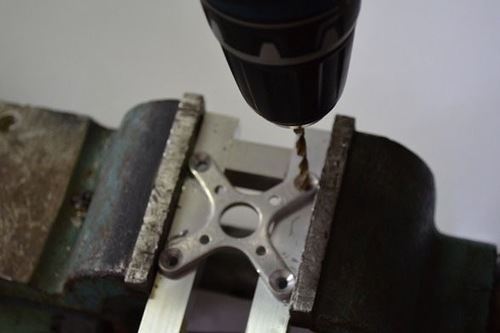
Frame
You can find all sorts of options from home-made to ready-made solutions. For myself, decided to make an aluminum profile.
The first option was not very successful.
Some photos.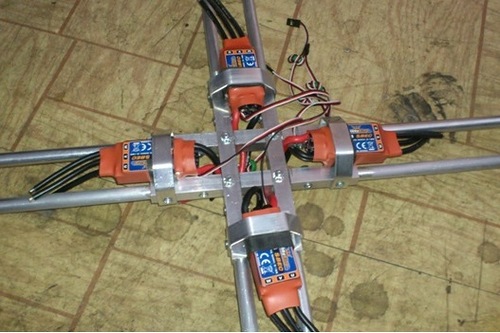
After an unsuccessful landing came into disrepair.
After an unsuccessful landing came into disrepair.
The second time turned out a little stronger.
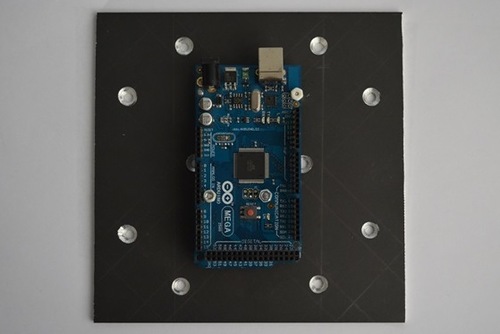

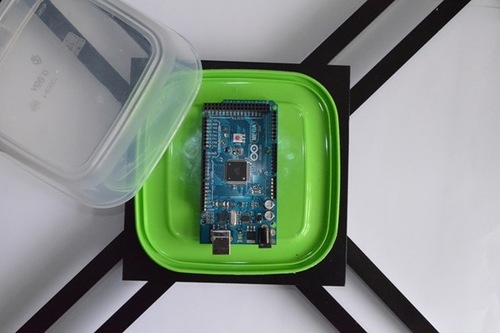
To protect the board a little pokolhozil. But cheap, reliable and practical.
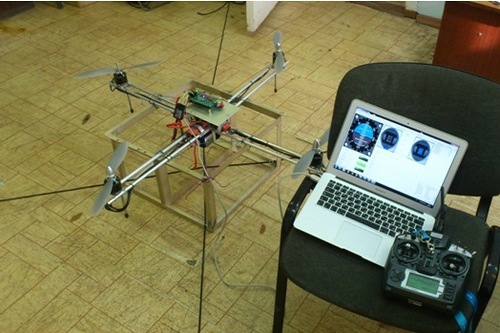
Painted and ready for the first tests.
The setup process is very simple:
1. Install the Arduino IDE .
2. Compile AeroQuad_v3.2 .
3. In the AeroQuad Configurator program, you must follow the instructions to calibrate all the sensors one by one.

In general, all the detailed assembly instructions are here .
One tip: better to buy propellers with a margin.
The video is now spreading only the first test flights, before calibrating the sensors, taken in a room with a quadrocopter attached to the floor.
The rest of the video only after replacing the broken propellers, waiting for the parcel.
Source: https://habr.com/ru/post/217345/
All Articles