Making the server with your own hands
Foreword
For several years, a project was developed with a friend, which ultimately required a server. And we thought: how to implement our idea?
For a start, they called the local Internet provider to find out the cost of placing their server in the data center. They found out that the cost of placement depends on the number of units that make up the server. And they decided for themselves that for us the ideal option would be to host a server of 1U in size.
Since our budget was very limited, we could not afford to purchase a powerful server in the 1U form factor. We had an idea, why not make it yourself?
No sooner said than done. Ran to the nearest computer store and bought all the accessories for a regular computer. Well, the most important thing left to do is the case and shove all the components into it.
Implementation
For a start it was necessary to determine the size and iron, which will be placed in the housing. Standard sizes can be easily found on the Internet, the main task was to cram components into a height of 43.7 mm. This is exactly the value of 1U.
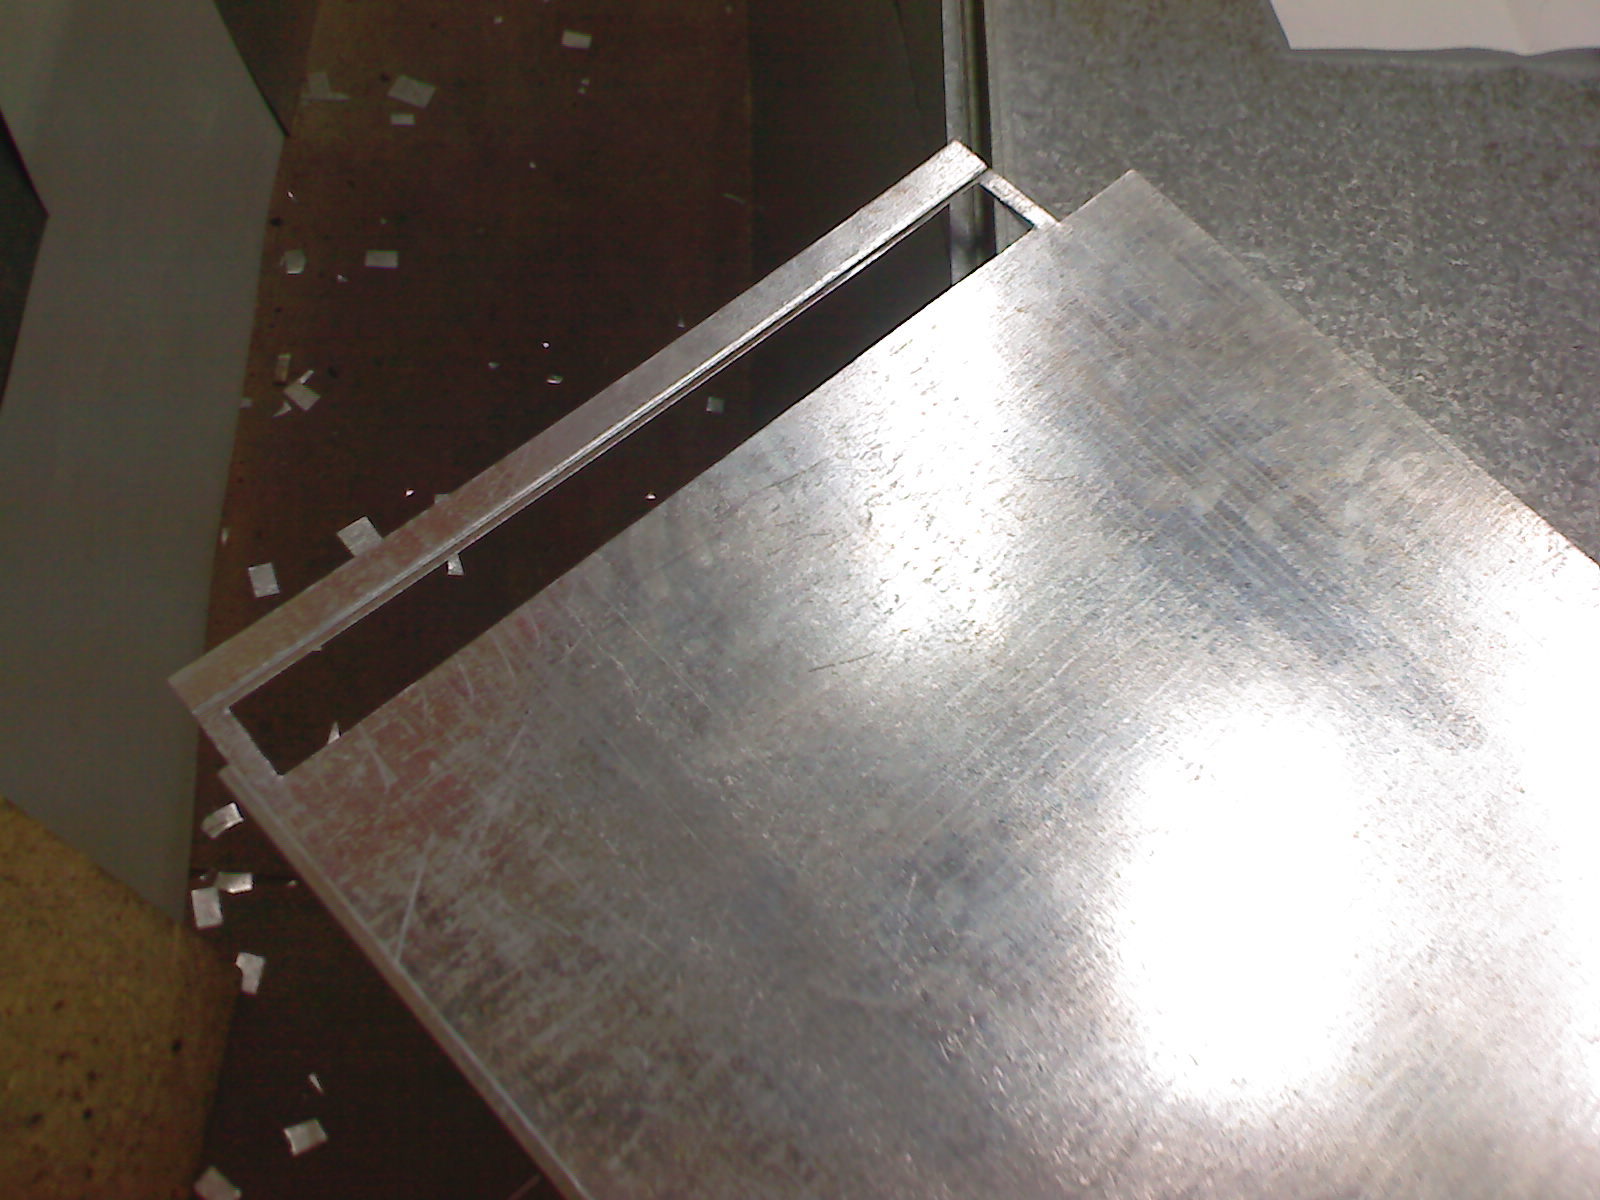
Let's go! In our city it is difficult to quickly and cheaply buy a server impeller, so the cooler was decided to be made from what it was. The radiator was bought and refined with a hacksaw for metal, at the desired height.
')

View after the cut.
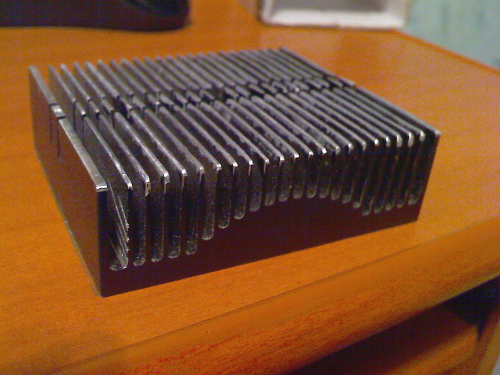
The area of the radiator was reduced, so I had to make a cooler with a more powerful air flow. Well, of course, where are we without tests ...? It was necessary to check the intensity of cooling by means of what we had. And so, we have three participants: a twin fan, a cardboard impeller and an ordinary fan for the radiator.

We continue!
We will heat the radiator on the burner by attaching a thermal sensor to it.


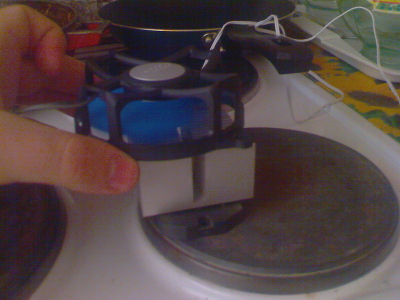

Unfortunately, the results are no longer remembered, but the most effective was the impeller, with a dual fan, and decided to use this design, just in case, adding a third fan for reliability. It was also decided to use a corrugation for directional air intake from the processor heatsink.
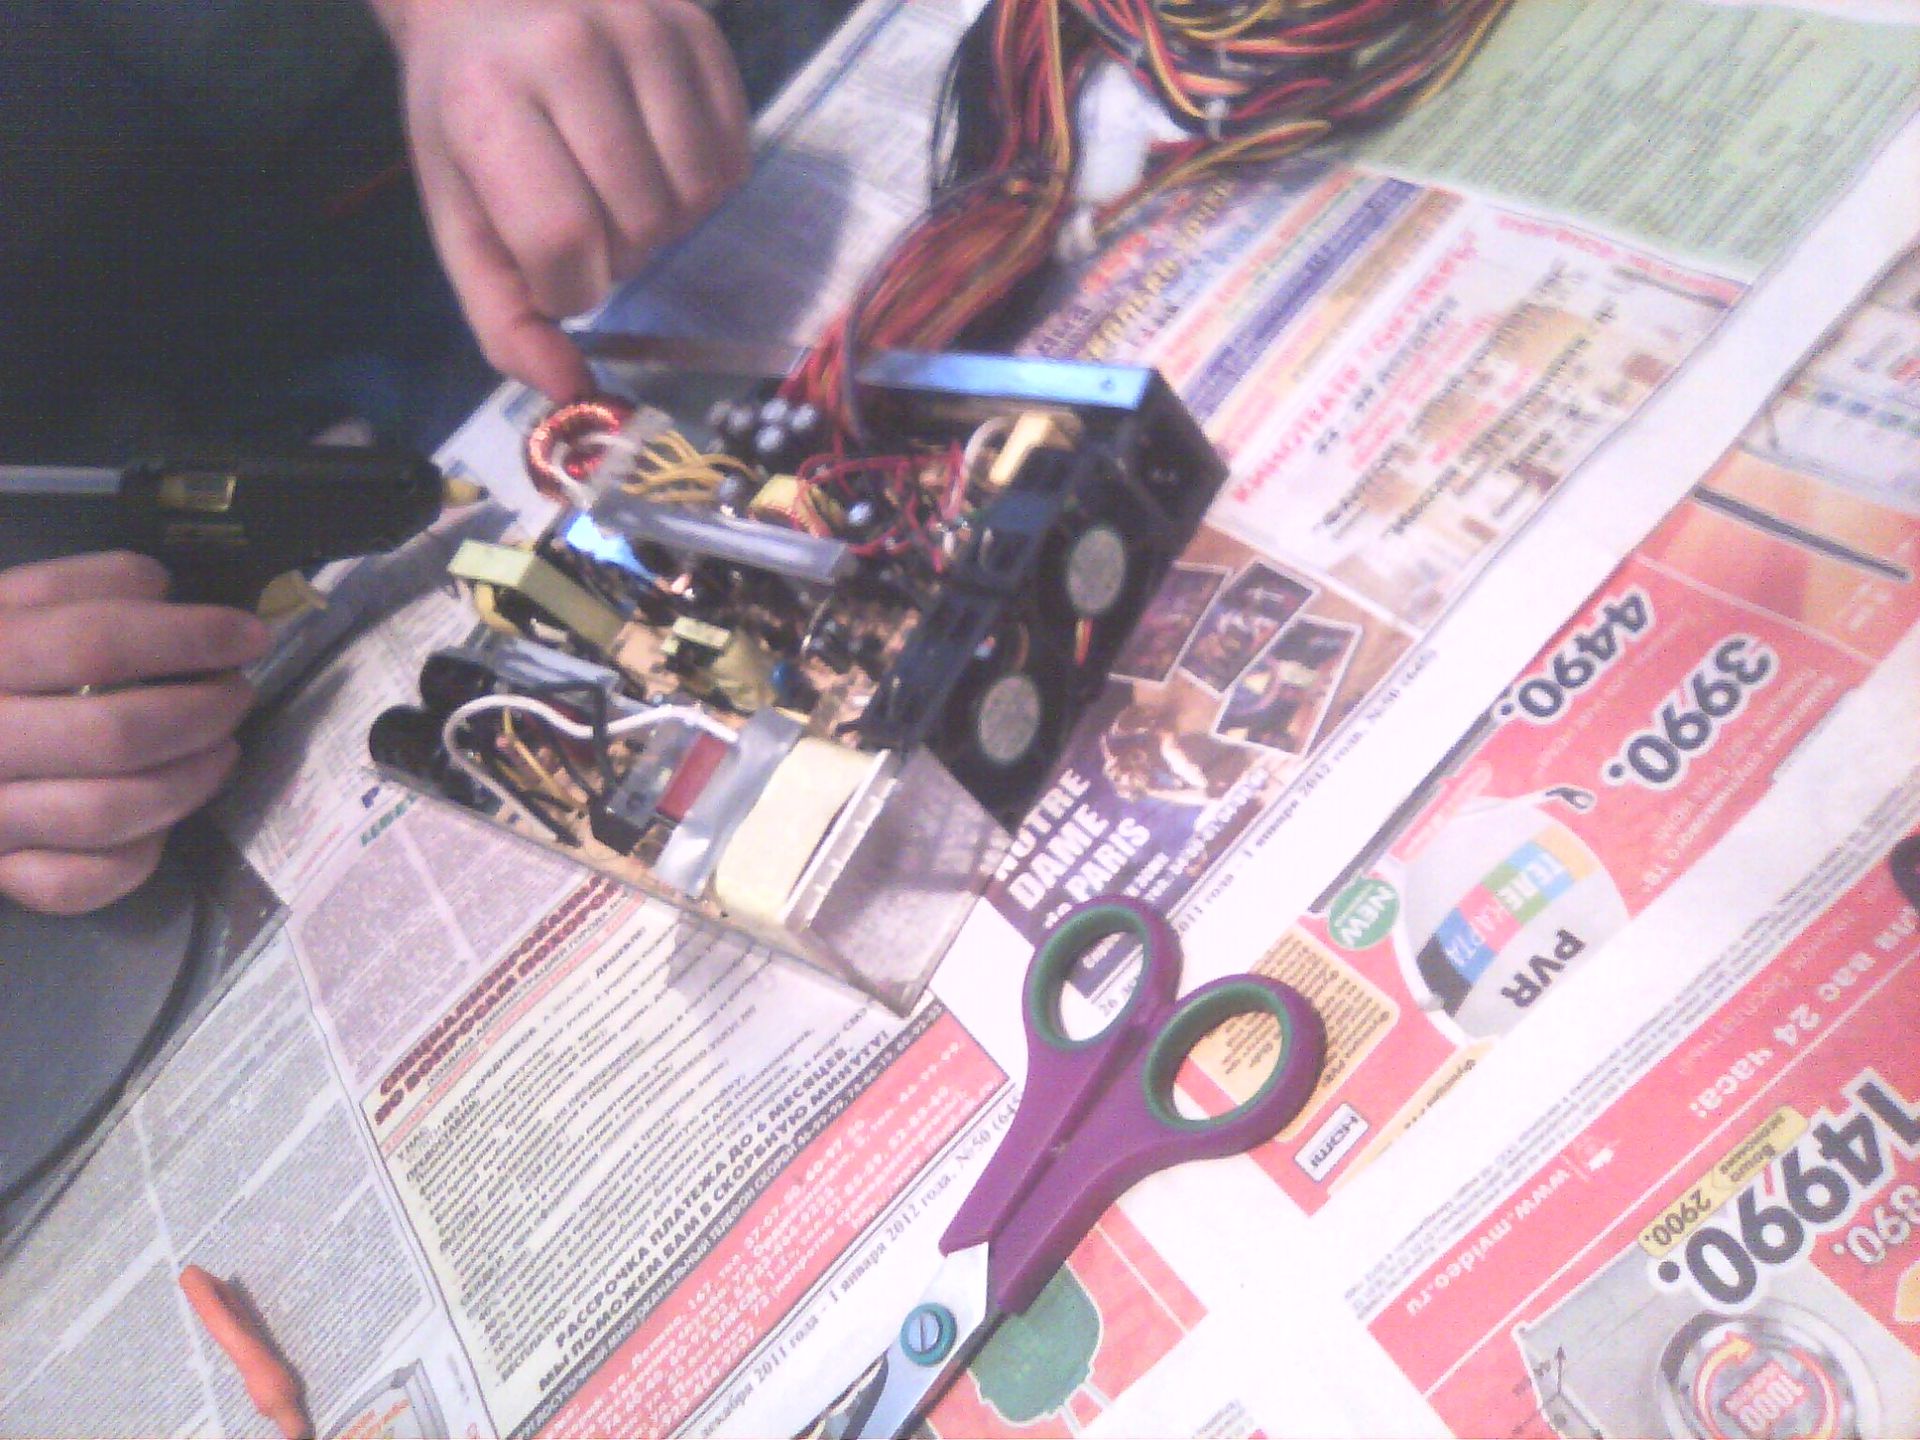
Next in line was the usual 500W ATX power supply. To begin with, we committed an act of vandalism over it, cut down radiators and soldered high parts.

Then they returned everything to their places, but from a different angle.

The case had to throw out and bungle a new stainless steel. Do not worry, the quality is not a bit worse than that of our fellow Chinese, everything is as it should, even the glue gun has participated.
Well, so as not to rust, paint it with paint from a car can.
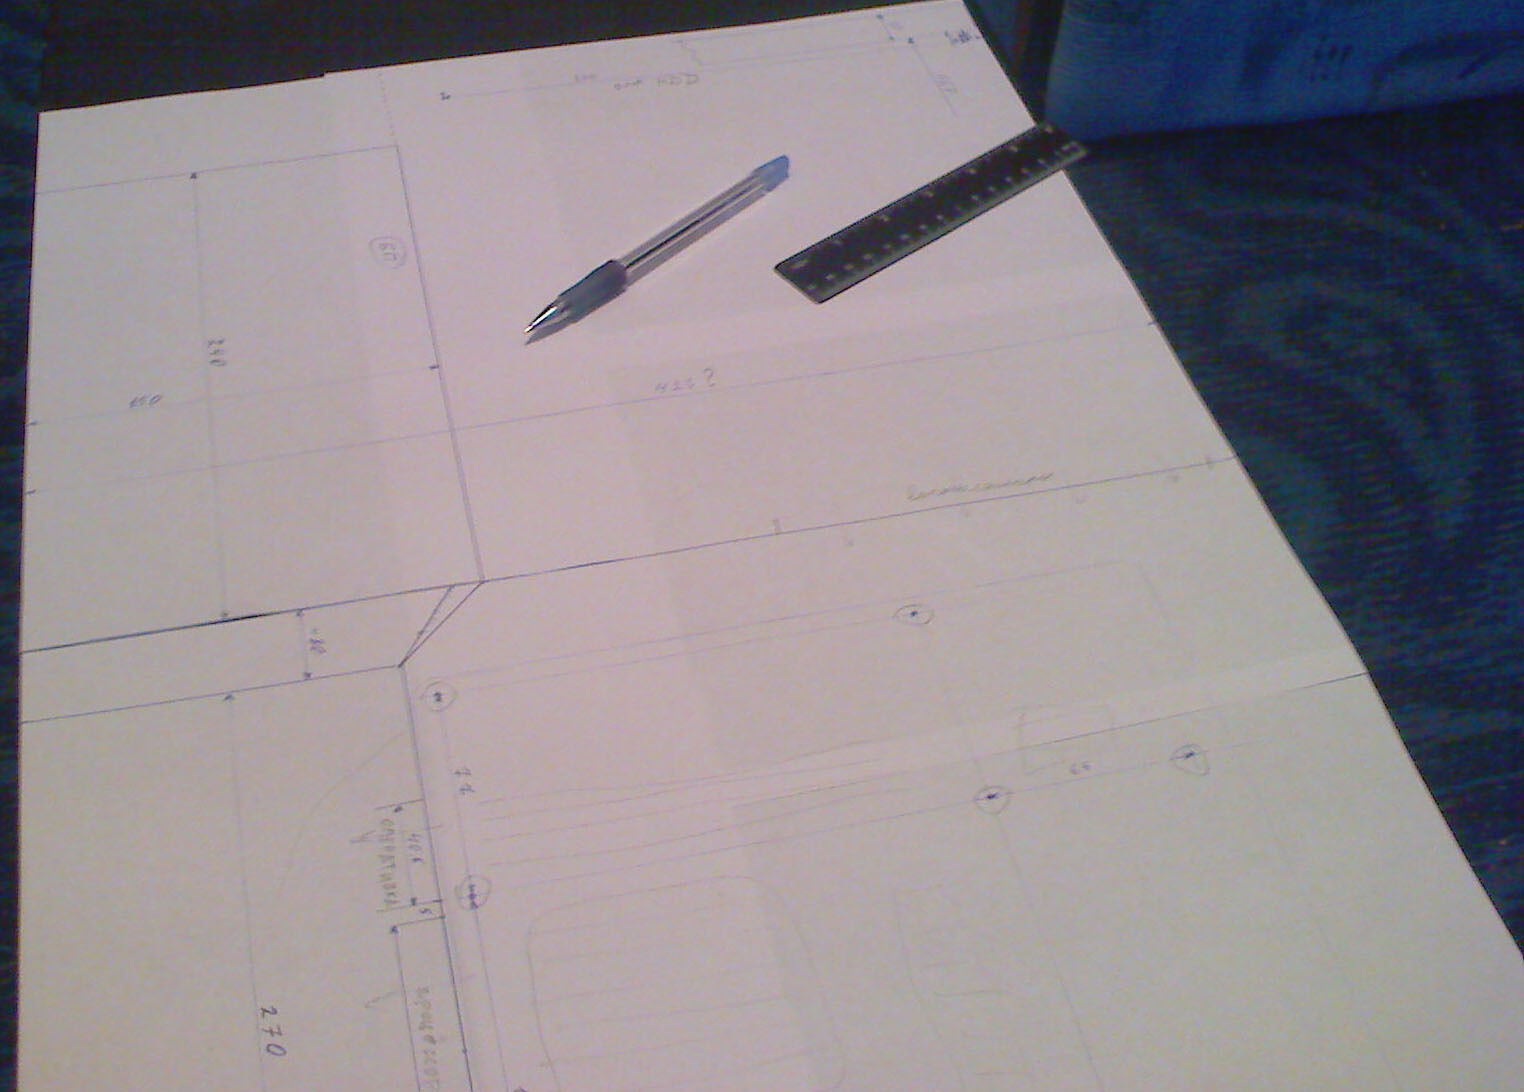
And now, when the main parts were ready, it remains to take measurements and draw a drawing in dimensions of 650x425. An important aspect was the arrangement of the server elements in such a way that it adhered to the standard cooling system - in front of the cold air intake, behind the return of warm. Therefore, due to the design of the ATX motherboard, the air from the processor had to be diverted to the side, and the power supply was moved to the front of the server. Drew a drawing of the case on paper.
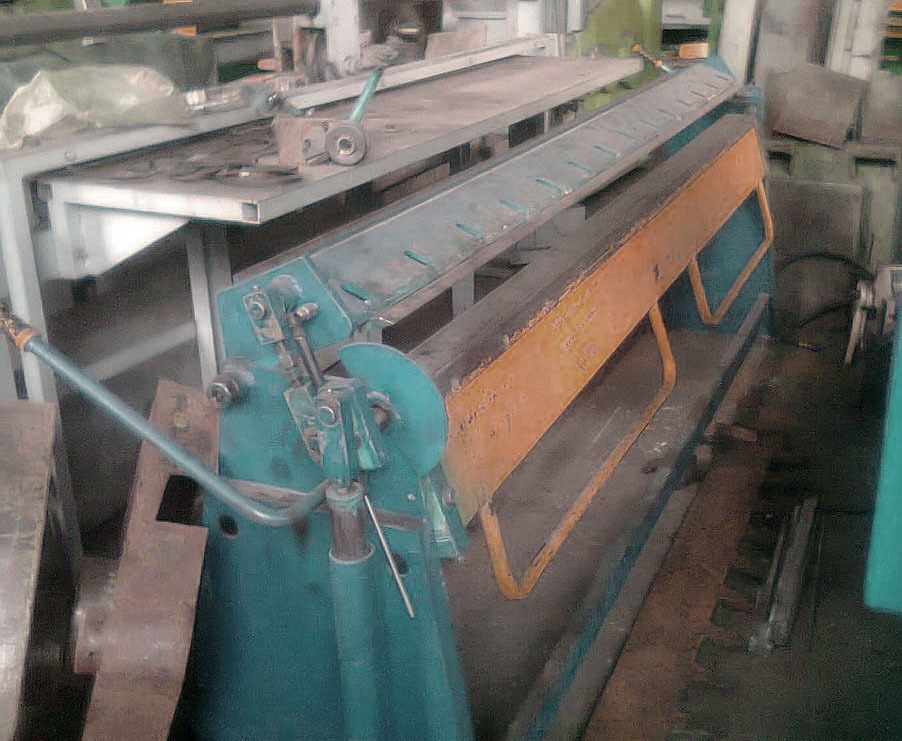
The case is left for small - to make the case itself. Fortunately, we found good acquaintances with good old sheet bending and galvanizing, who kindly lent us the tools and the room.
And she rushed ... To be honest, at first everything looked terrible, I even wanted to give up this venture, in fact:
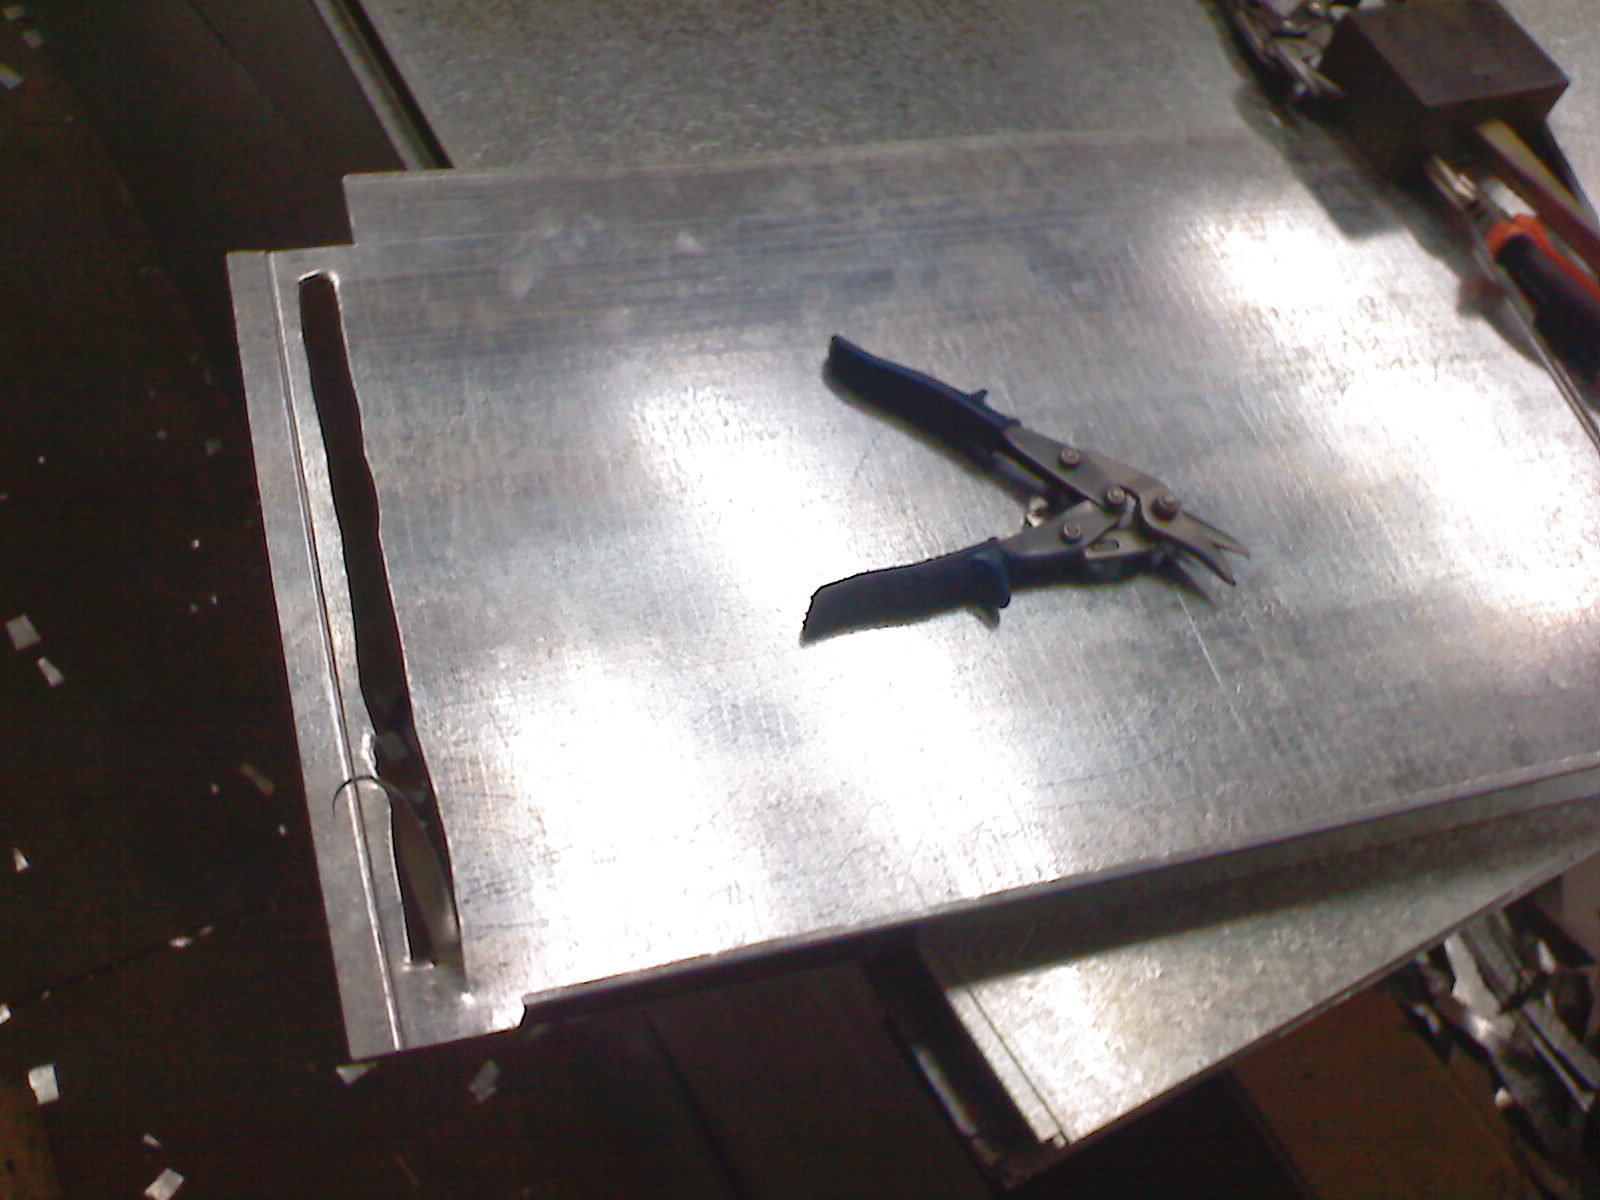
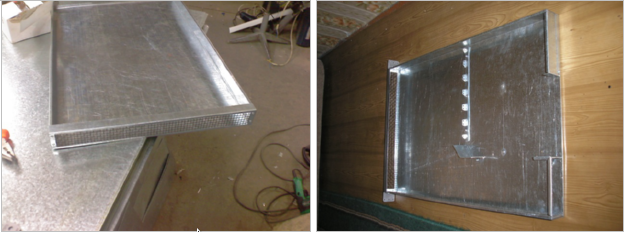
The result was such a box, more like ventilation than a server ...
In fact, everything is not so scary, there was another shop across the road, where for a small amount it was possible to cover with polymer of any color. Having painted the body, we hid all the scuffs and scratches, giving it a pleasant look.


It remains to collect everything.
We didn’t try much with the build quality, as it was a temporary solution, before the project starts making a profit. The photo shows how the glue gun was used in places.
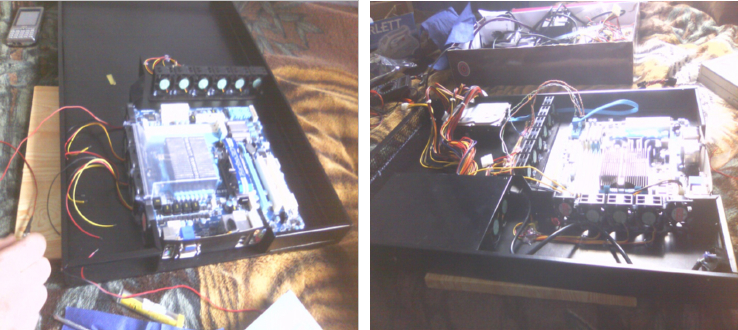
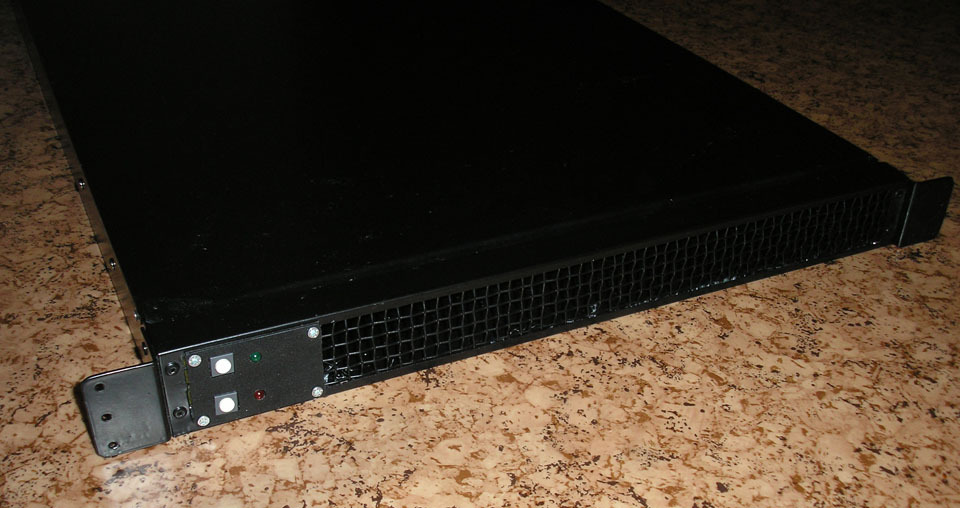
As a result, we have collected such an unusual server. There is still space for additional hard drives and one expansion card (you only need to purchase a riser).
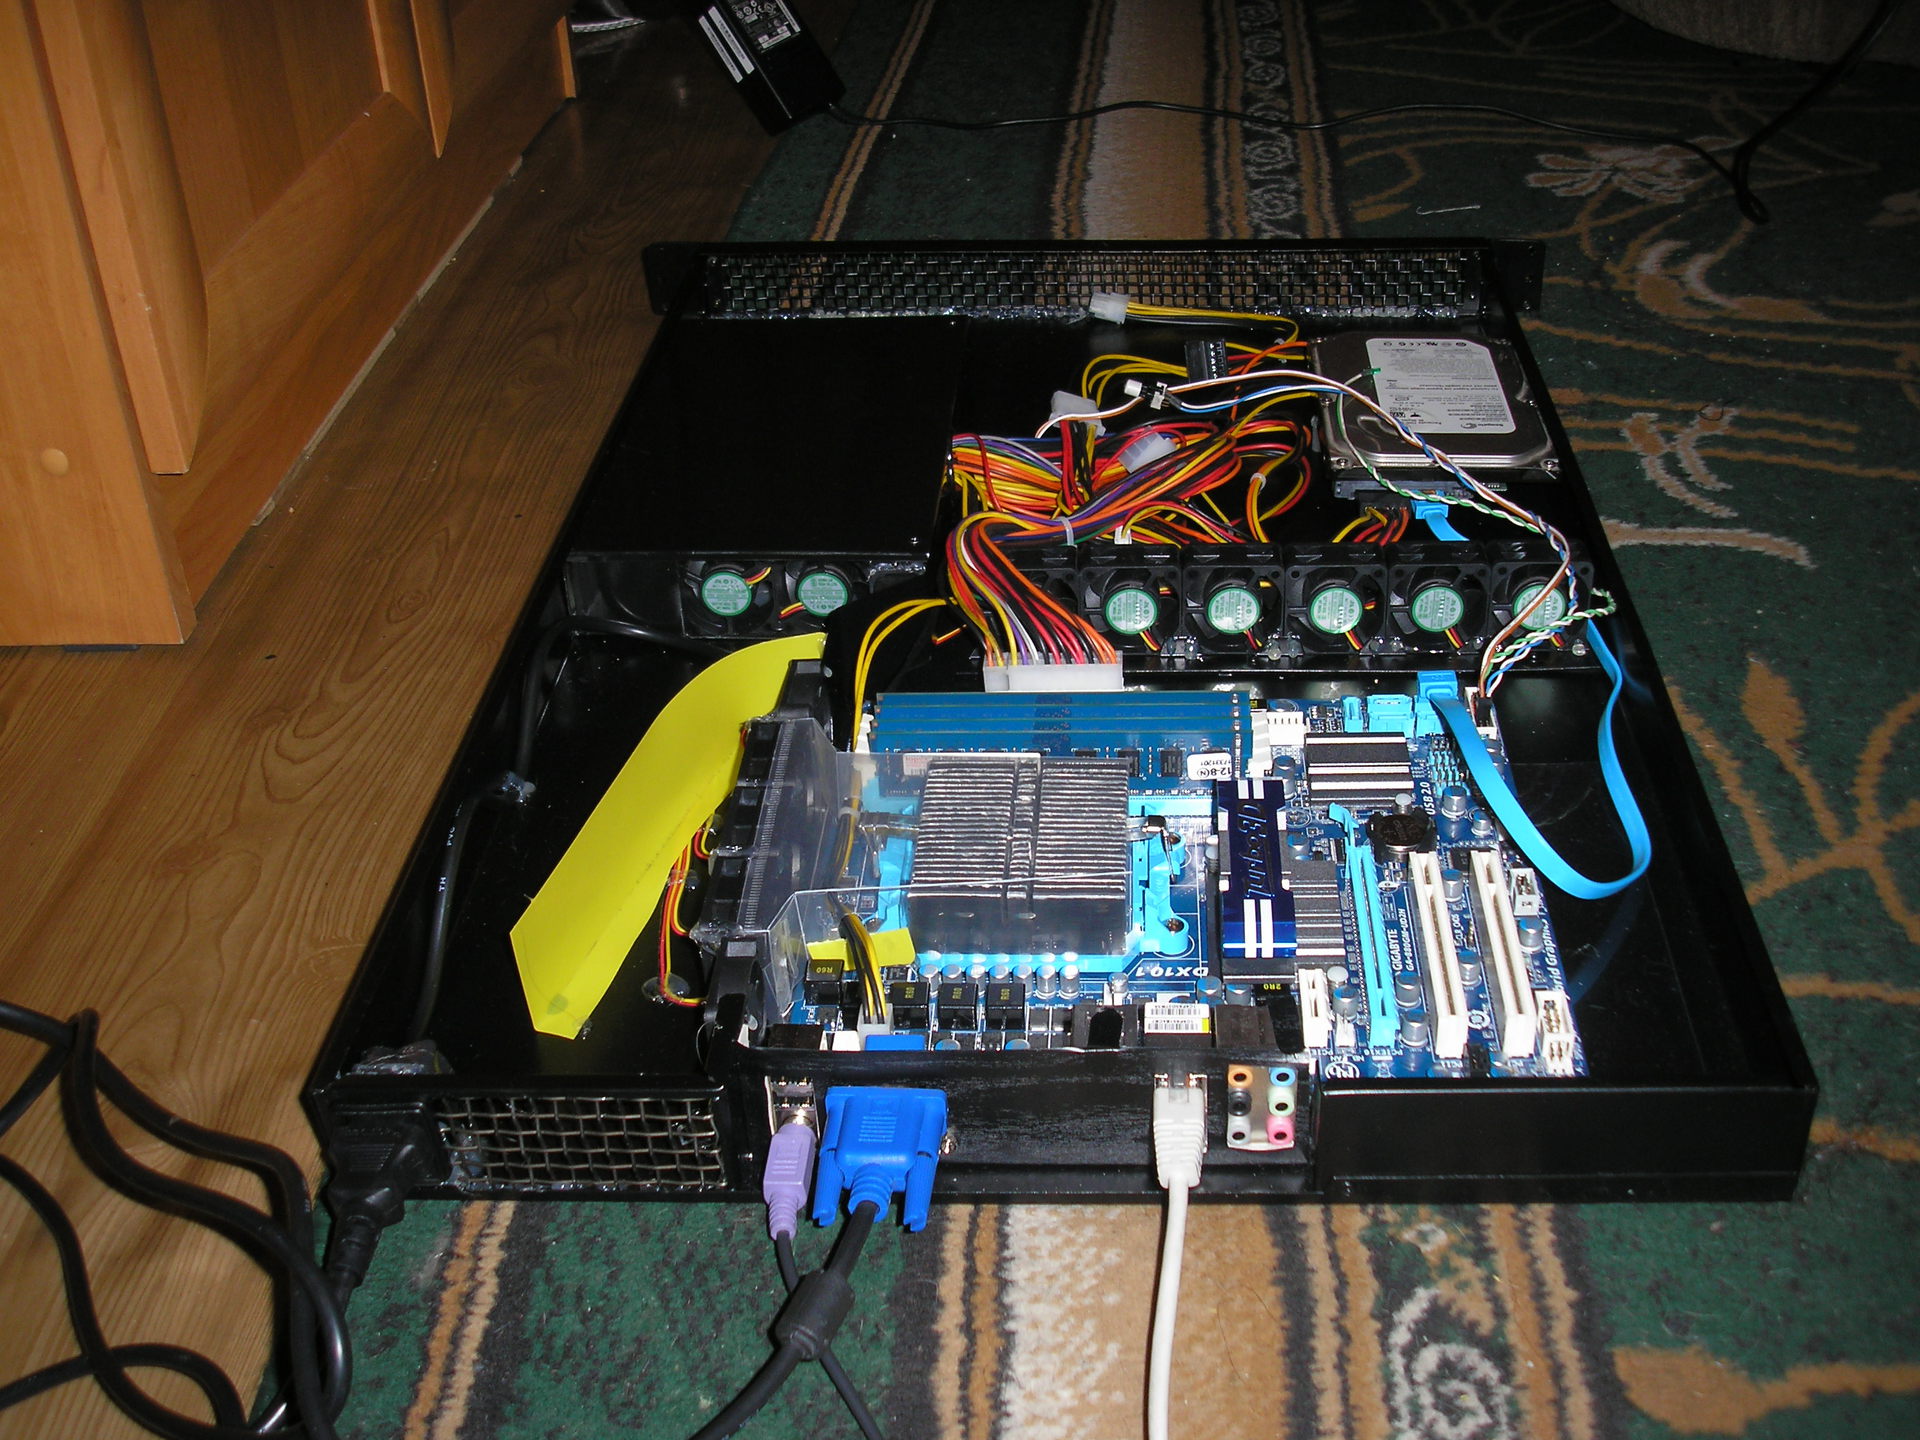
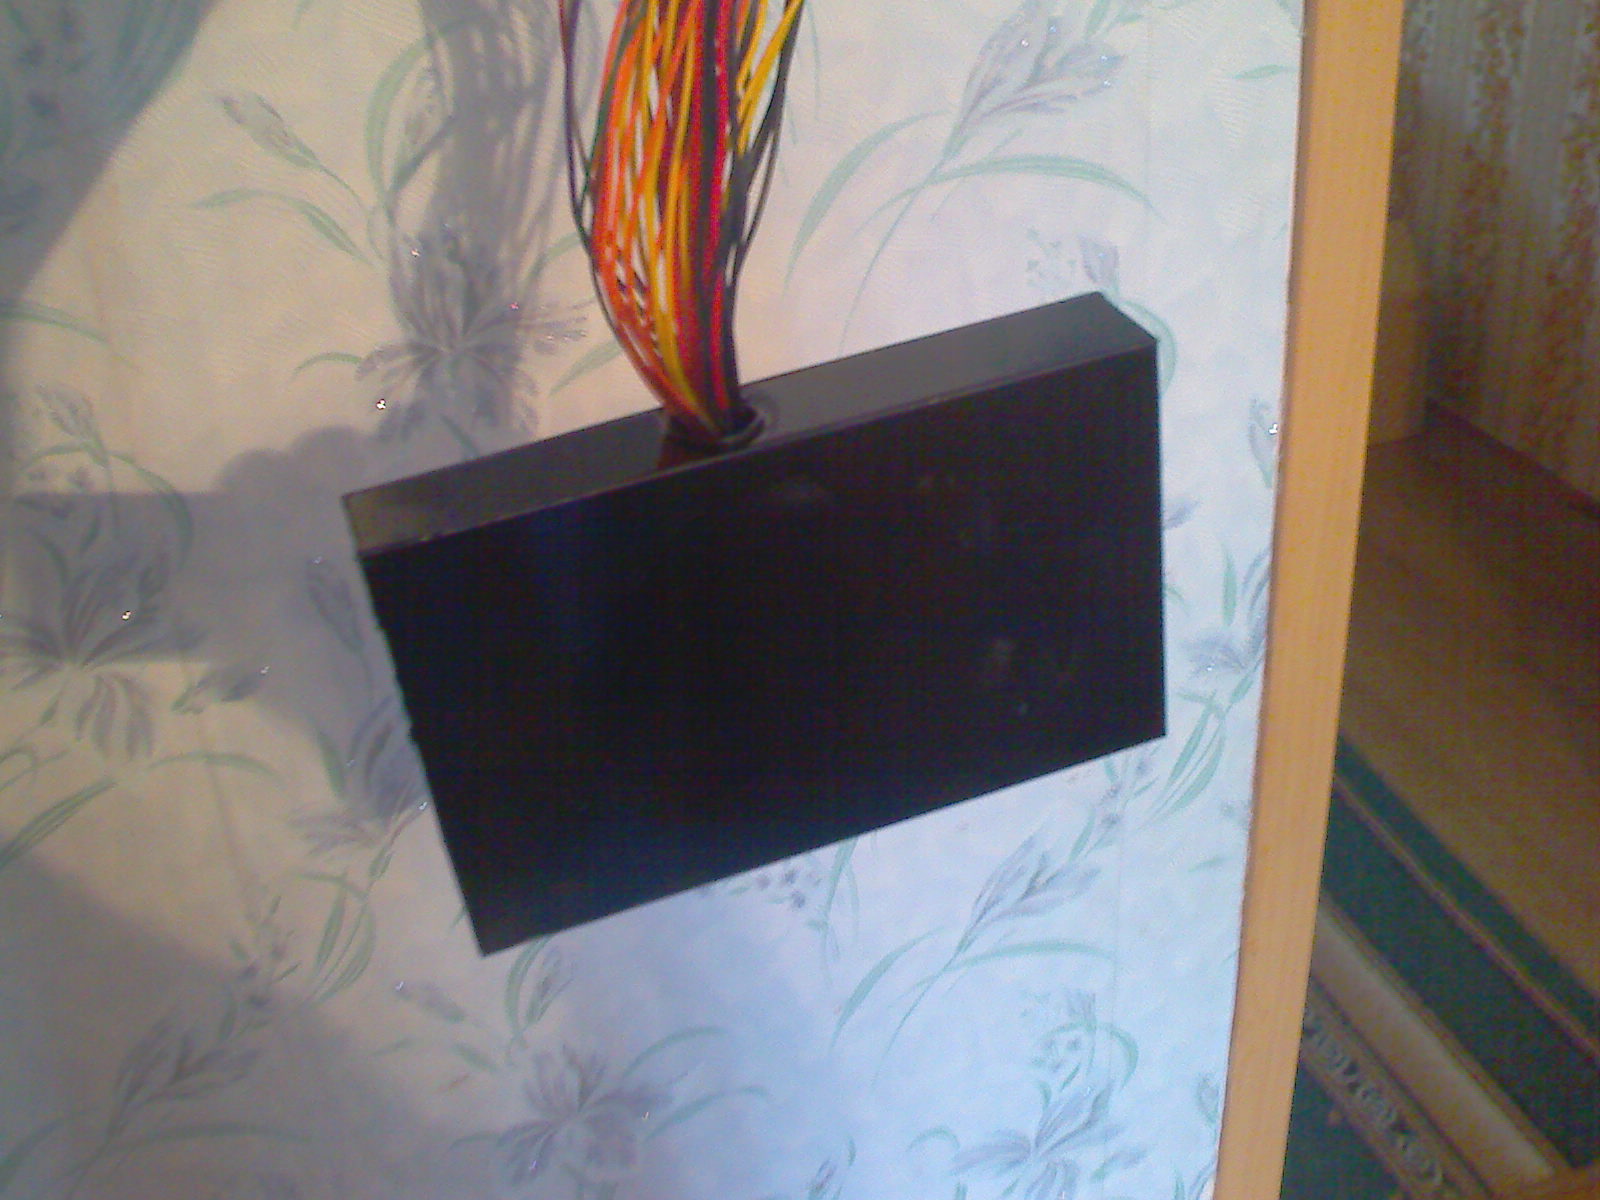
The most interesting in the back of the server. The air enters the case from the front, and it comes out to the left of the motherboard, since the RAM and the power slot of the motherboard prevent us from supplying directly to the processor. There are one more front fans than on the left; this is done so that the air in the space with the motherboard is injected faster than it is taken. As a result, we cool the processor radiator not with a vacuum, but with a constant air flow. For more efficient cooling of the processor, they glued a corrugation connecting radiator and three fans. On the sides are less productive fans for RAM and transistors. Well, and of course, for what is the yellow strip glued? (Who understands the style, we understand!) Joking, of course. The strip is needed so that the outgoing air flow from the processor does not interrupt the flow of air from the power supply, as the power supply has less resourceful fans. And with this strip of air goes outwardly in the back of the case.

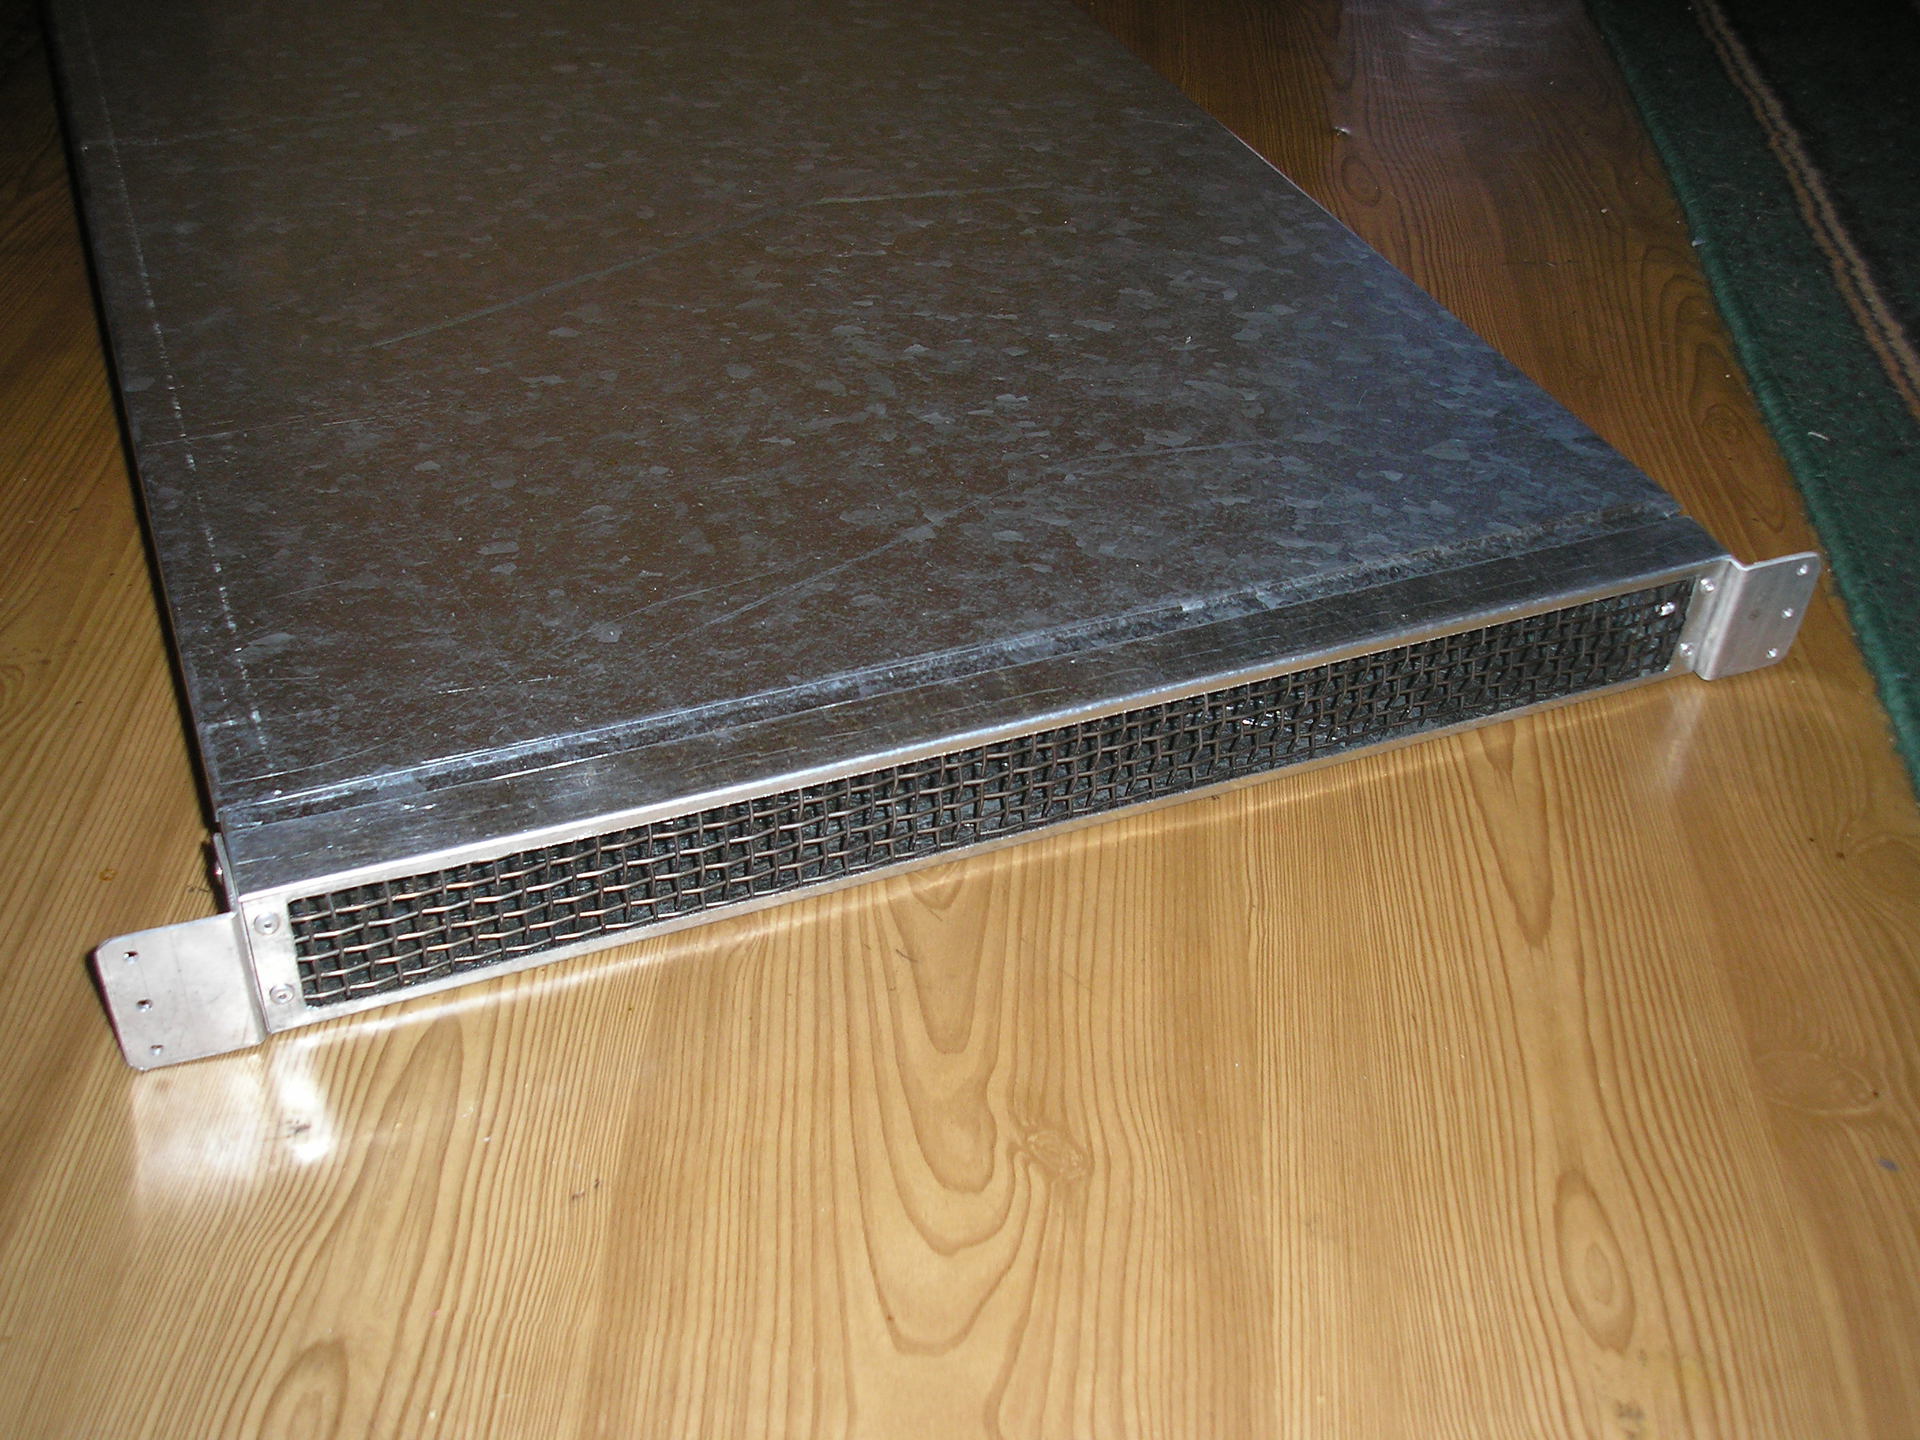
For effective cooling, the front part was made in the form of a grill, in order to reduce the resistance of the air, made and cut out of a conventional mesh, and secured it with the same glue gun.
It remains to purchase a sled and you can install! Thus, we got a fairly cheap and powerful server based on the Athlon II X4 3.0GHz processor and 8 GB. random access memory.
Cost of the assembled server was 14,000 rubles.
Source: https://habr.com/ru/post/216735/
All Articles