What happens if you decide to assemble a 3D printer with your own hands
How it all began
Actually, the very idea of assembling a printer on your own appeared about a year ago after reading an article on the RepRap printers wiki. Before that, collecting nothing more complicated than computer cases, it was difficult to assess the complexity of the work ahead. But, flipping through the pages further, I discovered that all the diagrams, drawings and instructions are present and moreover even in Russian.
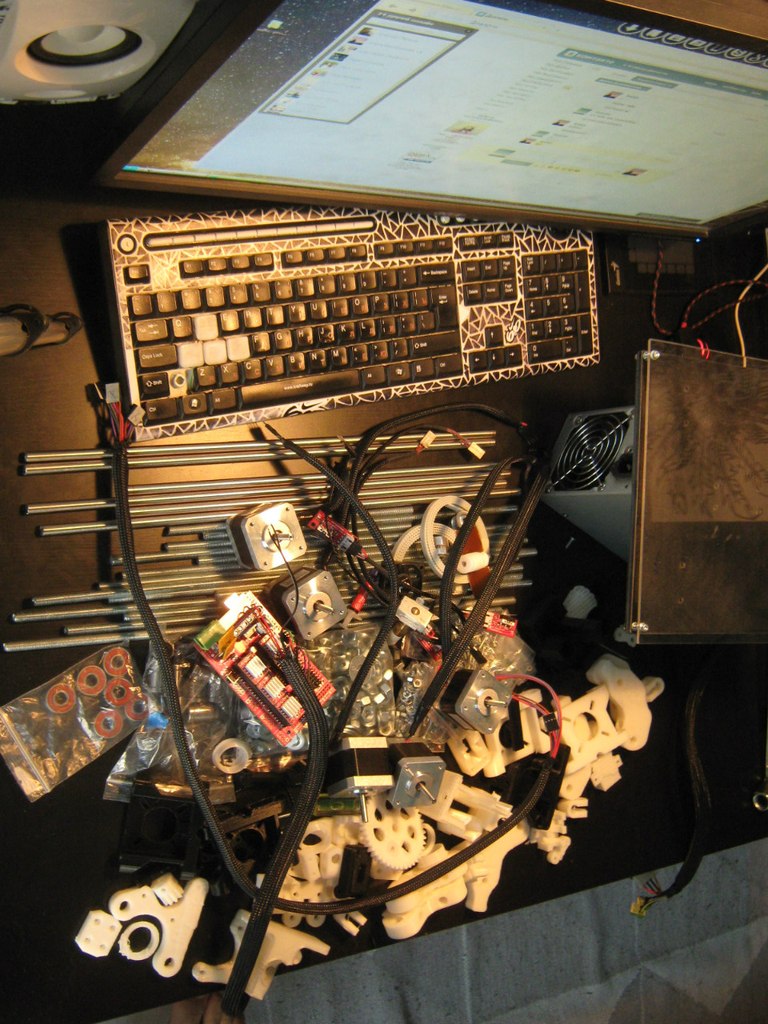
After a while, it turned out that all the components stand together like a ready-made printer and the mood dropped a lot (Oh, those Moscow resellers), but China came to the rescue with its super-cheap electronics and electromechanical components. In a fit of joy, the RAMPS 1.4 electronics kit was ordered (as the easiest to use according to reviews), 5 stepper motors of the nema 17 type (the holding moment must be at least 1.5 kg / cm, but I took as much as 4 kg / cm), 2 meters of the drive belt size t2.5 with two aluminum pulleys of 20 teeth, as well as a heating platform (mk2a is the most common), you also need to remember to take 12 linear bearings lm8uu. I spent a little more than 13 thousand rubles for everything, which, you see, is somewhat less than, even, self-assembly kits in stores.
After 2 months of waiting
During these months I managed to get acquainted with several interesting people on the forum, one of whom kindly printed out the details for my printer on my Replicator2 (I chose the Prusa Mendel i2 design because of its cheapness and ease of assembly). Incidentally, the accuracy of manufacturing parts has little effect on, and, in principle, you can even make them out of spoons, I personally made part of the parts for a thick plywood frame. A big problem was to find the guide shafts, which cost from 600 rubles per meter (baked and durable, i.e., excessive strength), but a solution was found on the market: ordinary stainless steel rods with a diameter of 8 mm fit perfectly (Only 3 meters are needed, like what to cut is written on the wiki), also 6 meters of m8 studs and 6 bearings 608 (As in the rollers and skateboards). As a power supply, you can use anything from 400W 12-19V. Taking the last parcel from the post office (I won’t talk about our mail, everyone already knows everything. Broken and wrinkled boxes, waiting, lost notifications), I realized that there was a lot of work ahead.
')
The first pancake is lumpy
It was decided to make the most difficult (as it turned out later) detail, namely hotend or nozzle. My advice: if you don’t have a lathe and you don’t know the finer details of making hotnds, don’t take it. A lot of time and money was spent, but the nozzle was ready (thanks to the sites and forums), by the way, as it turned out, a ready-made solution costs 1500 rubles and this is two times less than what I spent on my hot-end. (If someone still decides, I advise you to make the nozzle replaceable, and do not use resistors from the store as a heater, order ceramic 12V 40W from China).
It is not difficult to assemble the frame and connect the electronics according to the instructions, but for a long time because of the fuss with more than 50 nuts and screws.
The easiest part behind, the longest stage was coming: tuning. Electronics is based on Arduino, so no one should have any problems. Actually, in the firmware you need to adjust the number of steps along all axes and on the extruder, also adjust the end sensors, calibrate the height and horizontalness of the platform, select the correct thermistors. By the way, I started printing ABS with plastic without a heating platform on the legendary Blue Scotch. Important: ABS cannot be printed without a heating platform, because the part will inevitably deform during cooling and all edges will be bent upward.
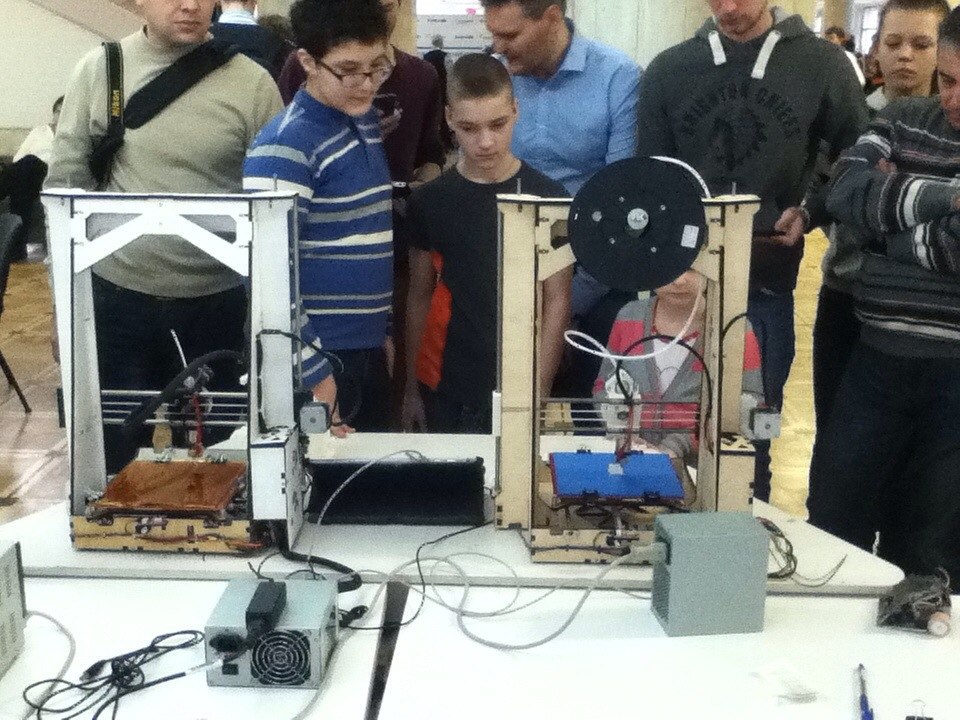
Children's delight and awareness of how much has to be solved.
Bug work
First of all, I screwed the heating platform, which gave such an amazing result from the first time:
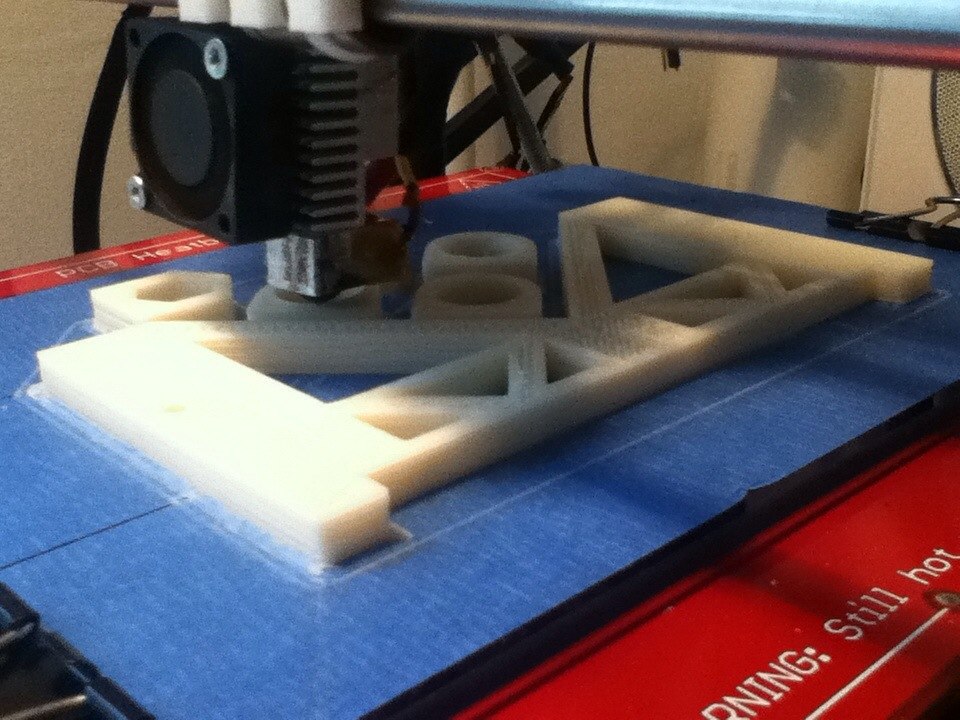
Nothing gets peeled off or bent even on details of that size. But there were also disadvantages: the blue tape remained on the details and it had to be re-glued every time. Plus, the resistors burned out once a week were stable and a heater was ordered from China.
Printing went on, everything seemed to be fine, but I wanted more. I got behind the editor and in a couple of days I gave birth to a new printer project, more, higher, more solid. A frame of thick plywood, parts printed, everything went well, but, putting it all together, it turned out that the guides are not parallel and so on and so forth, in the end the project was abandoned.
The failure did not let me sleep and for many days I thought I needed a new design. There were many ideas, some managed to be implemented, but as it happens, with jambs, so I will not dwell on this for long.
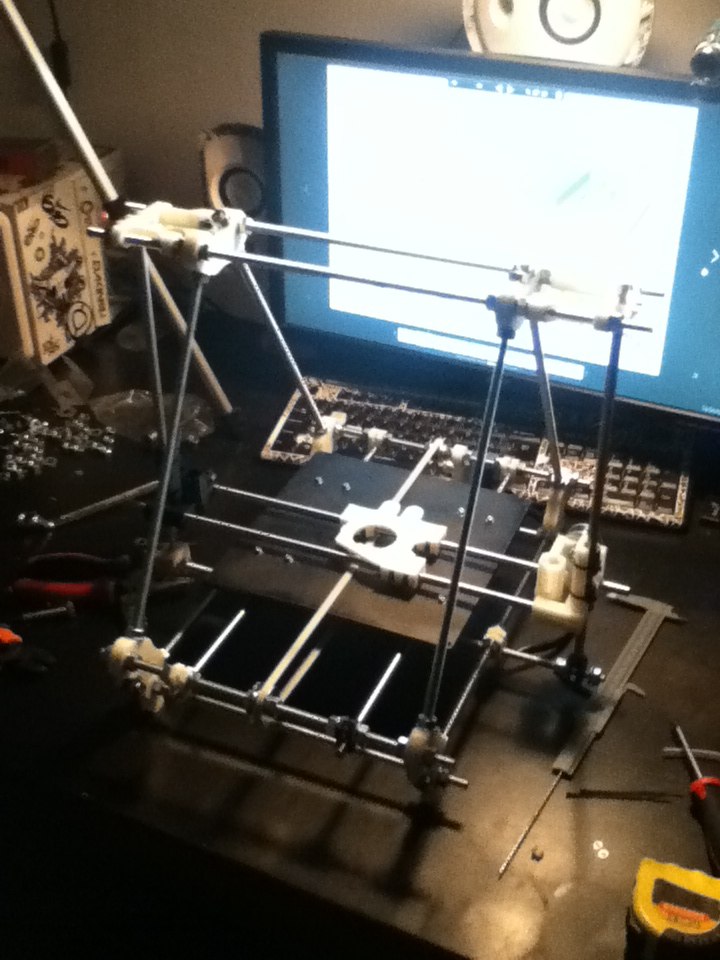
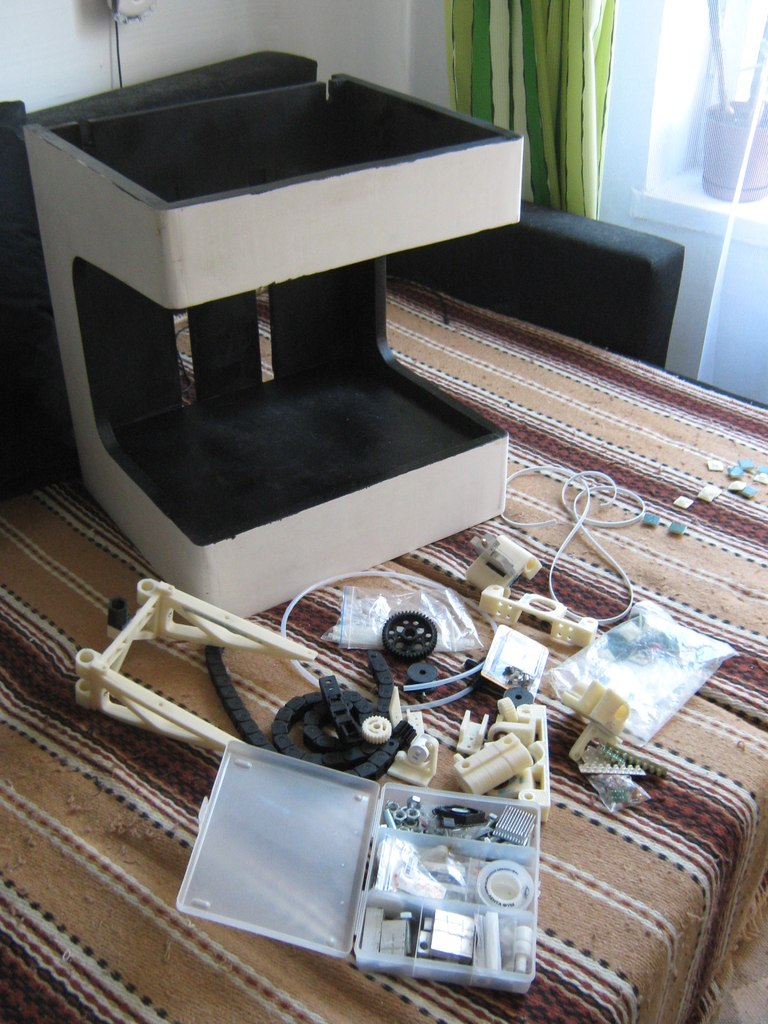
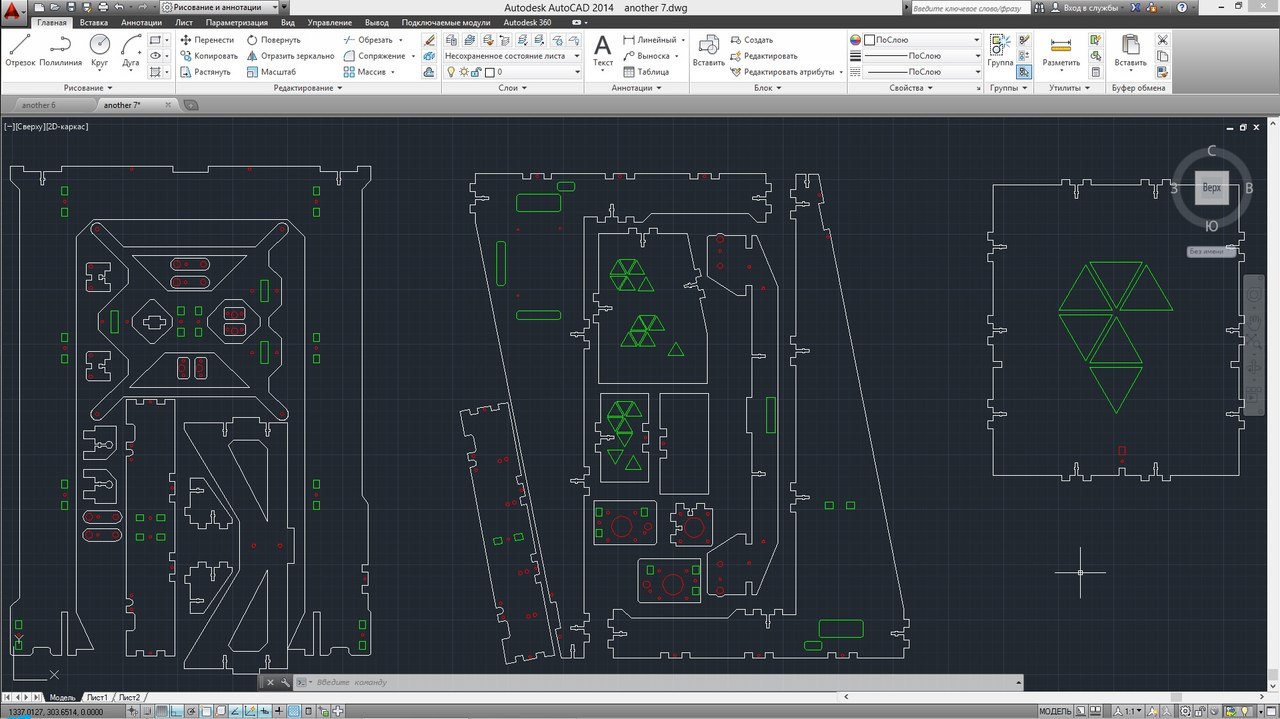
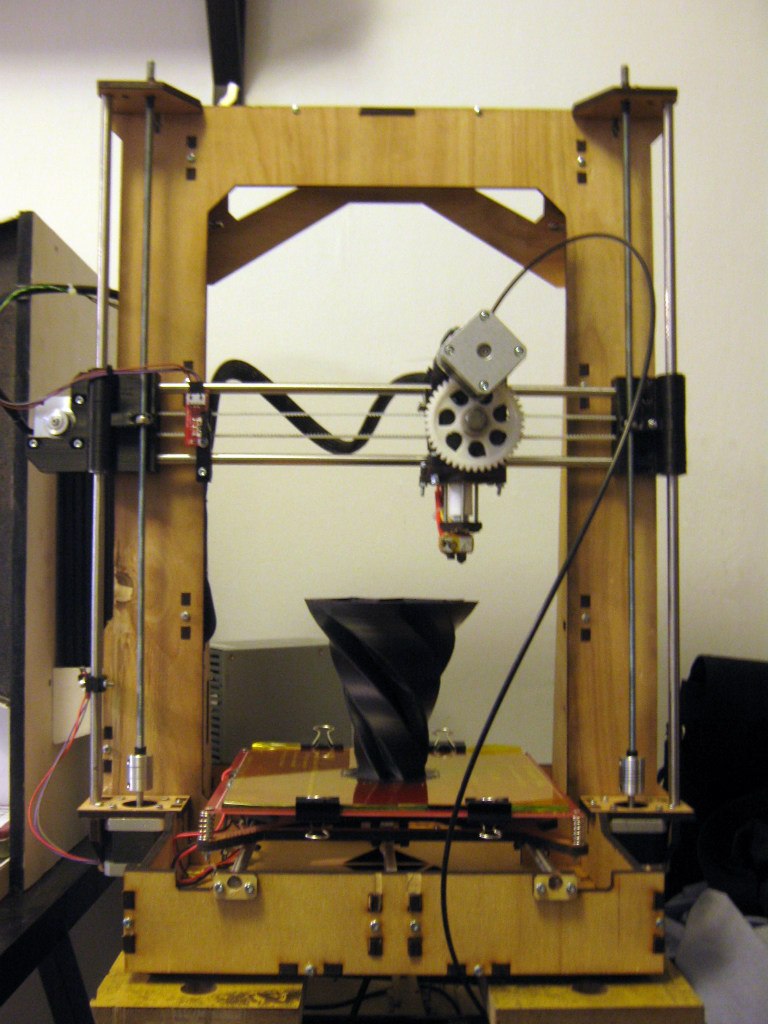
The third-generation Prusa Mendel printer with a plywood frame became a muse. (It’s correct not to read “Prusa”, but “Pryusha”, because this is Czech guy Josef Pryusha). Just at hand was a laser cutting machine and autocad. Long evenings in front of the monitor, 3 different versions.
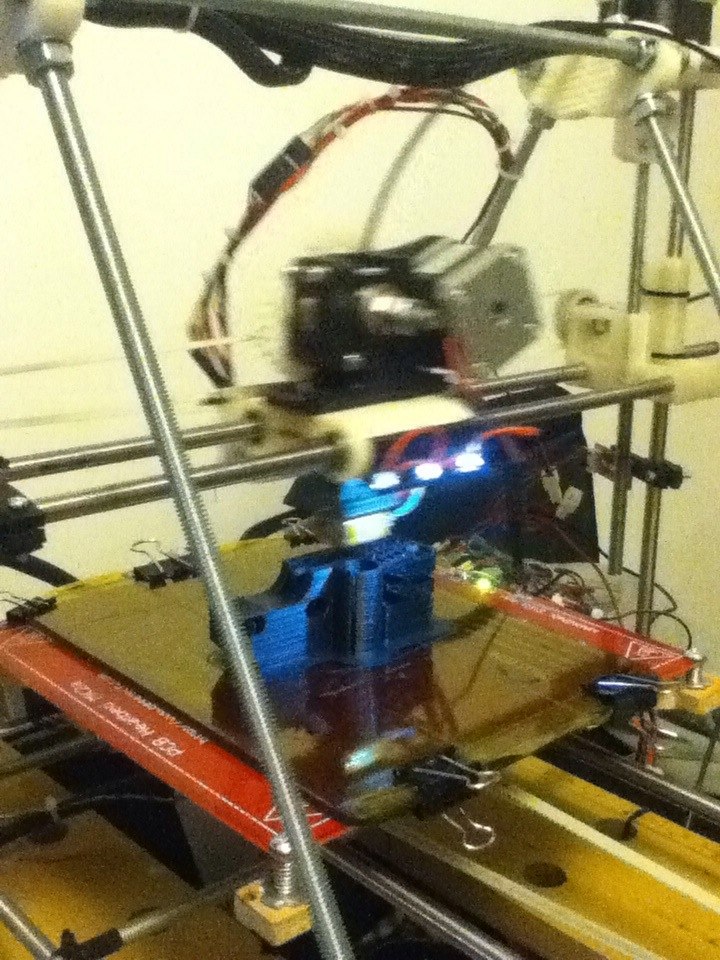
It didn’t do without printed parts, but there were already a lot fewer: only 3 carriages and 3 limit switch holders.
Printing all parts took about 9 hours. At that time, I cut the plywood (Buy plywood for cutting in stores, because in the markets it is all in knots that do not cut normally) and assembled the first version of the frame.
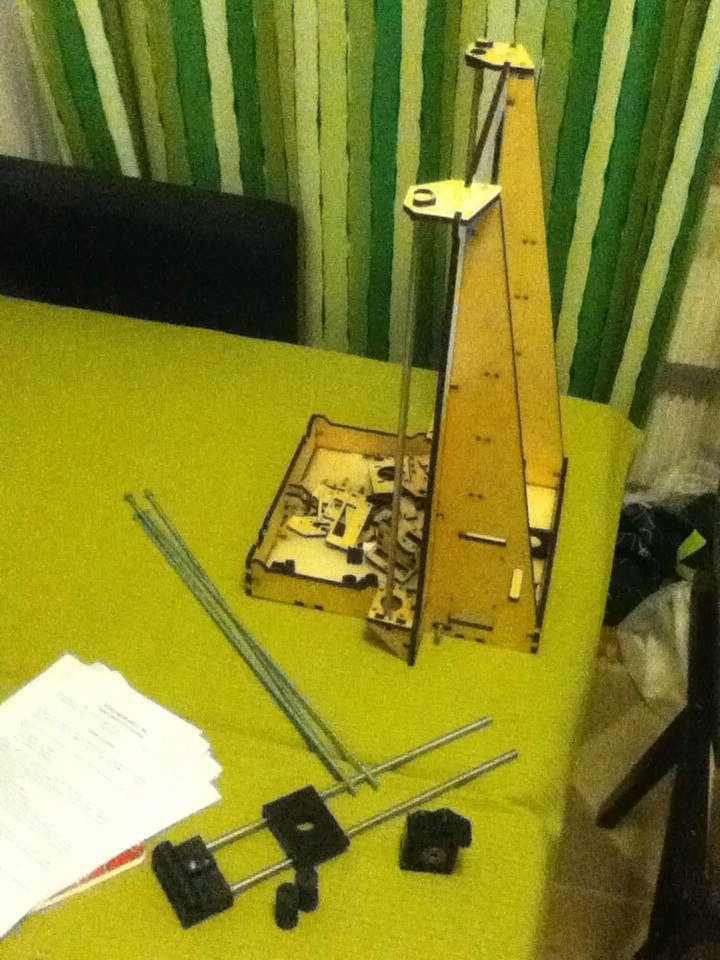
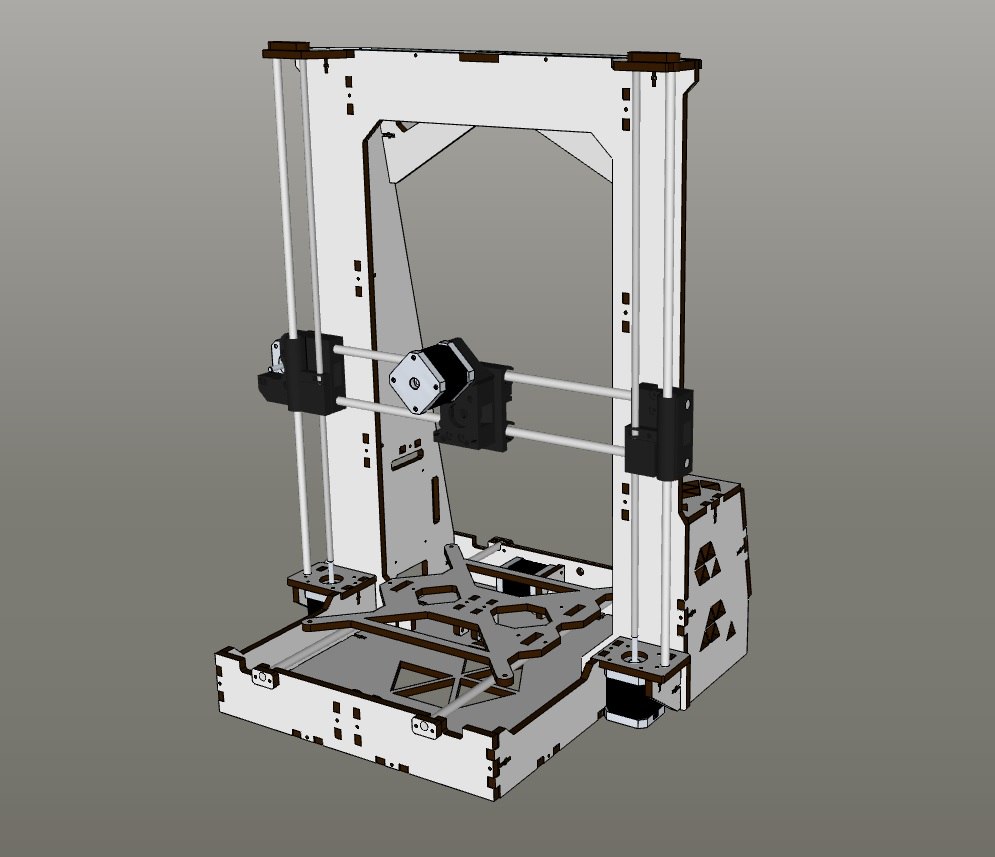
The bet was made on the height, it was a little more than half a meter, which gave a work area of 420 mm in height, you can hardly find a similar one.
At first, I used a 3mm bar because of its cheapness, but for its feeding to an extruder it is necessary to use a gearbox. the print is not bad, but the feed bolt sometimes gets clogged and the extruder itself turns out to be large.
As a result, it was decided to switch to a smaller diameter bar, 1.75mm (Fortunately, now there are a lot of manufacturers) with a small extruder without a gearbox and with greater feed accuracy.
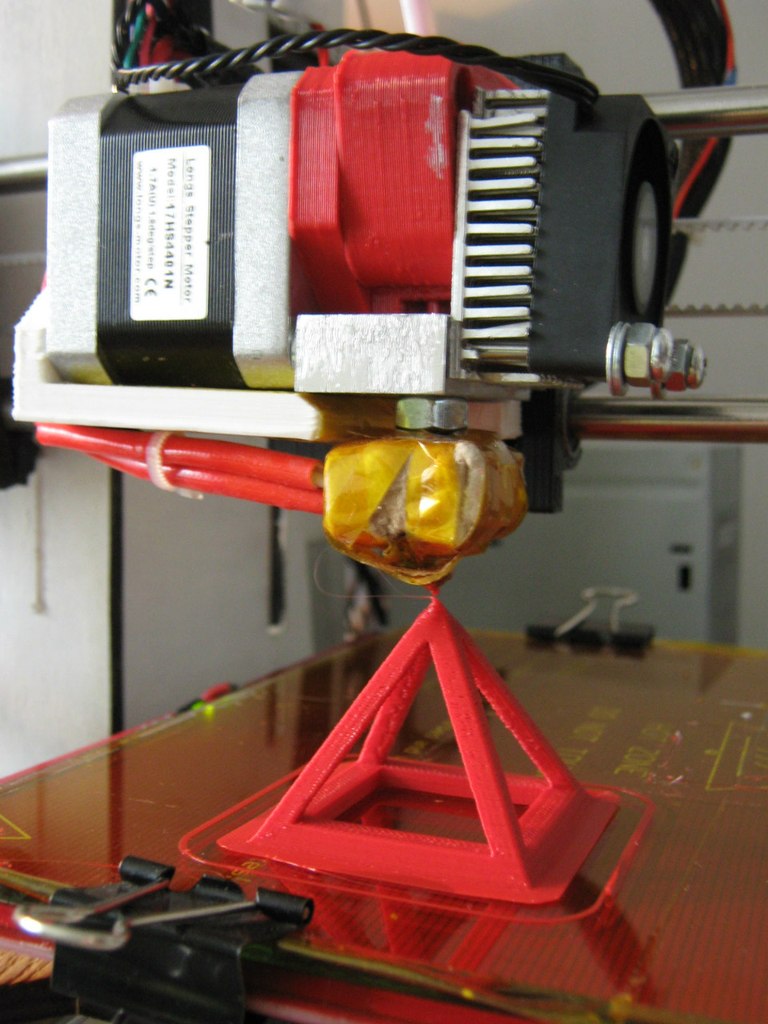
I advise everyone to print the bar 1.75 at once, because it is really more convenient. 3mm is archaism since the use of the welding rod.
Perfect machine
Of course, there is still a lot of work to do, but I can say that this is a completely finished product, which, if desired, can be repeated by yourself. The printer does not differ neither in super precision, nor in print speed. This is a regular printer at the level of the same Prusa i3, it's just taller and more convenient. I would like to say that any printer can be configured so that it will be no worse than purchased monsters with a price tag of 100,000, for which you will spend no more than 15,000 rubles. Forums and blogs are full of various information, China delivers anything for ridiculous money, so why not do it yourself?
* a couple of photos of the latest version:


Our other publications:
Overview of the powerful tablet Chuwi Hi10 on a full Win10 for $ 180
15 little things from heaven about which you would like to know
15 cool little things for the geek from the Middle Kingdom. Part 2
Classes of quadcopters - which are and are used for
Seven current copters up to $ 20, which can be put in your pocket
Our little joy or budget than to please yourself on February 23?
Xiaomi company. Cheaper without damage to quality is no longer
Chuwi Ilife V5 - a $ 99 robot vacuum cleaner or how to turn daily cleaning into entertainment
NEJE engraver laser overview or promising business model
Source: https://habr.com/ru/post/215637/
All Articles