Fastening the tablet to a vertical surface with your own hands
Let's dream a little and draw in our imagination a portrait of a “smart switch”. It is something flat, hanging on the wall, or even mounted in it. Instead of the usual pushbutton switch. Something with a bright responsive touch screen. Which is turned off in idle mode, but starts to glow at full speed when a person approaches, and lights up at full capacity when you bring your hand to the screen, displaying in all its glory the bodies of local control of engineering systems. Using the built-in wi-fi, the “switch” can communicate both with the Internet and with the other “switches” scattered around the walls of a smart home. "Switch" contains a microphone and speaker, understands voice commands in different languages and can say something in response.
The “switch” has a typical wall-mounting scheme, operates from a built-in battery and is charged by wireless charging mounted inside the wall. Any "switch" can be removed from its "landing" place and rearranged to another, for example, from the corridor to a large room. At the same time, the function will automatically change - it will control the room chandelier, and not the corridor lamp. Being unhooked from the wall, the “switch” also automatically switches to the wireless remote control of all engineering systems at home.
')
"Utopia" - you say, and you will be wrong. All the necessary hardware for the implementation of such a scenario already has the majority of Chinese low-cost tablets. It remains only to learn how to properly fasten them on the walls, charge them with wireless chargers (by the way, are also widely available and relatively inexpensive) and write the required software. The path is long, but you can start walking along it today.
Under the cut, a small experiment with the fastening of a 7 "tablet with magnets to a vertical surface.
Requisites
The first experiment will be placed on a wooden surface. To implement what was planned in the hardware store, a specially prepared board was purchased, and the three-year-old offspring with the scandal had the time chosen favorite, albeit very dangerous, toy “father's screwdriver”:

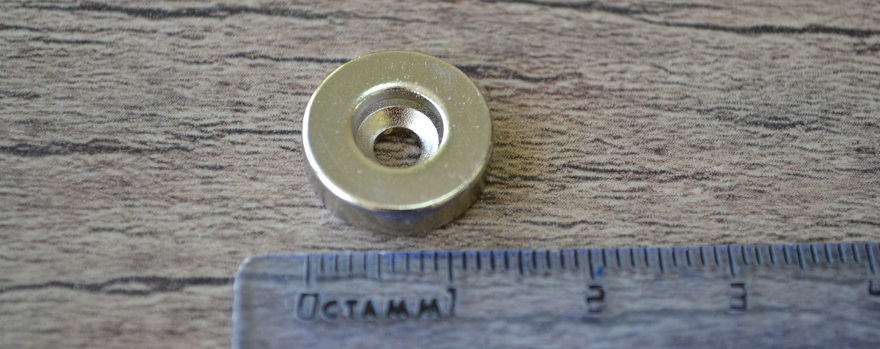
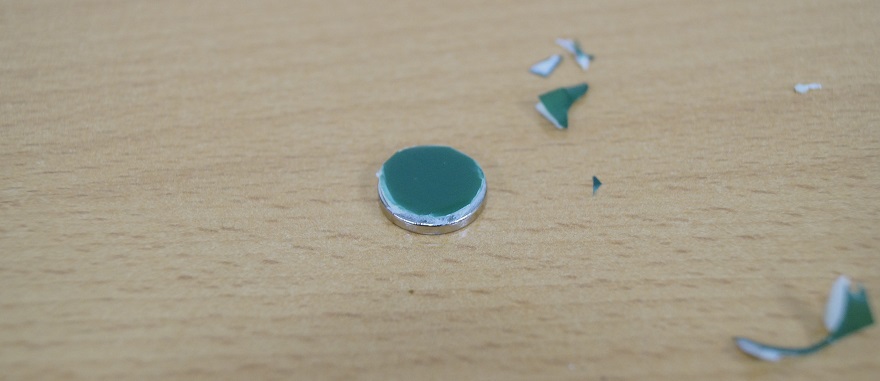
Fix the device will be for three points. For the experiment, six pairs of magnets of two sizes, 10 and 14 mm in diameter, were purchased. In each pair, one of the magnets is a thin disk (for attaching a double-sided tape to the back of the tablet), the second is a thick disk with a central hole for a self-tapping screw with a countersunk head (the so-called magnetic ring, for attaching to a vertical surface, in our experiment it is wooden board). This is what a 14mm magnetic ring looks like:
Were also purchased the necessary consumables for drilling and fastening:
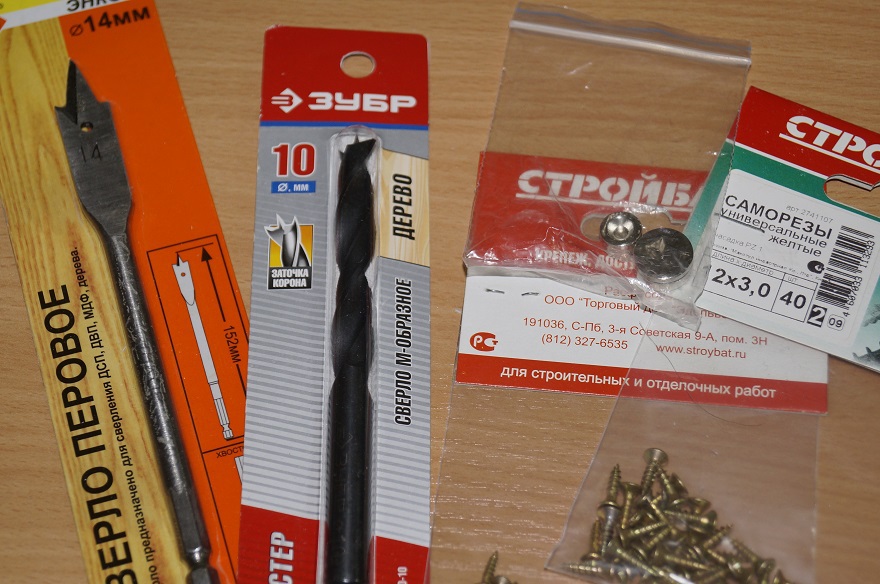
Two types of screws were purchased, as it was not clear which magnets would fit better. It turned out that 12x3.0mm are great, smaller ones were not needed. Drills of two types under two sizes of magnets - on 10 mm and on 14 mm.
Tablet selection
We didn’t have a tablet , so for the purpose of the experiment a cheap Chinese 7-inch Larude tablet was specially ordered. This is a 7 "tablet with a conventional TFT screen, a pretty nimble processor, a large amount of internal memory (1GB RAM + 8GB flash), a fairly responsive tachim, rubber-like plastic and a non-removable battery (and a non-opening back cover, respectively).
The ideal "wall plate" should have the following characteristics:
- Have an IPS-screen so that the information is well read, regardless of the growth of the ruler of the smart home;
- Have a flat back wall for secure mounting of flat magnets or metal plates;
- Have the usual plastic or metal back surface, without the "rubber", for high-quality mounting double-sided tape;
- Support wireless charging, or have a removable back cover to install a separately sold wireless charging receiver;
Looking at the list of requirements, it becomes clear that we did not think much when ordering our first tablet. It is small, conveniently lies in the hands, very smoothly works out the transitions of the interface, but for wall placement fits poorly. Well, use it in this experiment, and then give it to the mercy of a three-year-old child. The benefit of a bunch of children's programs on it is already installed from the factory.
Magnet placement
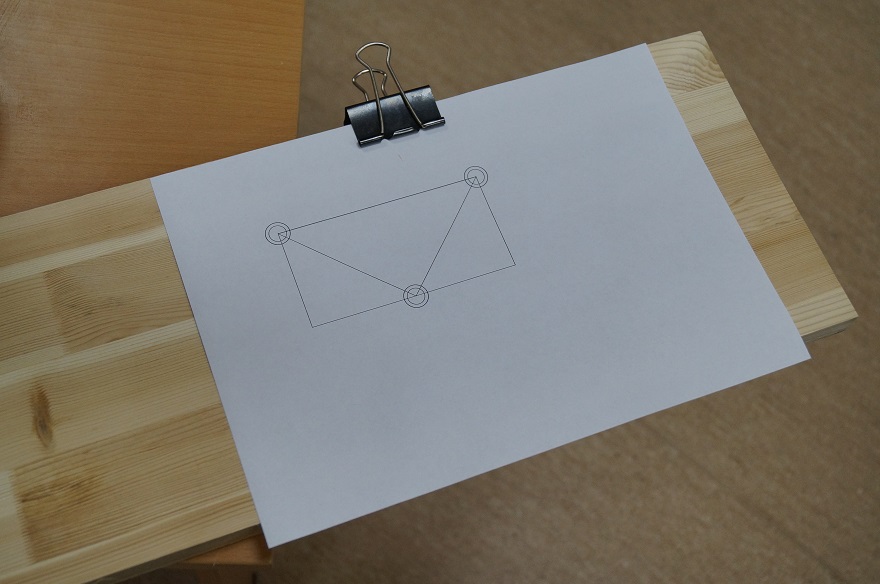
We need to place the magnets as perfectly as possible both on the “wall” and on the device. Without relying on our own eye, we used the power of modern technology and printed several identical templates. One of them was placed on the board:
Outlined holes:

After drilling it turned out that the thickness of the board was not enough. Fasten magnets with screws will not work:

Nevertheless, the magnets entered the drilled holes "with a squeak", the insufficient thickness of the board could not screw up our experiment:

Another instance of the template is cut along the contour of the rectangle, fastened to the back wall with a magnet (it turned out that, although not very much, the magnets "stick" to the tablet itself):
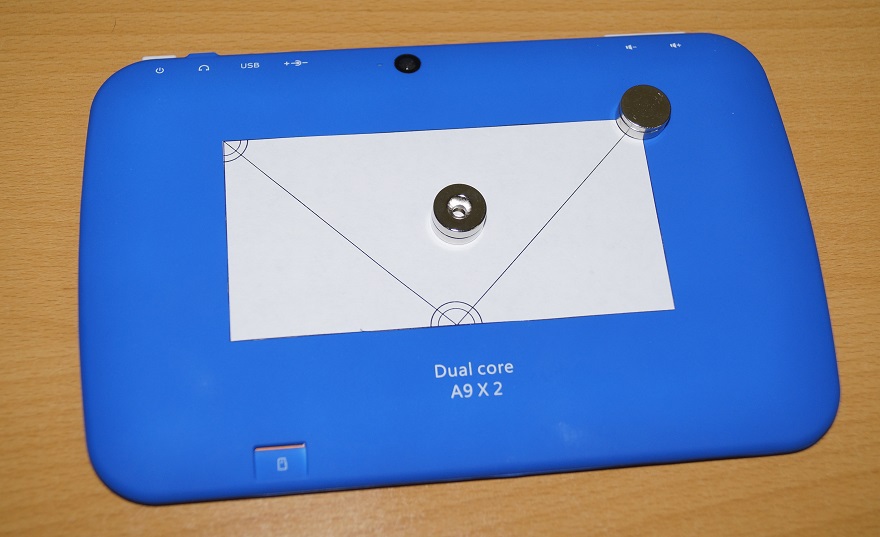
We put the magnets in their places, aligning them along the contours on a piece of paper, carefully draw a pencil. We get in the right places here such contours:
Prepare mating magnets for gluing with the tablet:
It is important not to confuse the polarity, otherwise you will get the opposite action - the tablet will jump away from the “wall” and not be attracted. It is also important to choose the right tape. After sticking we get:
Experiment
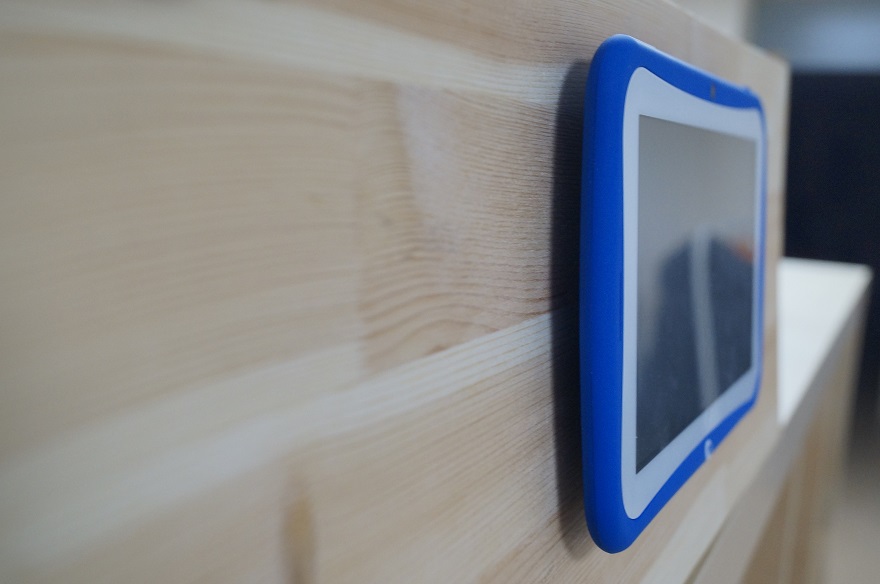
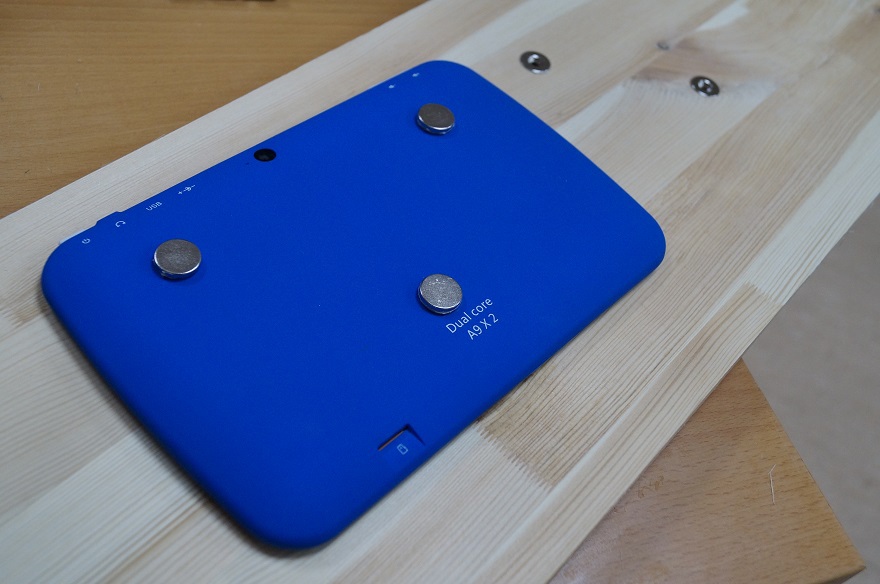
The result of combining the board and tablet is visible on the title photo. Our goal was to test the strength of such a compound. Agree, it would be a shame to find your even inexpensive “wall” tablet disappeared and broken due to weak magnets. In this video, you can see what "load" can withstand such a mount:
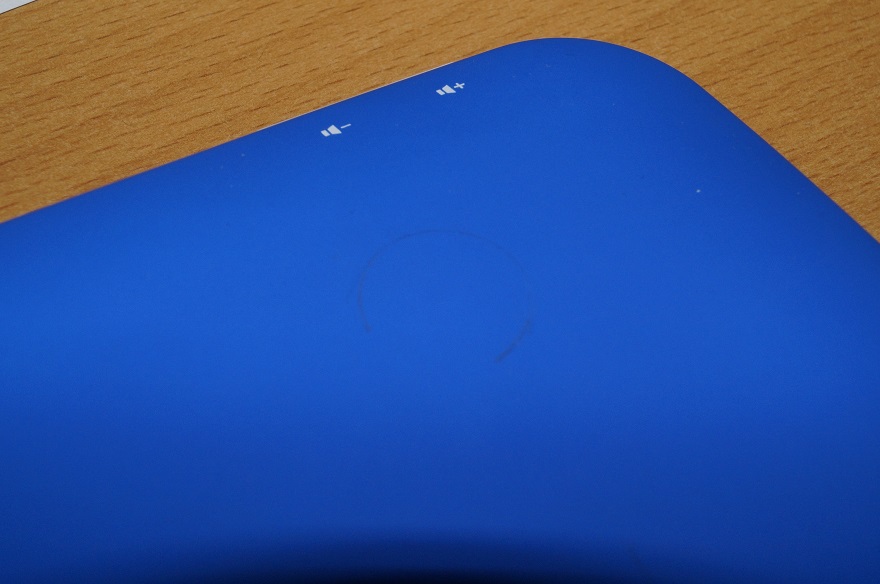
Thus, the magnetic mount provides more than a stable mount tablet to a vertical surface. To be honest, our mount later fell off when trying to trip. But it disintegrated at the place of attachment with scotch tape, which was not at all optimal (on a soft backing) and was glued on an unsuitable surface. Therefore, this post-peeling cannot be considered a failure of the experiment.
The next step (which most likely will not happen soon) will be an experiment with mounting on a real wall and wireless charging placed in a standard glass from a conventional switch.
Source: https://habr.com/ru/post/214313/
All Articles