We program robots on Windows 8. Sphero magic ball
A couple of days ago I got into the hands of a funny toy for geeks who love robots and encode. The last couple of nights I spent studying the toy and applying my experience of Windows 8 development to it. Since the occupation turned out to be quite fascinating, I hasten to share it with you.
Your attention is invited to ...
Sphero ( www.gosphero.com ) is a small robot ball made by Orbotix.

')
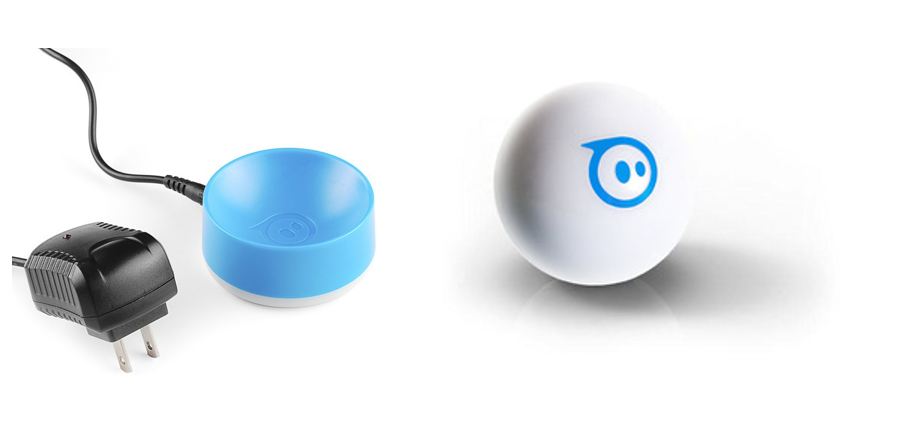
The kit comes with a charger, instruction manual and, directly, the ball itself.
Sphero looks like an excellent platform for learning the basics of programming robots, and also, it is a fun toy for geeks, their friends, children and pets.
Sphero can navigate almost any surface in a given direction, including swimming, as well as light up in different colors.
The manufacturer recommends using the robot in the following scenarios.
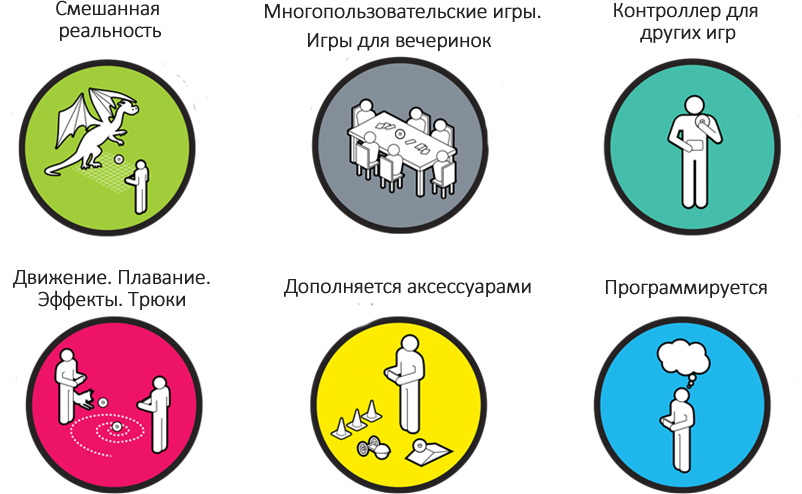
Using fantasy and SDK, you can create your own games or use ready-made applications.
Ready-made applications for managing Sphero and SDK for developers are available on many popular platforms:
Issue price
There is such a pleasure in Russia from 4,000 to 7,000 thousand rubles. on Yandex.Market . Abroad, you can buy it for an amount of $ 80 to $ 130. Yes, it is not the cheapest toy.
Some theory
The accelerometer is built into the robot, as well as a gyroscope and a light bulb. In order for Sphero to move, it is necessary to understand where he is in front of, where his back is and how his coordinate system is arranged. The coordinate system is shown in the figure below.

The Y axis is responsible for moving forward and backward (a positive value is forward, a negative value is reverse). X axis - for movement to the side. Z axis - for moving up or down.
Sphero can be calibrated. Stir the same ass and where to be. The back of the robot can be identified by the blue light, which is lit when the robot is traveling.
Development
Finally we got to the most interesting. Until the software controls this thing. As an example, we will create a simple reaction game for a small company. Let's call it Sphero Party Game .
Rules of the game
The game starts after clicking on the button in the application. Sphero will spin around its axis and burn in different colors in a random order. Players need to wait for the Sphero to turn green and grab it. Who grabs, he won.
Instruments
For development I will use:
- Microsoft Surface 2 Pro Tablet
- OS Windows 8.1
- Development environment: Visual Studio 2013
- Language: C #
- Sphero SDK for Windows 8.1
Getting Started
1. The first thing we need to do is download the Sphero SDK . It will be an assembly that we will connect to the project and use.
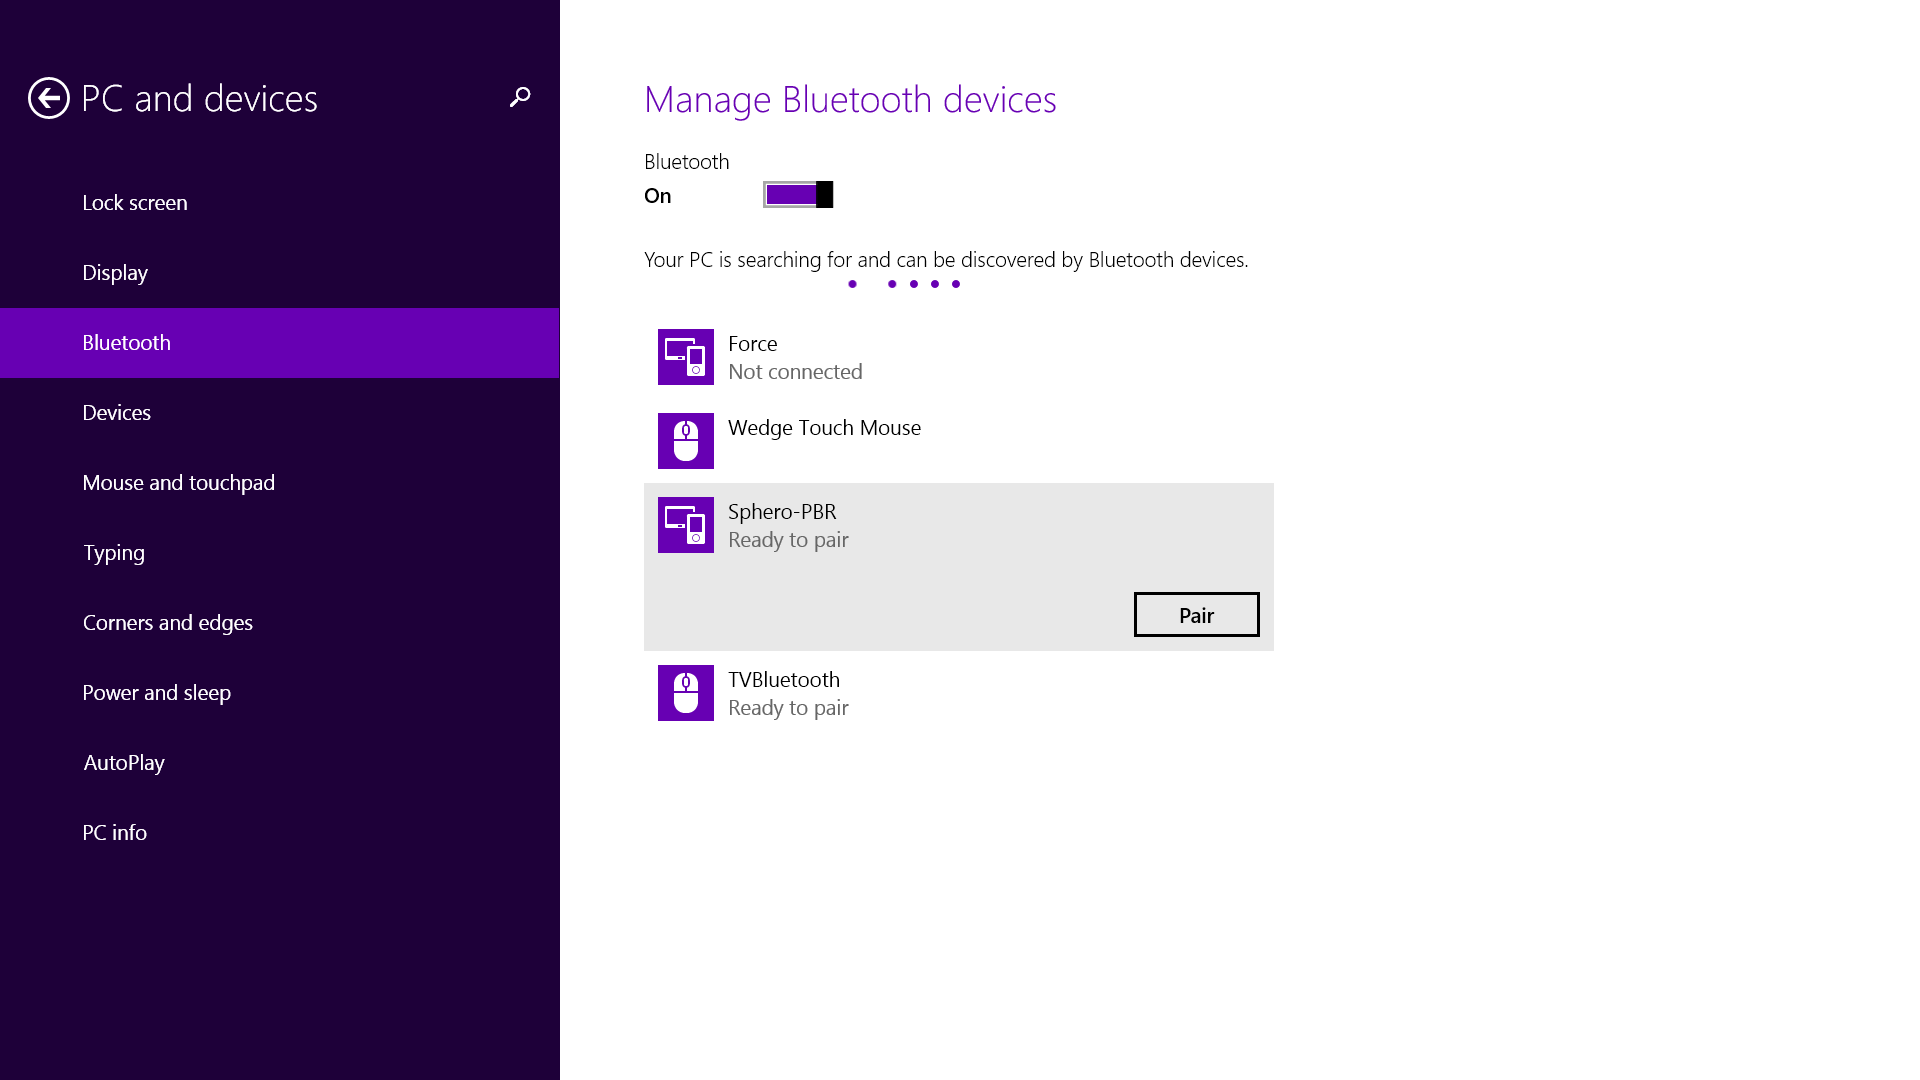
2. Sphero SDK uses Bluetooth RFCOMM to work with the device. In order for us to programmatically work with the device, we need to turn on Bluetooth and establish a connection with it.
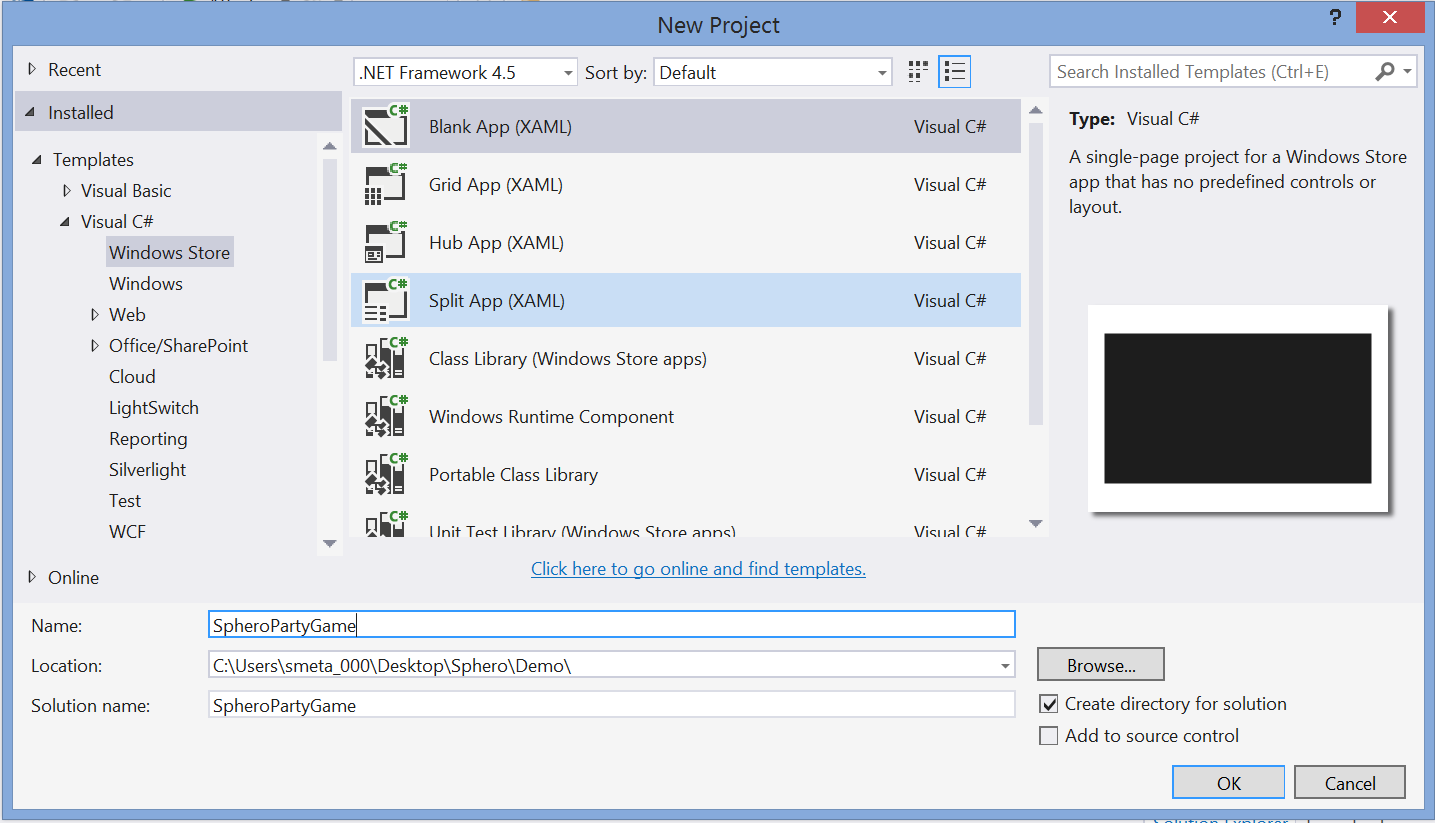
3. Next, open Visual Studio 2013 and create the File / New / Project / Blank App project.
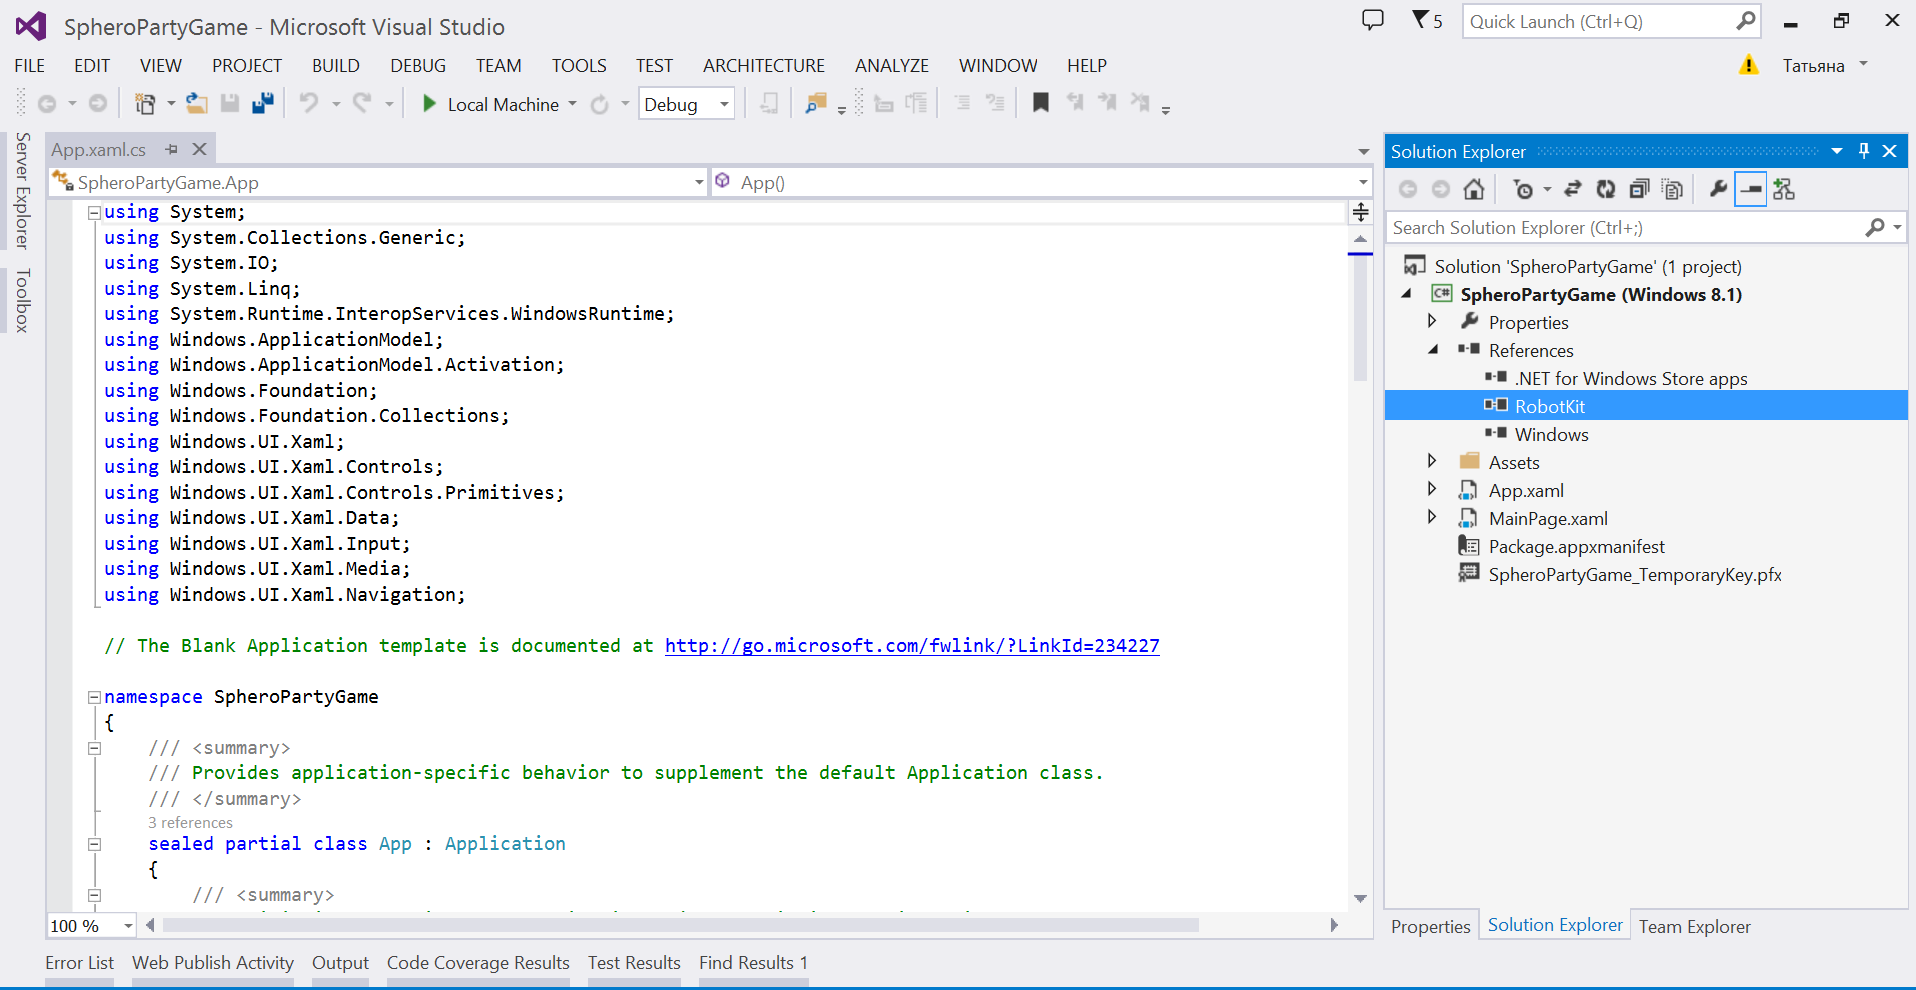
4. We connect assembly from SDK RobotKit.dll
5. Add Bluetooth RFCOMM support for the application. Open Package.appxmanifest in the code editing mode and add the following code to the Capabilities section.
Bluetooth RFCOMM support for the application
<wb:DeviceCapability Name="bluetooth.rfcomm"> <wb:Device Id="any"> <wb:Function Type="serviceId:00001101-0000-1000-8000-00805F9B34FB" /> </wb:Device> </wb:DeviceCapability> 
6. On the main screen of the application put:
- robot status switch (connected \ not connected);
- text field to display status;
- “Start” button to start the game.
Open the MainPage.xaml file and add it all there.
The main screen of the application
<Grid Background="#0094D0"> <TextBlock x:Name="SpheroName" HorizontalAlignment="Left" Margin="82,97,0,0" TextWrapping="Wrap" Text="No Sphero Connected" VerticalAlignment="Top" FontSize="24"/> <ToggleSwitch x:Name="ConnectionToggle" HorizontalAlignment="Left" Margin="76,122,0,0" VerticalAlignment="Top" Toggled="ConnectionToggle_Toggled" /> <Grid HorizontalAlignment="Center" Height="512" Margin="0,0,0,0" VerticalAlignment="Center" Width="512"> <Button Name="startGameBtn" Click="startGameBtn_Click" Content="Start" Height="113" Width="334" /> </Grid> </Grid> 
7. Go to MainPage.xaml.cs and describe the logic of the game. To communicate with Sphero, we use the object model provided by the SDK.
Game logic
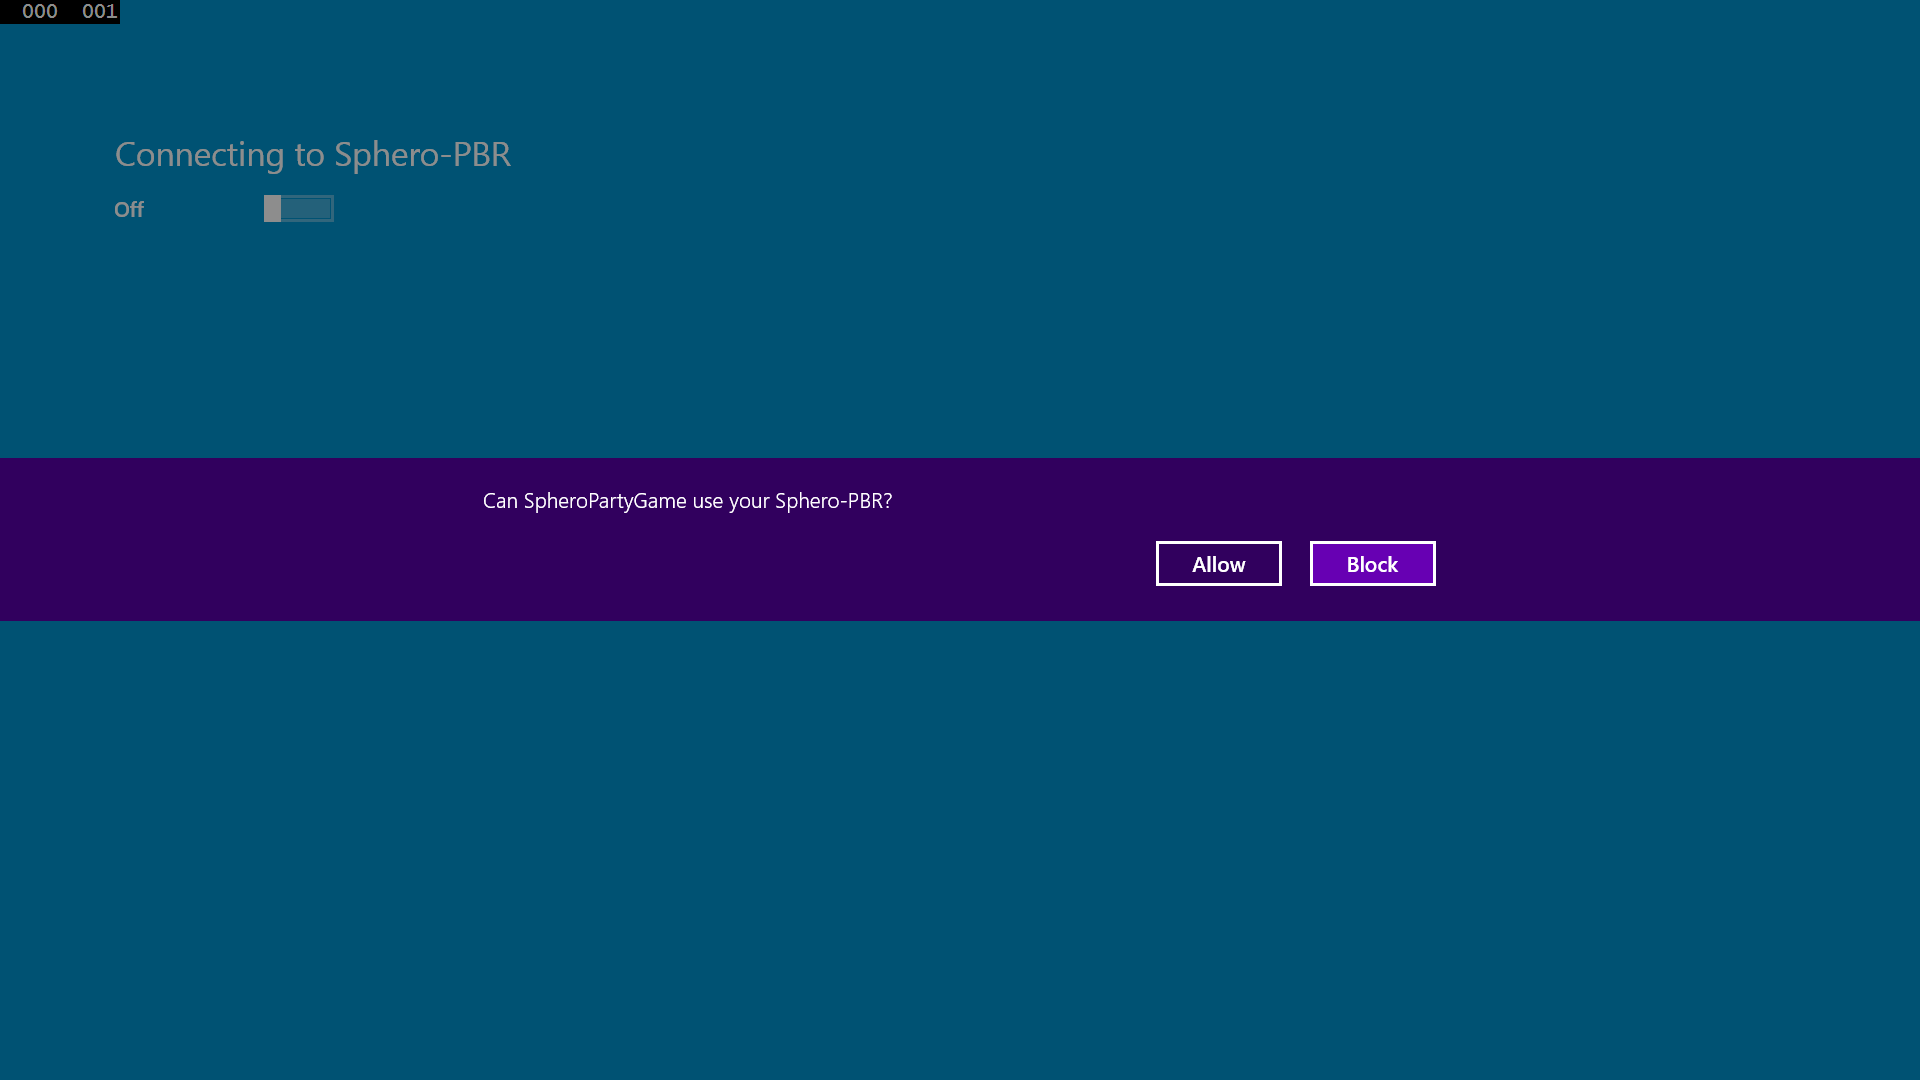
public sealed partial class MainPage : Page { private Sphero m_robot = null; private long m_lastCommandSentTimeMs; private bool m_gameIsStarted = false; private const string c_noSpheroConnected = "No Sphero Connected"; private const string c_connectingToSphero = "Connecting to {0}"; private const string c_spheroConnected = "Connected to {0}"; public MainPage() { this.InitializeComponent(); } // . protected override void OnNavigatedTo(NavigationEventArgs e) { base.OnNavigatedTo(e); SetupRobotConnection(); Application app = Application.Current; app.Suspending += OnSuspending; } // . protected override void OnNavigatedFrom(NavigationEventArgs e) { base.OnNavigatedFrom(e); ShutdownRobotConnection(); Application app = Application.Current; app.Suspending -= OnSuspending; } // private void OnSuspending(object sender, SuspendingEventArgs args) { ShutdownRobotConnection(); } // private void SetupRobotConnection() { SpheroName.Text = c_noSpheroConnected; RobotProvider provider = RobotProvider.GetSharedProvider(); provider.DiscoveredRobotEvent += OnRobotDiscovered; provider.NoRobotsEvent += OnNoRobotsEvent; provider.ConnectedRobotEvent += OnRobotConnected; provider.FindRobots(); } // private void ShutdownRobotConnection() { if (m_robot != null) { m_robot.SensorControl.StopAll(); m_robot.Sleep(); m_robot.Disconnect(); ConnectionToggle.OffContent = "Disconnected"; SpheroName.Text = c_noSpheroConnected; m_robot.SensorControl.AccelerometerUpdatedEvent -= OnAccelerometerUpdated; RobotProvider provider = RobotProvider.GetSharedProvider(); provider.DiscoveredRobotEvent -= OnRobotDiscovered; provider.NoRobotsEvent -= OnNoRobotsEvent; provider.ConnectedRobotEvent -= OnRobotConnected; } } // ! private void OnRobotDiscovered(object sender, Robot robot) { if (m_robot == null) { RobotProvider provider = RobotProvider.GetSharedProvider(); provider.ConnectRobot(robot); ConnectionToggle.OnContent = "Connecting..."; m_robot = (Sphero)robot; SpheroName.Text = string.Format(c_connectingToSphero, robot.BluetoothName); } } // :( private void OnNoRobotsEvent(object sender, EventArgs e) { MessageDialog dialog = new MessageDialog(c_noSpheroConnected); dialog.DefaultCommandIndex = 0; dialog.CancelCommandIndex = 1; dialog.ShowAsync(); } // private void OnRobotConnected(object sender, Robot robot) { ConnectionToggle.IsOn = true; ConnectionToggle.OnContent = "Connected"; SpheroName.Text = string.Format(c_spheroConnected, robot.BluetoothName); SetRobotDefault(); m_robot.SensorControl.Hz = 10; m_robot.SensorControl.AccelerometerUpdatedEvent += OnAccelerometerUpdated; } // private void OnAccelerometerUpdated(object sender, AccelerometerReading reading) { if (m_gameIsStarted) MoveRobot(reading.X, reading.Y); } // . private void SetRobotDefault() { m_robot.SetHeading(0); m_robot.SetRGBLED(0, 255, 0); m_robot.Roll(0, 0); } // public async void ChangeRobotColor() { int colorsCount = 20; Random r = new Random(); List<Color> colors = new List<Color> { Color.FromArgb(100, 0, 255, 0) }; for (int c = 0; c < colorsCount; c++) colors.Add(Color.FromArgb(100, (byte)r.Next(255), 0, (byte)r.Next(255))); List<int> miliseconds = new List<int>(); for (int m = 0; m <= 5; m++) miliseconds.Add(r.Next(1000)); while (true) { int colorNumber = r.Next(colorsCount); Color color = colors[colorNumber]; int milisecond = miliseconds[r.Next(5)]; m_robot.SetRGBLED(color.R, color.G, color.B); await Task.Delay(TimeSpan.FromMilliseconds(milisecond)); } } // . 10 public void MoveRobot(float x, float y) { m_robot.SetHeading(0); int angleDegrees = 10; long milliseconds = DateTime.Now.Ticks / TimeSpan.TicksPerMillisecond; if ((milliseconds - m_lastCommandSentTimeMs) > 1) { m_robot.Roll(angleDegrees, 0); m_lastCommandSentTimeMs = milliseconds; } } // private void startGameBtn_Click(object sender, RoutedEventArgs e) { m_gameIsStarted = !m_gameIsStarted; if (m_gameIsStarted) { startGameBtn.Content = "Stop"; ChangeRobotColor(); } else { startGameBtn.Content = "Start"; SetRobotDefault(); } } // private void ConnectionToggle_Toggled(object sender, RoutedEventArgs e) { ConnectionToggle.OnContent = "Connecting..."; if (ConnectionToggle.IsOn) { if (m_robot == null) { SetupRobotConnection(); } } else { ShutdownRobotConnection(); } } } 8. Run the application. My application looks like this:
The question of allowing the application to connect to the robot via Bluetooth is a mandatory part of the program, everyone will appear when you first open the installed application.

9. Click on the Start button and check the game in practice.
Download the source here: http://1drv.ms/MXwR6w
Conclusion
That's all for today. If someone is interested or has such a device, share your own fun games, applications, usage scenarios and discoveries. I plan to continue this series of articles and in some time I will return to you with another article about Sphero and using its API.
useful links
Sphero official website
Sphero Developer Center
Windows 8.1 Sphero SDK
Sphero SDK for Windows 8.1 Example
Sphero developer channel on youtube
Download Visual Studio 2013
Read more about Visual Studio Online
Sign up for Visual Studio Online
Source: https://habr.com/ru/post/213797/
All Articles