Setting up centralized logging with LogAnalyzer and Rsyslog

Most recently, I needed to create a central log server with a web interface, and in this article I would like to share my experience, maybe someone will find it useful. I will describe the installation and configuration of the LogAnalyzer web log viewer, the Rsyslog client, which will send all the logs to the remote Rysyslog server, and the latter, in turn, will write them to the MySQL database.
I chose Ubuntu 12.04 as the OS.
')
WebNote Test Addresses:
192.168.1.51 (loganalyzer-mysql.ip) - Rsyslog server, LogAnalyzer will also be installed on this host
192.168.1.50 (loganalyzer-mongo.ip) - Rsyslog client, which will send logs to the server loganalyzer-mysql.ip
Configuring the server part, for which we will add the repository from the Rsyslog developer :
... # Adiscon stable repository deb http://ubuntu.adiscon.com/v7-stable precise/ deb-src http://ubuntu.adiscon.com/v7-stable precise/ ... # apt-key adv --recv-keys --keyserver keyserver.ubuntu.com AEF0CF8E # gpg --export --armor AEF0CF8E | sudo apt-key add - Of course, you can use the version of Rsyslog that is available in standard repositories, but I had a problem opening 514 TCP ports on behalf of the syslog user .
We update packages and install Rsyslog with additional packages that will be needed in the future:
# apt-get update # apt-get install rsyslog rsyslog-mysql mysql-server mysql-client As I said above, we will configure logging to the local MySQL database. You will also need to answer some questions during the installation process. During configuration, the rsyslog-mysql package will ask for the creation of a user and a database for storing future logs:
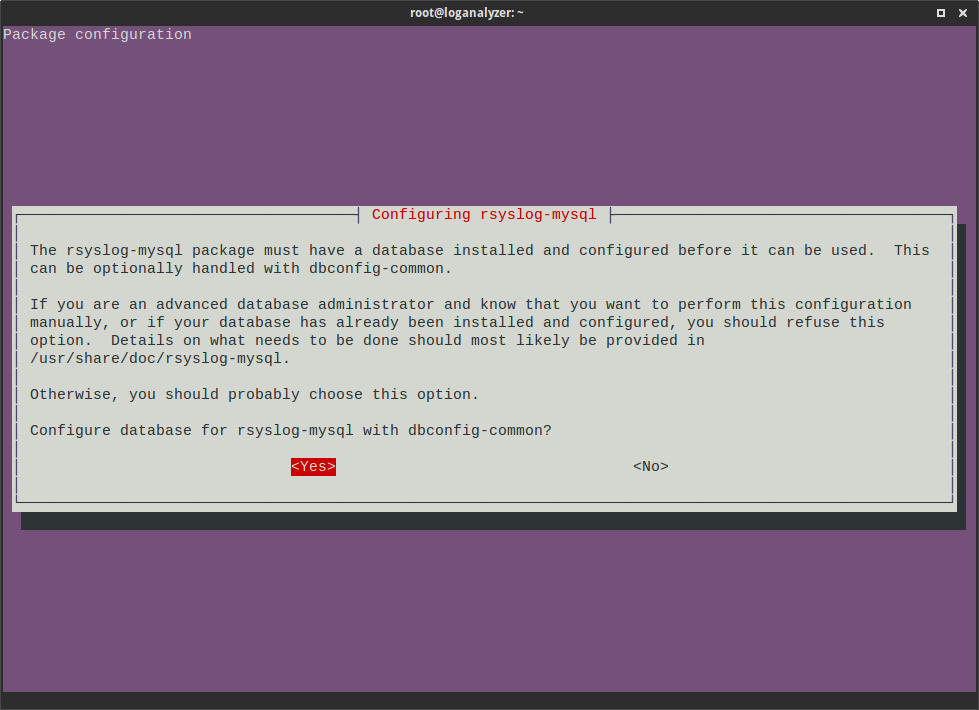
You must first specify a password for the root user of the database. With its help, the rsyslog database structure will be flooded:
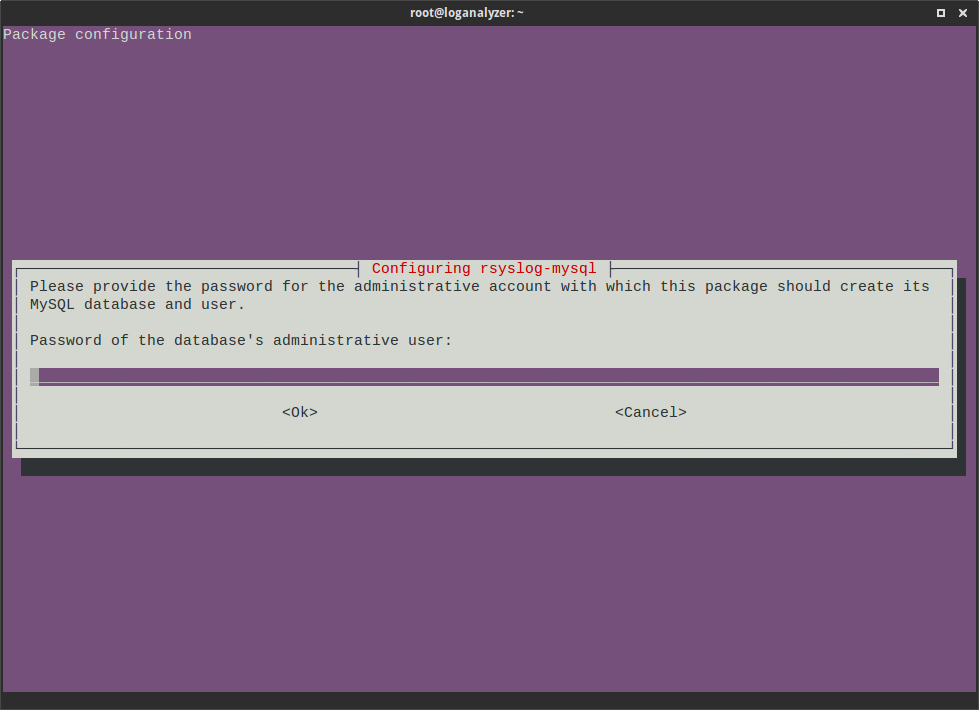
Specify a password for an individual database rsyslog user:

If the MySQL server did not exist on the host, the installer will install it and also offer to create a password for the root user.
The final config for integrating Rsyslog and MySQL is as follows:
# vim /etc/rsyslog.d/mysql.conf ### Configuration file for rsyslog-mysql ### Changes are preserved $ModLoad ommysql *.* :ommysql:localhost,Syslog,rsyslog,p@ssw0rD *. * - write all logs to database
ommysql - the module with which rsyslog will write to MySQL
Syslog - the name of the database
rsyslog - user who has access to write to the syslog database
p @ ssw0rD - rsyslog password
Reboot rsyslog and check the database:
mysql> show databases; +--------------------+ | Database | +--------------------+ | information_schema | | Syslog | | mysql | | performance_schema | | test | +--------------------+ mysql> use Syslog; mysql> show tables; +------------------------+ | Tables_in_Syslog | +------------------------+ | SystemEvents | | SystemEventsProperties | +------------------------+ mysql> select * from SystemEvents limit 2 \G *************************** 1. row *************************** ID: 1 CustomerID: NULL ReceivedAt: 2014-02-11 04:22:52 DeviceReportedTime: 2014-02-11 04:22:52 Facility: 5 Priority: 6 FromHost: loganalyzer Message: [origin software="rsyslogd" swVersion="8.1.5" x-pid="11992" x-info="http://www.rsyslog.com"] start ... InfoUnitID: 1 SysLogTag: rsyslogd: EventLogType: NULL GenericFileName: NULL SystemID: NULL *************************** 2. row *************************** ID: 2 CustomerID: NULL ReceivedAt: 2014-02-11 04:22:52 DeviceReportedTime: 2014-02-11 04:22:52 Facility: 5 Priority: 6 FromHost: loganalyzer Message: rsyslogd's groupid changed to 103 ... InfoUnitID: 1 SysLogTag: rsyslogd: EventLogType: NULL GenericFileName: NULL SystemID: NULL 2 rows in set (0.00 sec) mysql> It seems that the logs are written, as expected.
Now we set up receiving logs from the remote host. To do this, edit the configuration file on the Rsyslog server, i.e. check whether the lines are commented out:
# vim /etc/rsyslog.conf ... $ModLoad imudp $UDPServerRun 514 # provides TCP syslog reception $ModLoad imtcp $InputTCPServerRun 514 ... Reboot the rsyslog service. Thus, the 514th UDP and TCP ports will be open for receiving logs.
Moving on to setting up the Loganalyzer. It will be installed on the node with IP 192.168.1.51, that is, on the node with the Rsyslog server. We use Apache as a web server, so we will install it and the packages necessary for LogAnalyzer to work:
# aptitude install apache2 libapache2-mod-php5 php5-mysql php5-gd Download the latest Loganalyzer, unpack it, set the necessary rights for the configuration scripts:
# mkdir /tmp/loganalyzer # cd /tmp/loganalyzer # wget http://download.adiscon.com/loganalyzer/loganalyzer-3.6.5.tar.gz # tar zxvf loganalyzer-3.6.5.tar.gz # mkdir /var/www/loganalyzer # mv loganalyzer-3.6.5/src/* /var/www/loganalyzer # mv loganalyzer-3.6.5/contrib/* /var/www/loganalyzer # chmod +x /var/www/loganalyzer/configure.sh /var/www/loganalyzer/secure.sh # ./configure.sh && ./secure.sh # chown -R www-data:www-data /var/www/loganalyzer At the time of publication of this article, the latest version of the Loganalyzer log viewer is 3.6.5.
Create a virtual host in which you should not forget, at least, to change the ServerName and DocumentRoot parameters:
# cd /etc/apache2/sites-available # cp default loganalyzer.conf # vim loganalyzer.conf <VirtualHost *:80> ServerAdmin webmaster@localhost ServerName loganalyzer-mysql.ip #<<---insert your domainname here DocumentRoot /var/www/loganalyzer #<<---insert root directory of unpacked Loganalyzer <Directory /> Options FollowSymLinks AllowOverride None </Directory> <Directory /var/www/> Options Indexes FollowSymLinks MultiViews AllowOverride None Order allow,deny allow from all </Directory> ScriptAlias /cgi-bin/ /usr/lib/cgi-bin/ <Directory "/usr/lib/cgi-bin"> AllowOverride None Options +ExecCGI -MultiViews +SymLinksIfOwnerMatch Order allow,deny Allow from all </Directory> ErrorLog ${APACHE_LOG_DIR}/error.log # Possible values include: debug, info, notice, warn, error, crit, # alert, emerg. LogLevel warn CustomLog ${APACHE_LOG_DIR}/access.log combined Alias /doc/ "/usr/share/doc/" <Directory "/usr/share/doc/"> Options Indexes MultiViews FollowSymLinks AllowOverride None Order deny,allow Deny from all Allow from 127.0.0.0/255.0.0.0 ::1/128 </Directory> </VirtualHost> We activate the virtual host, check the configuration files and restart the Apache:
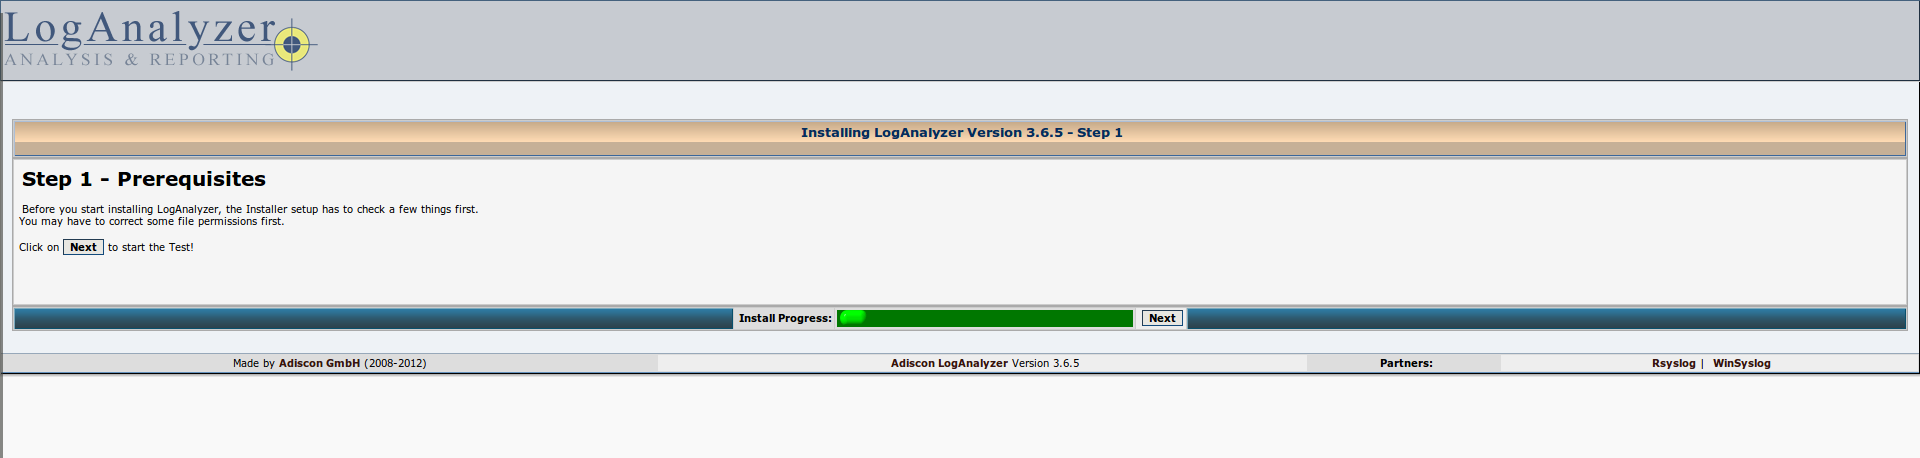
# a2ensite loganalyzer.conf # a2dissite 000-default # apachectl configtest # service apache2 restart Open the links loganalyzer-mysql.ip / install.php (in my case, loganalyzer-mysql.ip through / etc / hosts is bound to the IP address 192.168.1.51). We answer the questions posed:
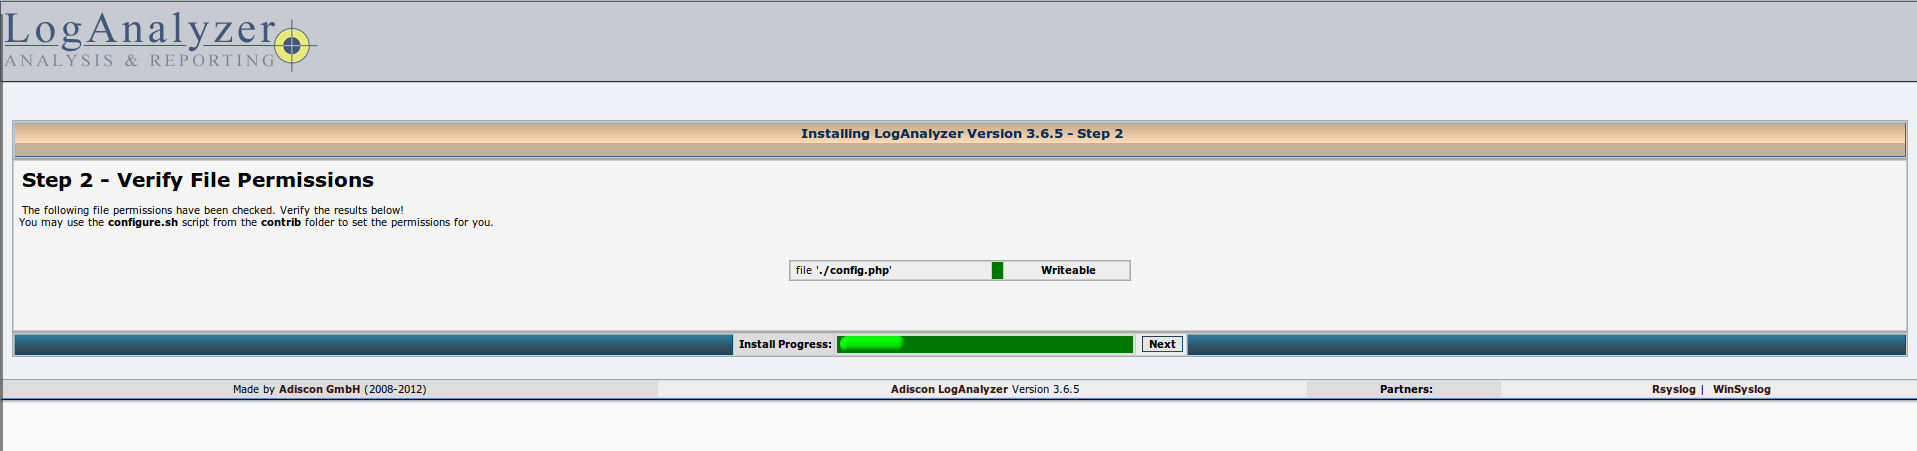
Check permissions to directories:
User configuration for the database and some additional options. Enter the values from the configuration file /etc/rsyslog.d/mysql.conf about which I wrote above. Only the MySQL database can be used for this.

Check access to the database using the provided login / password and fill the structure of tables with which LogAnalyzer will work.

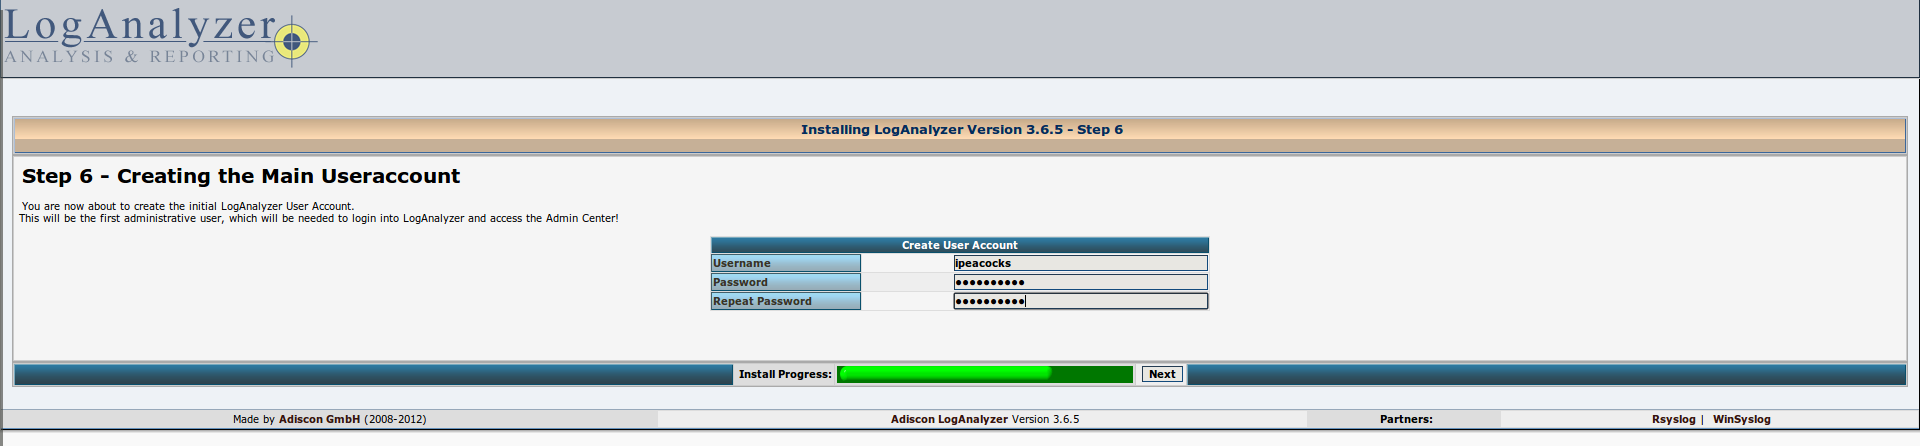
Creating an administrator for the LogAnalyzer web-interface.
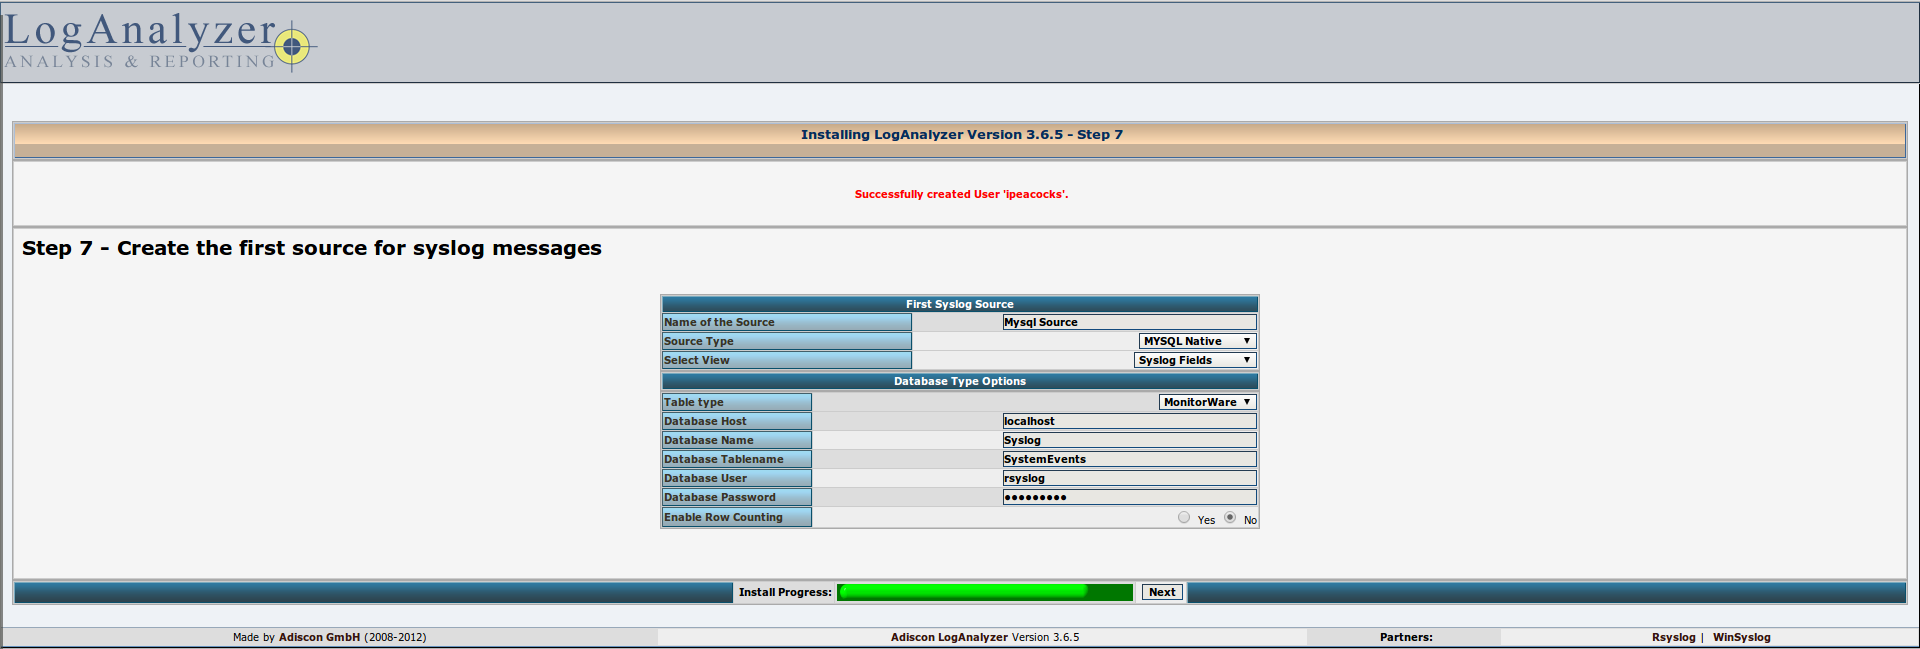
Add the source of the logs to display. LogAnalyzer can show records from a text file, a MongoDB database or MySQL. We describe the database access options (we write everything exactly as shown in the screenshot below, the register is also important):

All is ready! Login using login / password.

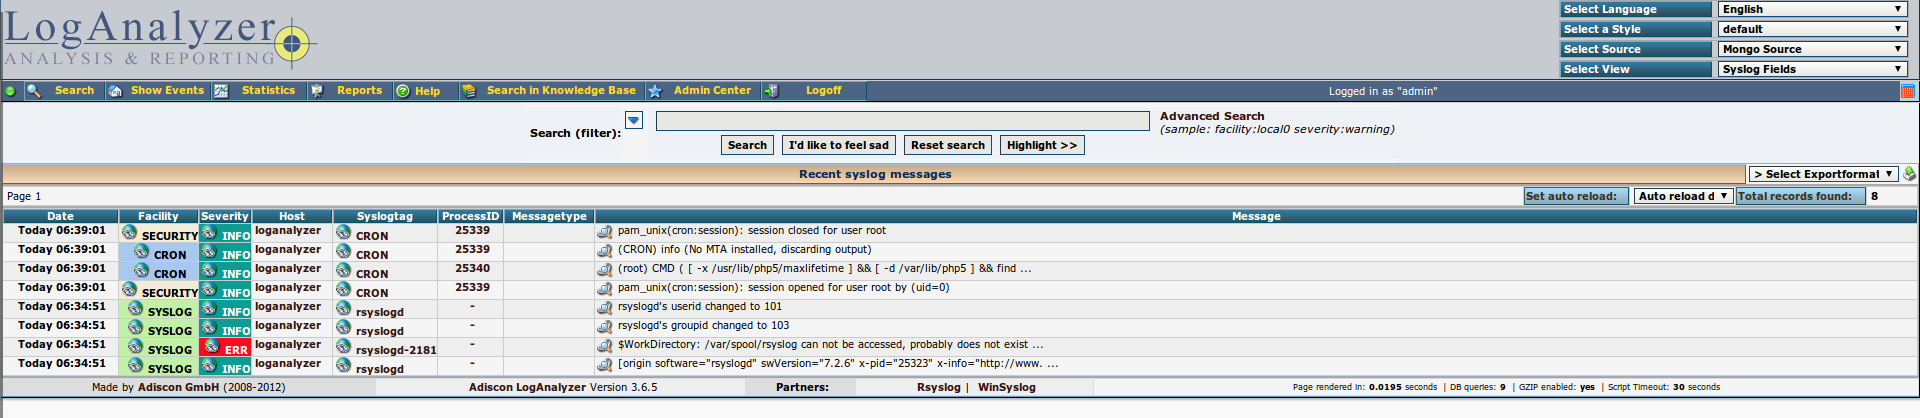
The LogAnalyzer interface looks like this:
He can also draw some graphs:

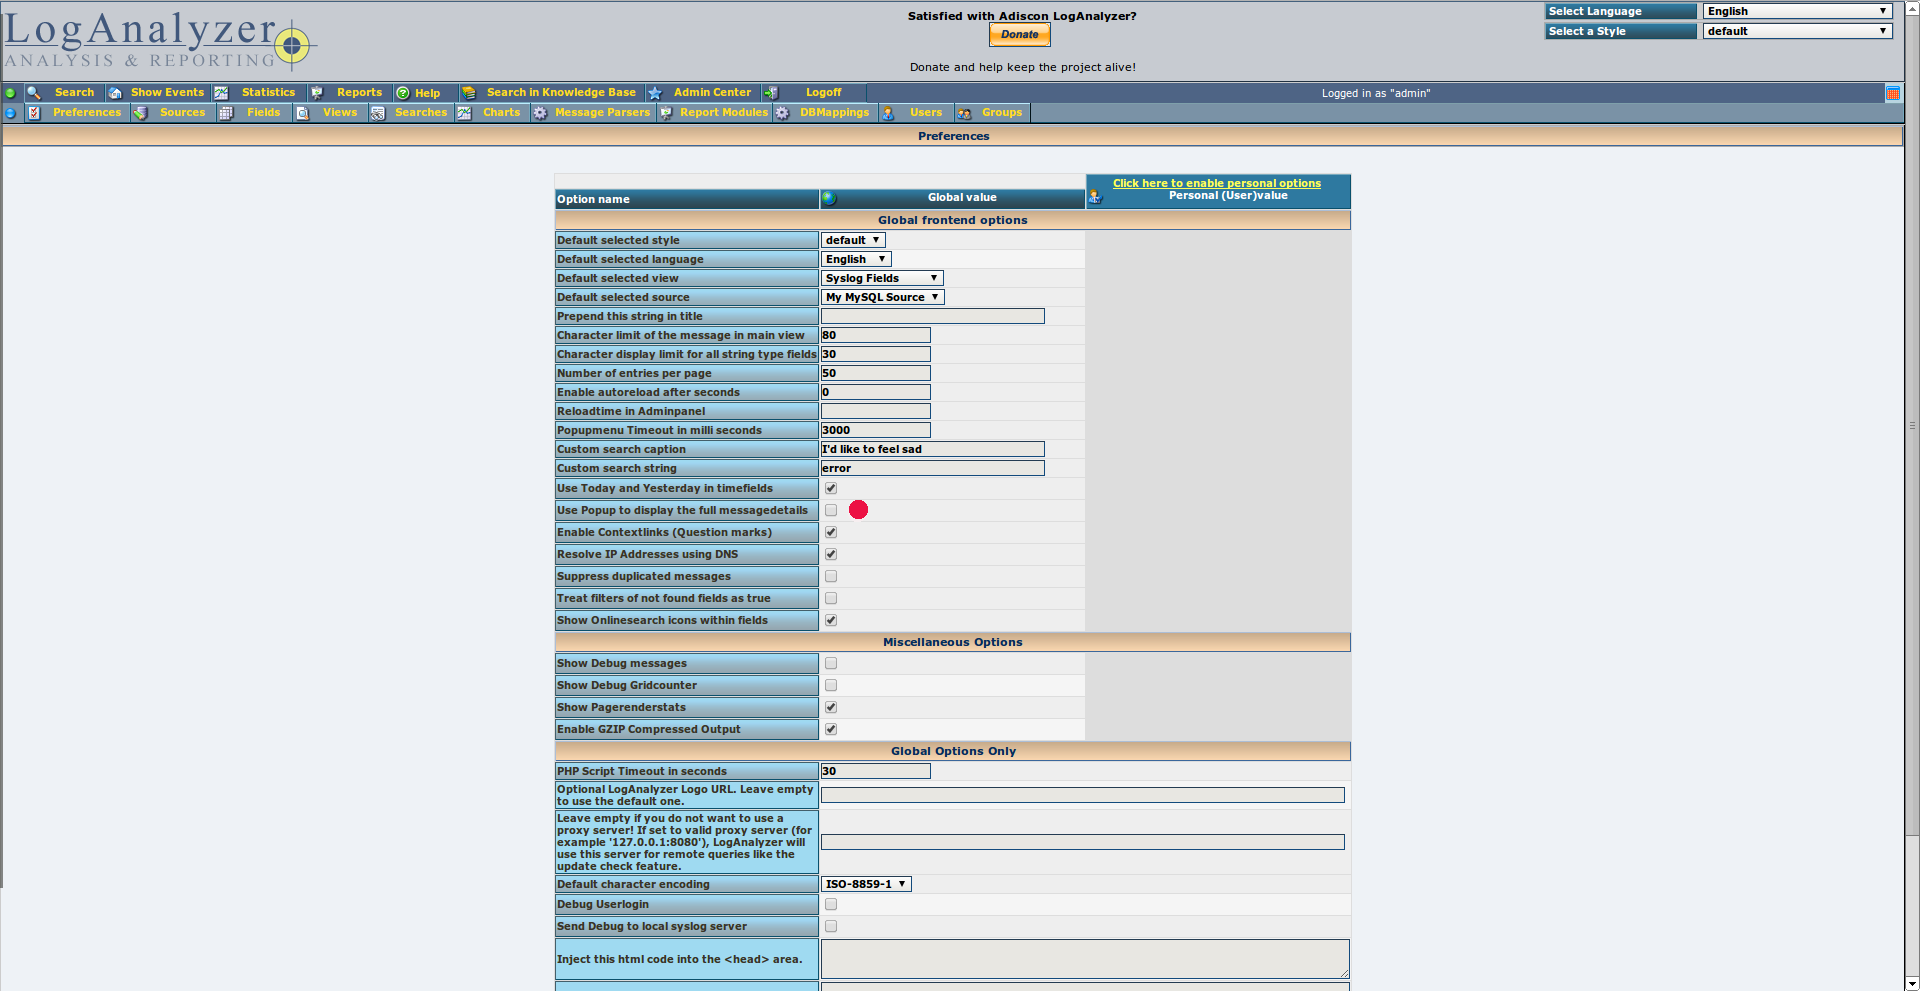
I’ll advise users of the Chrome browser to uncheck the "Use Popup to display the full message details" checkbox, otherwise there will be noticeable graphical bugs:
Now LogAnalyzer reflects logs from only one host, that is, the ones that rsyslog collects. Therefore, we configure sending logs from a remote server, for which we edit the rsyslog config on the host 192.168.1.50 and add the option:
# vim /etc/rsyslog.conf ... *.* @@192.168.1.51 ... *. * - a description of all the logs in importance and the programs that write them.
@@ - send TCP logs
@ - send logs via UDP
192.168.1.51 - server to which logs will be sent.
Sometimes there is a desire to send logs of services that do not know how to write in syslog. Therefore, a similar configuration might be useful:
# vim /etc/rsyslog.d/mongo.conf $ModLoad imfile $InputFileName /var/log/mongodb/mongodb.log $InputFileTag mongodb: $InputFileStateFile stat-mongo-error $InputFileSeverity error $InputFileFacility daemon $InputRunFileMonitor error.* @@192.168.1.51 Everything in the /etc/rsyslog.d/ directory and with the end of conf is included in the main config /etc/rsyslog.conf. In this case, logs from the text file /var/log/mongodb/mongodb.log will be sent and flagged as errors. All that in the /var/log/mongodb/mongodb.log file will be sent to a common syslog and look like this:
Feb 17 17:27:05 loganalyzer - mongo mongodb : Sun Feb 16 7:26:13 [ clientcursormon ] mem (MB ) res : 15 virt : 624 mapped : 0 And here’s the resulting LogAnalyzer view:

Other options can be used as a log storage base. The non-relational MongoDB database can be an ideal choice, because both LogAnalyzer and Rsyslog support it.
Links:
www.k-max.name/linux/rsyslog-na-debian-nastrojka-servera
rtfm.co.ua/debian-log-syslog-mysql-loganalyzer
www.unixmen.com/install-and-configure-rsyslog-in-centos-6-4-rhel-6-4
terraltech.com/syslog-server-with-rsyslog-and-loganalyzer
rogovts.ru/opensource/rsysloganalyzer.html
lists.adiscon.net/pipermail/rsyslog/2013-March/031884.html
loganalyzer.adiscon.com/articles/using-mongodb-with-rsyslog-and-loganalyzer
www.rsyslog.com/sending-messages-to-a-remote-syslog-server
Source: https://habr.com/ru/post/213519/
All Articles