Video surveillance on the Raspberry Pi
Good time of day!
On the eve of New Year's Eve, I had an idea to build a kind of video surveillance. Everything I needed was in my hands:
After reading the article, I decided to develop a little idea of the author.
The main difference between my idea and the author’s idea is that I have the opportunity to view events in real time without losing the main function - video recording.
So, for the beginning we will get acquainted with the main "component":
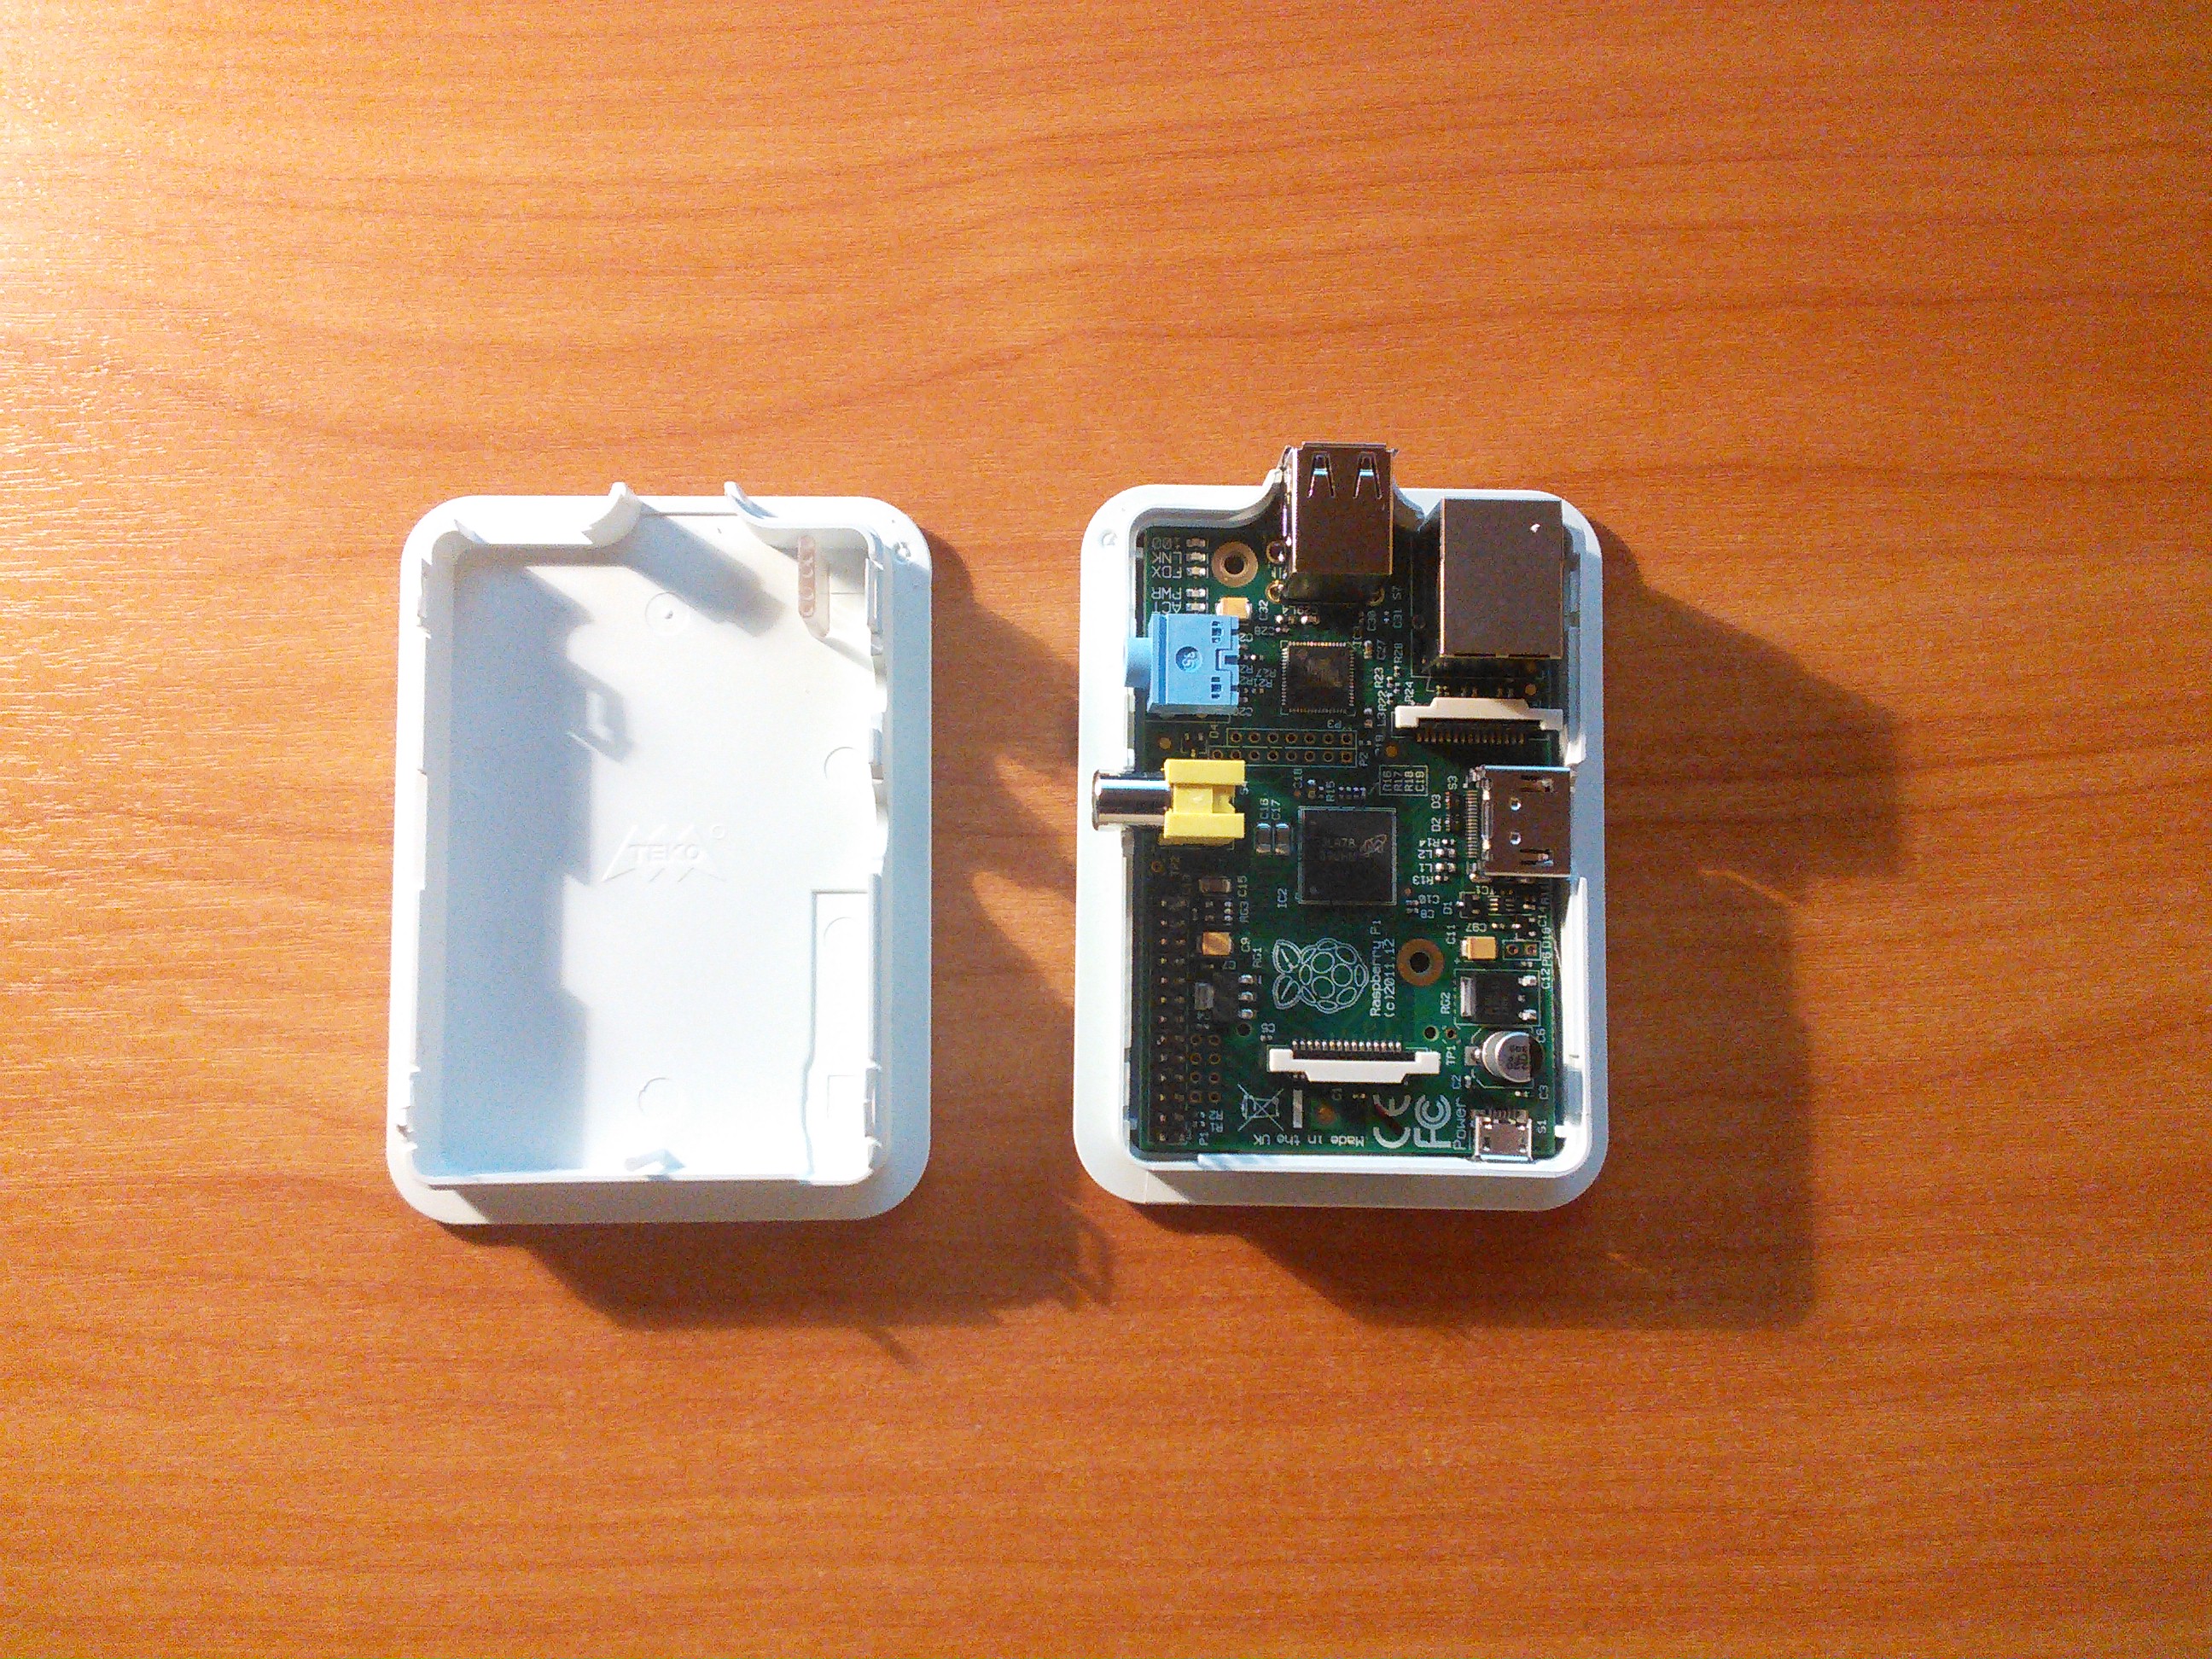
Appearance Raspberry Pi:
Specifications:
')
A list of officially supported distributions can be found here . I opted for Raspbian without a graphical shell.
The installation process is quite simple and does not need a detailed description, so I will list the main facts that you should pay attention to:
After completing all the necessary settings you can proceed.
First, let's install all the necessary packages:
After that we download and collect mjpg-streamer:
Since All data will be stored in the cloud, we will configure work with a remote file system via WebDAV:
In order not to enter your username and password each time, you need to add them to the file
/ etc / davfs2 / secrets
Add to /etc/rc.local the commands for mounting WebDAV and running the script for broadcasting to the network:
Now, by going to http: //: 8080 / we will get access to the camera. It remains only to make port forwarding on the router and you can access the camera outside the local network.
The first thing we need to get the image from the camera. Since she is already busy (image is being transmitted by the web server), then we will use the opportunity to get the current image from the web server:
In case we want to draw the date of the image on the image, then we can use the convert command
Full version of the script:
The video is compiled by the avconv command:
Full version of the video build script:
Now it remains only to register the execution of scripts in the Cron scheduler:
This approach helps to get rid of the need to spend a large amount of time watching videos, and also reduces the cost of the final product. Due to the presence of a full-fledged OS, it is possible to expand the functionality in the right direction.
PS Unfortunately to publish in the hubs «DIY or DIY, Iron, Gadgets. Devices for geeks "did not have enough karma, chose the most accessible.
On the eve of New Year's Eve, I had an idea to build a kind of video surveillance. Everything I needed was in my hands:
- Single Board Computer Raspberry Pi Model B
- Webcam LOGITECH HD Webcam C270
After reading the article, I decided to develop a little idea of the author.
The main difference between my idea and the author’s idea is that I have the opportunity to view events in real time without losing the main function - video recording.
Acquaintance
So, for the beginning we will get acquainted with the main "component":
Appearance Raspberry Pi:
Specifications:
- Broadcom BCM2835 700MHz ARM1176JZFS processor with FPU and Videocore 4 GPU
- GPU provides Open GL ES 2.0, hardware-accelerated OpenVG, and 1080p30 H.264 high-profile decode
- GPU is capable of 1Gpixel / s, 1.5Gtexel / s or 24GFLOPs with texture filtering and DMA infrastructure
- 512MB RAM
- Boots from SD card, running a version of the Linux operating system
- 10/100 BaseT Ethernet socket
- HDMI video out socket
- 2 x USB 2.0 sockets
- RCA composite video out socket
- SD card socket
- Powered from microUSB socket
- 3.5mm audio out jack
- Raspberry Pi HD video camera connector
- Size: 85.6 x 53.98 x 17mm "
pi@hall-pi ~ $ cat /proc/cpuinfo processor : 0 model name : ARMv6-compatible processor rev 7 (v6l) BogoMIPS : 2.00 Features : swp half thumb fastmult vfp edsp java tls CPU implementer : 0x41 CPU architecture: 7 CPU variant : 0x0 CPU part : 0xb76 CPU revision : 7 Hardware : BCM2708 Revision : 000e Serial : 000000005a82c372 ')
A list of officially supported distributions can be found here . I opted for Raspbian without a graphical shell.
The installation process is quite simple and does not need a detailed description, so I will list the main facts that you should pay attention to:
- Time zone setting
- Computer name setting
- Enable SSH access
- System update
After completing all the necessary settings you can proceed.
Training
First, let's install all the necessary packages:
sudo apt-get install imagemagick libav-tools libjpeg8-dev subversion After that we download and collect mjpg-streamer:
sudo svn co https://svn.code.sf.net/p/mjpg-streamer/code/mjpg-streamer/ mjpg-streamer cd mjpg-streamer make Since All data will be stored in the cloud, we will configure work with a remote file system via WebDAV:
sudo apt-get install davfs2 sudo mkdir /mnt/dav sudo mount -t davfs https://webdav.yandex.ru /mnt/dav -o uid=pi,gid=pi In order not to enter your username and password each time, you need to add them to the file
/ etc / davfs2 / secrets
/mnt/dav user password The working process
Add to /etc/rc.local the commands for mounting WebDAV and running the script for broadcasting to the network:
mount -t davfs https://webdav.yandex.ru /mnt/dav -o uid=pi,gid=pi cd /home/pi/mjpg-streamer && ./mjpg_streamer -i "./input_uvc.so" -o "./output_http.so -w ./www" Now, by going to http: //: 8080 / we will get access to the camera. It remains only to make port forwarding on the router and you can access the camera outside the local network.
Create timelapse video
The first thing we need to get the image from the camera. Since she is already busy (image is being transmitted by the web server), then we will use the opportunity to get the current image from the web server:
curl http://localhost:8080/?action=snapshot > out.jpg In case we want to draw the date of the image on the image, then we can use the convert command
timestamp=`stat -c %y out.jpg` convert out.jpg -fill black -fill white -pointsize 15 -draw "text 5,15 '${timestamp:0:19}'" out_.jpg Full version of the script:
#!/bin/bash filename=$(perl -e "print time") foldername=$(date --rfc-3339=date) curl http://localhost:8080/?action=snapshot > $filename timestamp=`stat -c %y $filename` mkdir /mnt/dav/out/$foldername convert $filename -fill black -fill white -pointsize 15 -draw "text 5,15 '${timestamp:0:19}'" /mnt/dav/out/$foldername/$filename.jpg rm $filename The video is compiled by the avconv command:
avconv -r 10 -i %06d.jpg -r 10 -vcodec mjpeg -qscale 1 out.avi Full version of the video build script:
#!/bin/bash filename=$(date --rfc-3339=date) i=0 for f in `ls -tr /mnt/dav/out/$filename/*.jpg 2>/dev/null` do newf=`printf %06d $i`.jpg echo $f "-->" $newf mv $f $newf i=$((i+1)) done rmdir -R /mnt/dav/out/$filename/ avconv -r 10 -i %06d.jpg -r 10 -vcodec mjpeg -qscale 1 /mnt/dav/$filename.avi rm *.jpg Now it remains only to register the execution of scripts in the Cron scheduler:
* * * * * pi bash /home/pi/cam.sh 59 23 * * * pi bash /home/pi/build.sh Video example
Conclusion
This approach helps to get rid of the need to spend a large amount of time watching videos, and also reduces the cost of the final product. Due to the presence of a full-fledged OS, it is possible to expand the functionality in the right direction.
PS Unfortunately to publish in the hubs «DIY or DIY, Iron, Gadgets. Devices for geeks "did not have enough karma, chose the most accessible.
Source: https://habr.com/ru/post/208058/
All Articles