Automatic generation of resources for Android applications using scripts for Adobe Photoshop
Foreword
When developing for Android, as you know, you need to build on creating resources under all possible pixel densities. Initially, there were only three such densities: ldpi , mdpi and hdpi . However, progress is not in place: the pixel density of the screens grow to irresponsible values, and in the meantime Google put the letter “x” on sly and got to xxxhdpi , receiving as a result as many as six basic screen configurations. This means that if you play by the rules, then you need to save a half-dozen resources per icon. But that's not all, because some resources have several different states. The buttons on the action bar have two states, and this is all right, but the usual buttons have much more.
There are several ways out: you can torture the artist, you can spit on the support of many densities and hope that the system somehow scales them, or you can use the fact that programmers like to do the most: automation. There are different tools with which to do this. The most advanced is probably Android Asset Studio . This is a very sensible tool, but, of course, icons are drawn there only for standard cases, and if you need to make buttons with your own unique styles, it’s not our helper here. And here we are rescued by the support of scripts in the well-known tool: Adobe Photoshop. In order to simplify the whole process, your humble servant has written several tools for himself on a similar occasion and is now sharing them with readers. How to use them, and how they work, I describe further. All the sources are on BitBucket , and here I will tell the main points and show some tricks of working with Photoshop scripts that may not be obvious to beginners. Just in case, I note that I wrote them for Photoshop CS6.
Using scripts and working principles
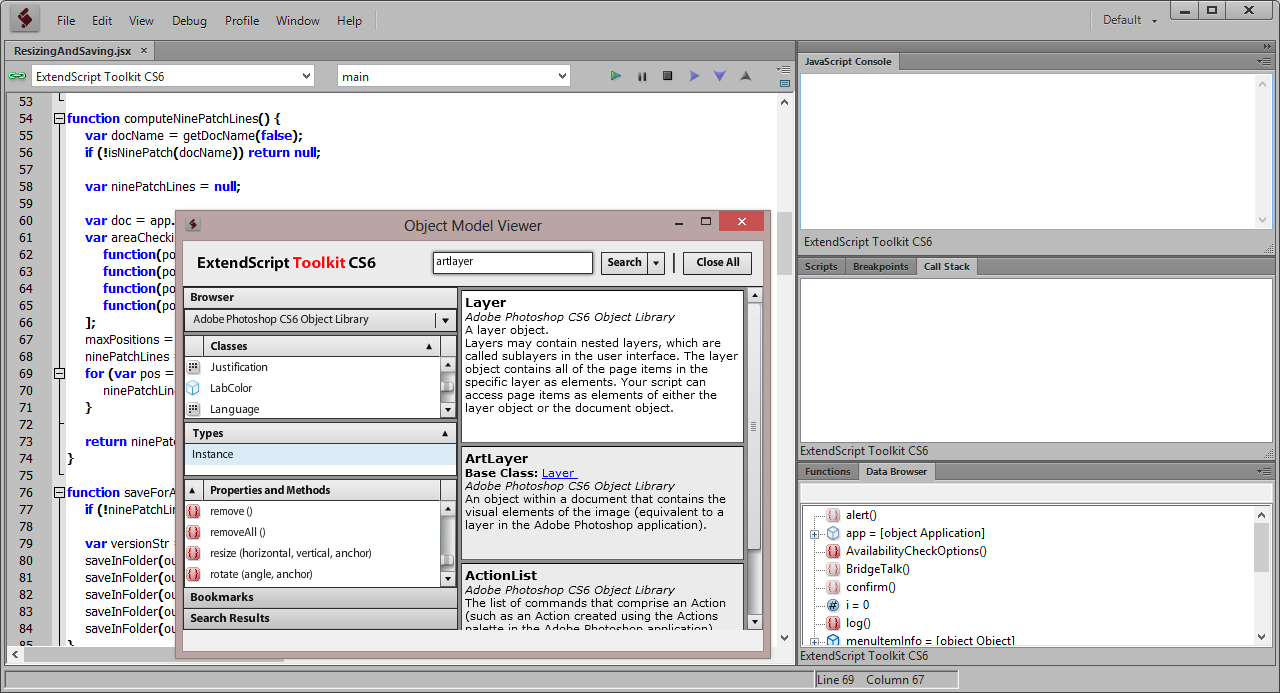
Before you talk about scripts, you should give a link to the predecessor article , which explains the general process of writing scripts for Photoshop. In short, the standard tool for this is the ExtendScript Toolkit, distributed with the graphic editor itself. I have to be sad to say that I absolutely agree with the author of the above article that the editor is really rather stupid. But so what is, such is. You can write scripts directly, of course, and not in it, but for debugging you will have to make friends with it. There is in it on the F1 button and documentation on functions built into Photoshop, which is just as inconvenient as the editor itself, but at least performs its main function. The scripts themselves can be written in different languages, and I myself used JavaScript.
')
Creating an icon for all densities
Returning to our sheep, all written scripts for working with resources can be divided into two parts: some of them directly launch the execution of the necessary actions (they all begin with the word “Make”), while others serve as libraries with functions. The most important and versatile tool is MakeForAllDensities , which does what the name suggests: it creates resources for all densities from a single document. There are some requirements for the document:
- The document must be created for mdpi pixel density. It is taken as the base and then scaled to the desired size.
- The document should already be saved somewhere for the script to correctly read the file name (and also determine if it is not the nine-patch , using the prefix ".9"). It is best to save in the subfolder of the root folder of the Android project, then the script itself will find the res folder.
- An additional requirement: if it is a nine-patch, then the lines should be drawn on a separate layer, the lowest one.
- Well, of course, the image should be vectorial, not raster, otherwise there is no special point in scaling it with Photoshop, not Android. There is one exception: this does not apply to the nine-patch lines, and they can also be raster.
If all these requirements are met, then the rest is already a matter of technology: open the document in Photoshop and launch the script with a double click. After launching, the script will ask you to specify a folder with resources (res), and if the document is saved in a project subfolder, then it will figure out where to save itself, and then everything else will be done by itself.
The script itself looks very simple:
//@include ResizingAndSaving.jsx #target photoshop var outputFolder = detectFolder(); if (outputFolder) saveForAllDensities(outputFolder, 0, ""); Typical javascript except for the weird first two lines. The first strange line looks like a regular comment, which is actually not a comment, but an import of another file with the functions we need. This is trick number one , because in standard JavaScript such a chip does not roll. The second strange line, as you can easily guess, suggests that the script should run in Photoshop. What do the rest of the lines, we will open ResizingAndSaving.jsx.
detectFolder don’t quote detectFolder here, because there is nothing special in it: the function checks whether there is a res folder in the folder folder of the document, and returns it if it finds it, and if not, it asks the user. But then the more important part of the script begins. function saveForAllDensities(outputFolder, version, postfix, ninePatchLines) { if (!ninePatchLines) ninePatchLines = computeNinePatchLines(); var versionStr = version ? "-v" + version : ""; saveInFolder(outputFolder, "drawable-mdpi" + versionStr, 100, postfix, ninePatchLines); saveInFolder(outputFolder, "drawable-hdpi" + versionStr, 150, postfix, ninePatchLines); saveInFolder(outputFolder, "drawable-xhdpi" + versionStr, 200, postfix, ninePatchLines); saveInFolder(outputFolder, "drawable-xxhdpi" + versionStr, 300, postfix, ninePatchLines); saveInFolder(outputFolder, "drawable-xxxhdpi" + versionStr, 400, postfix, ninePatchLines); } I answer in advance the question if someone came up with it: ldpi is not here, because Google does not recommend creating resources for it . As mentioned earlier, the file may be a nine-patch, which in terms of editing the file means that it has a separate layer with black lines along the edges. And these lines can not be simply taken and scaled: it is necessary to paint over the pixels completely black, or not to paint at all, and you cannot climb onto the neighboring pixels. In addition, you need to consider that the lines may not be solid. This is where the
computeNinePatchLines function comes into computeNinePatchLines . function computeNinePatchLines() { var docName = getDocName(false); if (!isNinePatch(docName)) return null; var ninePatchLines = null; var doc = app.activeDocument; var areaCheckingFunctions = [ function(pos) {return areaIsEmpty(doc, pos, 0);}, function(pos) {return areaIsEmpty(doc, 0, pos);}, function(pos) {return areaIsEmpty(doc, pos, doc.height - 1);}, function(pos) {return areaIsEmpty(doc, doc.width - 1, pos);} ]; maxPositions = [doc.width, doc.height, doc.width, doc.height]; ninePatchLines = new Array(); for (var pos = 0; pos < areaCheckingFunctions.length; pos++) { ninePatchLines.push(findLines(maxPositions[pos], areaCheckingFunctions[pos])); } return ninePatchLines; } The main point of this function is to walk on each side of the picture and check where the black lines are hidden there. After they are found, it will be possible to multiply their length by the necessary coefficient without any knowledge and continue to paint over the necessary area as it should be. It will be interesting to look into the
areaIsEmpty function: function areaIsEmpty(doc, x, y) { var state = getState(); if (doc.colorSamplers.length == 0) { var colorSampler = doc.colorSamplers.add([x,y]); } else { var colorSampler = doc.colorSamplers[0]; colorSampler.move([x, y]); } var areaEmpty; try { areaEmpty = colorSampler.color.rgb.hexValue !== "000000"; } catch (e) { areaEmpty = true; } restoreState(state); return areaEmpty; } This function is designed to check whether a pixel is blacked out or not. Only here the thing is that in Photoshop, as it turned out, using the standard API it’s impossible to check whether a certain pixel is empty, not to mention just finding out its color. Therefore, you have to put a color sampler on it and see if it will throw an exception when checking the color or not. If issued, then the pixel is empty. If not, you can watch its color. That is cunning number two . The
findLines function, which I do not cite here, simply applies areaIsEmpty in a row for all pixels along one of the four edges of the screen and records their positions.Then you can scale the resources and save them to a folder.
function saveInFolder(outputFolder, subFolder, scaling, postfix, ninePatchLines) { var opts = new ExportOptionsSaveForWeb(); opts.format = SaveDocumentType.PNG; opts.PNG8 = false; opts.transparency = true; opts.quality = 100; var state = getState(); if (ninePatchLines) { var doc = app.activeDocument; doc.resizeCanvas(doc.width - 2, doc.height - 2); resize(scaling, true); doc.resizeCanvas(doc.width + 2, doc.height + 2); drawLines(doc, scaling / 100, ninePatchLines); } else { resize(scaling, true); } activeDocument.exportDocument(createFile(outputFolder, subFolder, postfix, ".png", false), ExportType.SAVEFORWEB, opts); restoreState(state); } Everything is, in principle, obvious, but the way the resizing of the image itself is done deserves a separate explanation. It would seem that there is a
Document.resizeImage function, and you just need to call it, right? But nothing will come of it: the layer styles do not scale. You can record the action and then play it programmatically. This option works, but it’s bad because then you definitely need to attach a library of these actions to the script, which you need to import before launching, which is somehow not very convenient.Another option is to use the tool that was described by my already mentioned predecessor , namely ScriptListener.8li. This tool allows you to record all actions that are performed in Photoshop, in the script, even if these actions are not supported in the standard API. The exit scripts come out, of course, rather vague, but they do their job perfectly well. With a little effort, you can understand which parameters are responsible for what, and make a function from the recorded specific actions. It is this way that such an indistinct, but workable function appeared:
function resize(size, relative) { var idImgS = charIDToTypeID( "ImgS" ); var desc = new ActionDescriptor(); var idWdth = charIDToTypeID( "Wdth" ); var idPxl = charIDToTypeID( relative ? "#Prc" : "#Pxl" ); desc.putUnitDouble( idWdth, idPxl, size ); var idscaleStyles = stringIDToTypeID( "scaleStyles" ); desc.putBoolean( idscaleStyles, true ); var idCnsP = charIDToTypeID( "CnsP" ); desc.putBoolean( idCnsP, true ); var idIntr = charIDToTypeID( "Intr" ); var idIntp = charIDToTypeID( "Intp" ); var idbicubicSharper = stringIDToTypeID( "bicubicAutomatic" ); desc.putEnumerated( idIntr, idIntp, idbicubicSharper ); executeAction( idImgS, desc, DialogModes.NO ); } That was trick number three . After the required image sizes are obtained, the script draws, if necessary, the nine-patch lines, and the new resource is sent to the required folder.
Creating icons for the action bar
In addition to MakeForAllDensities, there are four more MakeActionBarIcons scripts that make icons for the action bar: for the black and white theme, which can be turned off and off. They are used in the same way as MakeForAllDensities, except that now the document should contain only one layer. In this layer, it is important only to observe the shape of the icon, and the styles will be applied by the script itself.
Now the difficulty is that Google has certain requirements for the style of icons depending on their state . If the icon exists only in one state, then everything is simple, but if you need to turn it off, then here you need to figure out how to modify the appearance of the layers programmatically. For icons on the action bar, we need to know how to change the transparency of the layer and its color. There are no problems with the first one, but in relation to the latter, the standard API again gives up the slack. So, you will have to re-apply to saving ScriptListener.8li. As a result of its use in the Styles file, a function appeared that will help us change the color of the vector layer:
setLayerColor . That gibberish, which is in the body of the function, I, perhaps, omit.In principle, for the icons of the action bar, nothing but the above described is needed. But those who have already looked into the Styles file, noticed that there are still many functions obtained using ScriptListener.8li, which can manipulate the effects of layers. They were written for my own icons, the scripts for the creation of which I’m not adding to the repository anymore. For this reason, the existing functions, of course, may be someone is not enough, and you will need to make your own. Again, you can either record actions or make styles and apply them programmatically. But this is inconvenient, so it’s better to get away with functions again, since we have already mastered the benefit of ScriptListener.8li. And here there is another snag: if you write a script to add a particular layer effect and arrange it into a function, then when it is applied, the already installed effects will disappear. Here comes trick number four . If you pay attention to the beginning of the rubbish that ScriptListener.8li gives out for each application of the effect, the lines similar to the following will be everywhere:
var idsetd = charIDToTypeID( "setd" ); var desc = new ActionDescriptor(); var idnull = charIDToTypeID( "null" ); var ref = new ActionReference(); var idPrpr = charIDToTypeID( "Prpr" ); var idLefx = charIDToTypeID( "Lefx" ); ref.putProperty( idPrpr, idLefx ); var idLyr = charIDToTypeID( "Lyr " ); var idOrdn = charIDToTypeID( "Ordn" ); var idTrgt = charIDToTypeID( "Trgt" ); ref.putEnumerated( idLyr, idOrdn, idTrgt ); desc.putReference( idnull, ref ); var idT = charIDToTypeID( "T " ); var desc2 = new ActionDescriptor(); var idScl = charIDToTypeID( "Scl " ); var idPrc = charIDToTypeID( "#Prc" ); desc2.putUnitDouble( idScl, idPrc, 100.000000 ); And at the very end of the script everything ends with this chord:
var idLefx = charIDToTypeID( "Lefx" ); desc.putObject( idT, idLefx, desc2 ); executeAction( idsetd, desc, DialogModes.NO ); The creation of the layer style itself is the responsibility of the last four lines from the first portion of the code above, which create
desc2 and set the scale for the style. Everything else is just the application of style. Now that we know which lines they are doing, we can separate the veins from the meat and isolate that part of the code that directly applies the effect. Duplicate plots are decorated in separate functions in Styles, which are applied in a similar way: var style = newStyle(); // addColorOverlay(style, 0xFF, 0xFF, 0xFF, 100); // addStroke(style, 0x00, 0x00, 0x00, 3); // applyStyle(style); //, , Now we have all the tools in hand, it remains to use it. I remind you that all these miraculous means were started in order to apply different styles to the resource depending on the state. The
makeIcons function in MenuIcons is what it does: it applies different styles to the icon for the action bar and saves the result. I bring here its main piece. if (makeStateful) { var selectorData = [ { state_enabled: false, postfix: "disabled" }, { postfix: "normal" } ]; makeSelectorXml(selectorData, outputFolder, "drawable"); } var styleFunctions = [function(style) {applyActionBarItemStyle(whiteTheme, false)}]; var postfixes = ["normal"]; if (makeStateful) { styleFunctions.unshift(function(style) {applyActionBarItemStyle(whiteTheme, true)}); postfixes.unshift("disabled"); } saveStyledDrawables(outputFolder, styleFunctions, postfixes); The first part of the function creates a selector for our resource. Selectors have been described in a recent article, The Secrets of Buttons on Android . In our case, two states are created for the action panel: when the button is turned off and when it is in the normal state. Accordingly, an array of objects describing states is passed to the function
makeSelectorXml . Objects have a postfix field and, if necessary, one or more fields starting with “state_”. After that, makeSelectorXml makes an XML file of a selector from this miracle, which is sent to the drawables folder.The second part of the function creates two arrays: one contains functions that apply styles for the given state, and the second array contains postfixes corresponding to the states. Each function for applying styles has at its disposal a
style argument. This is the object that emerges at the exit from newStyle , over which we fought not long ago. applyStyle does not need to be called in these functions, the saveStyledDrawables function will take care of saveStyledDrawables . I don’t think I saveStyledDrawables bring the functions makeSelectorXml and saveStyledDrawables , because there is the most common, boring JavaScript.Conclusion
In this way, you can not manually draw a cloud of icons, but use the ready-made solution and set everything up from one picture. You can, of course, use Android Asset Studio, but the approach with scripts has its advantages. First, you can make scripts for your own buttons, the styles of which are simply not in someone else's tool (why, in fact, I decided to write the whole thing). Secondly, after all, uploading a file to the site, conjuring with the settings, and then downloading and stuffing the received files into folders is not as easy as double clicking on the script so that everything will turn out right. In addition, Android Asset Studio does not want to work with PSD directly (at least at the time of this writing), does not distinguish the nine-patch from the usual icon, and the files in it can not be massively processed.
I hope that the article turned out to be useful both for those who are creating applications on Android, and for those who want to learn how to write scripts for Photoshop.
useful links
- The project page on BitBucket is actually what the article is about.
- Android iconography - official requirements for icons. I think that all of them have already read them, but if someone suddenly did not read, I advise you to fix it urgently.
- We process pictures using Photoshop and ExtendScript Toolkit - the basics of creating scripts for Photoshop, at the end of the article there are also useful links.
- Android nine-patch - we stretch the android - about what nine-patch is and why it is needed.
- Secrets of buttons in Android. Part 1: Layout basics - if someone does not know all the subtleties of creating buttons and other elements of the Android interface that have different states, then this article is what you need.
Source: https://habr.com/ru/post/206952/
All Articles