VIM + screen. Organization of a remote web development environment
Million articles are written about workflow organization, code editors, convenience and stability of work. I, without pretending to the “most wonderful way”, want to tell you how the web development environment is organized for several people from our team. Immediately make a reservation, if you use only local GUI-shnye code editors, Notepad ++, Eclipse, etc., then this article is not for you. We work a lot in the console, and therefore, as a result of many years of natural selection, many came to VIM, and the console is almost a separate tab in the development environment, because in the process of work, you need to look at the logs, write requests to the database, restart services, etc. Therefore, I want to share a specific practical recipe for organizing a web development environment for a programmer or admin who works a lot in a standard remote console.
Using this scheme, our working environment on any computer is just PuTTY and a browser, while we have all the joys of a multi-screen, crash-proof development tool that is entirely on the server side. When the light suddenly flashes, all the computers go into a reboot and popular non-print expressions are heard from all sides, I simply reconnect to the server and find myself right in the middle of the expression that rules before rebooting. This is very convenient, considering that on the local computer I have nothing but PuTTY, a browser and WinAmp, and I can safely do the same 5 minutes after I throw my computer out of the window and take a new one.
Well, formally, the requirements for the development environment are:
')
There are also disadvantages:
I’m a lazy person, I’m not very interested in reading a bunch of configuration options and delving into the subtleties of the programs used, so I just copied many pieces of configs from several different articles, to whose authors respect and deep human thanks.
To begin with, two screenshots from PuTTY, more precisely, its modifications, begPuTTY . I use begPuTTY for only one purpose: it correctly transmits to the console the key combination Shift + Arrow Left and Shift + Arrow Right, which I need to switch between consoles "a la" xterm. Download it and thank the author, you can here . If you are ready to use another keyboard shortcut for changing tabs, you can use regular PuTTY. That is, in fact, all that I need to work on the project. Portable, isn't it?
So, screenshots:
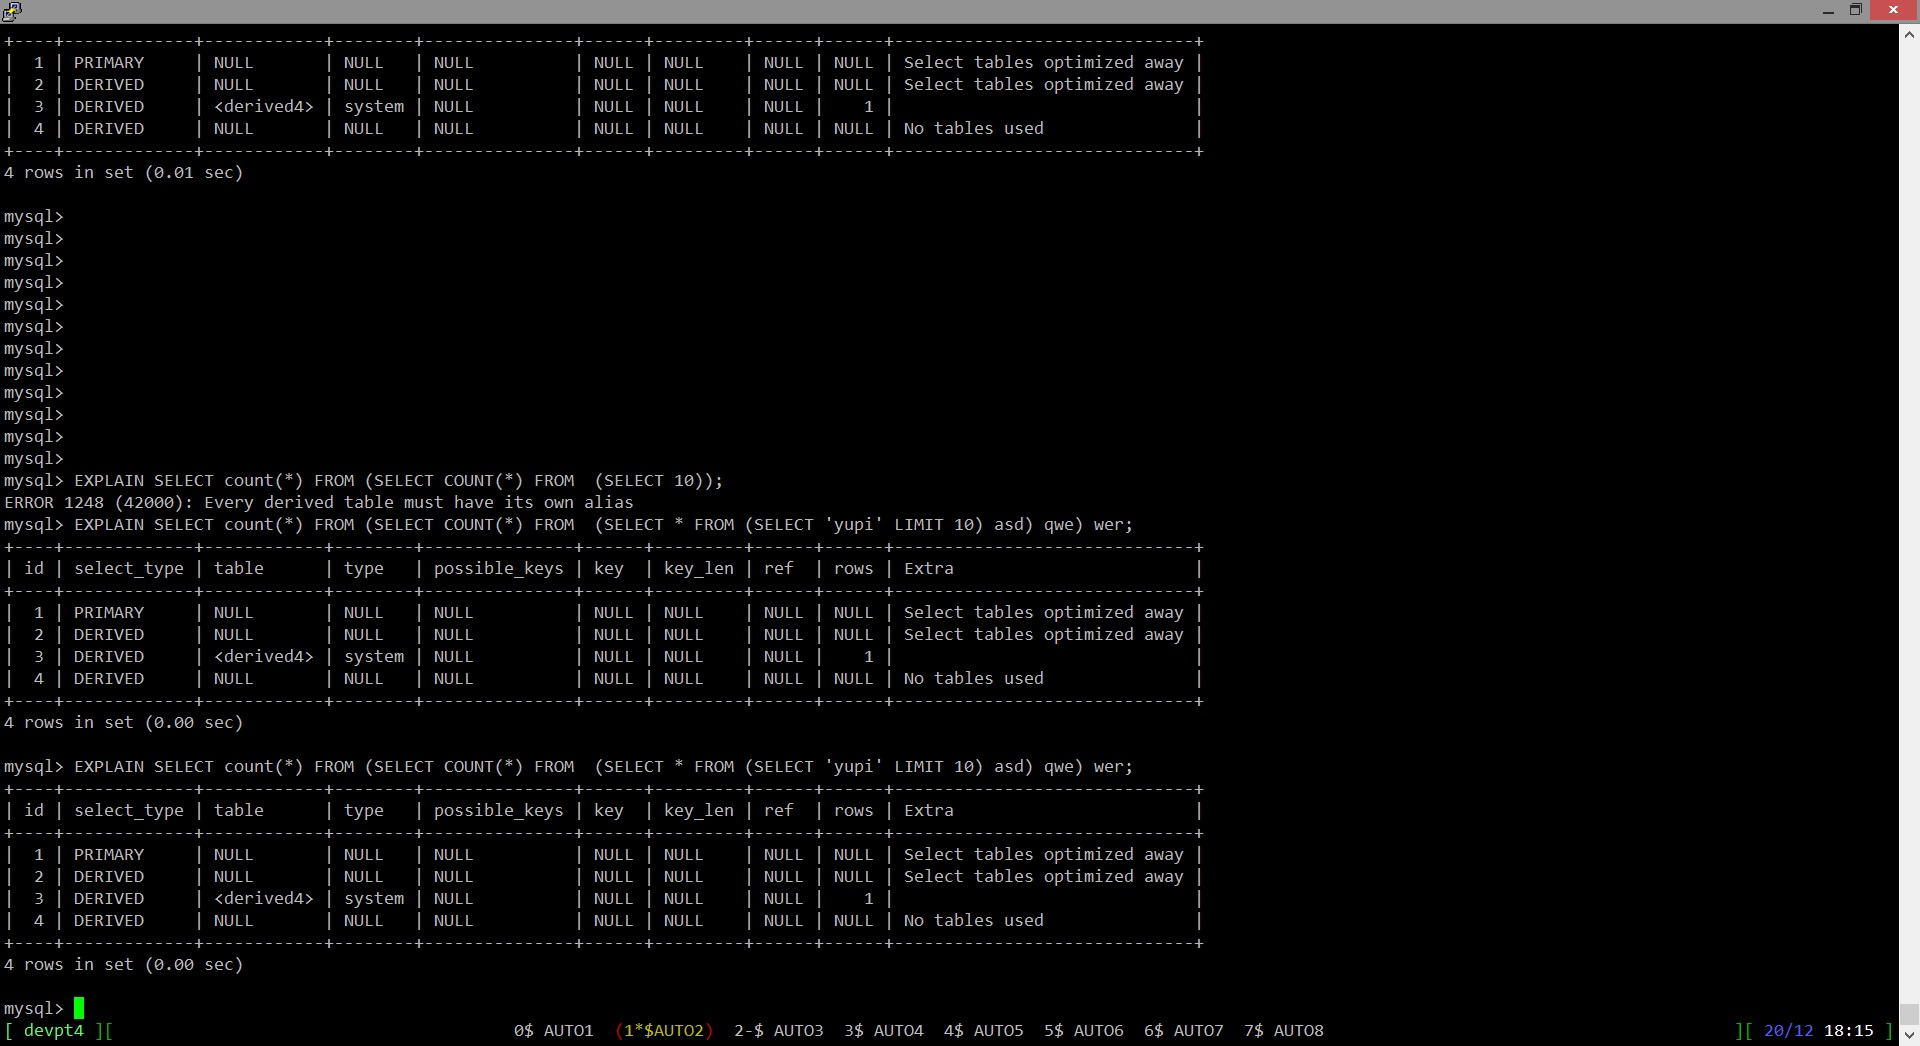
The most interesting thing here is the bottom line, where AUTO1, AUTO2, etc. These are tabs, I switch between them using the very desired Shift + Arrow Left / Right, and each of them is a full-fledged separate console, the state of which is protected by a separate screen. For example, in AUTO2, the open mysql console usually hangs, and in AUTO3 and AUTO4, the code. I recommend not to be greedy with the number of tabs, since a person can effectively keep in memory, without confusing, from 6 to 9 entities. Such a number of tabs can be easily remembered and remembered what happens in what. If you do more, you have to spend time trying to remember what is where. But this is so, an excursion into the beginnings of cognitive psychology ...
When I log in to the server, I launch the connection command for the desired project, and screen either creates eight new independent consoles with tabs in the status bar, or connects to the current ones, restoring the state of each individual console.
Suppose I have two projects, for example, “ auto ” and “ moto ”, each of them has its own environment and its own set of screen-s. I have one .bashrc in which a different environment is written and different alias for each project depending on the $ PROJ environment variable. Here is this .bashrc :
A separate screen (one of the tabs) is started very simply with a script of a couple of lines. Two such simple files for " auto " and " moto ":
$ cat / home / supergdeto / WORK / dev_env_auto
$ cat / home / supergdeto / WORK / dev_env_moto
And finally, the main thing: .screenrc_auto ( .screenrc_moto is made by analogy)
$ cat /home/supergdeto/WORK/.screenrc_auto
At the end of the file are those 8 screenshots of tabs with their names. To connect to them, I log in, type in “ auto ”, start the screen -AadRRS auto_screen -c /home/supergdeto/WORK/.screenrc_auto , which either creates new screens or connects to existing ones. In our experience, new screenshots are usually created only when the developer server is overloaded or some binary output has “blown up” the screen. It happens extremely rarely, so usually we don’t worry even about unsaved files.
And now the bonus! What I, lazy, terribly lacked in all the articles in order to try this thing out quickly. Although cracked, reluctant to understand the intricacies of screen, transfer key codes in PuTTY, draw formats for the status bar. The one who likes it has already done everything much better than me, therefore, attention, step-by-step instructions for those who want to try. If there are several projects, simply repeat steps 3-8 for a new project. Let user: avatar, project: projectone
Now connect to the server, type in the “projectone” console, and you will have your tabs. In each of them there will be a console with the environment for the projectone project;
Start typing "SPASI ..." and suddenly rip out the LAN or power from the connector, or cut down WiFi. Then repeat the operation, and finally add the magic word ...
Using this scheme, our working environment on any computer is just PuTTY and a browser, while we have all the joys of a multi-screen, crash-proof development tool that is entirely on the server side. When the light suddenly flashes, all the computers go into a reboot and popular non-print expressions are heard from all sides, I simply reconnect to the server and find myself right in the middle of the expression that rules before rebooting. This is very convenient, considering that on the local computer I have nothing but PuTTY, a browser and WinAmp, and I can safely do the same 5 minutes after I throw my computer out of the window and take a new one.
Well, formally, the requirements for the development environment are:
- VIM Text Editor
- Windows on a local computer (any other OS with a terminal will also work)
- Complete lack of working settings on the local computer
- Several parallel full-fledged consoles (logs, database console, all sorts of configs, code, patterns, etc.)
- Each console is a tab, switching between which is carried out using Shift + <right-left arrows>
- Saving the state of all consoles (tabs) when disconnected from the server
')
There are also disadvantages:
- No network - no work. Neither little letters. Although, for a web developer working on a test server, it’s still impossible to work without a network, so I don’t consider this a serious disadvantage
- Only console code editors. As I mentioned, all of the following will apply to work in consoles, since the main workhorse is the linux screen
- Since PuTTY has its text buffer, and screen has its own, and they don’t know about each other, then in order to flush up the output of a thread of a long SELECT, you have to press Ctrl + A and then ESC, then you can use the cursor and PgUp , PgDown walk up and down the screen-a buffer, and press “Enter” to exit screen-a buffer mode.
I’m a lazy person, I’m not very interested in reading a bunch of configuration options and delving into the subtleties of the programs used, so I just copied many pieces of configs from several different articles, to whose authors respect and deep human thanks.
To begin with, two screenshots from PuTTY, more precisely, its modifications, begPuTTY . I use begPuTTY for only one purpose: it correctly transmits to the console the key combination Shift + Arrow Left and Shift + Arrow Right, which I need to switch between consoles "a la" xterm. Download it and thank the author, you can here . If you are ready to use another keyboard shortcut for changing tabs, you can use regular PuTTY. That is, in fact, all that I need to work on the project. Portable, isn't it?
So, screenshots:
The most interesting thing here is the bottom line, where AUTO1, AUTO2, etc. These are tabs, I switch between them using the very desired Shift + Arrow Left / Right, and each of them is a full-fledged separate console, the state of which is protected by a separate screen. For example, in AUTO2, the open mysql console usually hangs, and in AUTO3 and AUTO4, the code. I recommend not to be greedy with the number of tabs, since a person can effectively keep in memory, without confusing, from 6 to 9 entities. Such a number of tabs can be easily remembered and remembered what happens in what. If you do more, you have to spend time trying to remember what is where. But this is so, an excursion into the beginnings of cognitive psychology ...
When I log in to the server, I launch the connection command for the desired project, and screen either creates eight new independent consoles with tabs in the status bar, or connects to the current ones, restoring the state of each individual console.
Suppose I have two projects, for example, “ auto ” and “ moto ”, each of them has its own environment and its own set of screen-s. I have one .bashrc in which a different environment is written and different alias for each project depending on the $ PROJ environment variable. Here is this .bashrc :
# .bashrc # , .bashrc # … # – , screen , # , , alias auto='screen -AadRRS auto_screen -c /home/supergdeto/WORK/.screenrc_auto' alias moto='screen -AadRRS moto_screen -c /home/supergdeto/WORK/.screenrc_moto' # , $PROJ == 'auto' – ENV “auto” If [ "$PROJ" = 'auto' ]; then export PROJECTPATH="/home/supergdeto/auto/" alias chik_chik_i_v_production='echo “yupi”' cd /home/supergdeto/auto/ # auto fi # 'moto' – If [ "$PROJ" = 'moto' ]; then export PROJECTPATH="/home/supergdeto/moto/" alias chik_chik_i_v_production='echo “yupi”' cd /home/supergdeto/moto/ # moto fi A separate screen (one of the tabs) is started very simply with a script of a couple of lines. Two such simple files for " auto " and " moto ":
$ cat / home / supergdeto / WORK / dev_env_auto
export PROJ=auto bash $ cat / home / supergdeto / WORK / dev_env_moto
export PROJ=moto bash And finally, the main thing: .screenrc_auto ( .screenrc_moto is made by analogy)
$ cat /home/supergdeto/WORK/.screenrc_auto
# Turn off start message: startup_message off # Set messages timeout to one second: msgwait 1 # keep scrollback n lines defscrollback 5000 hardstatus alwayslastline termcapinfo xterm*|rxvt*|kterm*|Eterm* 'hs:ts=\E]0;:fs=\007:ds=\E]0;\007' termcapinfo xterm ti@:te@7 # , , .. hardstatus string '%{= kG}[ %{G}%H %{g}][%= %{= kw}%?%-Lw%?%{r}(%{y}%n*%f%t%?(%u)%?%{r})%{w}%?%+Lw%?%?%= %{g}][%{B} %d/%m %{W}%c %{g}]' nethack on vbell off # Shift+Arrow Left/Right bindkey ^[[1;2C next bindkey ^[[1;2D prev # 8 AUTO1 – AUTO8 screen -t AUTO1 /home/supergdeto/WORK/dev_env_auto screen -t AUTO2 /home/supergdeto/WORK/dev_env_auto screen -t AUTO3 /home/supergdeto/WORK/dev_env_auto screen -t AUTO4 /home/supergdeto/WORK/dev_env_auto screen -t AUTO5 /home/supergdeto/WORK/dev_env_auto screen -t AUTO6 /home/supergdeto/WORK/dev_env_auto screen -t AUTO7 /home/supergdeto/WORK/dev_env_auto screen -t AUTO8 /home/supergdeto/WORK/dev_env_auto At the end of the file are those 8 screenshots of tabs with their names. To connect to them, I log in, type in “ auto ”, start the screen -AadRRS auto_screen -c /home/supergdeto/WORK/.screenrc_auto , which either creates new screens or connects to existing ones. In our experience, new screenshots are usually created only when the developer server is overloaded or some binary output has “blown up” the screen. It happens extremely rarely, so usually we don’t worry even about unsaved files.
And now the bonus! What I, lazy, terribly lacked in all the articles in order to try this thing out quickly. Although cracked, reluctant to understand the intricacies of screen, transfer key codes in PuTTY, draw formats for the status bar. The one who likes it has already done everything much better than me, therefore, attention, step-by-step instructions for those who want to try. If there are several projects, simply repeat steps 3-8 for a new project. Let user: avatar, project: projectone
- Download begPutty from here and use it.
- Create a directory / home / avatar / WORK
- create an executable dev_env_projectone file in WORK, (it launches a separate tab) and write two lines there
export PROJ=projectone bash - in the same place, create a .screenrc_projectone file (it starts a pack of screenshots, launching the dev_env_projectone file in each of them), copy the contents of the listing of .screenrc_auto into it from this article
- rename in it the lines like “ screen -t AUTO1 / home / supergdeto / WORK / dev_env_auto ” to “ screen -t PROJECTONE1 / home / avatar / WORK / dev_env_projectone ” and make the number of these lines equal to the required number of tabs
- in .bashrc, if you need a different environment for different projects, add a section for PROJ == ”projectone”, like this:
If [ "$PROJ" = 'projectone' ]; then # , projectone fi - ibid, in .bashrc add alias
alias projectone = 'screen -AadRRS projectone_screen -c /home/avatar/WORK/.screenrc_projectone' - log in or execute .bashrc
Now connect to the server, type in the “projectone” console, and you will have your tabs. In each of them there will be a console with the environment for the projectone project;
Start typing "SPASI ..." and suddenly rip out the LAN or power from the connector, or cut down WiFi. Then repeat the operation, and finally add the magic word ...
Source: https://habr.com/ru/post/206814/
All Articles