3D printed case for DIY dimmer
The hero of our post today is Alexey Markin AlexNZ , art director of Ekaterinburg's JetStyle company. Alexey not only offered to help develop a case for our dimmer, but also, firstly, he really developed it, secondly, he printed several copies on his printer himself, and thirdly, he beautifully photographed the result of his work. For what we tell him today, thank you so much!
A brief introduction to the course for those who first saw our project
We are developing a complete system of smart home. The “first sign” of our system is a DIY-dimmer. Here are its main characteristics:
')
If you want to join in the discussion of the features of the system, please read all our previous articles and comments to them. Most likely questions after such familiarization will be much less.
- 2.4 GHz radio channel operation (own protocol, without licensing restrictions, or ZigBee implementation based on Atmtel BitCloud)
- Encrypted connection
- Installation without changing the standard wiring of an ordinary apartment
- Low power consumption
- The usual look of switches
- The possibility of independent expansion of both hardware and software functionality
- Open source code of both software and hardware
')
If you want to join in the discussion of the features of the system, please read all our previous articles and comments to them. Most likely questions after such familiarization will be much less.
Want to be aware of all the events of the project? It is not difficult at all!
You just need to subscribe to the update of our company in Habré and in the VKontakte group .
With VKontakte questions usually does not arise. To subscribe to Habr's updates, you need to go to the company’s page and click the “Subscribe” button in the block on the right.
With VKontakte questions usually does not arise. To subscribe to Habr's updates, you need to go to the company’s page and click the “Subscribe” button in the block on the right.
This work was done in the free Blender package:
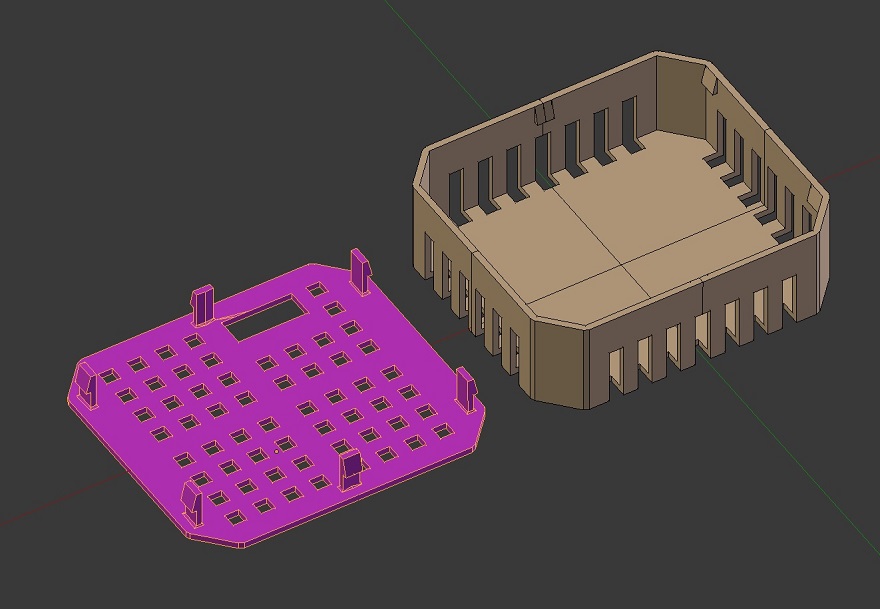
The source is here , but do not rush to grab it and print dozens. This is only an alpha version, we still have to adjust the model fairly. Work with snaps that tend to break, make special holes for the input cable, and so on. The modified model will also be published. In the meantime, all those interested can play in the editor themselves, change something for themselves and print their own personal copy.
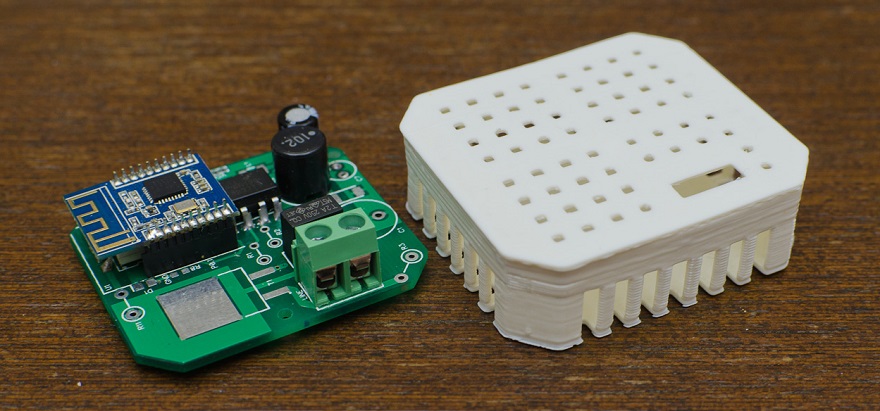
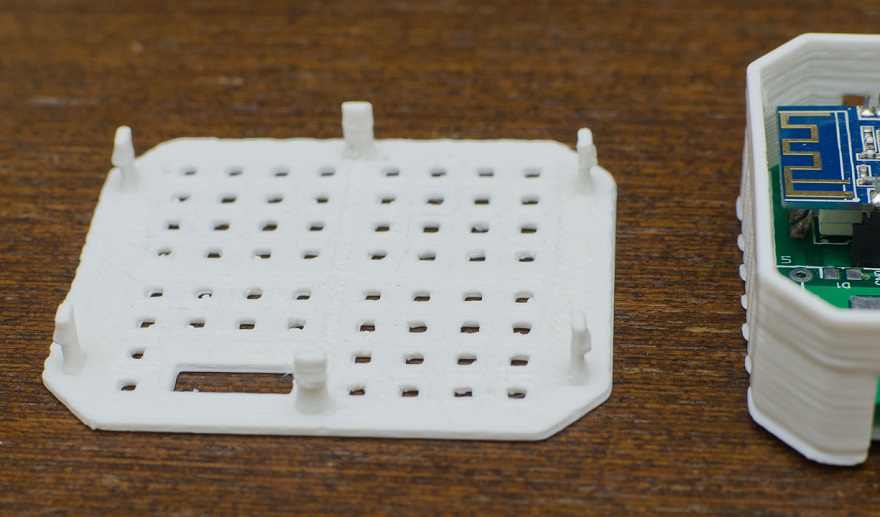
The printed case looks like this:

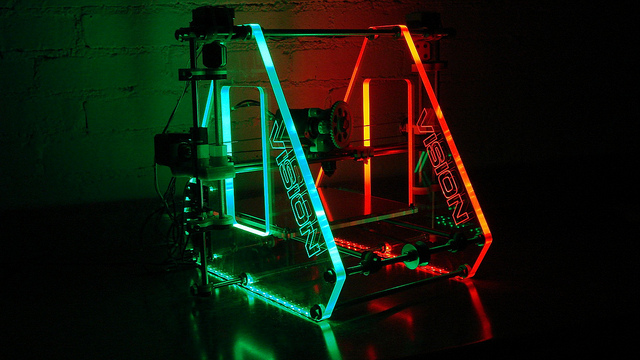
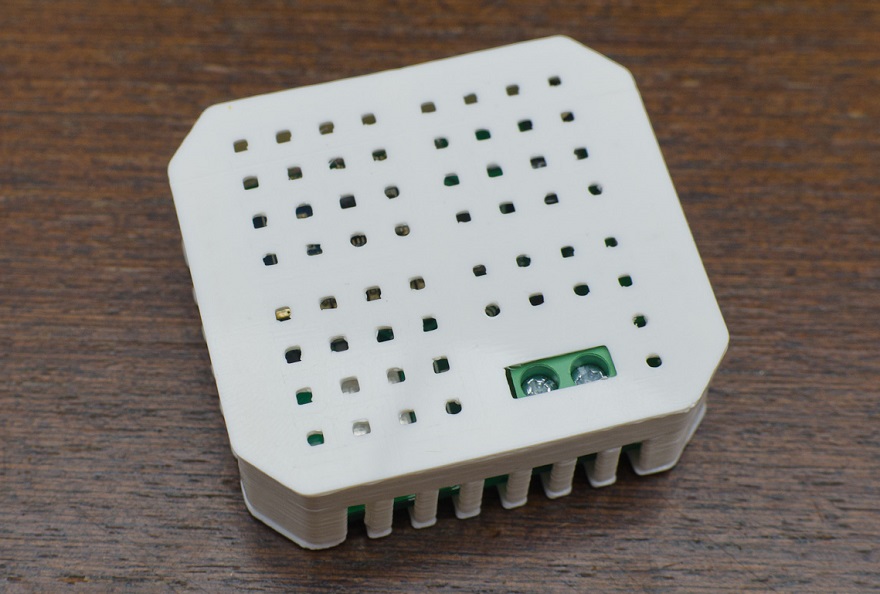
The base part was polished using an acetone bath. Approximate body weight about 6 grams. Used Vision "Hometeam" 3d Printer , purchased on Kickstarter:
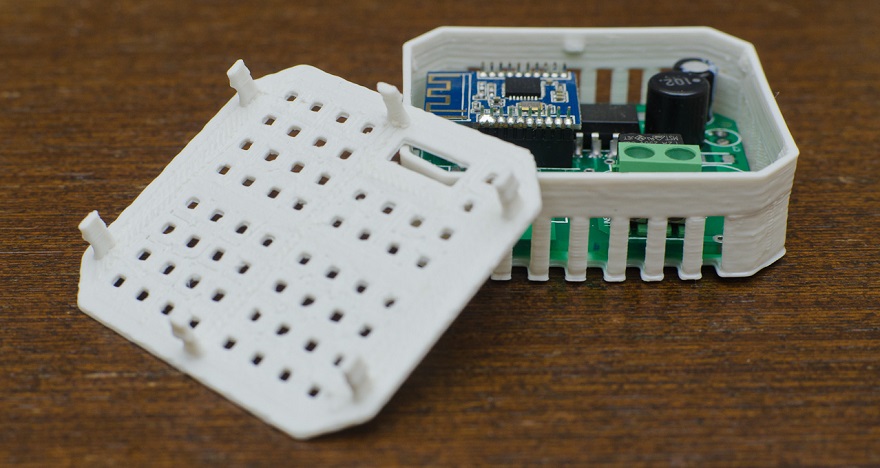
The case next to the partially assembled DIY-dimmer filling:
The wall thickness of the case - 1mm. A large view of the case cover latch, which in life proved to be not particularly good:
DIY dimmer assembly. Special screwdriver holes in the upper housing cover:
For those who do not yet have a 3D printer
We have great news. To some extent we will be able to meet the demand for such printed cases. And the price tag will be much lower than what was announced in that post with the survey . Details will be announced upon the finalization of the three-dimensional model for printing.
Source: https://habr.com/ru/post/206688/
All Articles