Ubiquiti NanoBridge M5: the first installation experience or wifi bridge out of the box
Warning: there is nothing special in the article; people who have installed wifi bridges at least a couple of times have described everything well here.
Formulation of the problem
1) connect providers who are absent in the house
2) send your internet friends
3) gain experience in setting up Ubiquiti equipment
')
Equipment selection
Passed quickly and easily - I have often heard about inexpensive and well-proven bridges from Ubiquiti.
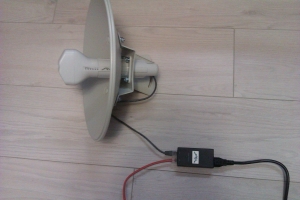
The choice of NanoBridge M5 was due to the frequency range (it works in a less noisy 5 GHz), integrated with a transmitter antenna (my model with 300mm 22 dBi), ready for combat kit (transmitter + antenna + PoE adapter), support for MIMO 2x2.
One and a half weeks of anxious waiting for the package were brightened up by reading profile forums and how-to-shek on setting up, reports about the launch of long links for 10-20-30 km are also found in abundance. Such distances did not enter into my tasks - only 300 m on top of three high-rise buildings, the final useful strip is much more critical.
And so it happened - the courier brings the coveted box. We open, we study a complete set:

Laminate littered
We turn on, change, hammer in the minimum necessary settings, test the work in conjunction. Nothing unexpected - it just works.
Having played enough with the points on the stand, we proceed to the most “fascinating” procedure - obtaining the keys to the roof. Having passed this incredibly dreary quest (with cheats), we begin to look for a convenient place to install equipment.
Criteria :
1) do not drill anything
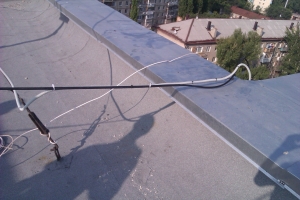
2) minimum distance for cable laying
3) the installed equipment should not interfere with anyone
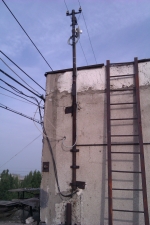
The top of the pylon was chosen as the fixing point. Ideally, I wanted my brackets, but the item "1" was strictly mandatory.
ATTENTION ! Try to avoid using other people's supports, especially with live wires! All work is carried out very carefully!
Installation
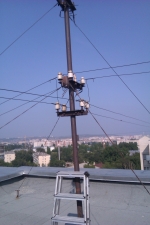

We violate electrical safety standards

Shadows were directly involved in the installation, thanks to them

Reciprocal strone
Customization
Here you need to make a small remark - no one carried out the exact alignment, the antennas were reduced exclusively to the eye. A very small distance (by the standards of the used piece of iron) forgives us this flaw.
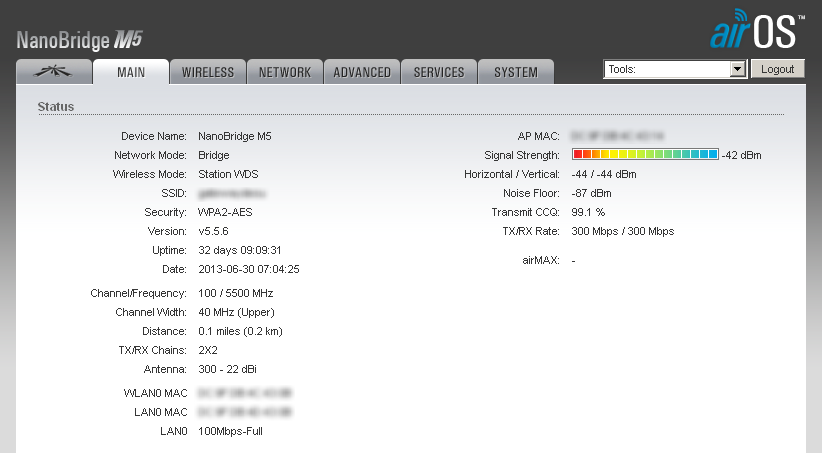
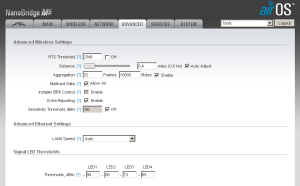
The final point settings:
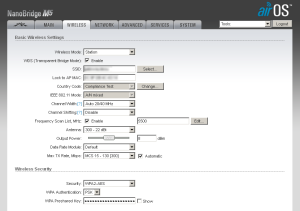
It is also worth turning off the reset button to the factory settings - the network has reviews of troubles when moisture hits its contacts. Clear the flag System> Miscellaneous> Reset button
Comments on the parameters:
WDS - transparent bridge mode
Country Code - choose “Compilance test” to remove restrictions on channel width
Frequency Scan List - we set a fixed frequency of work, VERY greatly accelerates the connection of points
Aggregation - increases channel utilization, is selected empirically
ATTENTION ! Be careful when changing Wi-Fi connection settings! Use the pre-test mode - this will save yourself from walking to the remote side of the bridge.
The access point has a built-in connection speed tester, go to Tools> Speed Test and see what happens:
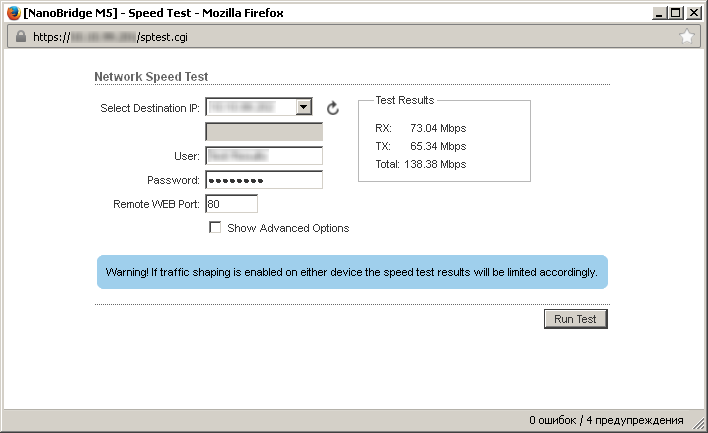
After some deliberation, it was decided - the speed is sufficient, we implement the plan further.
VLAN and all-all
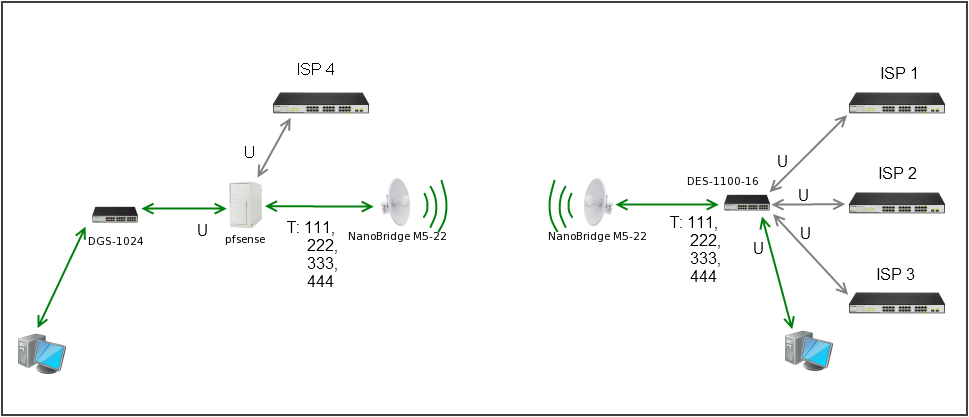
The network operation scheme is as simple as three kopecks - the laces of the providers are wound up in the DES-1100-16, marked with vlan tag 111, 222, 333, sent by air to the router on pfSense 2.0
Tag 444 is a management vlan and, concurrently, lokalka to friends.
Selecting a secluded place, supply power, install the switch:
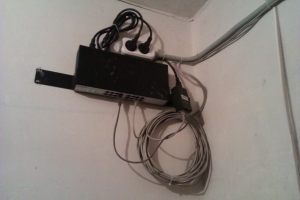
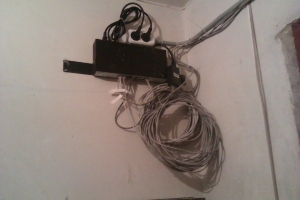
Naked and overgrown ISP switch
Afterword
Link operated since the summer - no problem. Rain, snow and wind do not affect the signal quality. I think of lightning and UPS.
Thanks for attention.
Source: https://habr.com/ru/post/206282/
All Articles