Deploying a server on Windows Server 2012 / Dell PowerEdge R420 using puppet
Task
You must deploy a server with the following requirements:
- RAID-10 disk array
- Full Performance in BIOS
- Windows Server 2012 with all updates and patches
- This is the future application server with services that require .net 4.5
- Monitoring server availability as well as CPU, Memory and free disk space
- You need to connect the server to the rollout system of Octopus Deploy releases.
Difficulties
The main requirement here is that everything should be as automated as possible, human participation is minimized to 1 minute “at the beginning” and 1 minute “at the end”. The goal of this automation is the potential need to “raise” several new servers quickly enough. The solution should not be difficult for the younger administrators and developers who are not responsible for server deployment.
Decision
To begin with, all I have right now is a working server that is connected to the network. I know his MAC address and future name (app8). It has neither the operating system nor the ability to manually insert a disk. Yes, what a sin to conceal - I don't have a disk with Windows either!
')
To do the following:
- Configure BIOS Performance Options
- Create a RAID-10 array
- Boot from PXE to pxeboot.com
- Select the appropriate boot.wim boot loader and select the required operating system.
- Create logical drives C: \ and D: \
- Install the operating system on the C: \ drive
- Configure the server for the required tasks using puppet
Before reading the article, it is recommended to read the relevant articles on the preparation of puppet classes that are used in this article:
- Creating and effectively using WIM images - Chocolate Chocolate
- Managing WMI Access Rights with Puppet
- Puppet + Opsview: template-based automatic monitoring
Our servers are located at the collocation, which is physically far, so I will use WDS and IP KVM. Access to KVM is via the web interface, the remote “screen” itself is implemented using a java-based application. By and large, IP KVM is no longer necessary, since All my deployments occur almost automatically, but the old habit of watching what is happening on the screen remains, and the factory settings of the iron do not always coincide with the required ones.
So far there is nothing on the server: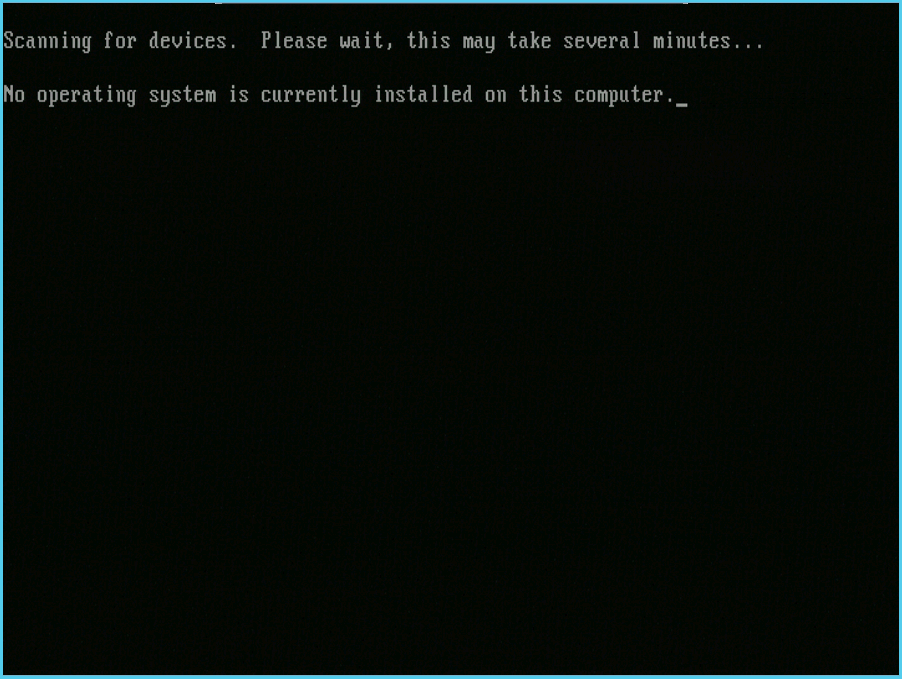
Go to the BIOS (F2) and adjust the performance parameters. The difference between Performance and Performance Per Watt is that when using Perormance Per Watt, the server automatically reduces the power consumption of components when idle. We do not need this behavior, because we do not gain anything from reduced power consumption, but on the contrary, we lose from performance delays (at that moment when the server realizes that it’s time to work at full capacity but have not yet turned off low power consumption).
Performance Options: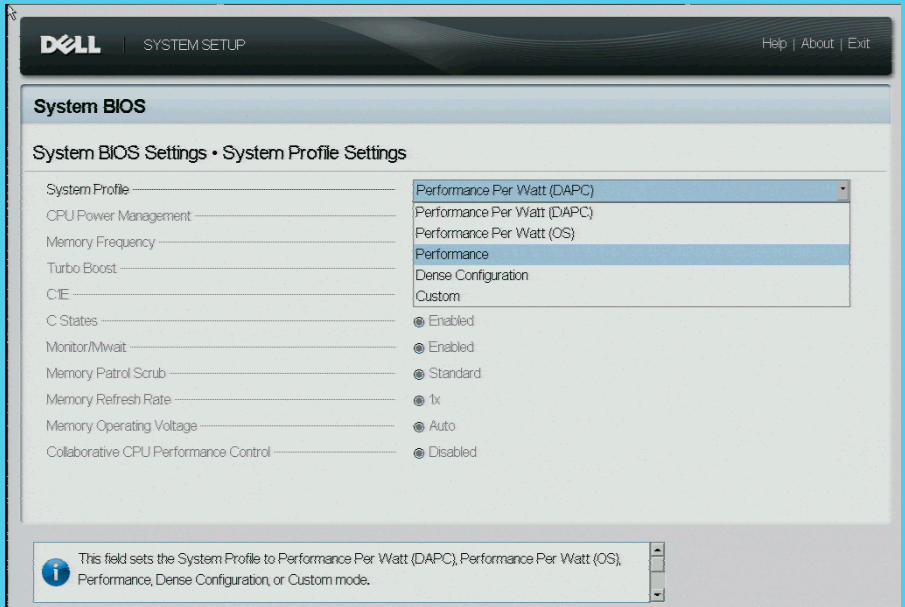
When ordering servers on the Dell website, you can also order a server with the required RAID configuration. This particular server came with RAID5, so you have to change the configuration. Go to the RAID configuration utility by pressing Ctrl + R at the boot stage and create a RAID10 array of 4x 1TB drives, which ultimately gives 2TB of “space” for the data. Write-Back and Adaptive Read Ahead - what we need, leave the default:
Configure the Raid controller: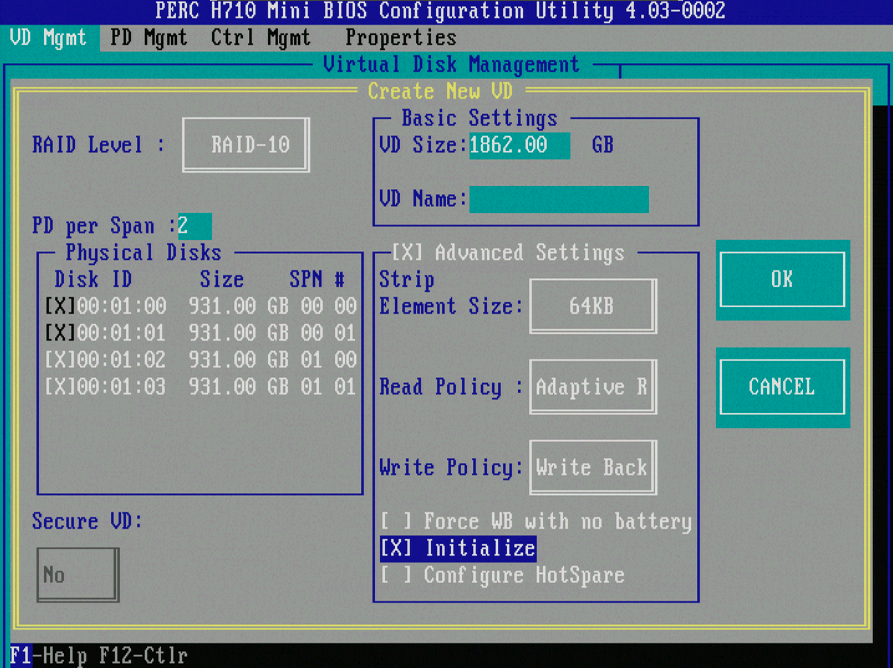
You can also automate the process of creating the right RAID during the installation of the OS using a custom loader (whether it is WinPE or a Linux installer). If anyone has done this on DELL systems, I’ll be happy if you share your experience - most, unfortunately, there is simply no time for it.
Next on DHCP, the ip address of the future server is set, the name is given. MAC Address is known to me because when accepting equipment, we record this information. Alternatively, the MAC Address can be spied on when the server is loaded, or you can ask the NOC staff at the DC to view it on the server itself.
We give the IP Address to the new server:
Next, in 'Address Leases', we allow access to the DHCP server: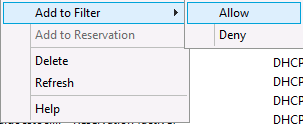
Reboot the server, enter PXE boot mode, then you need to confirm the server in WDS, assign a name to it, and you can also specify a bootloader (pxeboot.com in this case). This action will allow you to apply the correct configuration, as well as bring the server to the domain, when properly configured unattend.xml.
We confirm the server in WDS:
Do not forget to specify in unattend.xml the name and password of a user who has the right to add computers to the domain. I have these rights delegated to a specially created for this service user. Previously, I manually edited unattend.xml until the Windows AIK appeared (in its previous incarnations) - now you can download it from the official Microsoft website .
After allowing access, the server is loaded into the appropriate bootloader, where the boot image is selected, and then the system image itself. I choose the updated Server 2012 Standard image that I created here . The boot image can also be selected at the server confirmation stage (in the same place where you select the unattend.xml file). It should be noted that the boot image must contain the corresponding drivers for the disk controller and the network card in order to work correctly (for Dell, all drivers are on the OpenManage disk, they need to be unpacked using a special utility that is located there). If anyone is interested in how I did it - let me know, I will be glad to share.
It is interesting to note that I have a couple of configurations with a completely unattended installation, but for some reason I do not use them, I think the scale of the company is not yet the one to typify Windows server configurations so much - something is constantly different. (By the way, there are also kickstart configurations for Linux, which I use much more often, since basically these are cluster typical configurations).
So, it's time to choose the hard disk configuration, I put 250G on the C drive and the rest 1600G on the DATA partition. Everything, the process has begun. “You can lean back in your chair while Windows is installed on your computer” (I remember how in total darkness my room was lit up in the blue color of the Windows 98 installer light ...)
Install Windows:
While the Windows were being installed, I remembered that in the image I have a VNC server, which starts immediately after the network initialization in Windows PE. It’s a pity I couldn’t find a normal syslog client for trimmed WindowsPE - I want to know when VNC starts, can anyone know?
At this stage, unattend.xml stages are also performed, including the registration of the puppet agent.
To automatically register the puppet agent, add the following to the unattend.xml file
<component name="Microsoft-Windows-Deployment" processorArchitecture="amd64" publicKeyToken="31bf3856ad364e35" language="neutral" versionScope="nonSxS" xmlns:wcm="http://schemas.microsoft.com/WMIConfig/2002/State" xmlns:xsi="http://www.w3.org/2001/XMLSchema-instance"> <RunSynchronous> <RunSynchronousCommand wcm:action="add"> <Order>1</Order> <Description>Install Puppet</Description> <Path>cinst puppet -ia "PUPPET_MASTER_SERVER=puppet.mydomain.local"</Path> </RunSynchronousCommand> <RunSynchronousCommand wcm:action="add"> <Order>2</Order> <Description>Request Certificate</Description> <Path>("C:\Program Files (x86)\Puppet Labs\Puppet\bin\puppet_interactive.bat" --test) && echo OK</Path> </RunSynchronousCommand> <RunSynchronousCommand wcm:action="add"> <Order>3</Order> <Description>Stop Puppet Service</Description> <Path>(sc stop puppet) && echo Service Stop OK</Path> </RunSynchronousCommand> <RunSynchronousCommand wcm:action="add"> <Order>4</Order> <Description>Start Puppet Service</Description> <Path>(sc start puppet) && echo Service Start OK</Path> </RunSynchronousCommand> </RunSynchronous> </component> So, Windows has booted - we check availability (manually or automatically), do not forget to reload the zones and clear the dns cache. If the domain name responds, then the server is added to the domain (if not, go to the server and check that it is not enough for it). That's all, you can start puppet magic, since the puppet agent should already be installed at the Microsoft-Windows-Deployment / RunSynchronous stage.
We confirm the certificate on the puppet master server, after which we see the following picture in TheForeman:
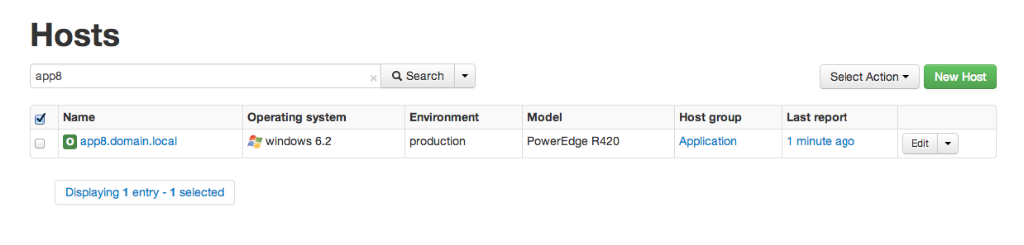
This means that our new server is ready for “dedication” and we can use the classes we need (packages :: opsview, packages :: octopus-tentacle, packages :: logstash :: client and any others). Go to the server settings in the TheForeman control panel and select what you need:
We use puppet classes that contain everything you need: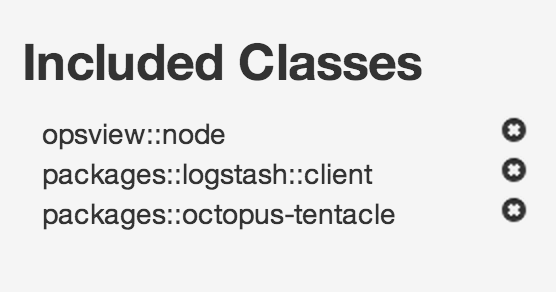
The beauty of puppet is that it is a configuration and orchestration control system, that is, it doesn’t matter what state the system is in now; it must do everything to bring it to the state you indicated. Therefore, for example, for packages :: octopus-tentacle, he will install the necessary frameworks, install the package, and in my case register the tentacle agent on the octopus server, and all that remains is to assign the appropriate groups / projects to this server ( that we will deploy) - all this is configured by you, but about this another time.
If time allows, I like to run the puppet agent manually for the first time right on the server so as not to wait for the next puppet run:
puppet agent --test --debug After puppet run is complete:
- The Opsview Agent (based on NSClient ) is installed .
- Will configure the monitoring server Opsview ( post on Habré )
- Logstash agent will be installed and configured (wait for the post on the habre, but for now the link to the demo )
- The Octopus Deploy agent is installed and the agent registration is completed.
Everything!
Conclusion
When I remember how I went through the process of deploying the server manually, it takes me to shiver. These are CD / DVD discs, these are 2 days (if unhurriedly, in the background) or 1 day (if you focus and do nothing else) —that was how much time it took! Every time I had to update the system to the current state. After all, it works as “installed, rebooted, installed, rebooted” ... And if it is 10 or 20 or 100 servers? About minor settings and tweaks generally keep quiet.
I know that this is done easier and more conveniently with MS SCCM, software installation is through group policy, and maybe I would have done so if it were not for the confusion of the environment where Windows lives peacefully with Linux under the supervision of a single IT department. Puppet is, in my opinion, a universal remedy. Puppet saves my life, and I also teach our developers to use it (and they are C # guys). The advantages include the fact that the puppet configuration manifest is a program code that can be stored in a version control system (git, for example), and also easy to distribute! (IaaC discussions are welcome). I do not know alternatives that could combine all kinds of OSEs from a heterogeneous environment into one single description of the infrastructure, and you? Also, I do not know of a convenient Microsoft system that could be stored under Source Control and conveniently distributed. If anyone knows what - I will be glad to hear in the comments.
Behind this I take my leave, it's time to do other things!
UPDATE: For all the minus - a huge request to unsubscribe or not minus at all.
Source: https://habr.com/ru/post/204322/
All Articles