Launch ChromeOS from USB stick
Good day dear habrazhiteli.
There is enough material in the network describing how to view and evaluate the operating system from the Corporation of Good on the example of the version for developers ChromiumOS. Everything is good except for one thing: Do NOT include Flash, Java or the Google Voice / Video plugin for licensing reasons. It turns out that you can see, and use without the need to buy a Chromebook not. This article describes my approach to solving the problem: Running ChromeOS (not to be confused with ChromiumOS) from a flash drive on a regular hardware.
Interested please under the cat.
')
Descriptions of the assembly of ChromiumOS from the source in the network is enough, starting with the official . A way to convert the original is also available . My humble attempts to describe build and conversion using VMWare virtual environment are also available. It's time to transfer the virtual image to USB-Flash and run ChromeOS on a physical machine.
A small digression related to the question: Why is it so complicated when it can be done much easier? Unfortunately, all experiments with different installation options eventually led to exactly this scheme. Attempts to convert versions from a USB drive on a physical device showed one feature that worked on a virtual machine but refused to work on a laptop. After rewriting partitions during a reboot, VM ChromiumOS detected the developer mode enabled and performed partition recovery. As a result, ChromeOS was loaded. I did not manage to achieve a similar situation directly from a flash drive. Because everything is so difficult.
General action plan:
- compile the image for VMWare from source.
- convert ChromiumOS to ChromeOS.
- transfer the virtual image to a USB flash to run on a laptop.
We will not consider the first two points in detail, we will focus on the differences. Let me remind you that all actions are performed in the Debian7 x64 environment. For convenience, we will add a variable with the kernel we need:
$ export BOARD = amd64-generic
After the packages are assembled, the image will be assembled with the developer mode enabled and the boot test turned off, making it possible to modify the root system:
$ cros_sdk - ./build_image —board = $ {BOARD} —noenable_rootfs_verification dev
We write down an image for the VMWare virtual machine
$ cros_sdk - ./image_to_vm.sh --format = vmware --board = $ {BOARD}
In the ~ / src / build / images / amd64-generic / latest / folder we get the chromiumos.vmx configuration file and the ide.vmdk disk image . We add the description of the network card to the configuration: ethernet0.virtualDev = "e1000"
With VMWare, we update and expand the disk image. In my case, I indicated the size of 7Gb for writing to an 8Gb flash drive. (Edit virtual machine settings-> Hard Disk-> Utilites-> Expand).
Next, you need to expand the section / home so that would be enough for downloading and unpacking the system during the conversion. If you carry out all manipulations in the linux environment, it is enough to install Gparted and use it to expand the partition. As an option, you can use any Live-CD disk with the linux distribution, for example the image of Lubuntu where you can start the system from the disk and use Gparted. Add a CD-ROM to our virtual machine and specify an iso disk. In the BIOS of the virtual machine, select the boot from CD. We make manipulations with the section.

Convert the system, boot into ChromeOS to make sure everything went smoothly. With the help of the qemu package, we convert the image of the virtual HDD and write to the USB flash drive:
$ sudo apt-get install qemu
$ qemu-img convert -f vmdk ide.vmdk -O raw ide.raw
$ sudo dd if = ~ / vmware / chrome / ide.raw of = / dev / sdb
Bootable USB flash drive with ChromeOS ready.
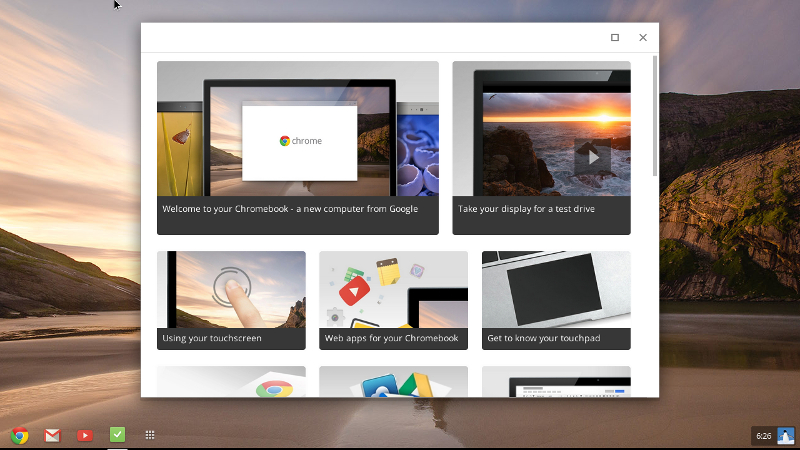
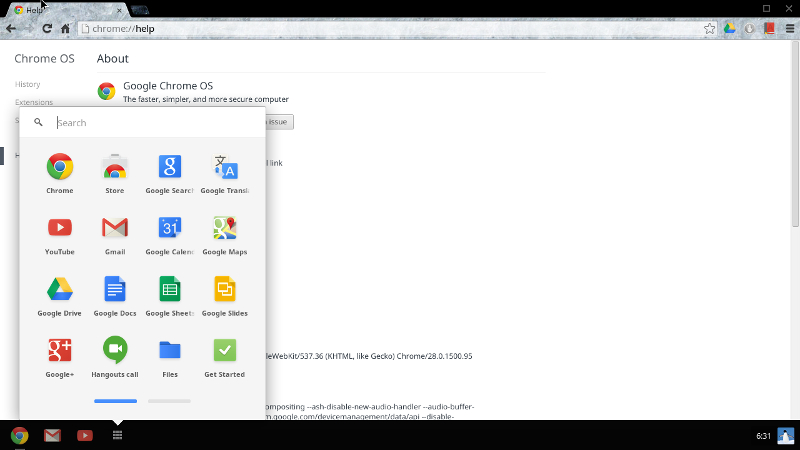
Screenshots of the system:

PS : I deliberately did not describe all points of the decision in detail, indicating only the links. There are a lot of descriptions, and my options do not pretend to originality. If the need arises, the above articles will be finalized in more detail and posted on Habré.
Update : I add a link to my working image for writing to 8GB USB Flash. I found out that in order to run correctly, you need to enable UEFI support in the device BIOS (laptop, PC).
On my Samsung laptop, this item is called “UEFI Boot Support”.
I hope the article was helpful.
There is enough material in the network describing how to view and evaluate the operating system from the Corporation of Good on the example of the version for developers ChromiumOS. Everything is good except for one thing: Do NOT include Flash, Java or the Google Voice / Video plugin for licensing reasons. It turns out that you can see, and use without the need to buy a Chromebook not. This article describes my approach to solving the problem: Running ChromeOS (not to be confused with ChromiumOS) from a flash drive on a regular hardware.
Interested please under the cat.
')
Descriptions of the assembly of ChromiumOS from the source in the network is enough, starting with the official . A way to convert the original is also available . My humble attempts to describe build and conversion using VMWare virtual environment are also available. It's time to transfer the virtual image to USB-Flash and run ChromeOS on a physical machine.
A small digression related to the question: Why is it so complicated when it can be done much easier? Unfortunately, all experiments with different installation options eventually led to exactly this scheme. Attempts to convert versions from a USB drive on a physical device showed one feature that worked on a virtual machine but refused to work on a laptop. After rewriting partitions during a reboot, VM ChromiumOS detected the developer mode enabled and performed partition recovery. As a result, ChromeOS was loaded. I did not manage to achieve a similar situation directly from a flash drive. Because everything is so difficult.
General action plan:
- compile the image for VMWare from source.
- convert ChromiumOS to ChromeOS.
- transfer the virtual image to a USB flash to run on a laptop.
We will not consider the first two points in detail, we will focus on the differences. Let me remind you that all actions are performed in the Debian7 x64 environment. For convenience, we will add a variable with the kernel we need:
$ export BOARD = amd64-generic
Tip: All actions related to compiling and assembling an image are necessary and can be performed only on a 64-bit operating system. The SDK will not allow you to build packages on x86. Support for i686 32-bit systems is planned for the future.
After the packages are assembled, the image will be assembled with the developer mode enabled and the boot test turned off, making it possible to modify the root system:
$ cros_sdk - ./build_image —board = $ {BOARD} —noenable_rootfs_verification dev
We write down an image for the VMWare virtual machine
$ cros_sdk - ./image_to_vm.sh --format = vmware --board = $ {BOARD}
In the ~ / src / build / images / amd64-generic / latest / folder we get the chromiumos.vmx configuration file and the ide.vmdk disk image . We add the description of the network card to the configuration: ethernet0.virtualDev = "e1000"
With VMWare, we update and expand the disk image. In my case, I indicated the size of 7Gb for writing to an 8Gb flash drive. (Edit virtual machine settings-> Hard Disk-> Utilites-> Expand).
Next, you need to expand the section / home so that would be enough for downloading and unpacking the system during the conversion. If you carry out all manipulations in the linux environment, it is enough to install Gparted and use it to expand the partition. As an option, you can use any Live-CD disk with the linux distribution, for example the image of Lubuntu where you can start the system from the disk and use Gparted. Add a CD-ROM to our virtual machine and specify an iso disk. In the BIOS of the virtual machine, select the boot from CD. We make manipulations with the section.
Hint: VM-> Power-> Power On to BIOS can be used to get into virtual BIOS.
Convert the system, boot into ChromeOS to make sure everything went smoothly. With the help of the qemu package, we convert the image of the virtual HDD and write to the USB flash drive:
$ sudo apt-get install qemu
$ qemu-img convert -f vmdk ide.vmdk -O raw ide.raw
$ sudo dd if = ~ / vmware / chrome / ide.raw of = / dev / sdb
Bootable USB flash drive with ChromeOS ready.
Screenshots of the system:
PS : I deliberately did not describe all points of the decision in detail, indicating only the links. There are a lot of descriptions, and my options do not pretend to originality. If the need arises, the above articles will be finalized in more detail and posted on Habré.
Update : I add a link to my working image for writing to 8GB USB Flash. I found out that in order to run correctly, you need to enable UEFI support in the device BIOS (laptop, PC).
On my Samsung laptop, this item is called “UEFI Boot Support”.
I hope the article was helpful.
Source: https://habr.com/ru/post/200942/
All Articles