Atari 520STF home computer
Another small exhibit appeared in my small home collection - the Atari 520STF .
The previous owner of this computer purchased it in France in 1988, after which the expensive purchase was transferred to Russia, where the Atari 520STF served as a “game console” for younger family members for a long time. In addition to entertainment features, the Atari 520STF also helped me learn programming, as evidenced by not only the words of the former owner, but also the photocopy of the BASIC textbook in French that came to me with the computer.
')
I would like to note that this computer was much more affordable and cheaper than its competitors - the Apple Macintosh 512k computer with the same characteristics cost $ 2,795, while the Atari 520STF (but without a monitor) would cost only $ 799. Due to its low price, it became quite popular among fans of computer games, and the musicians gave the Atari 520STF their preference, because the computer had MIDI interfaces on board that made it possible to create electronic musical compositions.
Caution! A lot of photos.
Specifications.
Appearance and equipment.
Let's start with the configuration.
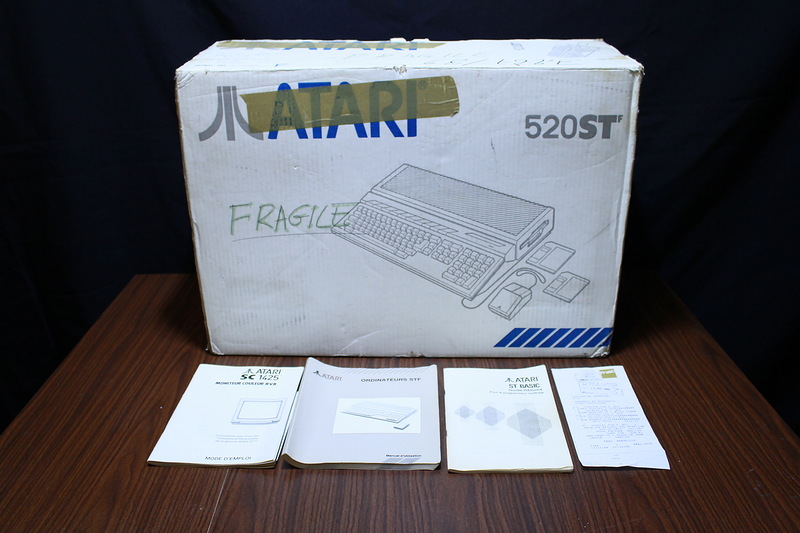
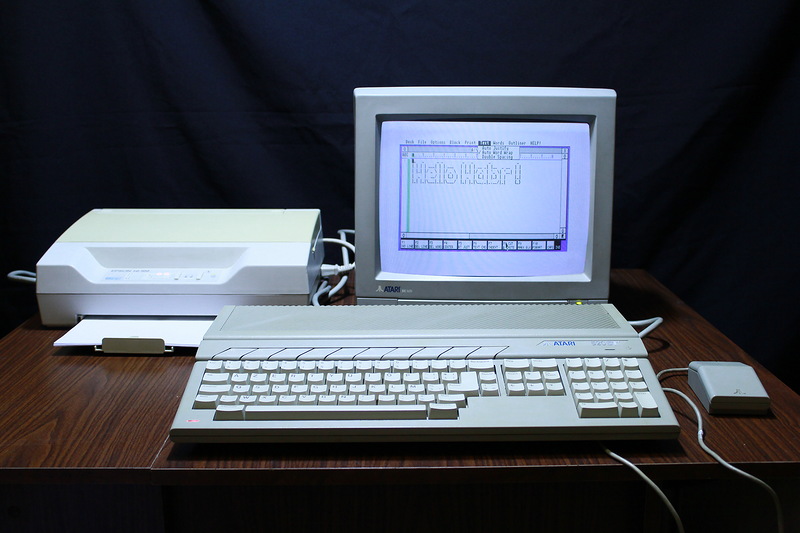
The Atari 520STF comes in such a cardboard box, inside which you can find the computer itself, the power cord, a mouse, and some documentation.
On request, the computer can be equipped with a high-resolution color or black-and-white monitor, also packed in a branded box. The monitor comes with a connecting cable, instructions and a circuit diagram of the monitor. By the way, you can not buy a monitor - you can use the RGB-video output available on your computer to connect the Atari 520STF to a TV with a SCART connector (you need the appropriate cable), and the Atari 520STF with an “M” index has an integrated RF modulator that allows connect a TV to the computer with an appropriate high-frequency input (the most common “tulip” connector is used).
The case of the Atari 520STF is made of gray plastic, its dimensions are 10 cm x 48 cm x 29 cm, and the weight of the computer is 4.2 kg.
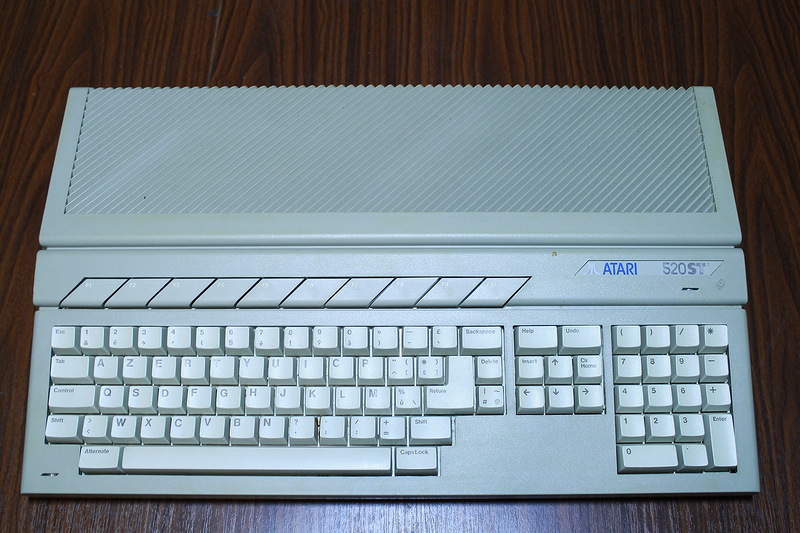
Keyboard Atari 520STF - non-removable, has 94 keys. 10 function keys are located above the main block of keys, the numeric keypad is located on the right, and between them there are cursor arrows, Insert, Home, Help, and Undo keys. The keyboard layout is AZERTY , since this model was intended for sale in France.
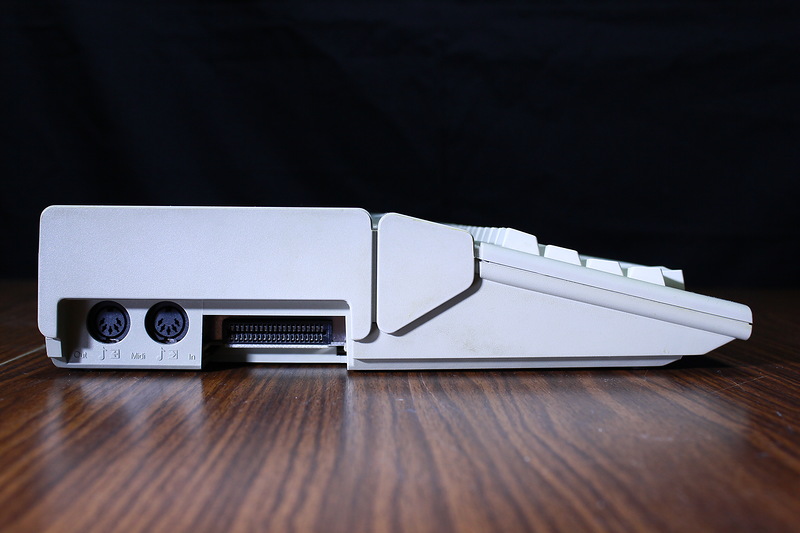
On the left side of the case are MIDI connectors, as well as a cartridge connector.

The drive is located on the right side of the case.
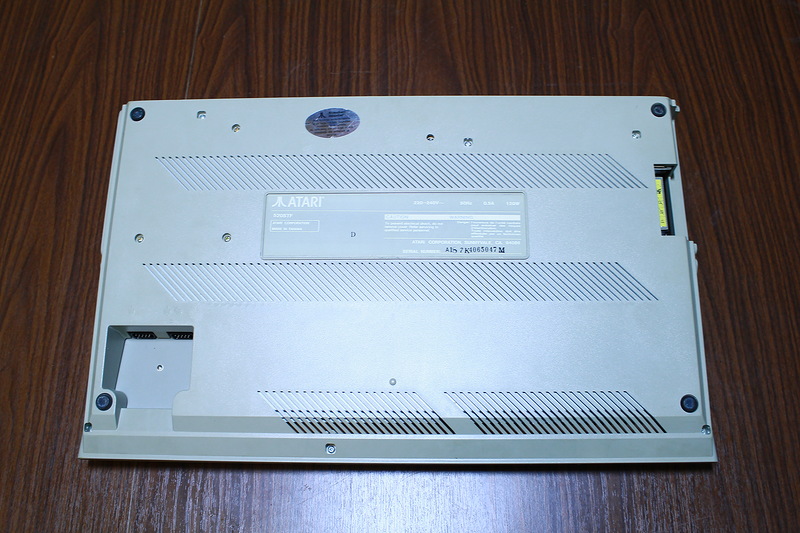
If you flip the Atari 520STF upside down, you can see the connectors for connecting the mouse and joystick.
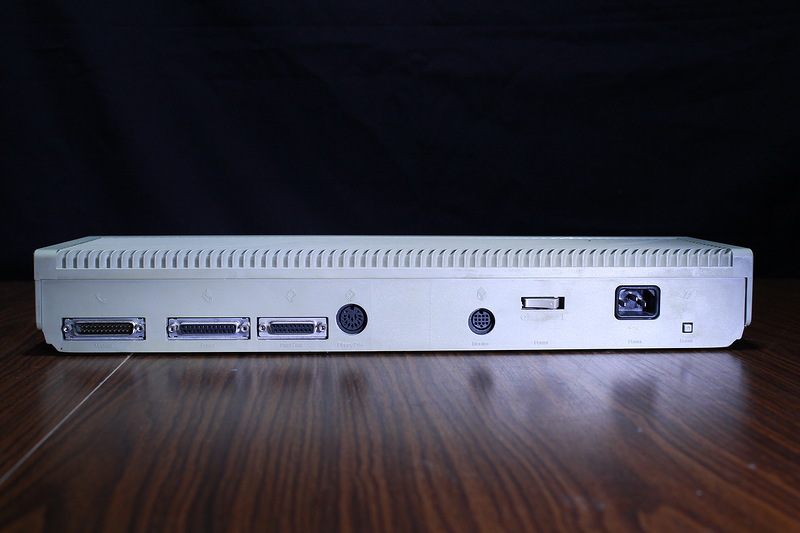
On the back of the case are the connectors for the modem, printer, external hard drive and drive, as well as video output, power button, power connector and Reset button. More information about the available interfaces can be found here .

And this is what the Atari SC1425 14 "color monitor looks like. Most of the image and sound settings are located under the cover on the front of the monitor.
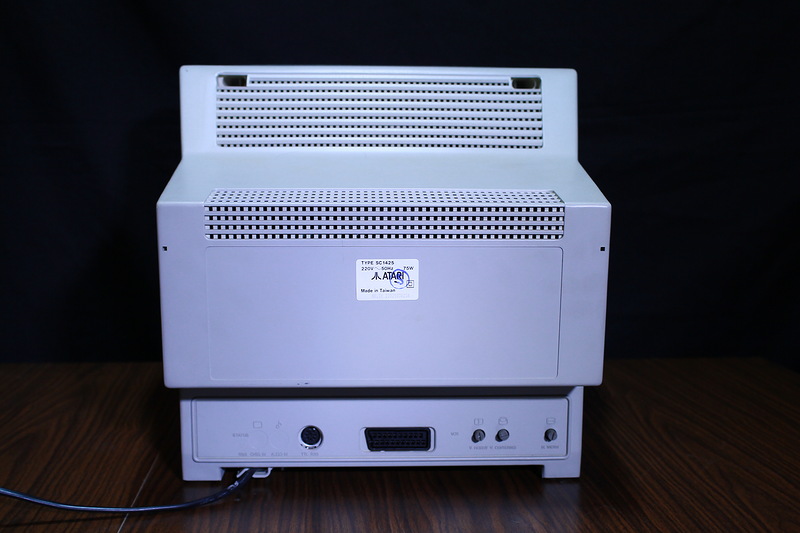
On the back there are knobs for adjusting the length and width of the image, as well as its vertical positioning. There is also a SCART connector and an analog TTL input.

In the monitor on the sides of the built-in speakers, as well as a headphone jack.
Internal organization.

Remove the top cover. Under the protective metal casing on the left is the power supply, on the right - the drive.

We remove the keyboard, having previously disconnected a small cable from the motherboard.

Turning the keyboard over, you can see the controller and connectors for the mouse and joystick on it.
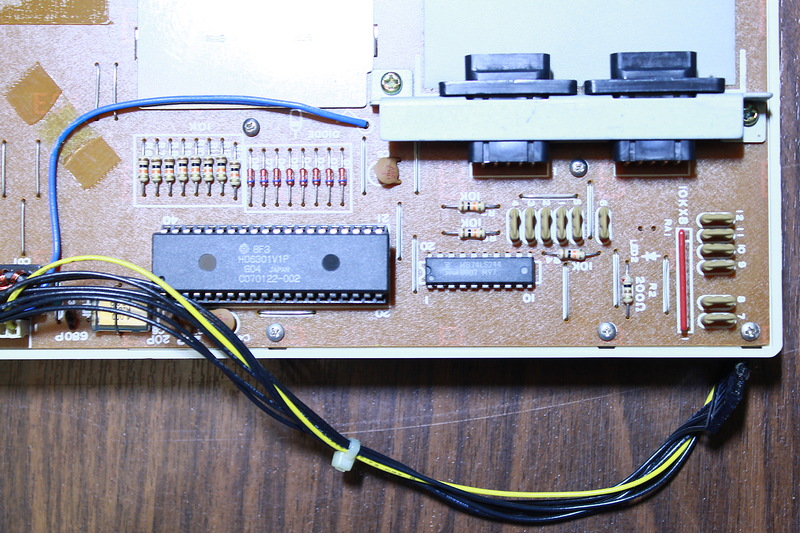
The Hitachi HD6301V1P controller is an 8-bit microcomputer in a DIP40 package, the clock frequency of which is 1MHz. Contains 4KB ROM, 128 bytes of RAM, has support for serial data transfer and much more .
Remove the right cover, unscrew the three screws and remove the drive.

After removing the left metal casing and unscrewing the two screws, you can remove the power supply.

Remove the metal cover from the motherboard and remove it.
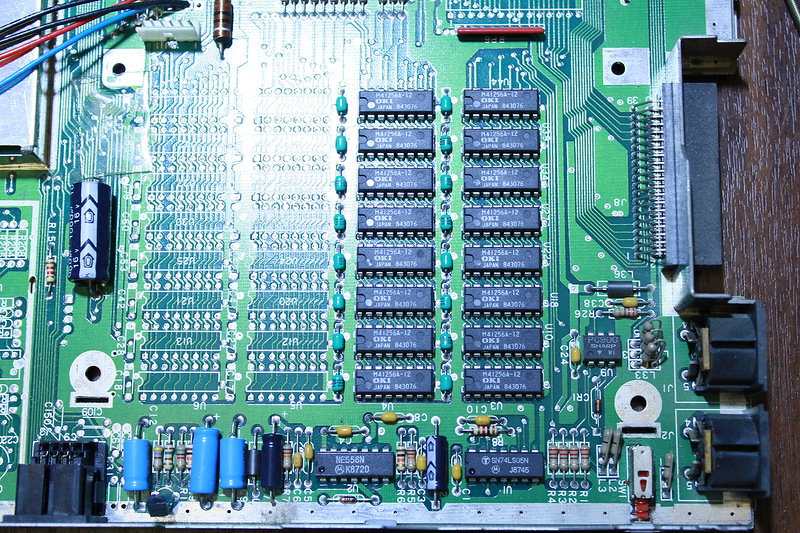
16 RAM microcircuits OKI M41256A-12 totaling 512K.
Nearby are the seating places for another 16 chips of RAM, by unzipping which you can double the RAM, thus turning the Atari 520STF into an older model - the Atari 1040STF .
Unfortunately, getting the appropriate memory chips (256K NMOS, with access times of 150 ns or less) is quite difficult. In my opinion, it is much easier to purchase or manufacture the JRI-RAM + upgrade board and use the usual 30-pin SIMM modules for memory expansion.
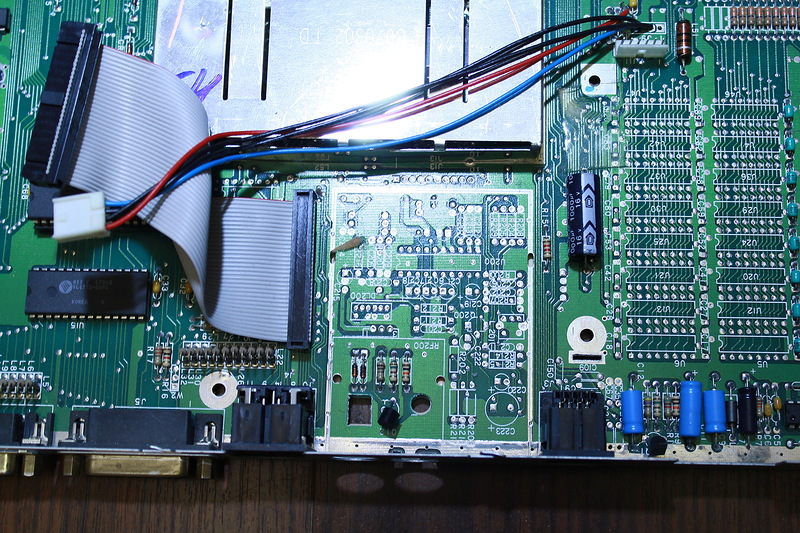
There could be a TV modulator.

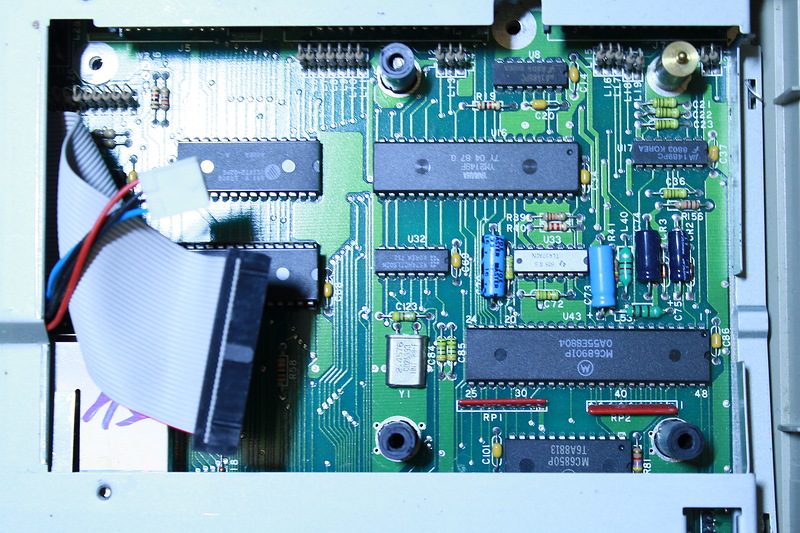
The heart of the computer is the Motorola MC68000 processor.
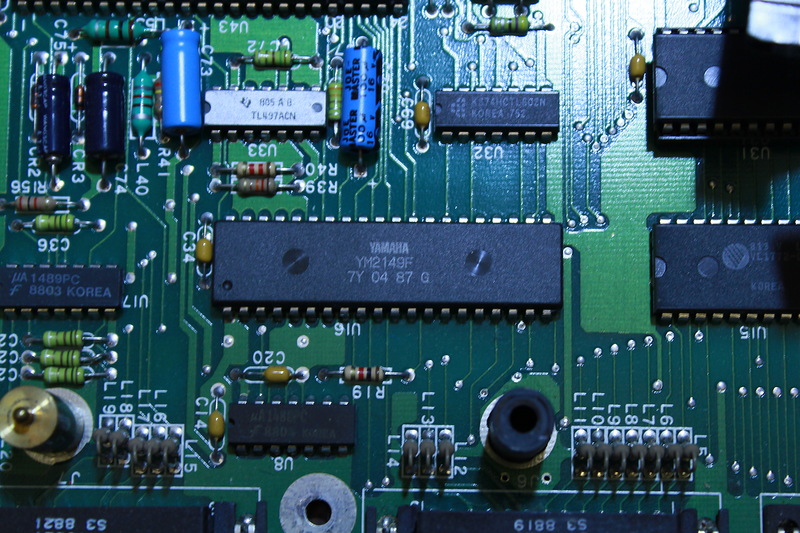
Three-channel sound generator Yamaha YM2149F, which is an analogue of AY-3-8910 .

SHARP C101634 ROM chips containing the Atari TOS operating system.
Operating system.
The Atari 520STF ran under the Atari TOS operating system ROM, and consisted of the GEMDOS core and the GEM graphical environment.

GEM desktop.
The latest supported version of the Atari TOS for the Atari 520STF computer is RAINBOW TOS 1.04, released April 6, 1989. This version not only improved the performance of the computer, but also had support for the MS-DOS file system, allowing you to read and write information destined for the Atari 520STF on a regular IBM PC-compatible computer.
In my copy of the computer, there are two SHARP C101634 ROM chips containing the Atari TOS version 1.02. You can update the version of the operating system using the programmer and two (sometimes six) erased UV ROMs.
Software.
Despite the small amount of RAM, for the Atari 520STF computer there was a huge amount of software of various orientations. Below are a few programs that I managed to find and run.
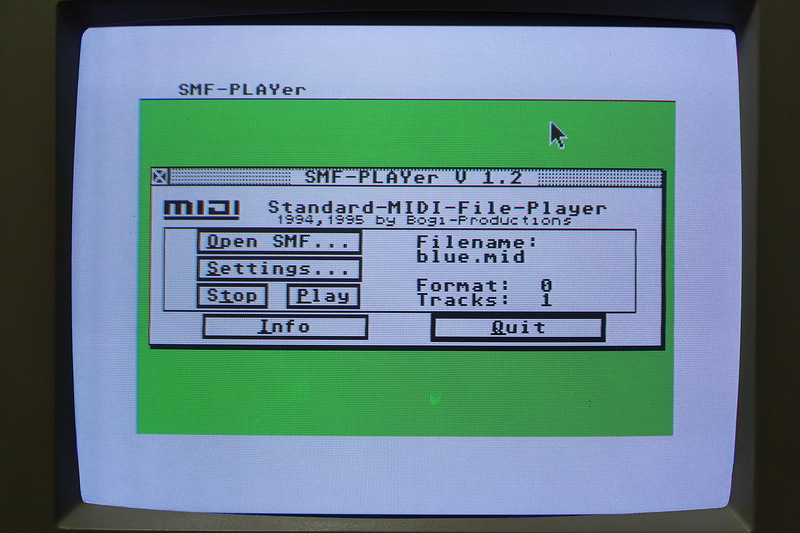
MIDI player SMF-Player.

Console terminal STALKER.

Nice Sweet Sixteen MIDI Sequencer.
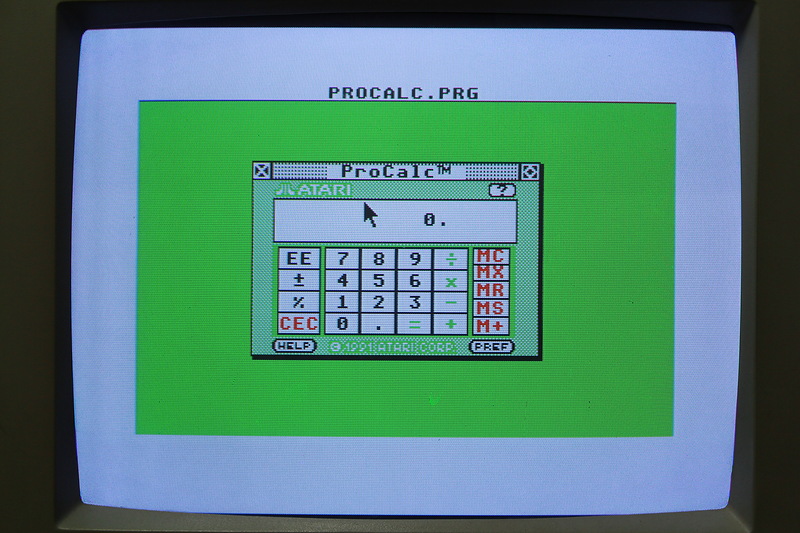
Advanced calculator PROCALC.
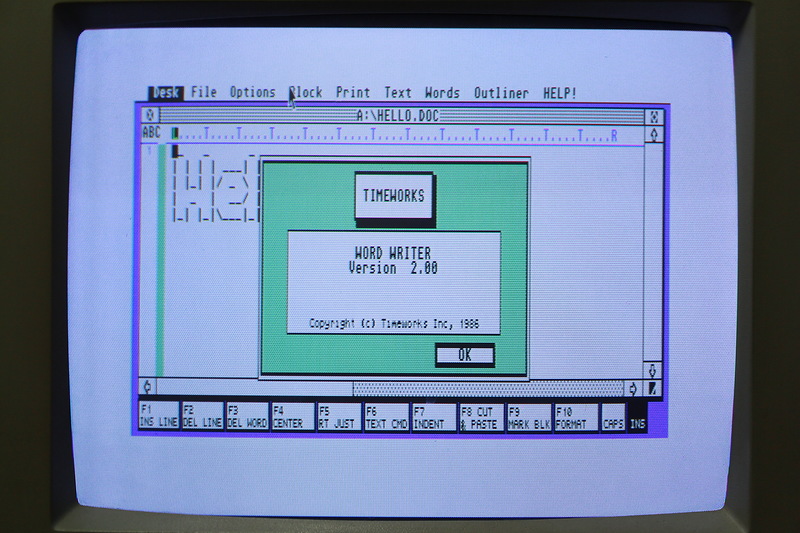
Pretty convenient text editor Word Writer 2. No problem printed text on the printer Epson LQ-100.
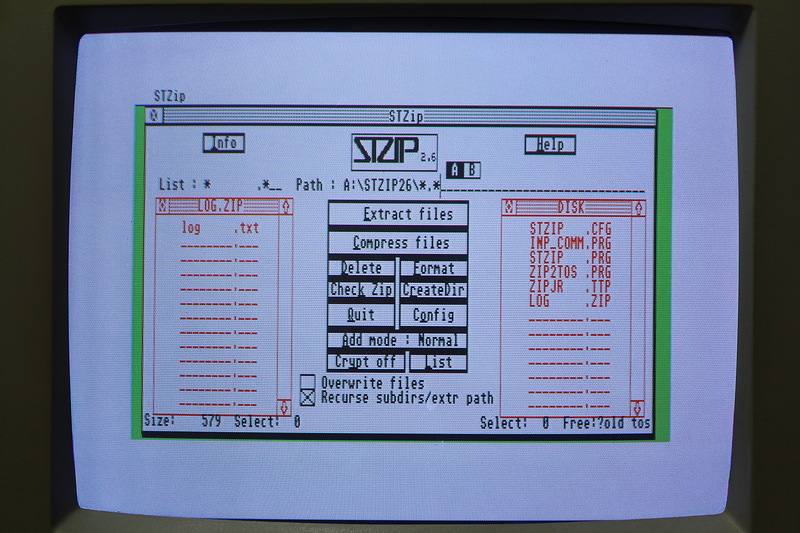
Archiver STZIP26.
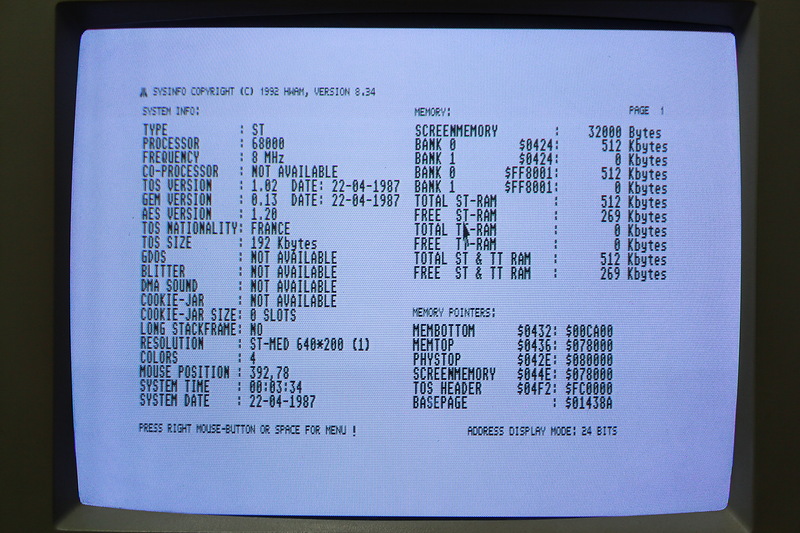
The system information tool is SYSINFO.
Alas, but 512K of RAM is too little to run CUBASE LITE, Crystal Atari Browser 1.5 web browser, ESCPAINT and other useful programs, so they did not get into the review.
Games.
For Atari 520STF written a huge number of games. So huge that already eyes run up. Below are some of them.
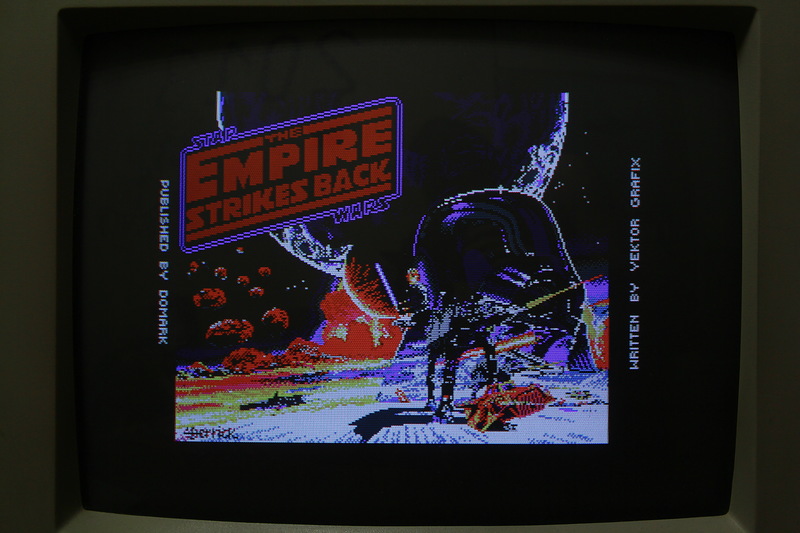
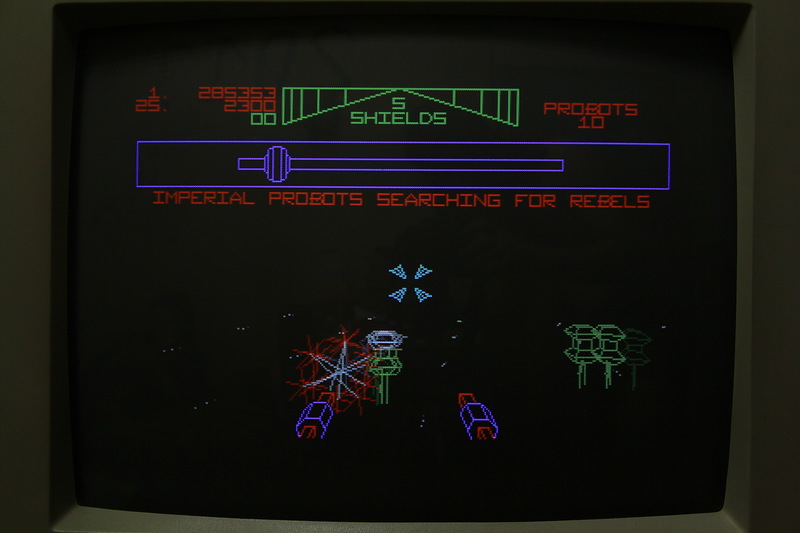
Star Wars - The Empire Strikes Back.
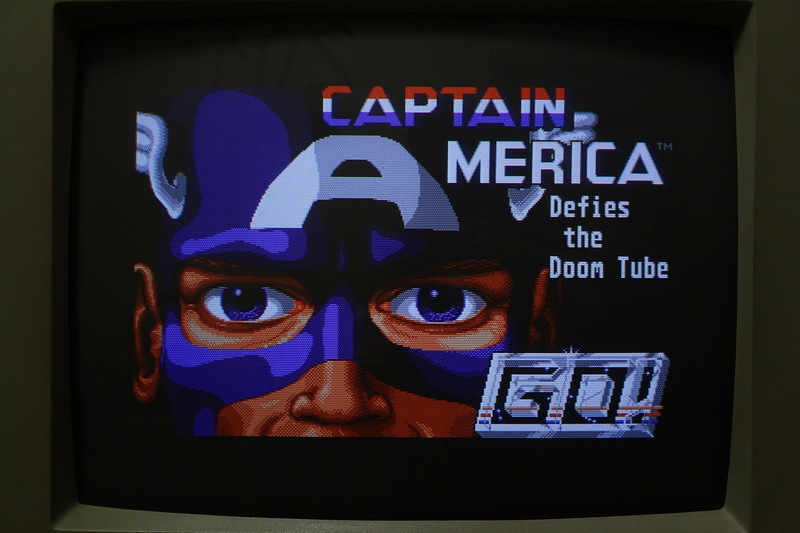

Captain America.
ALF.
Angel NIETO.

BOB Winner.
Spidertronic.
Sea battle.
We start the FTP server on Atari 520STF.
You probably noticed that the Atari 520STF has a 25-pin COM port. Its presence means that an external modem can be connected to the computer. And even go online! However, there is one unpleasant feature of this computer model - 512KB of RAM is too little to launch the Crystal Atari Browser 1.5 web browser. Attempts to launch WebLight http-server on Atari 520STF also ended in failure, but it turned out to raise the FTP server .
Note : Considering that almost no other Internet service provider provides access to the world wide web using a dial-up modem connection, you will have to do a bit of damage - to set up and configure your own Dial-In server. The easiest way is to use the existing functionality of Windows 2000 and higher, namely the incoming server. Information on how to do this can be found on the Internet . You will also need any office PBX. If this does not bother you, you can repeat the experience at home.
To run the FTP server on the Atari 520STF, we need an external modem,two plastic bottles, blue electrical tape and ... and TCP-IP support for the Atari StinG . You need to write StinG to a diskette and make a few changes to the configuration files (I replaced the paths that refer to the C: \ drive with the paths to the A: \ drive).
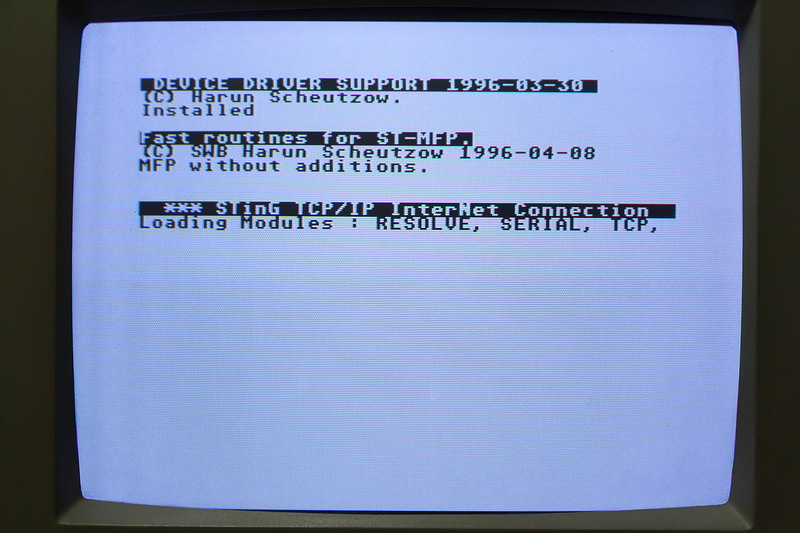
Reboot the Atari 520STF with a floppy disk with StinG in the drive.
Now you can start the dialer DIALER.APP , located in the folder DIALER.

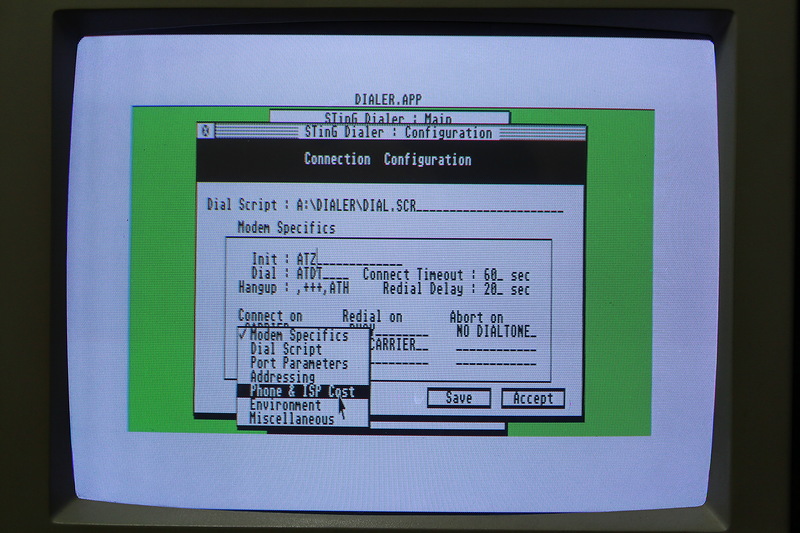

By pressing the Configs button, we set up a modem connection: specify the provider's phone number, username and password to access the network, and, if necessary, change the modem initialization string.
Click Enable and connect to the provider by clicking the Connect button.

Connection setup.
Done! Now you can close DIALER.APP without breaking the connections (by pressing the Exit button) and remove the diskette from StinG.
After the Internet connection is established, you can start the FTP server . By the way, it also needs to be written to a separate diskette and configured - in the FTPUSERS file you need to set the user name, password and specify the path to the folder to which access is provided, as well as the access rights the user has. Detailed instructions for setting up an FTP server are available in the help file FTP_SERV.HYP , which can be opened using the ST-Guide program. Do not forget to copy the ST-Guide to a floppy disk!
We start the FTP server ( FTP_SERV.APP ) and receive a warning that to display the dialogs, you must run the system extension WDIALOG.PRG , otherwise you will not be able to interact with the program.
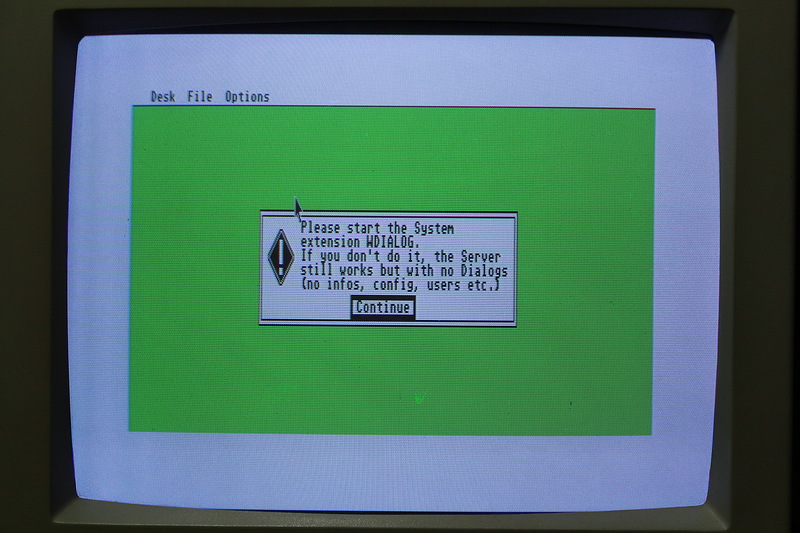
Well, swing WDIALOG.PRG , put it on a diskette and run. We start the FTP server and enjoy the opportunity to click on the menu with the mouse - now we have access to the menu items Settings, Logged Users and Generate passwords.

In fact, it is quite possible to do without WDIALOG.PRG , since adding users to the FTPUSERS file is done by manually editing this file, the Settings section does not contain anything critical, and the Logged Users menu item allows you to only see the currently active users - informative but useless.

Connect to our FTP server by IP address.
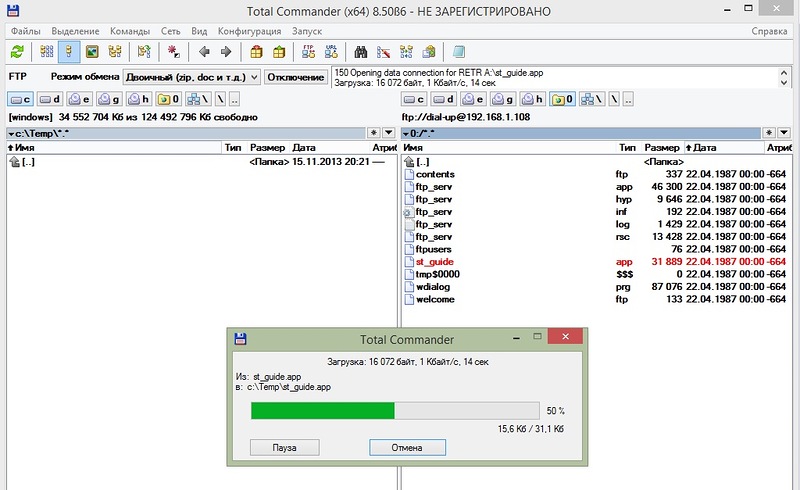
Download anything from a diskette. The speed is simply amazing.
We are trying to upload something useless to the FTP server. Be patient. Epic Fail - data transfer error. Let us write this error on the clumsiness of the software, the spoiled diskette and the unfavorable location of the stars.
Profit! FTP server on the Atari 520STF is running!
Emulator Steem.
Perhaps you have a question - is there an emulator for the Atari 520STF? Of course there is, and not one!
One of the most popular open source emulators for the Atari platform is Steem . Below are the instructions in the pictures on installing and configuring the Steem emulator, as well as running programs and games on the emulator. The instructions are written in such detail that any blonde and every student can understand them.
Afterword.
As you can see, the Atari 520STF for its time is an excellent computer, which could be used not only for games, but also for serious, creative work. Due to its low price and good opportunities, the Atari 520STF has become a dream of many users, both abroad and in our country.
To the delight of those who are interested and nostalgic, I would like to note that there is a huge collection of programs and games collected by Atari fans, for example - Atari ST TOSEC .
Thank you for your attention, and have a nice day!
The previous owner of this computer purchased it in France in 1988, after which the expensive purchase was transferred to Russia, where the Atari 520STF served as a “game console” for younger family members for a long time. In addition to entertainment features, the Atari 520STF also helped me learn programming, as evidenced by not only the words of the former owner, but also the photocopy of the BASIC textbook in French that came to me with the computer.
')
I would like to note that this computer was much more affordable and cheaper than its competitors - the Apple Macintosh 512k computer with the same characteristics cost $ 2,795, while the Atari 520STF (but without a monitor) would cost only $ 799. Due to its low price, it became quite popular among fans of computer games, and the musicians gave the Atari 520STF their preference, because the computer had MIDI interfaces on board that made it possible to create electronic musical compositions.
Caution! A lot of photos.
Specifications.
- Processor: Motorola 68000 @ 8MHz
- RAM: 512Kb
- Display: 320 X 200 - 16 colors, 640 X 200 - 4 colors, 640 X 400 - black and white image
- Video output: RGB (SCART), in the Atari 520STFM model - a modulator for connecting to a TV
- Ports: port for cartridges, LPT and COM port, ports for connecting the joystick and mouse
- Hard disk: external, from 10MB to 60MB
- Sound: three-channel sound generator on the YM2149F microcircuit, which is analogous to AY-3-8910
- Additional interfaces: MIDI input + MIDI output
- Drive: built-in 720Kb + external 720Kb / 1,44Mb
- Operating system: Atari TOS + GEM
Appearance and equipment.
Let's start with the configuration.
The Atari 520STF comes in such a cardboard box, inside which you can find the computer itself, the power cord, a mouse, and some documentation.
On request, the computer can be equipped with a high-resolution color or black-and-white monitor, also packed in a branded box. The monitor comes with a connecting cable, instructions and a circuit diagram of the monitor. By the way, you can not buy a monitor - you can use the RGB-video output available on your computer to connect the Atari 520STF to a TV with a SCART connector (you need the appropriate cable), and the Atari 520STF with an “M” index has an integrated RF modulator that allows connect a TV to the computer with an appropriate high-frequency input (the most common “tulip” connector is used).
The case of the Atari 520STF is made of gray plastic, its dimensions are 10 cm x 48 cm x 29 cm, and the weight of the computer is 4.2 kg.
Keyboard Atari 520STF - non-removable, has 94 keys. 10 function keys are located above the main block of keys, the numeric keypad is located on the right, and between them there are cursor arrows, Insert, Home, Help, and Undo keys. The keyboard layout is AZERTY , since this model was intended for sale in France.
On the left side of the case are MIDI connectors, as well as a cartridge connector.
The drive is located on the right side of the case.
If you flip the Atari 520STF upside down, you can see the connectors for connecting the mouse and joystick.
On the back of the case are the connectors for the modem, printer, external hard drive and drive, as well as video output, power button, power connector and Reset button. More information about the available interfaces can be found here .
And this is what the Atari SC1425 14 "color monitor looks like. Most of the image and sound settings are located under the cover on the front of the monitor.
On the back there are knobs for adjusting the length and width of the image, as well as its vertical positioning. There is also a SCART connector and an analog TTL input.
In the monitor on the sides of the built-in speakers, as well as a headphone jack.
Internal organization.
Remove the top cover. Under the protective metal casing on the left is the power supply, on the right - the drive.
We remove the keyboard, having previously disconnected a small cable from the motherboard.
Turning the keyboard over, you can see the controller and connectors for the mouse and joystick on it.
The Hitachi HD6301V1P controller is an 8-bit microcomputer in a DIP40 package, the clock frequency of which is 1MHz. Contains 4KB ROM, 128 bytes of RAM, has support for serial data transfer and much more .
Remove the right cover, unscrew the three screws and remove the drive.
After removing the left metal casing and unscrewing the two screws, you can remove the power supply.
Remove the metal cover from the motherboard and remove it.
16 RAM microcircuits OKI M41256A-12 totaling 512K.
Nearby are the seating places for another 16 chips of RAM, by unzipping which you can double the RAM, thus turning the Atari 520STF into an older model - the Atari 1040STF .
Unfortunately, getting the appropriate memory chips (256K NMOS, with access times of 150 ns or less) is quite difficult. In my opinion, it is much easier to purchase or manufacture the JRI-RAM + upgrade board and use the usual 30-pin SIMM modules for memory expansion.
There could be a TV modulator.
The heart of the computer is the Motorola MC68000 processor.
Three-channel sound generator Yamaha YM2149F, which is an analogue of AY-3-8910 .
SHARP C101634 ROM chips containing the Atari TOS operating system.
Operating system.
The Atari 520STF ran under the Atari TOS operating system ROM, and consisted of the GEMDOS core and the GEM graphical environment.
GEM desktop.
The latest supported version of the Atari TOS for the Atari 520STF computer is RAINBOW TOS 1.04, released April 6, 1989. This version not only improved the performance of the computer, but also had support for the MS-DOS file system, allowing you to read and write information destined for the Atari 520STF on a regular IBM PC-compatible computer.
In my copy of the computer, there are two SHARP C101634 ROM chips containing the Atari TOS version 1.02. You can update the version of the operating system using the programmer and two (sometimes six) erased UV ROMs.
Software.
Despite the small amount of RAM, for the Atari 520STF computer there was a huge amount of software of various orientations. Below are a few programs that I managed to find and run.
MIDI player SMF-Player.
Console terminal STALKER.
Nice Sweet Sixteen MIDI Sequencer.
Advanced calculator PROCALC.
Pretty convenient text editor Word Writer 2. No problem printed text on the printer Epson LQ-100.
Archiver STZIP26.
The system information tool is SYSINFO.
Alas, but 512K of RAM is too little to run CUBASE LITE, Crystal Atari Browser 1.5 web browser, ESCPAINT and other useful programs, so they did not get into the review.
Games.
For Atari 520STF written a huge number of games. So huge that already eyes run up. Below are some of them.
Star Wars - The Empire Strikes Back.
Captain America.
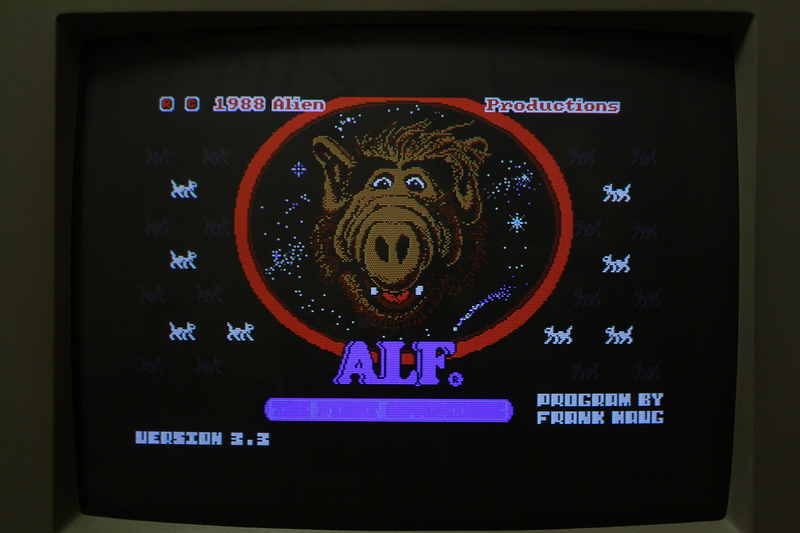
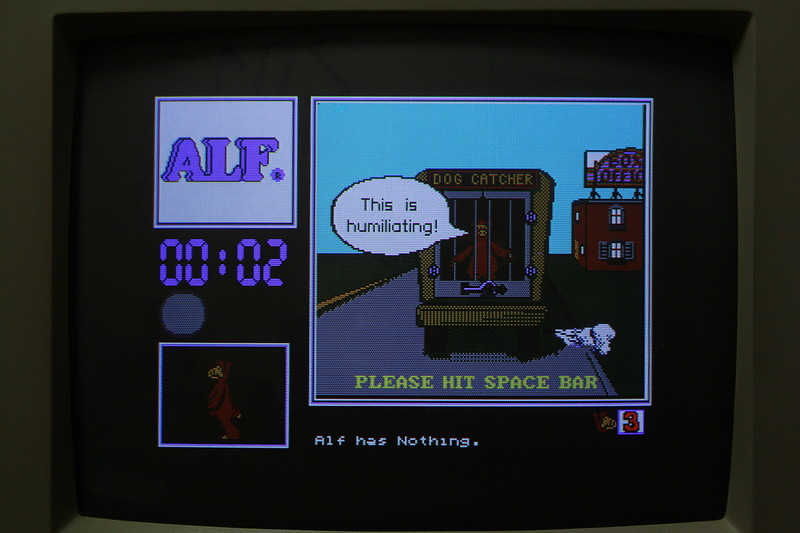
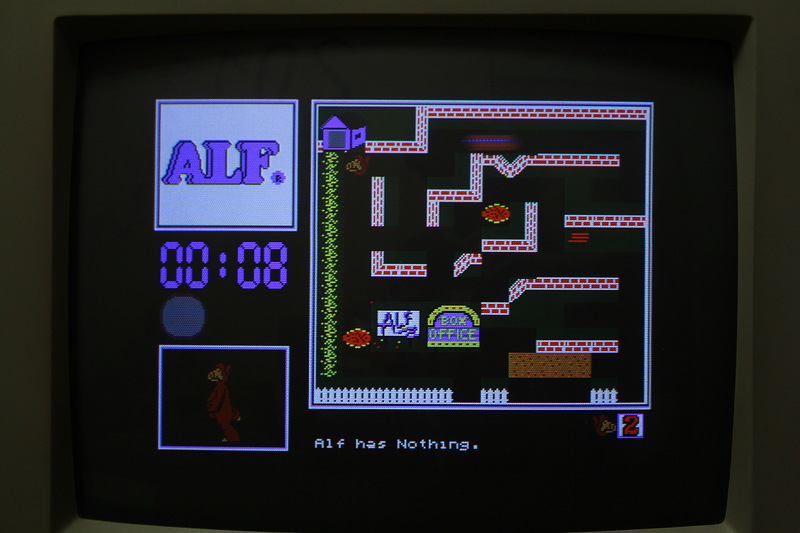
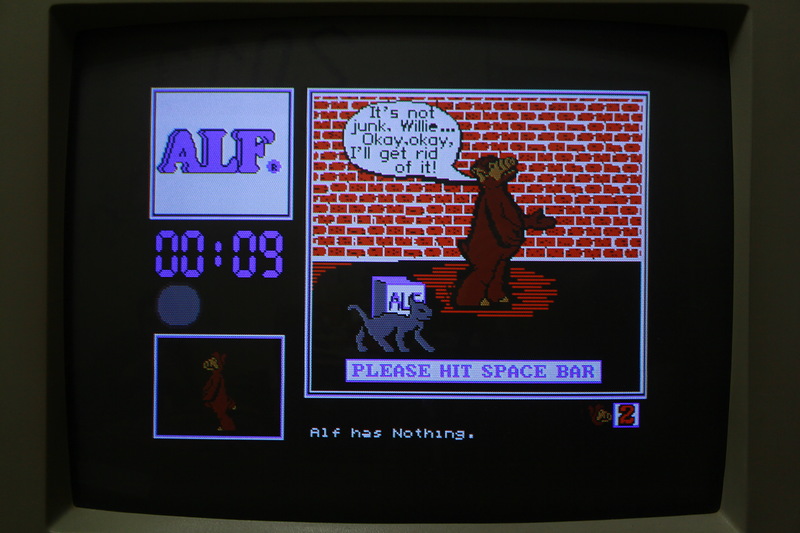
ALF.
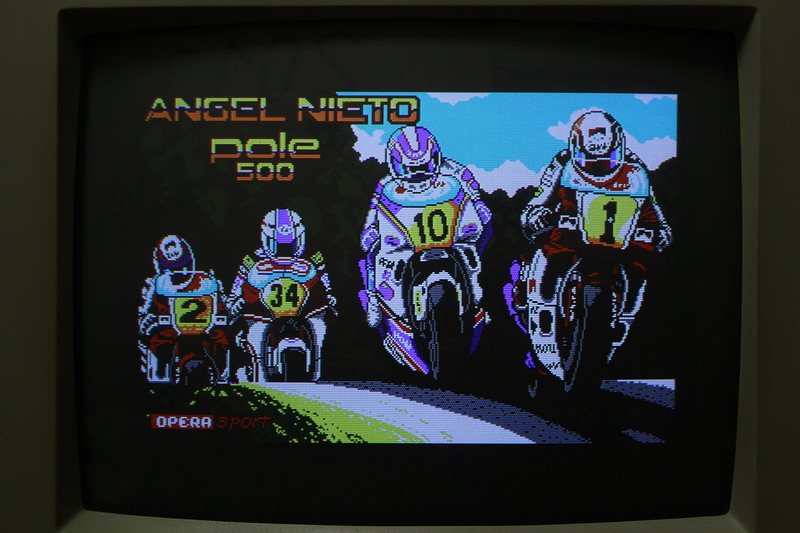
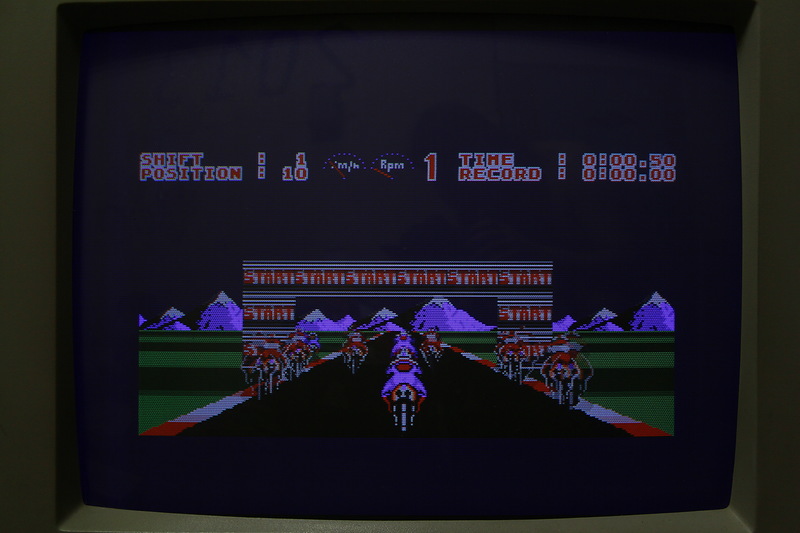
Angel NIETO.
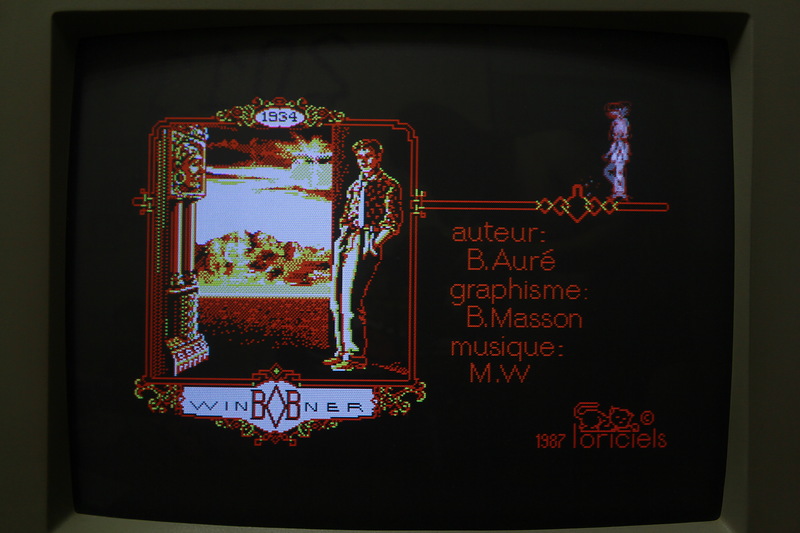
BOB Winner.
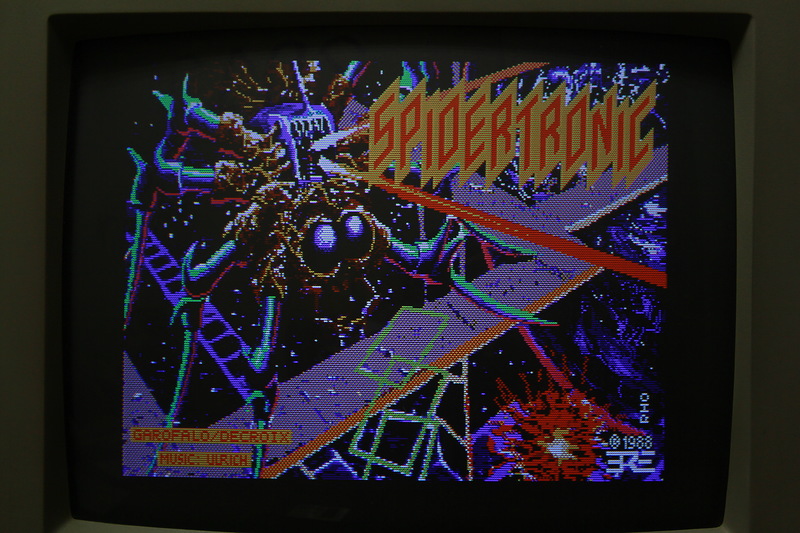
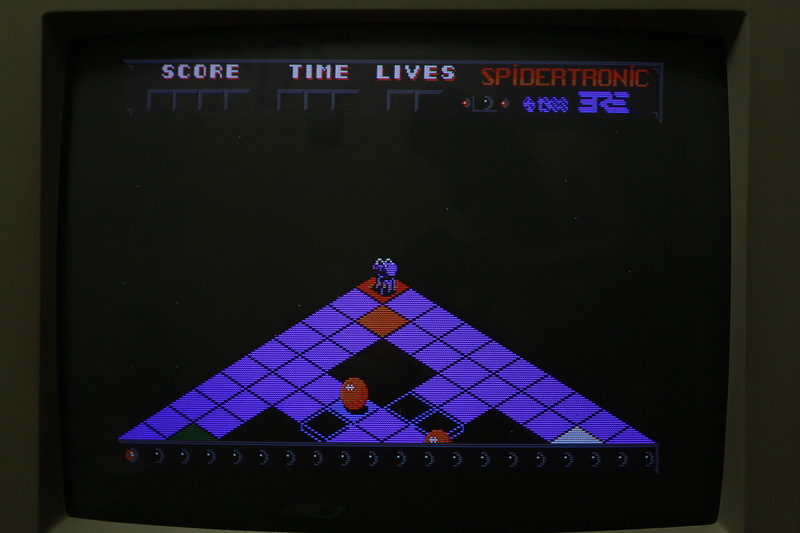
Spidertronic.
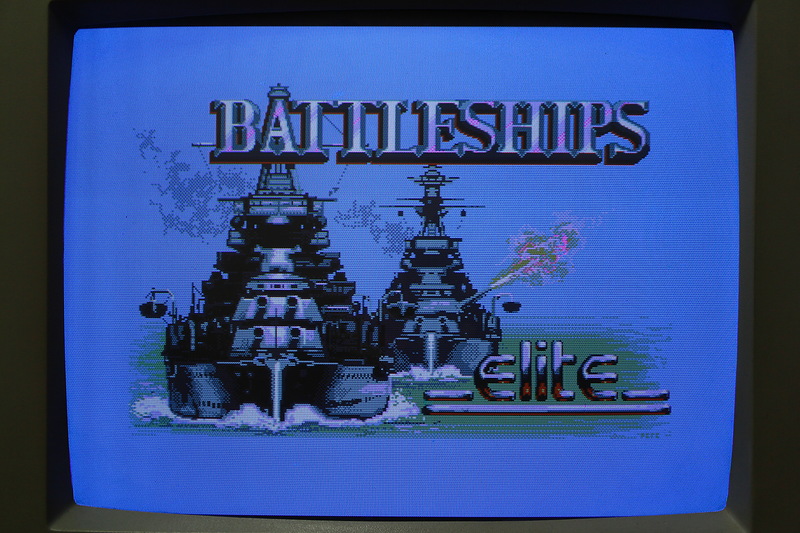
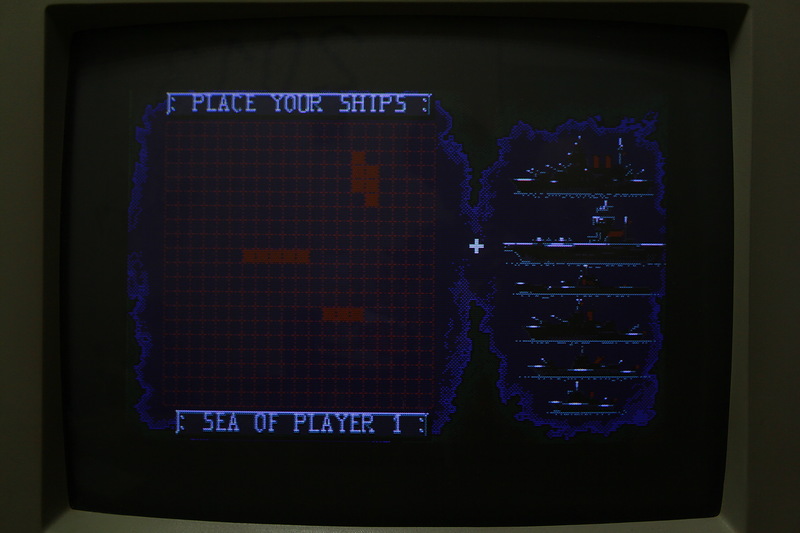
Sea battle.
We start the FTP server on Atari 520STF.
You probably noticed that the Atari 520STF has a 25-pin COM port. Its presence means that an external modem can be connected to the computer. And even go online! However, there is one unpleasant feature of this computer model - 512KB of RAM is too little to launch the Crystal Atari Browser 1.5 web browser. Attempts to launch WebLight http-server on Atari 520STF also ended in failure, but it turned out to raise the FTP server .
Note : Considering that almost no other Internet service provider provides access to the world wide web using a dial-up modem connection, you will have to do a bit of damage - to set up and configure your own Dial-In server. The easiest way is to use the existing functionality of Windows 2000 and higher, namely the incoming server. Information on how to do this can be found on the Internet . You will also need any office PBX. If this does not bother you, you can repeat the experience at home.
To run the FTP server on the Atari 520STF, we need an external modem,
Reboot the Atari 520STF with a floppy disk with StinG in the drive.
Now you can start the dialer DIALER.APP , located in the folder DIALER.
By pressing the Configs button, we set up a modem connection: specify the provider's phone number, username and password to access the network, and, if necessary, change the modem initialization string.
Click Enable and connect to the provider by clicking the Connect button.
Connection setup.
Done! Now you can close DIALER.APP without breaking the connections (by pressing the Exit button) and remove the diskette from StinG.
After the Internet connection is established, you can start the FTP server . By the way, it also needs to be written to a separate diskette and configured - in the FTPUSERS file you need to set the user name, password and specify the path to the folder to which access is provided, as well as the access rights the user has. Detailed instructions for setting up an FTP server are available in the help file FTP_SERV.HYP , which can be opened using the ST-Guide program. Do not forget to copy the ST-Guide to a floppy disk!
We start the FTP server ( FTP_SERV.APP ) and receive a warning that to display the dialogs, you must run the system extension WDIALOG.PRG , otherwise you will not be able to interact with the program.
Well, swing WDIALOG.PRG , put it on a diskette and run. We start the FTP server and enjoy the opportunity to click on the menu with the mouse - now we have access to the menu items Settings, Logged Users and Generate passwords.
In fact, it is quite possible to do without WDIALOG.PRG , since adding users to the FTPUSERS file is done by manually editing this file, the Settings section does not contain anything critical, and the Logged Users menu item allows you to only see the currently active users - informative but useless.
Connect to our FTP server by IP address.
Download anything from a diskette. The speed is simply amazing.
We are trying to upload something useless to the FTP server. Be patient. Epic Fail - data transfer error. Let us write this error on the clumsiness of the software, the spoiled diskette and the unfavorable location of the stars.
Profit! FTP server on the Atari 520STF is running!
Emulator Steem.
Perhaps you have a question - is there an emulator for the Atari 520STF? Of course there is, and not one!
One of the most popular open source emulators for the Atari platform is Steem . Below are the instructions in the pictures on installing and configuring the Steem emulator, as well as running programs and games on the emulator. The instructions are written in such detail that any blonde and every student can understand them.
Steem emulator installation process
To install the emulator, we need to download the emulator itself and the TOS firmware .

Extract the contents of the archive with the emulator and TOS firmware into any folder (for example, in the C: \ Steem \ folder), put the firmware in the root folder with the emulator. To emulate an Atari 520STF, we need Tos102us.IMG firmware.

Run Steem.exe , answer “Yes” to the Welcome to Steem dialog. A Steem Engine shortcut is created in the Start menu - All Programs.

We are further warned that it is necessary to have TOS firmware for the emulator to work. We agree.
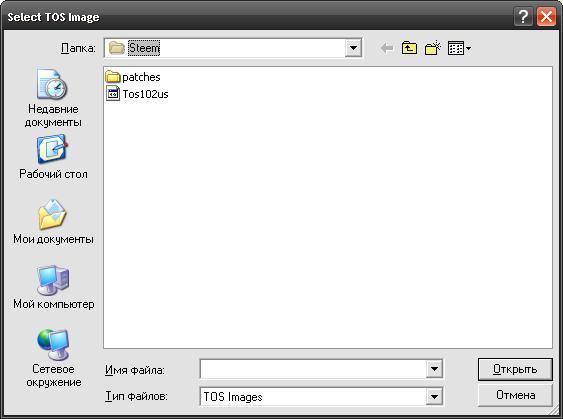
We point the emulator to the location of our Tos102us.IMG .

This dialog tells us about the need to specify the home directory where the floppy disk images for the Atari 520STF will be located. Click "OK".
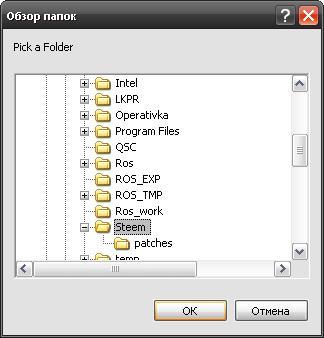
Specify the home directory. For example, C: \ Steem \

The following dialog prompts you to assign a folder that will be the virtual hard disk in the Steem emulator. You can create multiple "drives" by assigning multiple folders.

The C: \ virtual disk allows you to copy files between the Steem emulator and the specified folder on your computer. For convenience, it is desirable to specify an easily accessible and empty folder, for example, "My Documents".
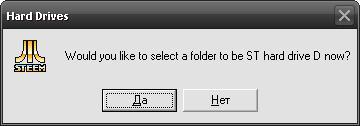
After creating the virtual disk, C: \ will be prompted to create another disk. We do not need it, so we refuse.

Congratulations, the installation is complete!
Extract the contents of the archive with the emulator and TOS firmware into any folder (for example, in the C: \ Steem \ folder), put the firmware in the root folder with the emulator. To emulate an Atari 520STF, we need Tos102us.IMG firmware.
Run Steem.exe , answer “Yes” to the Welcome to Steem dialog. A Steem Engine shortcut is created in the Start menu - All Programs.
We are further warned that it is necessary to have TOS firmware for the emulator to work. We agree.
We point the emulator to the location of our Tos102us.IMG .
This dialog tells us about the need to specify the home directory where the floppy disk images for the Atari 520STF will be located. Click "OK".
Specify the home directory. For example, C: \ Steem \
The following dialog prompts you to assign a folder that will be the virtual hard disk in the Steem emulator. You can create multiple "drives" by assigning multiple folders.
The C: \ virtual disk allows you to copy files between the Steem emulator and the specified folder on your computer. For convenience, it is desirable to specify an easily accessible and empty folder, for example, "My Documents".
After creating the virtual disk, C: \ will be prompted to create another disk. We do not need it, so we refuse.
Congratulations, the installation is complete!
Setting up a Steem emulator.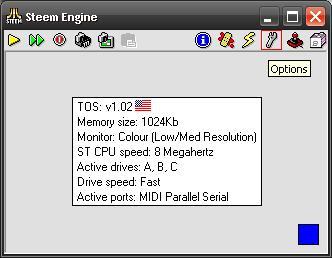
To change the emulator settings, click on the wrench icon (circled in red in the screenshot).
The default settings are quite suitable for running most games and programs. However, I still made some changes:
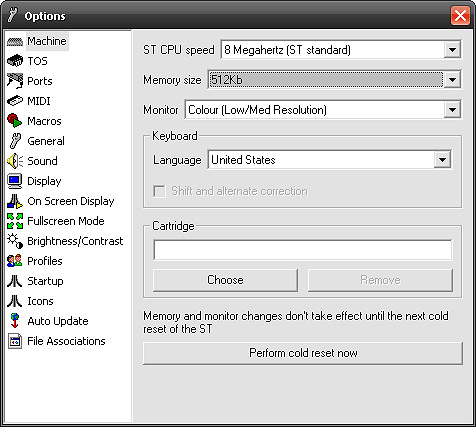
The default size of RAM is 1024K. I reduced the amount of memory to the Spartan conditions of the computer Atari 520STF.
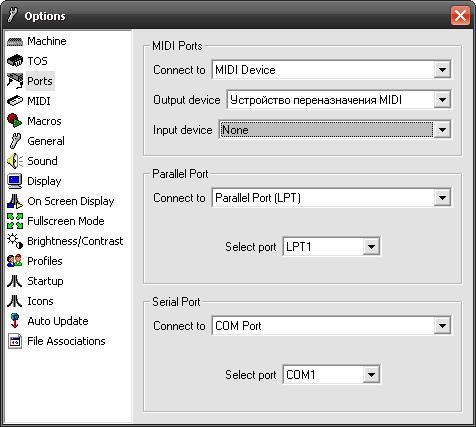
If you want to use the physical LPT and COM ports of your computer in the emulator or listen to MIDI files, you need to make changes in the Ports section in accordance with your hardware.
To change the emulator settings, click on the wrench icon (circled in red in the screenshot).
The default settings are quite suitable for running most games and programs. However, I still made some changes:
The default size of RAM is 1024K. I reduced the amount of memory to the Spartan conditions of the computer Atari 520STF.
If you want to use the physical LPT and COM ports of your computer in the emulator or listen to MIDI files, you need to make changes in the Ports section in accordance with your hardware.
Running programs and games on the Steem emulator.
Programs and games for Atari ST can be distributed in the form of images of diskettes or in the form of archives.
- If you downloaded the Atari ST program as an archive, you need to extract its contents to the virtual “drive” folder of the C: \ Steem emulator on your computer.
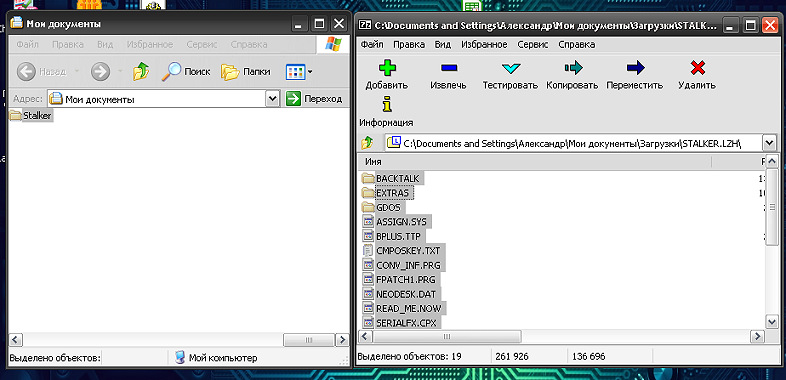
If you installed the Steem emulator according to the “Steem emulator installation process” instructions in this overview (without changing paths), place the contents of the archive with the program in the “My Documents” folder, for convenience, create a subfolder with the program name (for example, Stalker).
Now you can start the Steem emulator by clicking the Run button (circled in red in the screenshot) and go to the C: \ drive of our virtual Atari.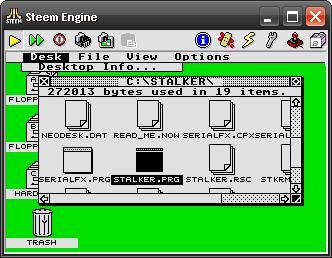
Among all the useful files we find (yes, my My Documents folder was not so empty) our newly created subfolder and launch the program. Most programs have a .PRG extension. - If the game or program is distributed as a floppy disk image (files with the .ST, .STT extension .DIM, .MSA), you need to place the image file in the folder that was specified when installing Steem as the home directory for the floppy disk images.
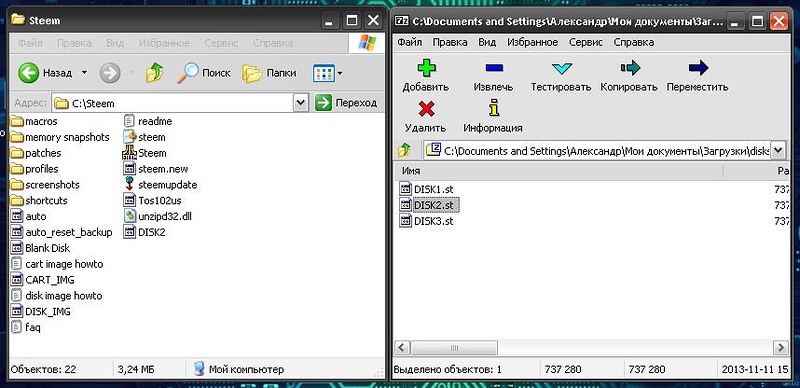
If you installed Steem according to the instructions for “Steem emulator installation process” in this review (without changing paths), place the floppy image file in the C: \ Steem \ folder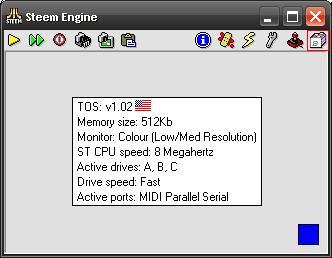
Now we start the Steem emulator and call Disk Manager (in the screenshot, it is circled in red).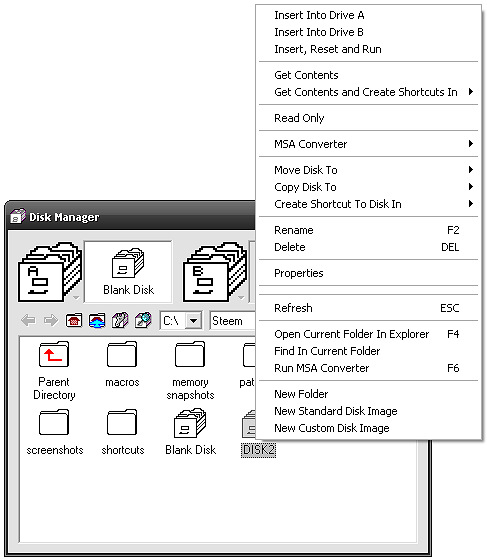
“Insert” a disk image into the A: \ drive by right-clicking on the name of the disk image and selecting the “Insert Into Drive A” option.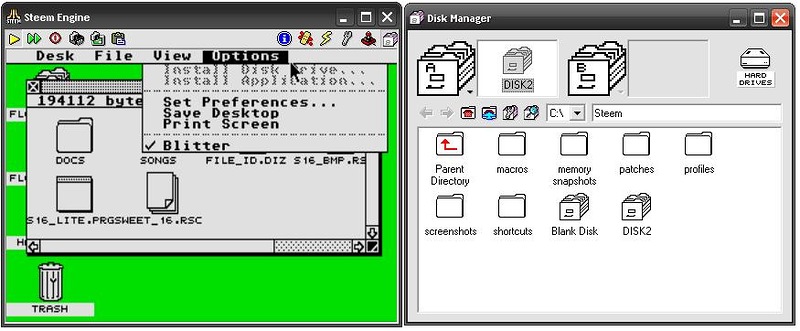
Press the yellow Run button, go to the A: \ drive on our virtual Atari and launch the necessary program.
You can also mount a floppy image using the menu item "Insert, Reset and Run" in the Disk Manager window. In this case, the image will be mounted into the A: \ drive, and our virtual Atari will automatically start (restart if it has already been started).
Afterword.
As you can see, the Atari 520STF for its time is an excellent computer, which could be used not only for games, but also for serious, creative work. Due to its low price and good opportunities, the Atari 520STF has become a dream of many users, both abroad and in our country.
To the delight of those who are interested and nostalgic, I would like to note that there is a huge collection of programs and games collected by Atari fans, for example - Atari ST TOSEC .
Thank you for your attention, and have a nice day!
Source: https://habr.com/ru/post/200494/
All Articles