Mini drill with their own hands
Hi, Habr!
From time to time there is a need to make a PCB. And it seems nothing complicated, laser-iron technology allows you to do everything neatly and aesthetically, however, it was always a problem to drill holes for the elements. I used to borrow a drill, but then there was a time and a desire to finally get my own. Having run through the shops, the prices were somewhat upset, from 1000r. and higher. It seems not much, but the student period does not have much to spend. Well, it's time to rummage in the bins and see what is there for the realization of our little drill!
In the picture there is a plastic box drilled by a assembled drill.
')
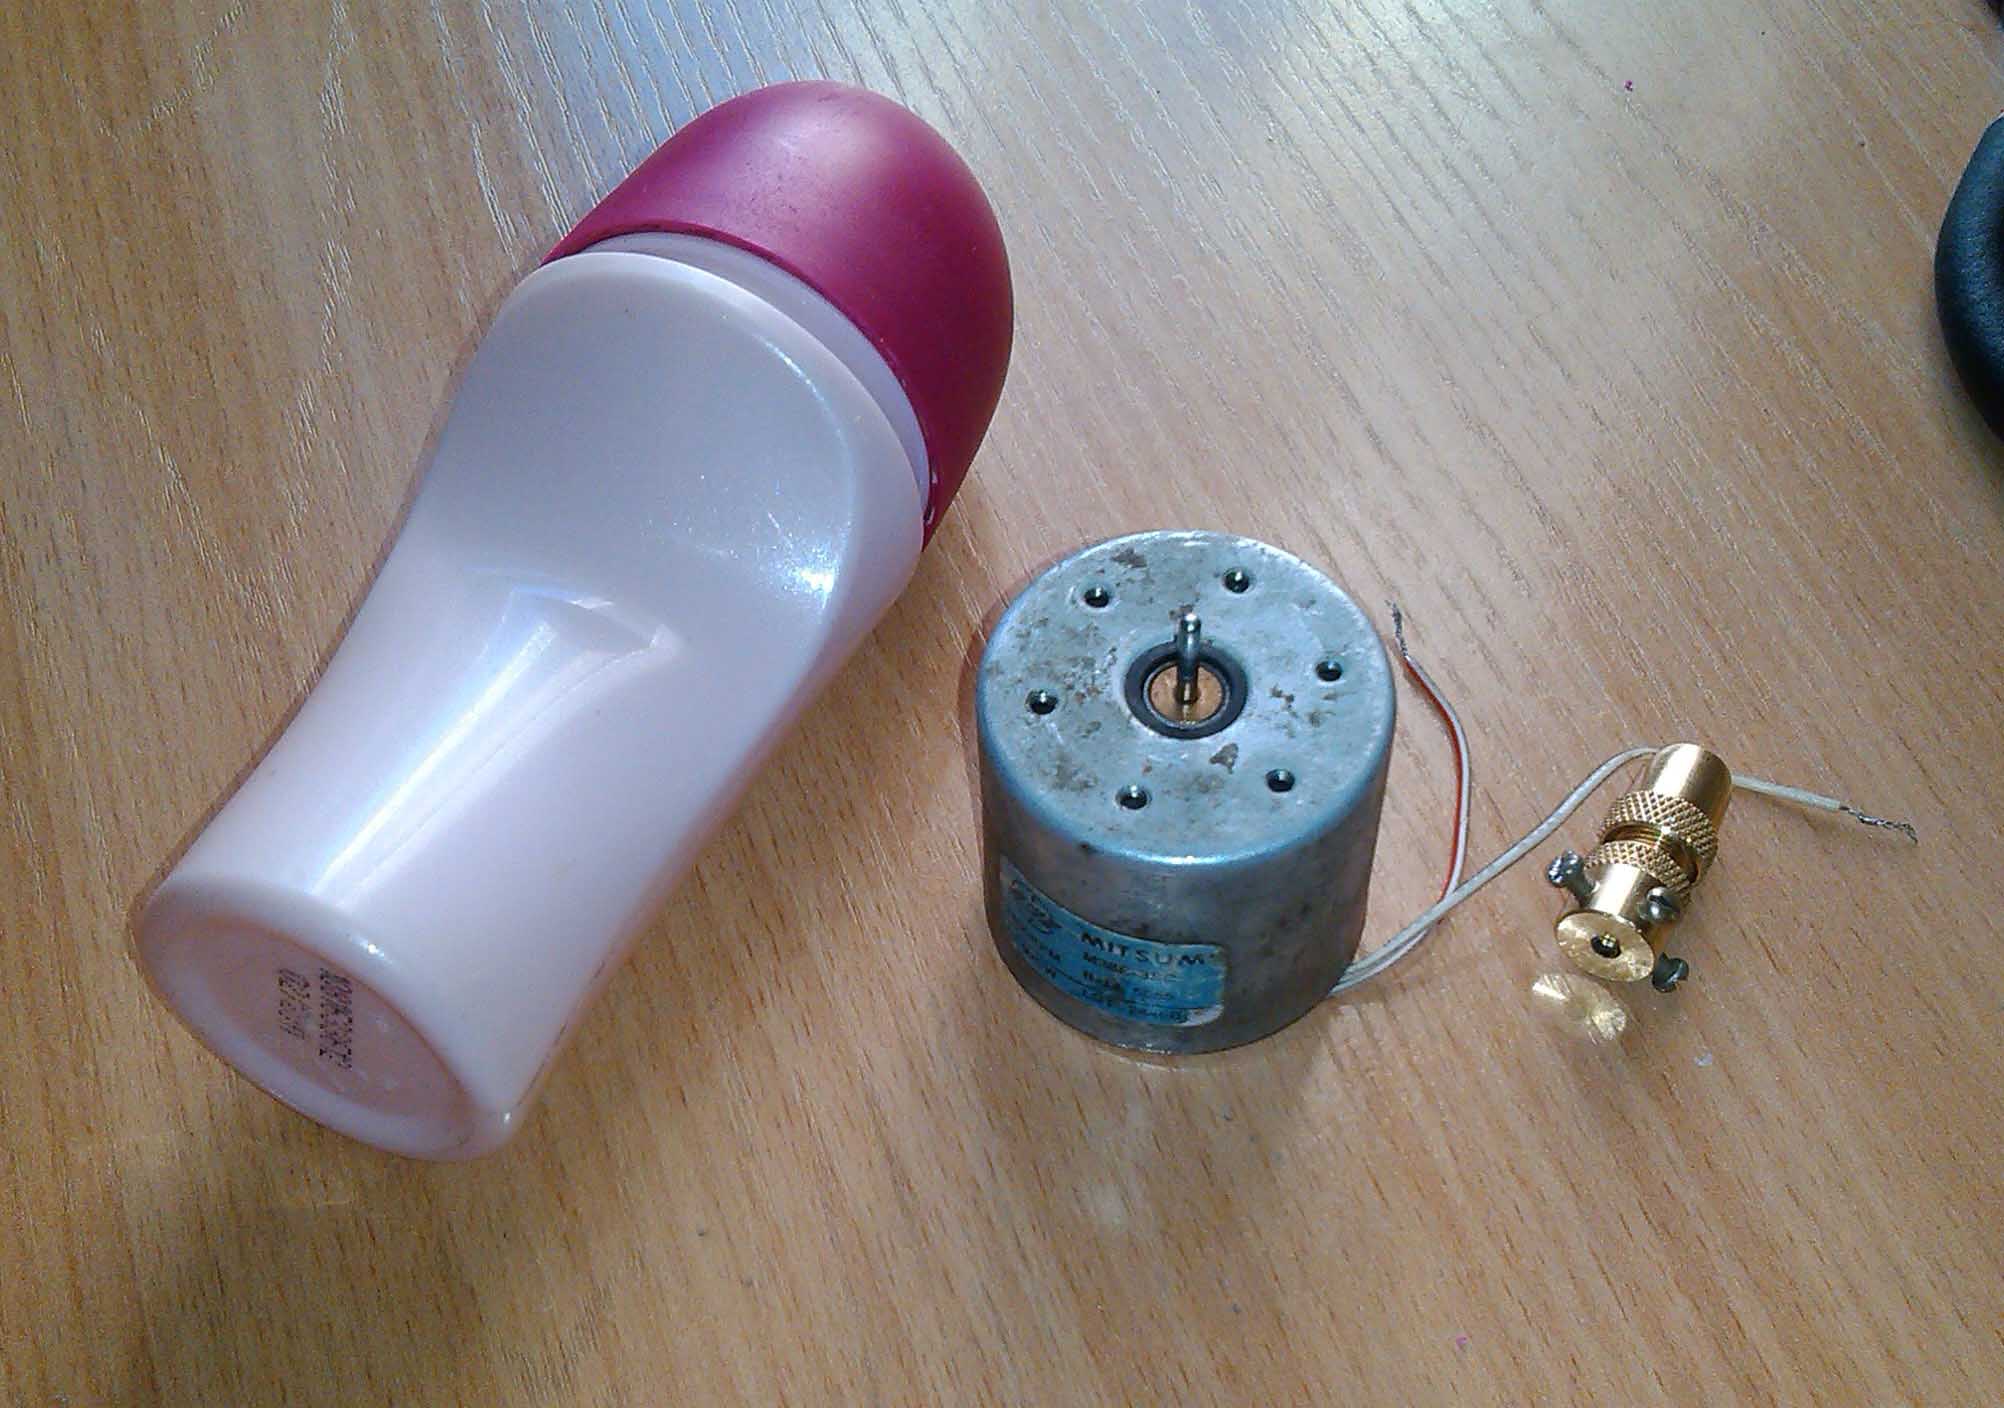
Obviously, to implement there you need an electric motor and a cartridge for the drill. The first was found almost immediately, it is an old 9-volt engine from, apparently, a cassette recorder. Cartridge unfortunately not found, I had to buy. Price 290 p. For this amount, we get such a cartridge with seven interchangeable collets.

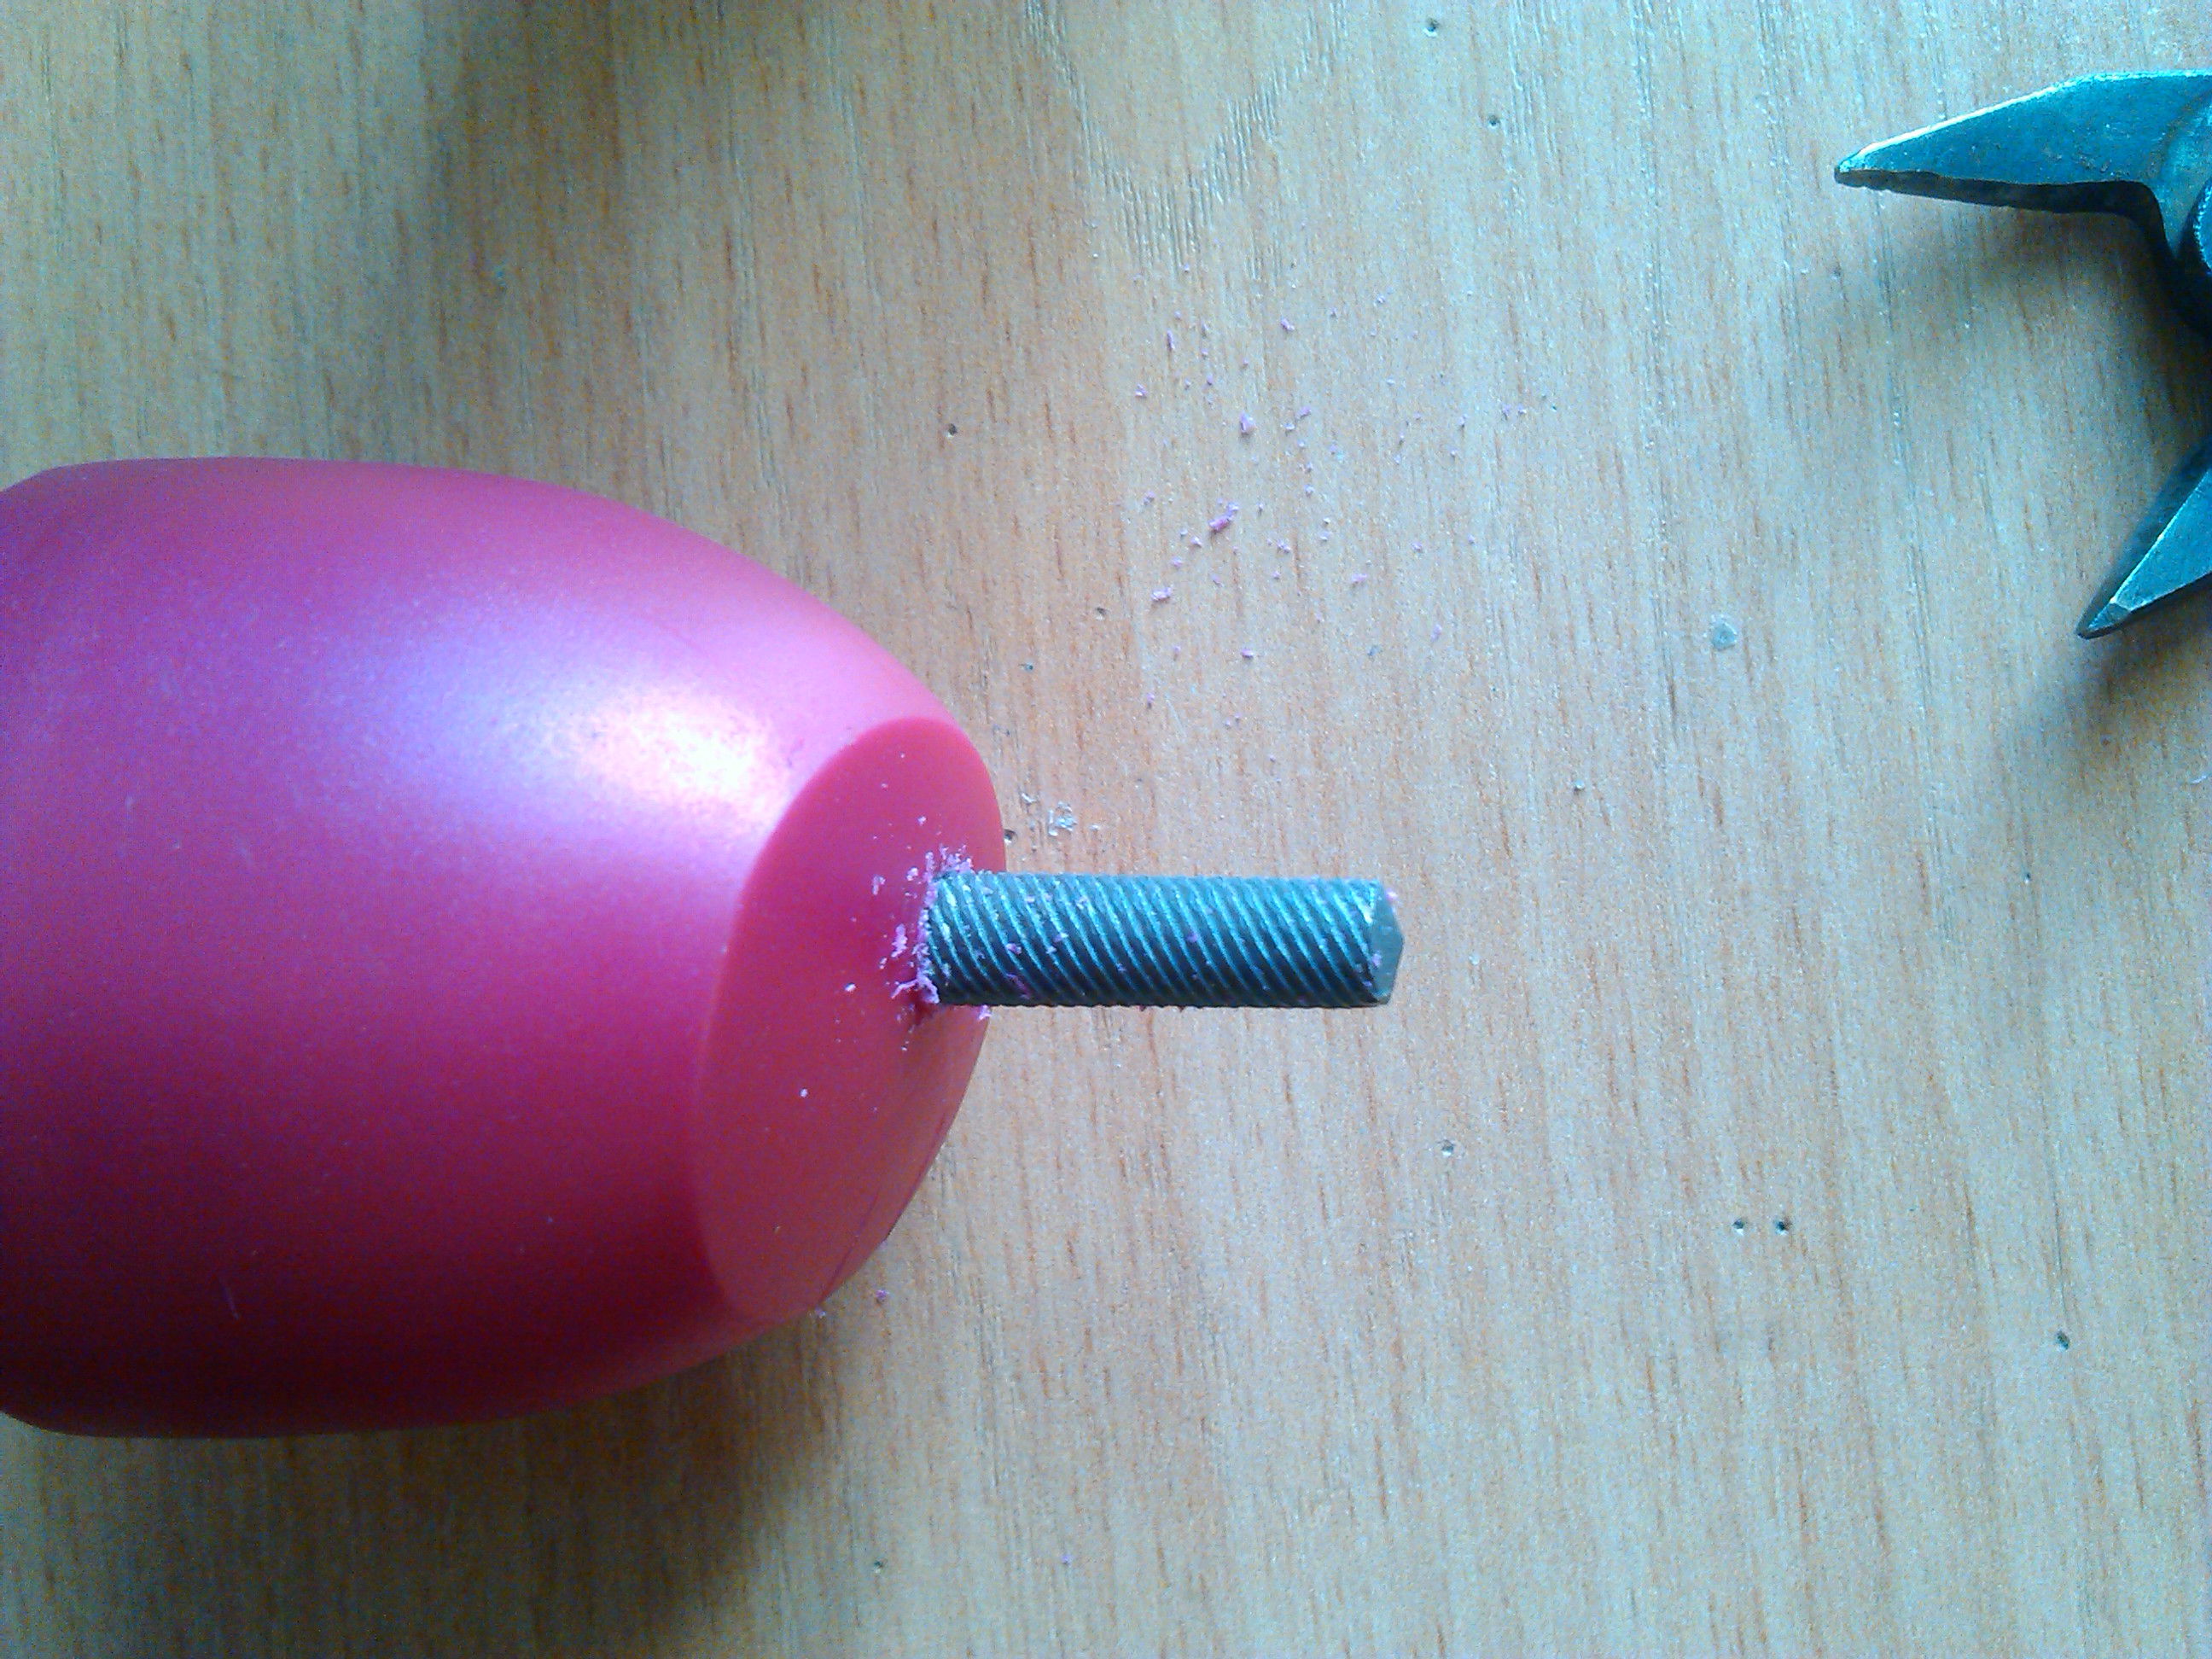
Body ... An empty bottle (or how to call it?) From a deodorant ball caught my eye. Looking ahead, I will say that its size turned out to be perfect, and the engine entered a millimeter in a millimeter, it was not even necessary to mount it.
Well now there are source materials.
The next step is to make a hole in the lid for the chuck and drill.
And here is the ideal entrance of the engine to the future body of the drill.

At this one could stop, connect the engine to the power supply and plug it into the socket, starting the drilling process, but I wanted to make everything more cultured, namely: a socket for connecting the power supply; Of course the switch is right on the drill; Well, as an additional decoration small svetodiodik.
I used RCA as a power socket. However, I do not advise, the cord turned out to be too bad, although it may have come across me like this. The first used plug came off during assembly and testing. Therefore, the second immediately strengthened improvised means.
The switch was found in such a Chinese adapter.

A little carried away by the process, I did not take pictures of the process of cutting holes for the switch, LED and power, but I think habravchane-savvy already know how to wield a clerical knife.
Well, here is the final result:


The first hit hit the handle.

The assembled mini-drill without problems drills plastic, wood, and of course textolite, for which it was actually assembled.
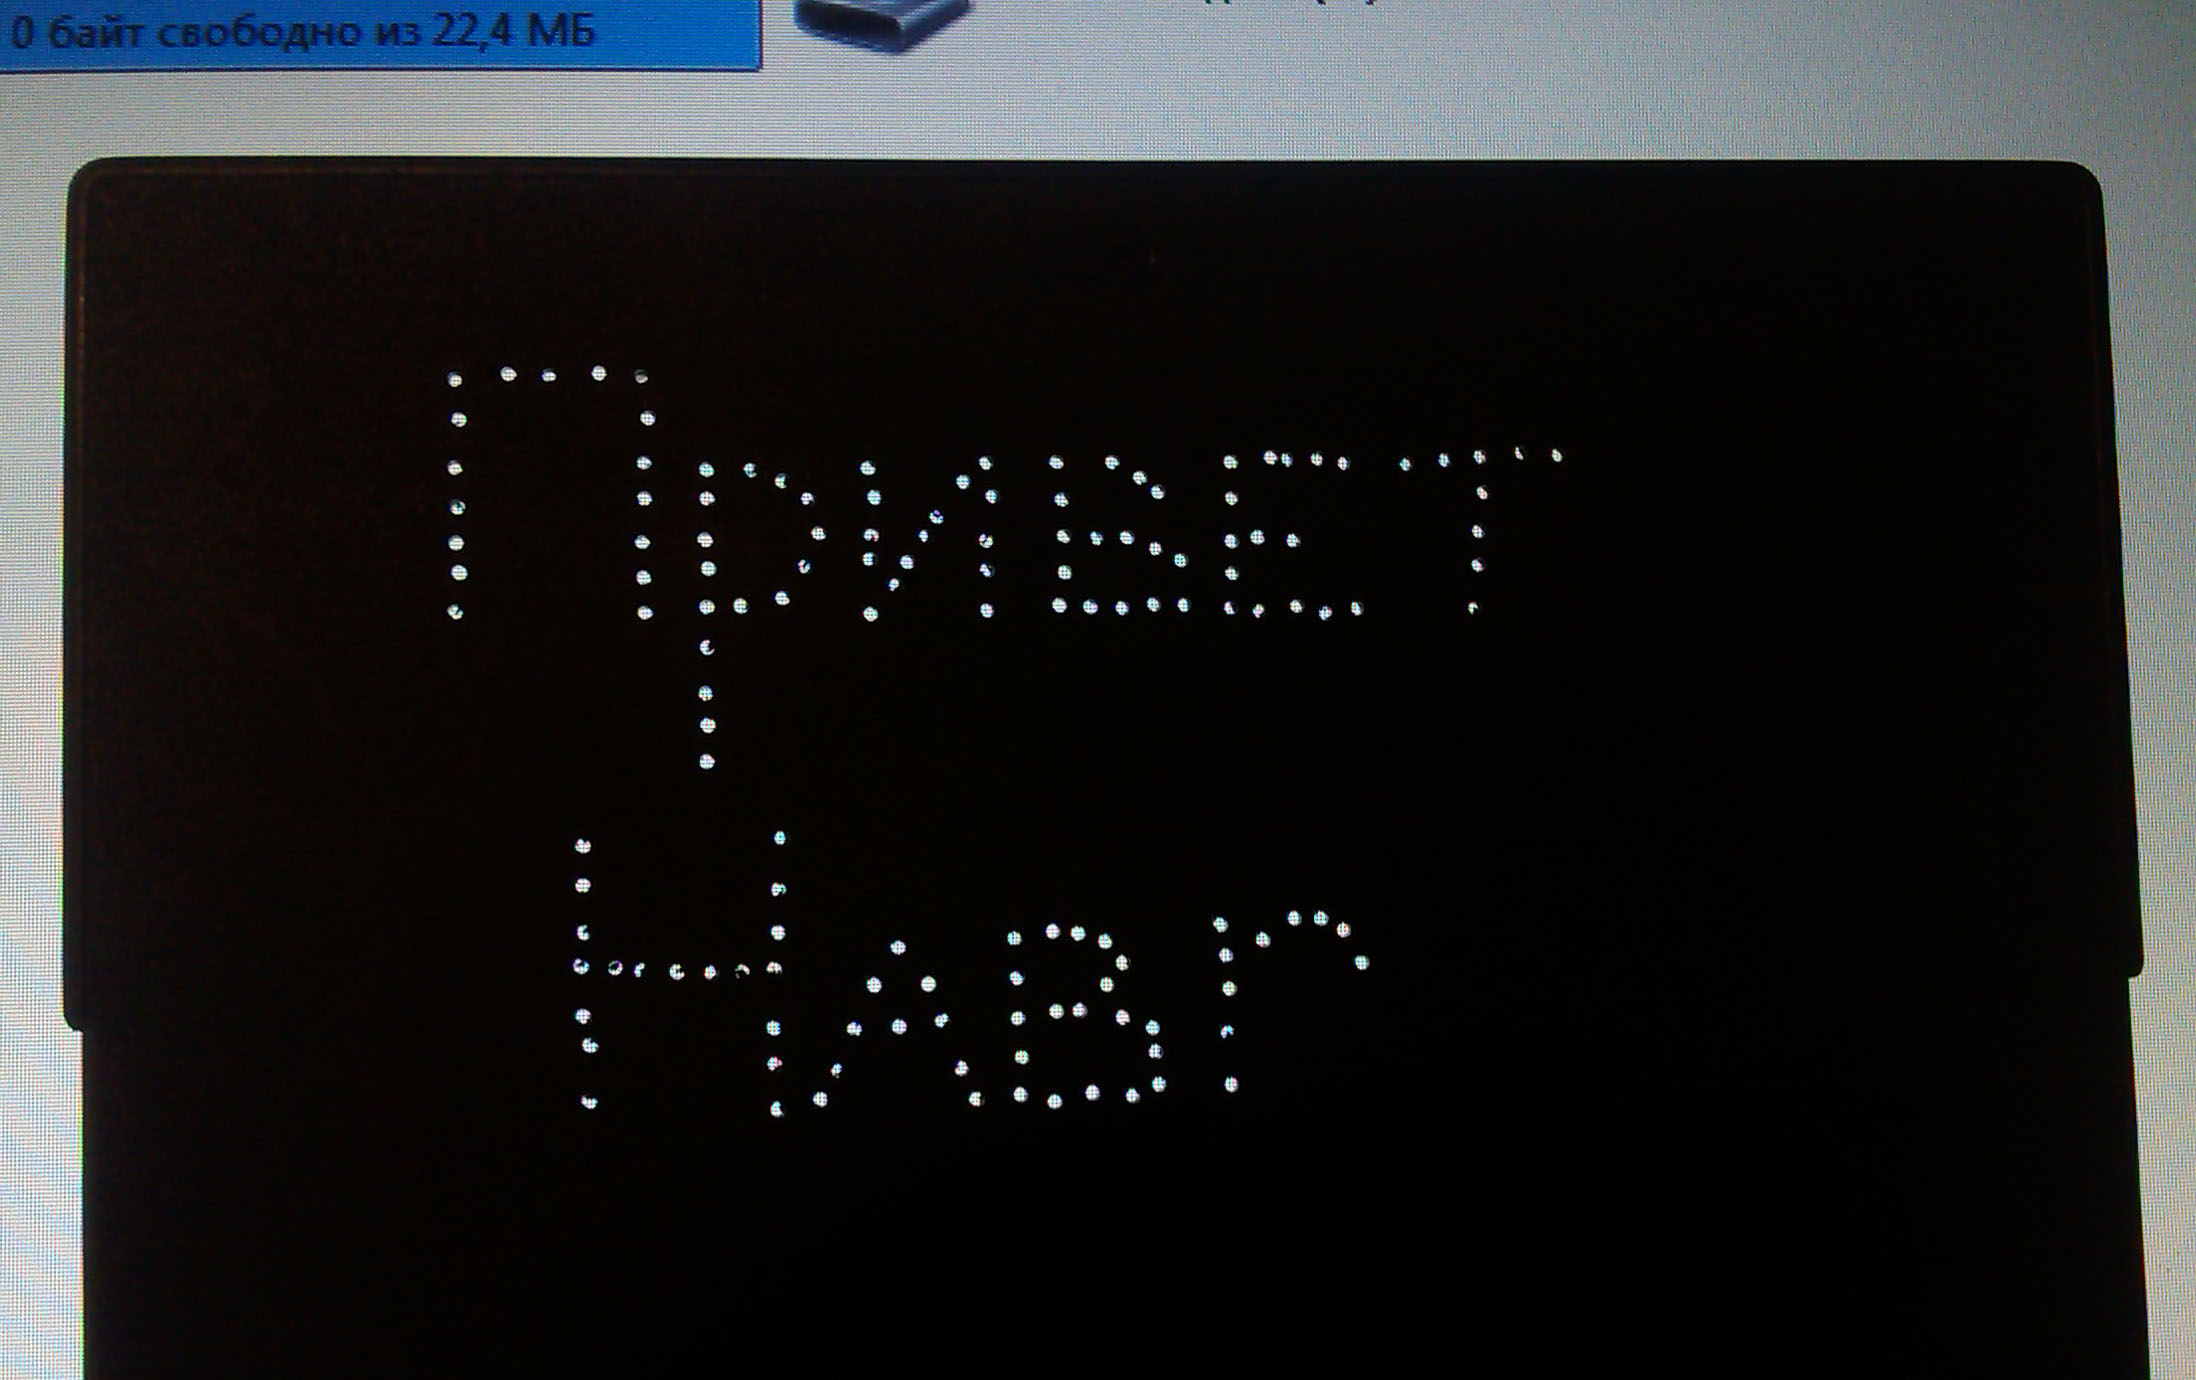
So here, after sitting in the evening, ~ 700-1000 rubles were saved. Well, the feelings from working with the actually made tool ... mmm! It is impossible to buy! And finally, hello again for Habr.

From time to time there is a need to make a PCB. And it seems nothing complicated, laser-iron technology allows you to do everything neatly and aesthetically, however, it was always a problem to drill holes for the elements. I used to borrow a drill, but then there was a time and a desire to finally get my own. Having run through the shops, the prices were somewhat upset, from 1000r. and higher. It seems not much, but the student period does not have much to spend. Well, it's time to rummage in the bins and see what is there for the realization of our little drill!
In the picture there is a plastic box drilled by a assembled drill.
')
Obviously, to implement there you need an electric motor and a cartridge for the drill. The first was found almost immediately, it is an old 9-volt engine from, apparently, a cassette recorder. Cartridge unfortunately not found, I had to buy. Price 290 p. For this amount, we get such a cartridge with seven interchangeable collets.
Body ... An empty bottle (or how to call it?) From a deodorant ball caught my eye. Looking ahead, I will say that its size turned out to be perfect, and the engine entered a millimeter in a millimeter, it was not even necessary to mount it.
Well now there are source materials.
The next step is to make a hole in the lid for the chuck and drill.
And here is the ideal entrance of the engine to the future body of the drill.
At this one could stop, connect the engine to the power supply and plug it into the socket, starting the drilling process, but I wanted to make everything more cultured, namely: a socket for connecting the power supply; Of course the switch is right on the drill; Well, as an additional decoration small svetodiodik.
I used RCA as a power socket. However, I do not advise, the cord turned out to be too bad, although it may have come across me like this. The first used plug came off during assembly and testing. Therefore, the second immediately strengthened improvised means.
The switch was found in such a Chinese adapter.
A little carried away by the process, I did not take pictures of the process of cutting holes for the switch, LED and power, but I think habravchane-savvy already know how to wield a clerical knife.
Well, here is the final result:
The first hit hit the handle.
The assembled mini-drill without problems drills plastic, wood, and of course textolite, for which it was actually assembled.
So here, after sitting in the evening, ~ 700-1000 rubles were saved. Well, the feelings from working with the actually made tool ... mmm! It is impossible to buy! And finally, hello again for Habr.
Source: https://habr.com/ru/post/199364/
All Articles