Quality of Service button. Do it yourself

In a recent publication, I talked about the project “Customers: Measure their Loyalty,” in which service providers and retailers can measure net conversion and customer loyalty. For this project participants receive for temporary use:
- Push-button remote;
- EPM-Agent Plus software license (Data Hub);
- Account in the SaaS: Loyalty Reporter report generation system.
If only a ProLAN can provide a license and an account for the SaaS: Loyalty Reporter, then push-button consoles - both ProLAN and Project Operators (ProLAN partners). In the regions, consoles are provided only by Project Operators. So far, there are fewer Project Operators than companies willing to measure conversion and customer loyalty. To eliminate this "bottleneck", I will tell you how to make the quality button on your own. Parts are usually easy to find on site.
')
To make the Quality of Service button, you will need:
- Two buttons: red and green;
- Devices: discrete input module, RS-485 converter - USB, power supply, as well as the case where they are installed;
- Stand for the installation of buttons, advertising stand (optional).
Green and Red Buttons
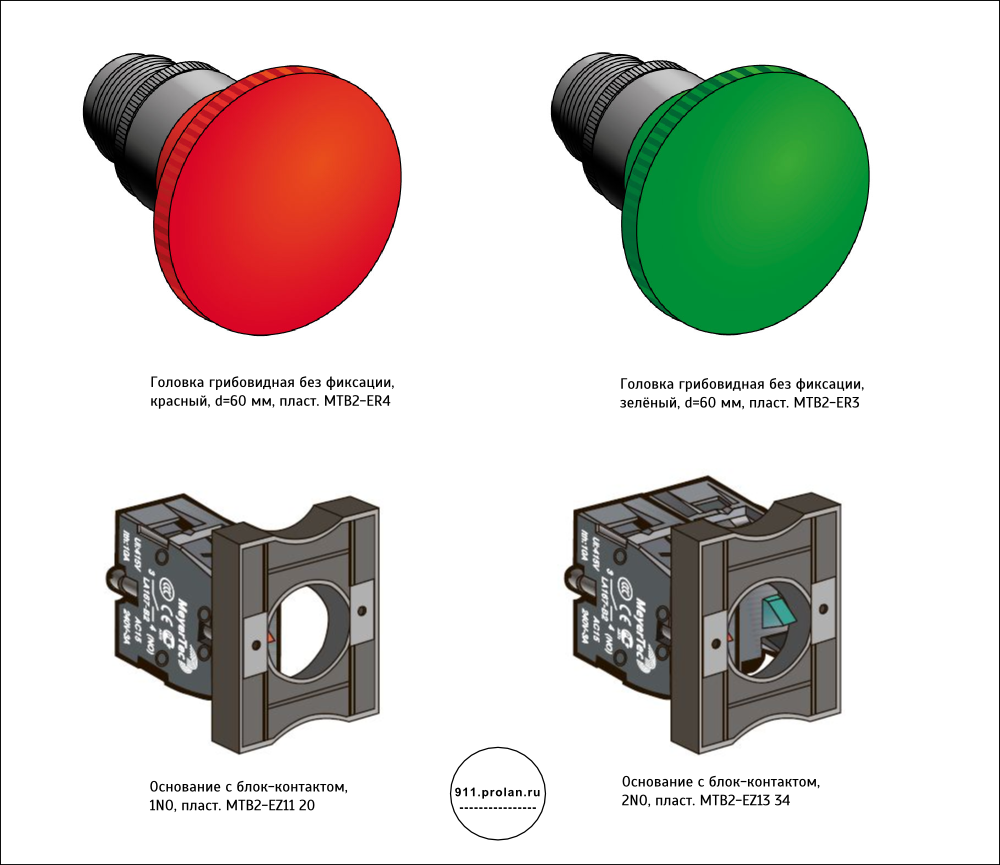
As buttons, you can use any normally open buttons without latching. For example, I like MeyerTec's large mushroom buttons with a diameter of 60 mm, it is pleasant to press them; see figure. These buttons can be purchased, in particular, in the company "ARIES" .
I want to draw your attention to the two features of these buttons. Firstly, the head and the contact block are separate items ordered separately. Secondly, the mechanism of separation of the head from the contact block is not very trivial, so be sure to ask for instructions.
| What to order | Name |
|---|---|
| Green button | Mushroom head without fixation, green, d = 60 mm, layer. MTB2-ER3 |
| Red button | Mushroom head without fixation, red, d = 60 mm, layer. MTB2-ER4 |
| Contact block | The basis with block contact, 1NO, layer. MTB2-EZ11 20 |
If you make an indication of pressing buttons, order not a single, but a double block of contacts.
Digital input module, interface converter: RS-485 - USB, power supply
You can use any discrete input module that supports the DCON protocol and has an RS-485 interface. As a discrete input, we use an ICP I-7051 device. As interface converter - I-7561. The device has several undocumented features that appear when the computer goes into sleep mode (which, for some reason, their sellers do not know about). But if you overcome them, then everything works reliably. In the EPM Agent-Plus program, we solved these problems, so there is nothing to worry about.
I-7051 and I-7561 devices are powered from a 12V source. Any 12V power supply with 220V AC universal input and 20–40 W power will do. Since the I-7051 and I-7561 modules are mounted on a DIN rail, it is desirable that the power supply also be mounted on a DIN rail. For example, the DR-4512 power supply from Mean Well satisfies this condition.
The wiring diagram (3 buttons) is shown in the figure.
As a cabinet, you can use any cabinet with a DIN rail, for example, Ecoplast 46112. Cabinet dimensions: 267x200x90 mm.
Stand for the installation of buttons, advertising stand
These items are optional. First, the buttons can be mounted directly to the surface of the table, cash counter or other commercial equipment. Despite the fact that this requires drilling holes, this installation of buttons may be appropriate both from an economic point of view, in terms of usability.
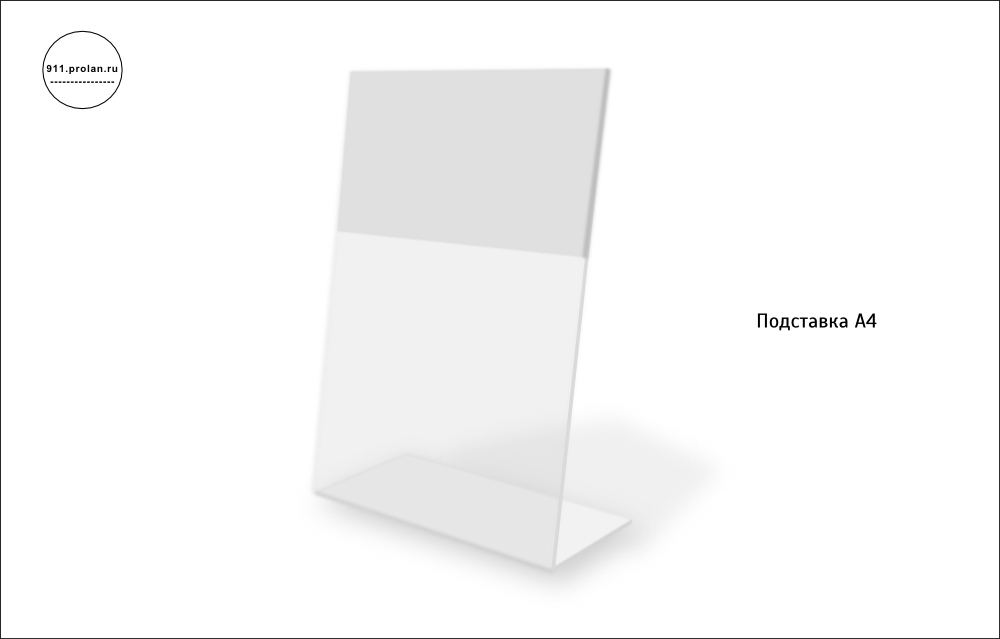
If drilling holes is undesirable, make a plexiglass stand. The photo and sketch of such a stand for the MeyerTec buttons are shown below. The thickness of the plexiglass must be at least 3 mm (so that the stand does not bend), but not more than 4 mm (otherwise you will not be able to install the buttons).

In Moscow, the cost of making such a stand, depending on the party, ranges from 400 to 600 rubles without the cost of making stickers. The sticker significantly increases the cost of the stand and, most importantly, significantly reduces the number of companies that can make it well. Please note that it is desirable to place the sticker on the back side of the front surface of the stand. This is called "printing on the adhesive layer." Few companies can do this well. If there are no such companies in your region, then use the A4 or A5 stand shown in the figure to place an appeal to customers. There are many such supports, and in a sense they are even more convenient.
Instead of a conclusion. Why should I do it?
It makes sense to make a push-button console for at least two reasons:
- It is economically advantageous.
- You can make a custom console, and, thereby, enhance the marketing effect of this decision.
If you represent an IT company, then the manufacture and maintenance of such consoles, as well as the provision of business-oriented services with their help, is a good opportunity to expand the customer base. Read more about this in the publications: “Mystery Shoppers. Need restructuring? ” And “ The specter of customer focus wanders around Russia . ”
Source: https://habr.com/ru/post/199340/
All Articles