LeapMotion. What's inside?
So far work with a teapot is limited to drawing up documentation (which, undoubtedly, is quite boring for a habr - judging by the previous topic) I will write about an abstract - about the inside of a piece of iron. For the next project (lighting control), we needed to light the topic of OpenCV and the appropriate cameras for this business.
At the same time, I also wanted to receive a depth map from the video - to change the brightness depending on the distance to the person.

Having learned that two cameras are used in the LeapMotion controller, we immediately ordered it “to poke”.
I think about what LeapMotion is, if they don't know, then at least everyone has heard. If you still have not heard - then this is a small box-controller, which perceives the movement of hands, and allows these same movements to control the computer. Here is a video that shows how this happens:
I will not dwell on the details of anboxing and a review of the device itself, because it was done a long time before me, as many as two times .
I will talk about a more interesting thing - how this thing actually works. The device is ready for preparation:
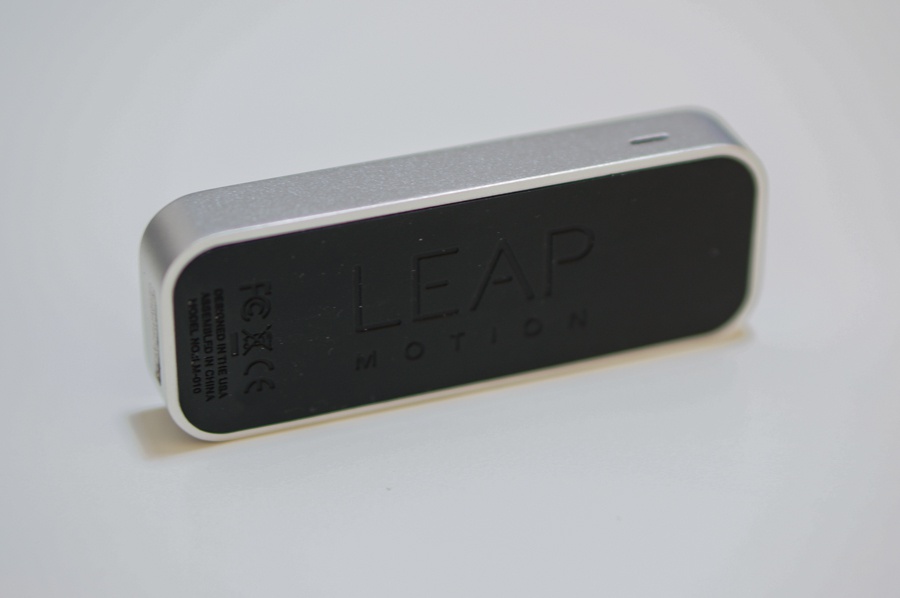
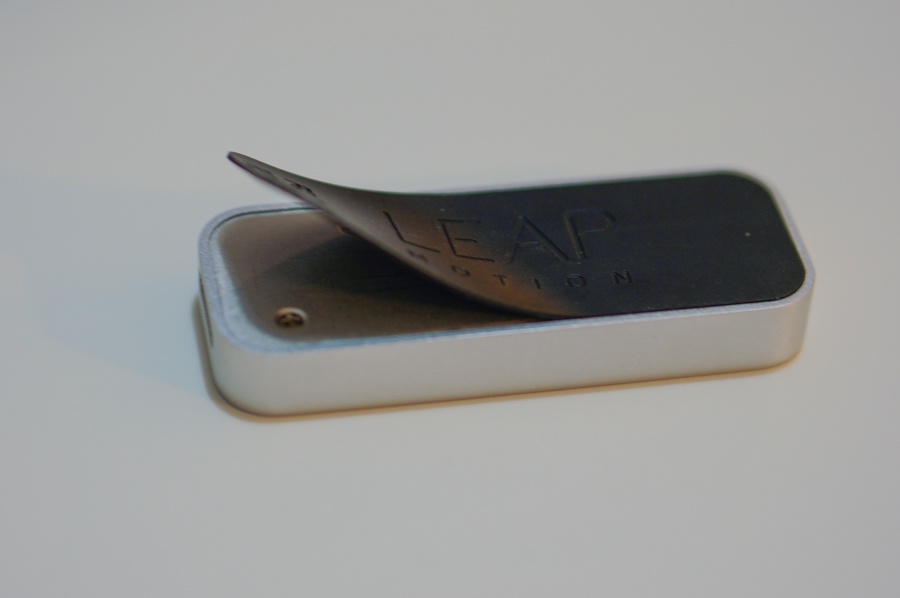
Speaking of it from all sides, the first opening is revealed - a rubber sticker on the bottom that is easily peeled off:
Under it are found several screws:

Which naturally immediately get out, and ... and nothing happens. The device looks the same monolith as before. Well, let's go on the other side in the literal and figurative sense:
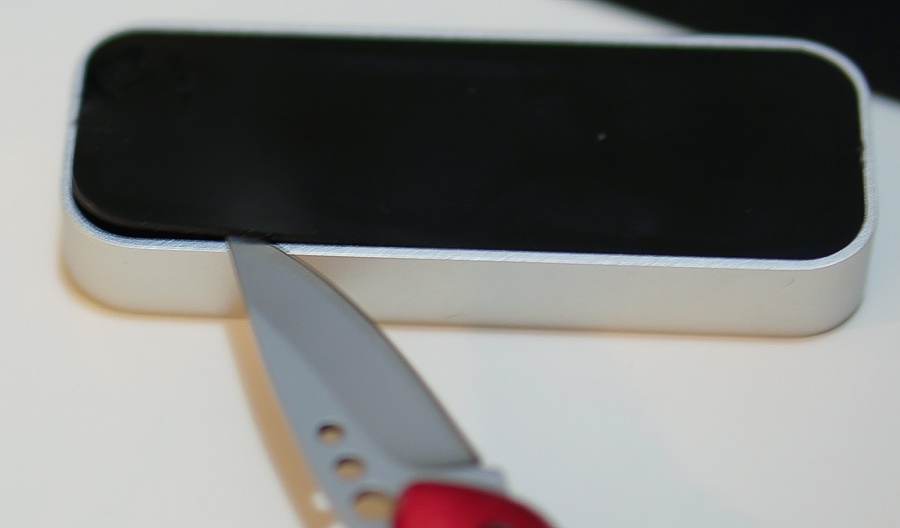
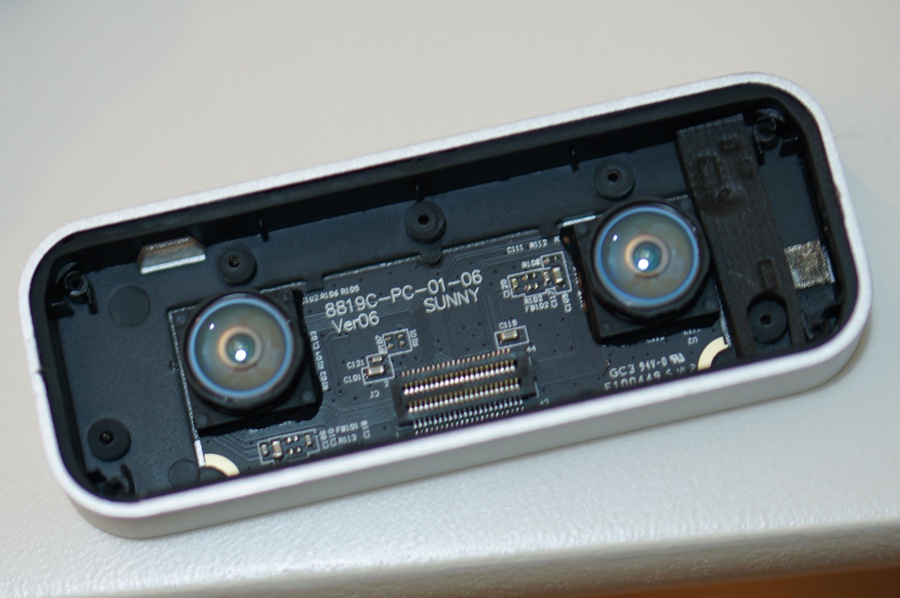
The dark surface on the front is an opaque IR-permeable plastic. He is also glued to something, but by slow movements of the heat gun he was able to free himself from the grip of the glue and the body. We remove it to the side, and we see EYES:
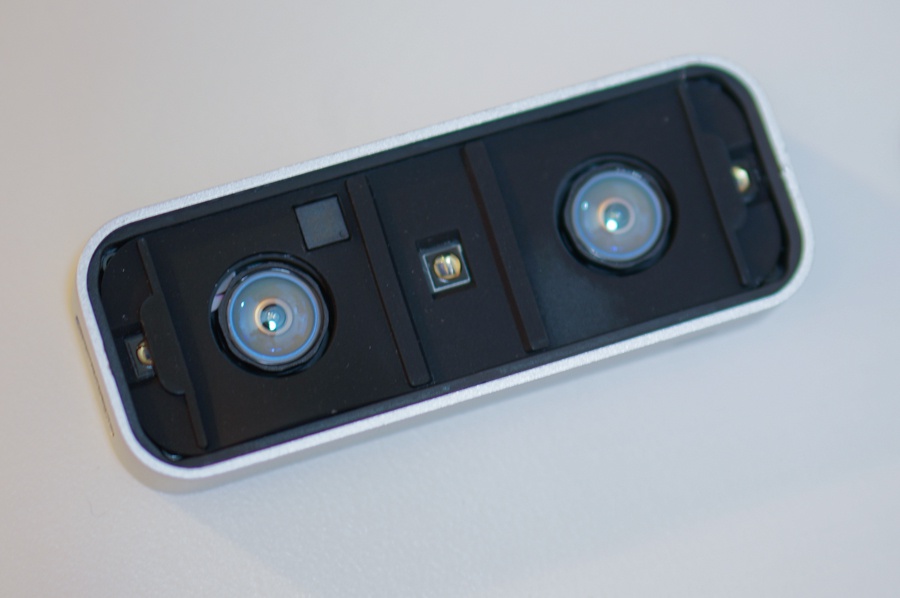
They do not make such an impression on you, because you have already seen them in the title photo. But when you remove the opaque plastic, and because of him looking at you - an unforgettable feeling.
Remove the rubber seal, and see the first board:

She holds on four screws. We unscrew them, remove the upper board, and gain access to the bottom:
Here it is, together with a black plastic liner and held by the screws that we saw earlier. It is good that we have already unscrewed them :)
Control inclusion, check the correct operation after disassembly:

It's okay You can play on.
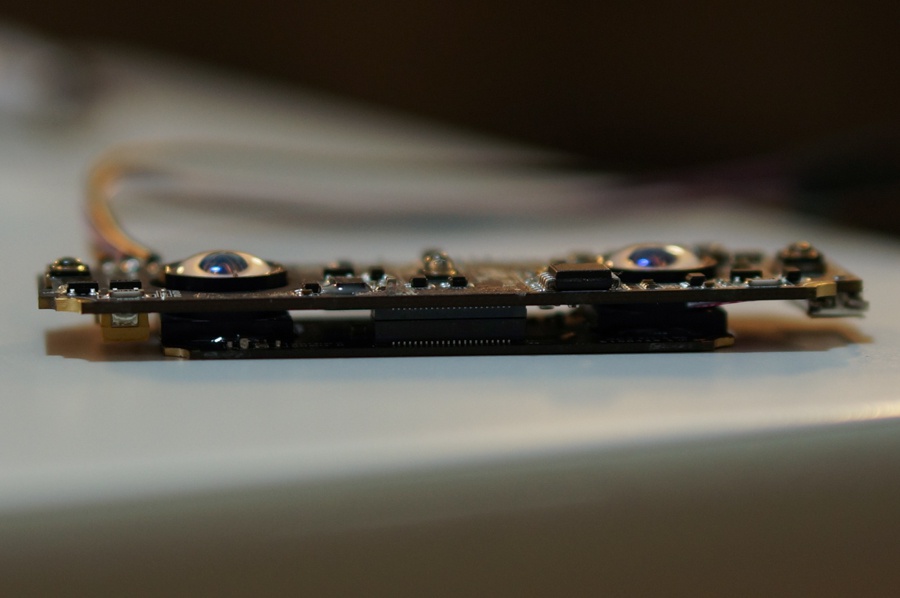
When connecting the boards, they make up a sandwich like this:
The boards are connected like this (part of the father):

And the other part:

Of course, there is no need to show it in such detail, but I still rejoice at my macro lens. Go to the boards (the lower side of the top board):

It is located on the controller CYUSB301X :
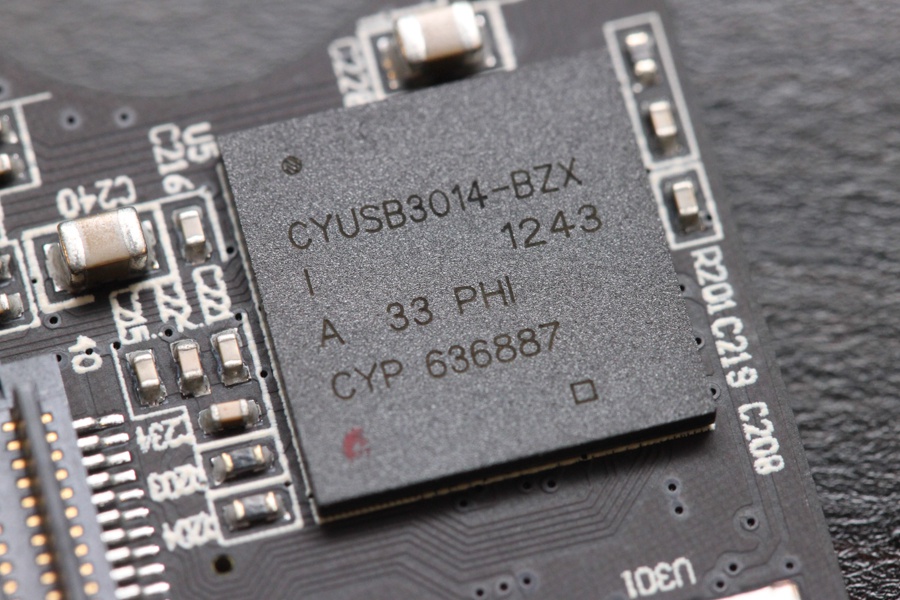
This is a 32-bit ARM9 controller from Cypress. 200 MHz, USB3.0 and 2.0, OTG. Designed just to work with pictures and video.
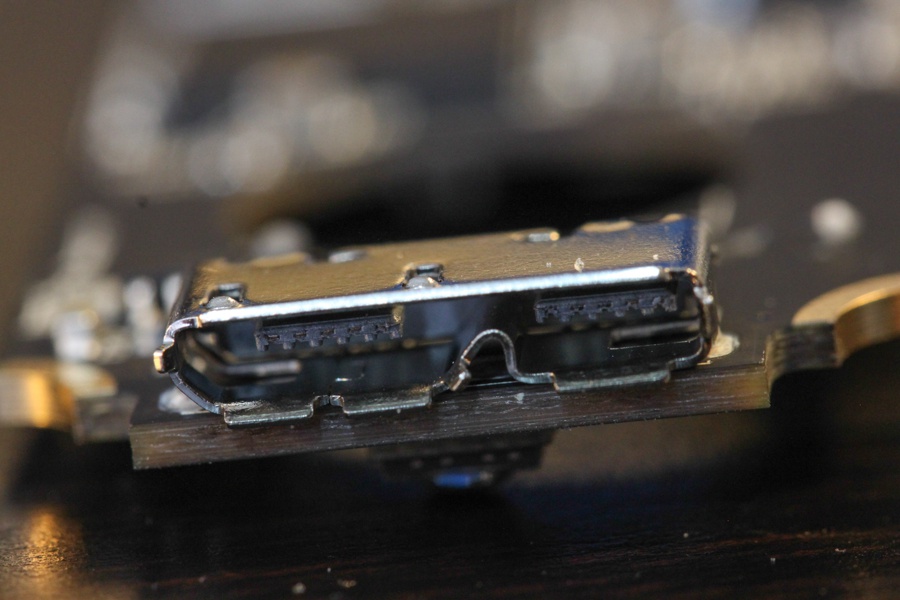
USB3.0 (I wonder why, would it really be enough for 2.0?) Connector:
Located next to the MOSFET:
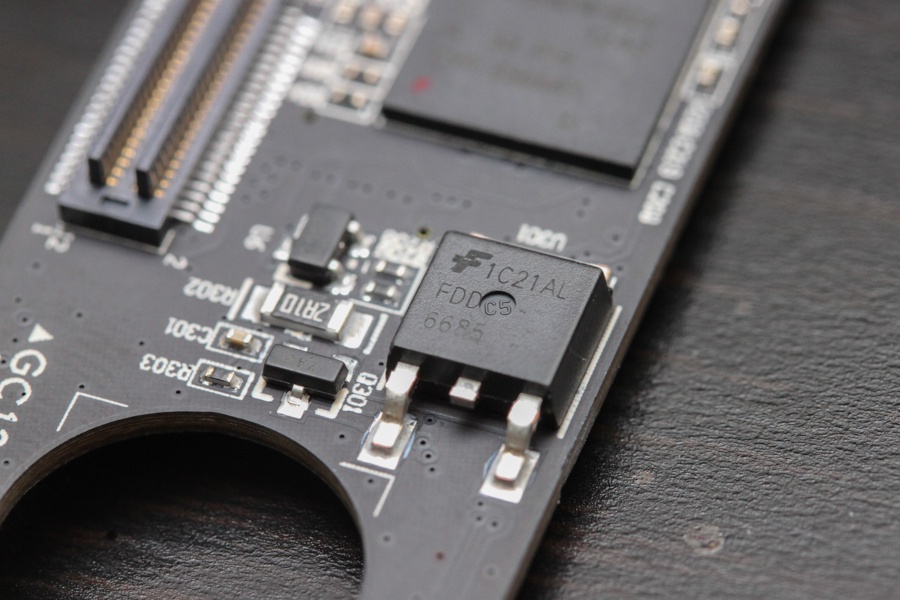
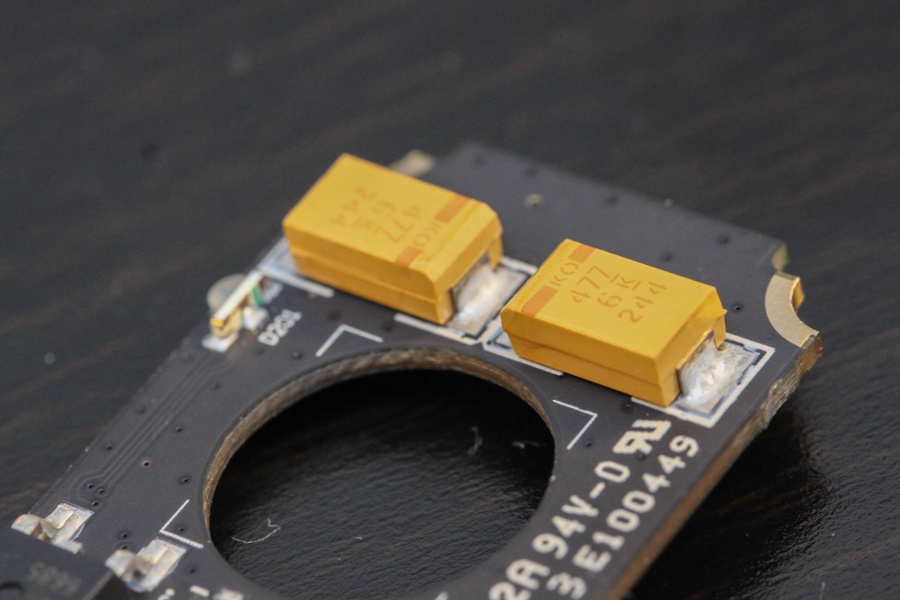
And two large capacitors:
More on this side there is nothing interesting. We look at the upper side of the first board:
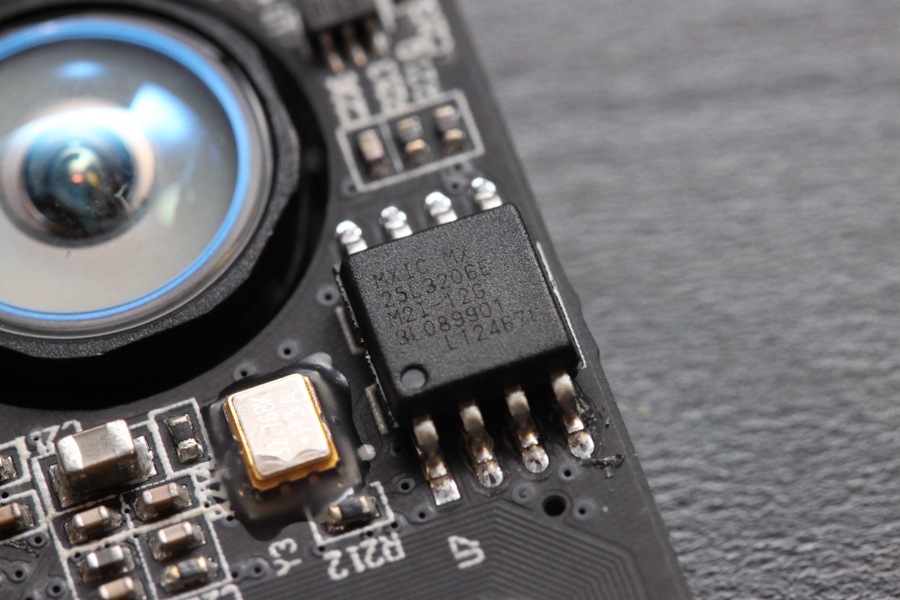
This is a flash memory MXIC 25L3206E, SPI-interface, 32 megabits. It stores the controller firmware. For some reason, the developers did not use the Kipressov controller chip — a firmware download via USB. Maybe to speed up the download?
Divorced UART:

Having seen it, we were so quickly soldered to it that we didn’t even have time to photograph contact pads without solder.
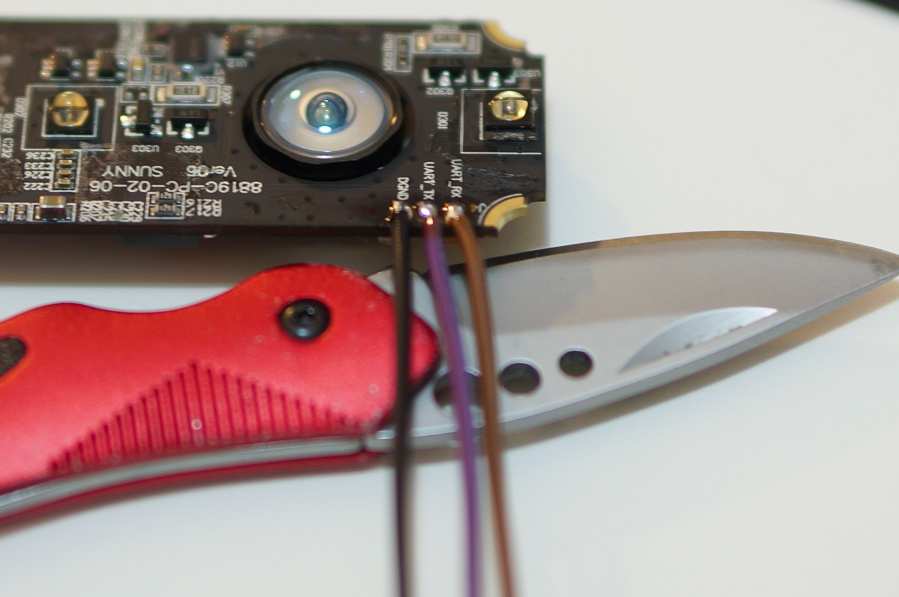
Unfortunately, he is silent in him as a partisan - not a single byte.
So, let's look at something more interesting, for example, on one of three infrared LEDs:
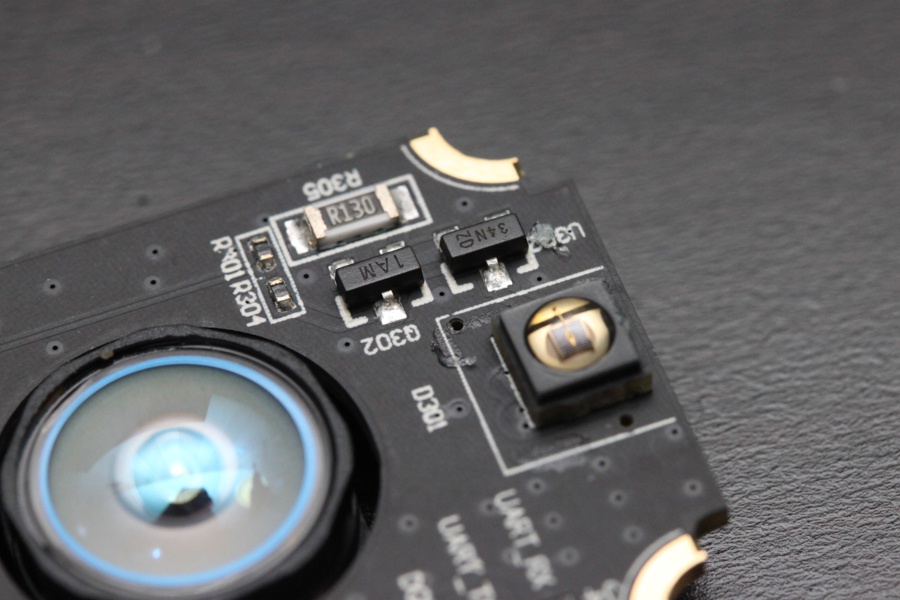
Next to it - apparently, the binding for controlling it - in the standby mode, the LEDs noticeably quench the brightness.
And here is another central LED:

The only difference is a slightly different lens shape. Next to him - exactly the same strapping.
')
The rest of the board is pretty boring. Two cameras with fisheye lenses, yes a connector.
Once again we are surprised at the sensation of a face with eyes-cameras, and mouth-plug:
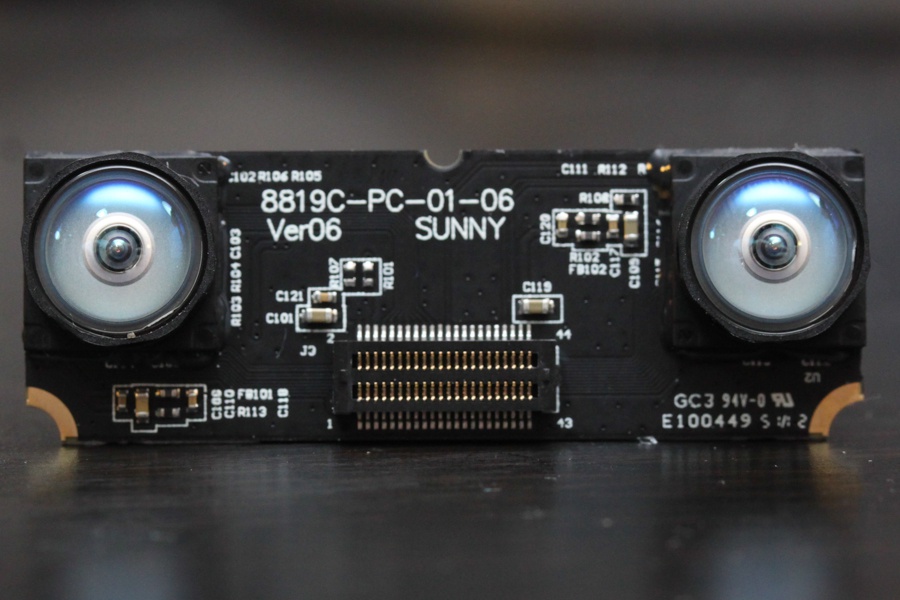
I think the developers did not accidentally stop at exactly this location of the components. ° ° °
Cameras are black and white, with a resolution of only 640 × 480, but they can produce 60 frames per second.
Count. 0.3 megapixels, 60 frames, two cameras, uncompressed ... 640 * 480 * 60 * 2 = 35Mbytes / sec. Apparently, therefore, they installed USB3.0, this speed is unattainable for 2.0, and it was more expensive to develop compression (in overhead) than to install a new chip.
However, in the mode of USB2.0 devices also works, but reduces the frequency of the frame - the reaction becomes thoughtful.
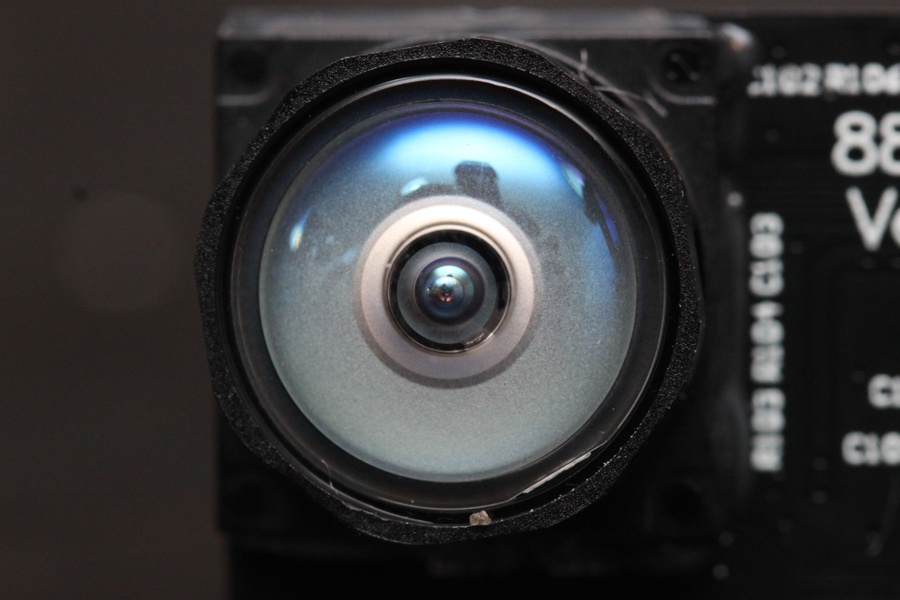
I wanted to look at the matrix - but the lenses of the cameras were sealed with a sealant:

So further we did not dare to disassemble, being afraid to break the focus. The cameras take off completely in the infrared range - dark plastic cuts off all visible light, and transmits infrared radiation from the LEDs reflected from the skin of the hands. As expected, with a bright source of infrared light behind (the sun, incandescent bulbs), the definition of the fingers begins to fade a little. Use fluorescent and LED lamps. :)
findings
In terms of circuitry, the device is pretty stupid. In fact, just a backlit webcam that drives a video stream to a computer.
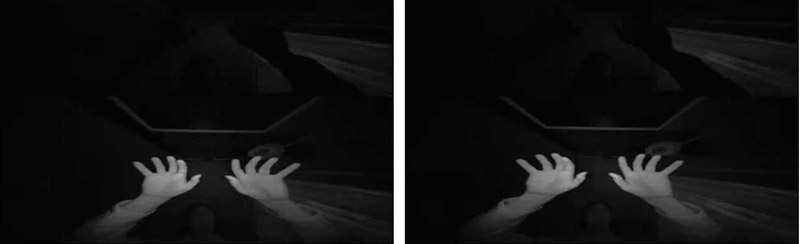
A picture from two cameras looks like this:
But on the computer, the picture is being processed; a depth map is constructed from two images:

And an array of points is created, with which the programs are already working:

You can work with the camera without using native software - good people dismantled the protocol and wrote programs for working with it.
For our purposes, unfortunately, this thing didn’t fit - the cameras are too close and it’s impossible to correctly determine a distance of more than a few meters. Well, okay.
Finally, a funny two-color LED:

I remind you, if you do not want to miss the epic with a kettle and want to see all the new posts of our company, you can subscribe to on the company page (button "subscribe")
At the same time, I also wanted to receive a depth map from the video - to change the brightness depending on the distance to the person.
Having learned that two cameras are used in the LeapMotion controller, we immediately ordered it “to poke”.
I think about what LeapMotion is, if they don't know, then at least everyone has heard. If you still have not heard - then this is a small box-controller, which perceives the movement of hands, and allows these same movements to control the computer. Here is a video that shows how this happens:
I will not dwell on the details of anboxing and a review of the device itself, because it was done a long time before me, as many as two times .
I will talk about a more interesting thing - how this thing actually works. The device is ready for preparation:
Speaking of it from all sides, the first opening is revealed - a rubber sticker on the bottom that is easily peeled off:
Under it are found several screws:
Which naturally immediately get out, and ... and nothing happens. The device looks the same monolith as before. Well, let's go on the other side in the literal and figurative sense:
The dark surface on the front is an opaque IR-permeable plastic. He is also glued to something, but by slow movements of the heat gun he was able to free himself from the grip of the glue and the body. We remove it to the side, and we see EYES:
They do not make such an impression on you, because you have already seen them in the title photo. But when you remove the opaque plastic, and because of him looking at you - an unforgettable feeling.
Remove the rubber seal, and see the first board:
She holds on four screws. We unscrew them, remove the upper board, and gain access to the bottom:
Here it is, together with a black plastic liner and held by the screws that we saw earlier. It is good that we have already unscrewed them :)
Control inclusion, check the correct operation after disassembly:
It's okay You can play on.
When connecting the boards, they make up a sandwich like this:
The boards are connected like this (part of the father):
And the other part:
Of course, there is no need to show it in such detail, but I still rejoice at my macro lens. Go to the boards (the lower side of the top board):
It is located on the controller CYUSB301X :
This is a 32-bit ARM9 controller from Cypress. 200 MHz, USB3.0 and 2.0, OTG. Designed just to work with pictures and video.
USB3.0 (I wonder why, would it really be enough for 2.0?) Connector:
Located next to the MOSFET:
And two large capacitors:
More on this side there is nothing interesting. We look at the upper side of the first board:
This is a flash memory MXIC 25L3206E, SPI-interface, 32 megabits. It stores the controller firmware. For some reason, the developers did not use the Kipressov controller chip — a firmware download via USB. Maybe to speed up the download?
Divorced UART:
Having seen it, we were so quickly soldered to it that we didn’t even have time to photograph contact pads without solder.
Unfortunately, he is silent in him as a partisan - not a single byte.
So, let's look at something more interesting, for example, on one of three infrared LEDs:
Next to it - apparently, the binding for controlling it - in the standby mode, the LEDs noticeably quench the brightness.
And here is another central LED:
The only difference is a slightly different lens shape. Next to him - exactly the same strapping.
')
The rest of the board is pretty boring. Two cameras with fisheye lenses, yes a connector.
Once again we are surprised at the sensation of a face with eyes-cameras, and mouth-plug:
I think the developers did not accidentally stop at exactly this location of the components. ° ° °
Cameras are black and white, with a resolution of only 640 × 480, but they can produce 60 frames per second.
Count. 0.3 megapixels, 60 frames, two cameras, uncompressed ... 640 * 480 * 60 * 2 = 35Mbytes / sec. Apparently, therefore, they installed USB3.0, this speed is unattainable for 2.0, and it was more expensive to develop compression (in overhead) than to install a new chip.
However, in the mode of USB2.0 devices also works, but reduces the frequency of the frame - the reaction becomes thoughtful.
I wanted to look at the matrix - but the lenses of the cameras were sealed with a sealant:
So further we did not dare to disassemble, being afraid to break the focus. The cameras take off completely in the infrared range - dark plastic cuts off all visible light, and transmits infrared radiation from the LEDs reflected from the skin of the hands. As expected, with a bright source of infrared light behind (the sun, incandescent bulbs), the definition of the fingers begins to fade a little. Use fluorescent and LED lamps. :)
findings
In terms of circuitry, the device is pretty stupid. In fact, just a backlit webcam that drives a video stream to a computer.A picture from two cameras looks like this:
But on the computer, the picture is being processed; a depth map is constructed from two images:
And an array of points is created, with which the programs are already working:
You can work with the camera without using native software - good people dismantled the protocol and wrote programs for working with it.
For our purposes, unfortunately, this thing didn’t fit - the cameras are too close and it’s impossible to correctly determine a distance of more than a few meters. Well, okay.
Finally, a funny two-color LED:
I remind you, if you do not want to miss the epic with a kettle and want to see all the new posts of our company, you can subscribe to
on the company page (button "subscribe")Source: https://habr.com/ru/post/199230/
All Articles