Computer PC "Search". Electronmash
 Today I would like to talk a little bit about the undeservedly deprived on Habré attention of the Soviet PC Search . What distinguishes this computer from numerous Bytes, Irish, Corvettes, BK0010, Radio-P86 and others is that it was semi-compatible with the IBM XT / PC. The machine was based on the domestic analogue of the Intel i8088 processor - KM1810VM88, operating at a slightly higher frequency - ~ 5 MHz, versus 4.7 MHz for the original XT. However, in general, the computer was slower than the XT, because a full-fledged CGA video card was not implemented in the Search. In fact, the text modes were emulated - the video adapter always worked in graphics mode, and the letters on the screen were drawn by the system BIOS pixel-by-pixel. Naturally, it took a lot of CPU time. Another difference from the present XT was the lack of DMA, which also affected the speed of work with memory is not for the better. Yes, and the memory itself was far from 640Kb, which of course would be enough for everyone, but smaller, and not enough for everyone. However, despite all the shortcomings, PC Search could run MS-DOS at the time and work with almost all popular applications and games at that time, ranging from Norton Commander and Digger to Windows and Office. And the price, of course ... If only the organizations could afford the real XT-shku, the Search PC was more or less available for the average Soviet engineer (monthly salary). But first things first…
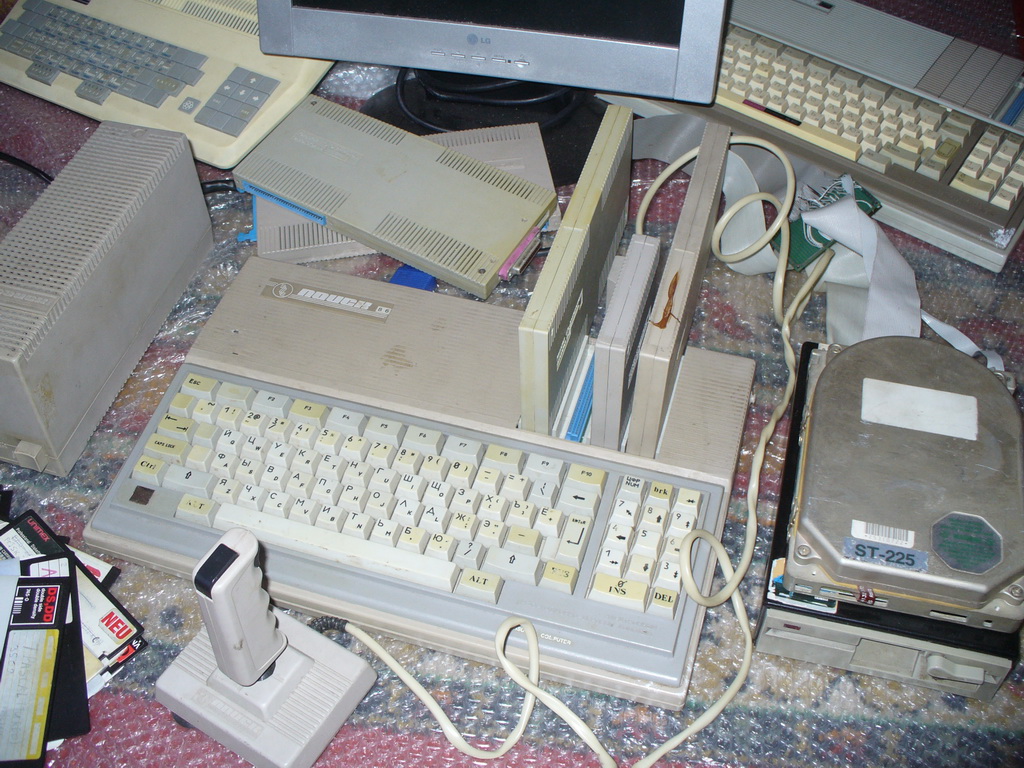
Foreword
Generally, strictly speaking, the Quest had several modifications. The most important difference was the amount of onboard RAM. The first Quest models had only 128 Kb, of which 32 Kb took up video memory. The user had only 96 Kb of free memory. The latest models already carried onboard 512 Kb, 32 Kb also went for video memory and the user had 480 Kb. This already gave a chance to run something else besides DOS itself.
However, I started talking about DOS early because a monoblock itself, a power supply unit and a pair of tapes with system programs and games were included in the standard delivery. And that's all. Thus, any controller, be it a drive controller (and, of course, the drive itself) or a joystick controller, the user had to purchase separately. In the meantime, the user could work with a cassette recorder as a storage medium. The cassette interface was copied from the IBM PCjr computer. The recording format on the tape was identical to PCjr and another Soviet “brother in spirit” - Electronics MC-1502 , also x86 compatible, and also as Search, not without a twist from the creators. And therefore, as long as we do not have a disk drive controller, I will begin with the cassettes.
')
The format of recording on tape and tape interface
The search is not so popular among fans of old computers, such as ZX-compatible and their clones, so there is simply no software for working with cassettes, and I decided to correct this injustice. So, the data is written in the form of zeros and ones. If the polarity has time to change from negative to positive for 1 millisecond - then this is a single bit. If it does not have time - then zero. Thus, zero is approximately 0.5 milliseconds, one is 1 millisecond. Knowing this, you can easily decode the signal directly with your eyes. For example:

Here, “spanning” periods with a large interval are ones, short ones are zeros. Total figure shows 1111 0000 1011 001. Each entry starts with a pilot tone, which consists of 256 bytes 0xFF, that is, 256 * 8 = 2048 unit bits, followed by the recorded bit '0', and then sync byte 0x16 (00010110 ). All data is written in 256-byte blocks, followed by 2 bytes of checksum. The checksum is calculated by the CRC-16 algorithm with the polynomial 0x1201, the initial value = 0xFFFF, after the calculation CRC = CRC xor 0xFFFF. After the pilot of the tone, the zero bit and the 0x16 sync byte, there is a 256-byte header, in which there are important data such as the file name, file type, segment and offset where the program will be loaded.
Poisk_hdr = Packed Record Magic : Byte; // A5h FName : Array [1..8] of Char; FType : Byte; FLen : Word; Seg : Word; Ofs : Word; End; The header is padded with zeros up to 256 bytes. Next comes its checksum - 2 bytes. The sequence ends with 4 bytes of 0xFF. Then the leader (pilot-tone) goes with the units again, the synchronization bit is 0, the synchronization byte is 0x16, and here the data blocks begin. At the end, the sequence also ends with 4 bytes of 0xFF.
The result of picking with the recording format was two small utilities: CAS2WAV and WAV2CAS . The first one allows you to create a file from a binary .WAV file that can later be played on a regular mp3 player. The second one, on the contrary, tries to create a binary file from a cassette recording. Therefore, if someone has preserved the cassettes from the Search or from MC-1502, then digitize them, please, in WAV, for the collection and history. You can download the most comprehensive set of cassette programs and search games here: vizersprojects.ru/archive/sannata/apps.zip
Cassette
Now, when it is possible to create WAV files, we convert cassette software and record it on an mp3 player. We connect the player to the “MAGNETOPHONE” connector and turn on the power.
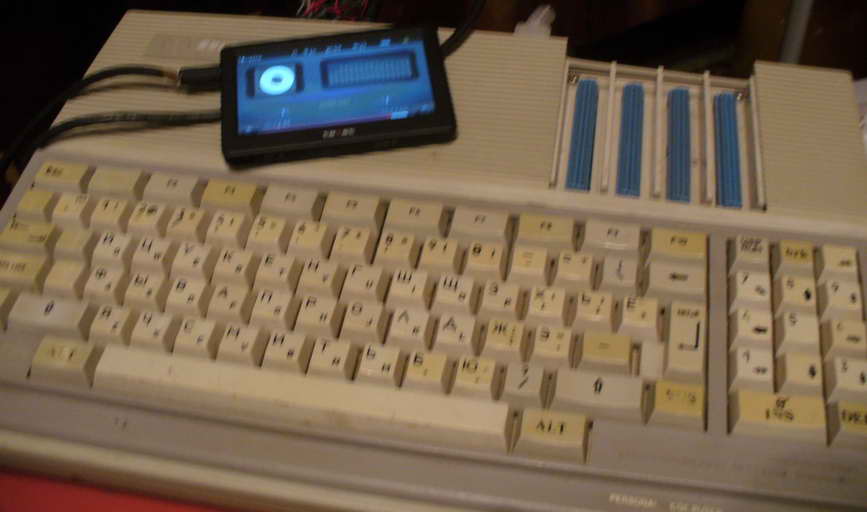
In addition to the main interrupt handling functions, a small program, a monitor, was written in the Search BIOS, which made it possible to enter the file name and load it from the tape recorder into memory:
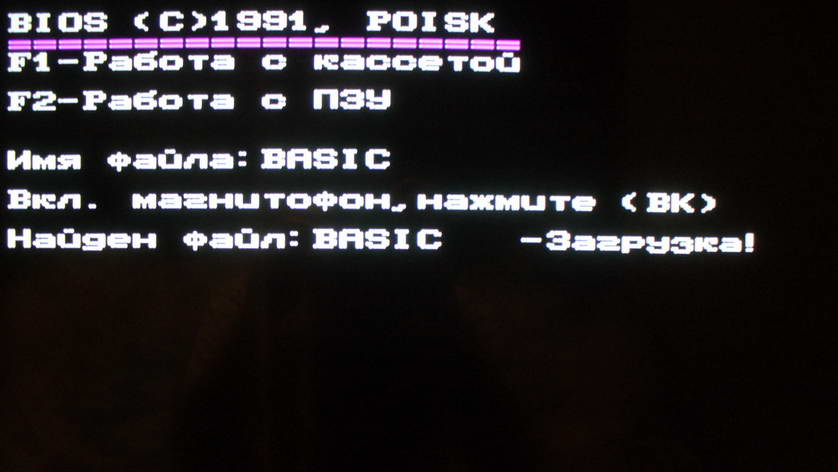
Programs and games, basically, represented the Russified versions of popular games and programs with IBM PC. For example, BASIC is nothing like Microsoft Basic, which was embedded in the ROM of the IBM PCjr computer. Find two differences:


Look at the rest of the cassette toys.
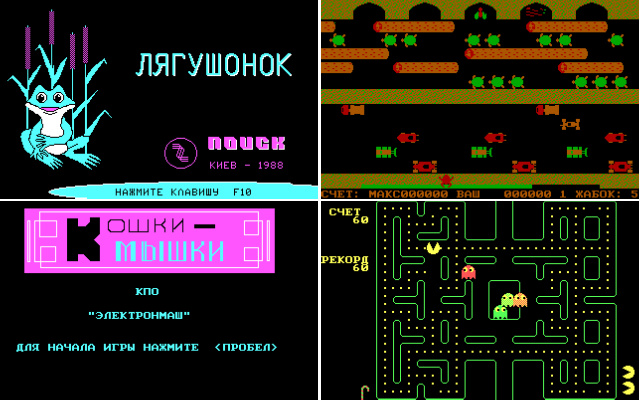
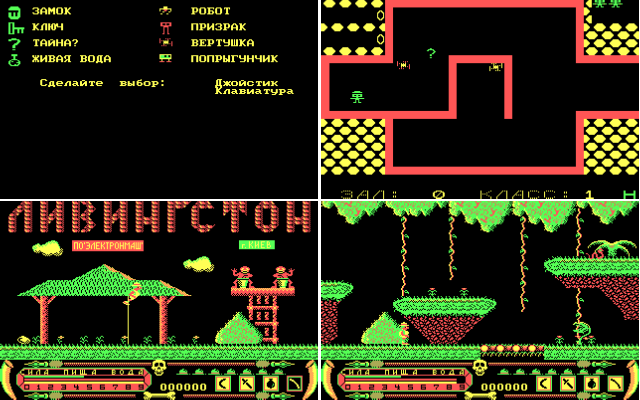


However, in fairness, it is worth noting that there were their own games, for example, chess or reversi.
Additional controllers (adapters)
Yes, as previously mentioned, additional controllers or adapters could be connected to the Search, as stated in the instructions. For this, the Search had four expansion slots, where it was possible to install up to four controllers simultaneously. In fact, the bus is standard at the time ISA-8, but of course with a different connector and some one (or two) inverted signals. Search Controllers were produced both at the factory, and were manufactured by cooperatives and even by amateurs.
The first thing that was desired and necessary is the drive controller. With it, the Search turned from a typewriter for BASIC and games into a serious DOS computer, which opens the user with the entire set (well, almost all) of x86 software existing at that time. They didn’t do anything only with these controllers - they were turbocharged (they increased the read-write speed), they supported 800 Kb of floppy disk formats in the firmware, instead of 360 Kb. In general, they were different, but on the whole they worked with floppy disks well and quickly. This is my controller:

And this is another drive controller:

For Search models with 128Kb of RAM, it was also necessary to purchase a “RAM expander” in order to run something else besides DOS itself. “Expander RAM” was inserted into the slot, like a normal controller. There were different models, at 256 Kb, 512 Kb and even according to rumors at 670Kb. Sometimes they were combined with something else, for example with an LPT port. On the copy I have, this is exactly what was done.

And of course the hard disk controller with MFM interface. The beast is rare and expensive, just like the hard drive itself. Allowed to connect to the search hard drive up to 68 Mb. No less unique was the cable itself, which the controller connected to the hard disk.

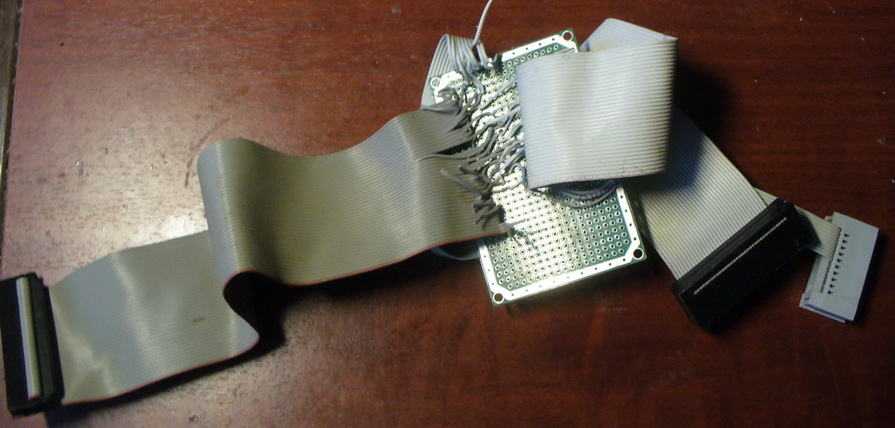
I had to tinker with it a bit. First loop. It is not standard, and I had to quickly sketch out an approximate scheme:
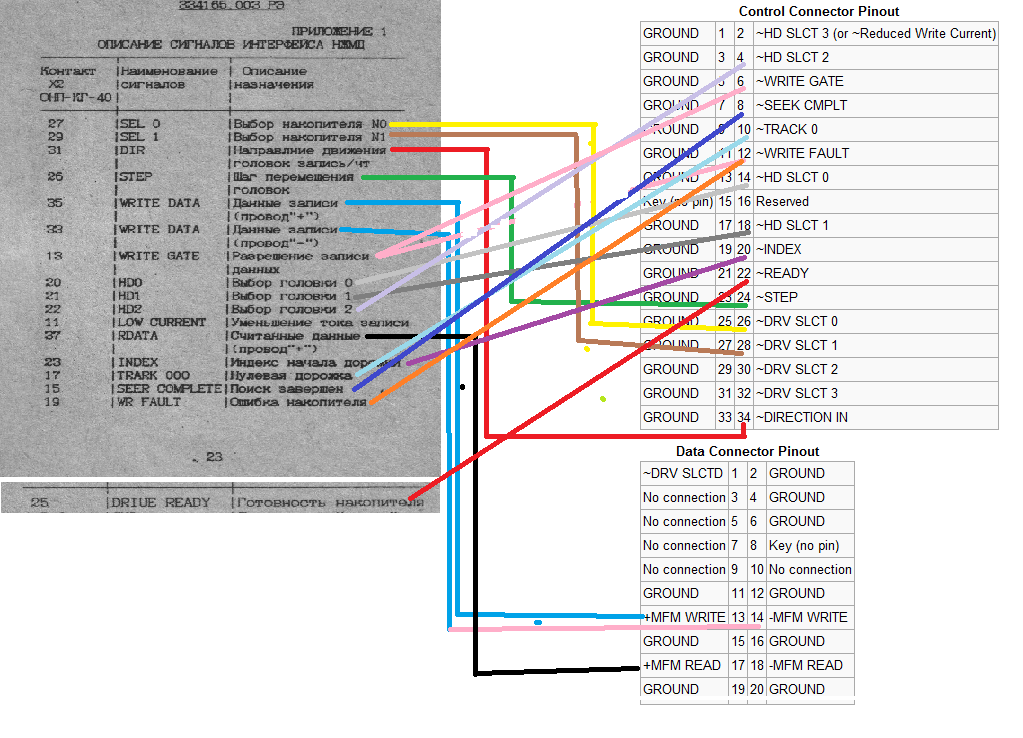
And solder this adapter:
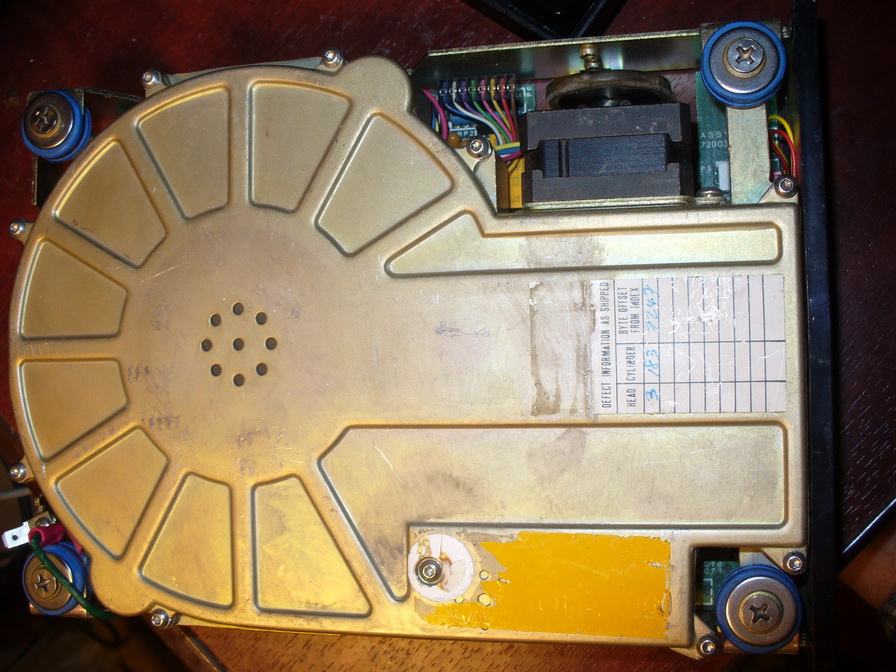
Further, I tried to make the controller work with my Robotron K5504.20 hard drive with 20MB. Low-level formatting was completed without errors, but when I tried to start FDISK and partition the system partition, an error occurred: Error reading fixed drive. I sinned on the cable, tried all the combinations of jumpers on the controller, changed it by editing the parameter controller firmware for this particular screw - it's useless. FDISK did sometimes start up, but when I tried to write partitions to disk, it hung. Moreover, I knew for sure that this Grobotron was completely working - it was formatted without problems, marked up and generally felt completely normal on my XT-shke. Hero of the occasion:
After “dialing” and checking the cable, I spat a hundred thousandth time and nevertheless decided to connect my second MFM hard drive to the Seagate ST-225, which was in my XT-shke. True, I had to pre-do backup on the null modem to the main computer. And, lo and behold, it was formatted without any problems and earned the first time. So I had to leave Seagate on the Search, and put the Grobotron on the XT, although I wanted the opposite.
There was also a joystick controller and, accordingly, a joystick itself. A funny device that is incompatible with anything but itself and unlike anything else. The driver program allowed you to set the tilt correspondence to any key on the keyboard, thereby, when the joystick was tilted to the left, the “left” key was emulated, and so on. Generally a good idea. All this made it possible to play games with the joystick, even if the game did not support the joystick.

Offal and repair
My search broke down long ago and was faulty. The fault was a periodic sudden freeze or even a reboot. It is logical to assume that the whole thing is in memory and, running the CheckIT program with the test, I saw the following sad picture:
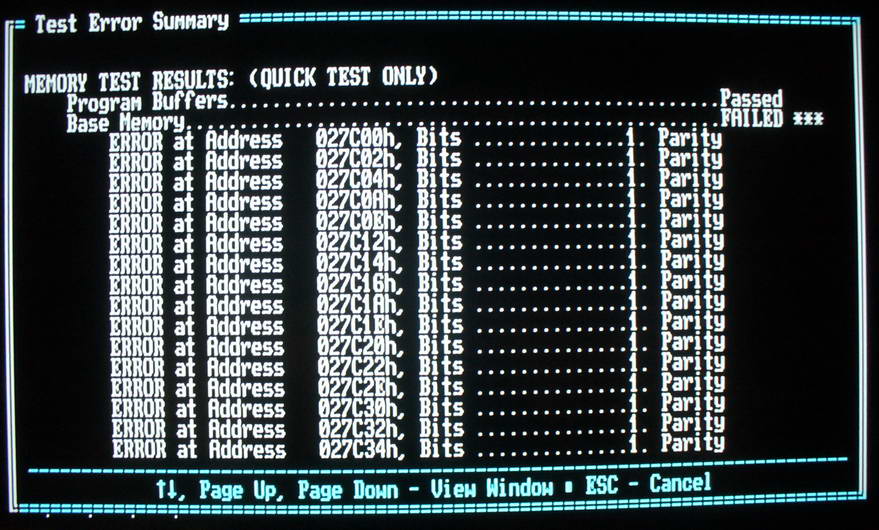
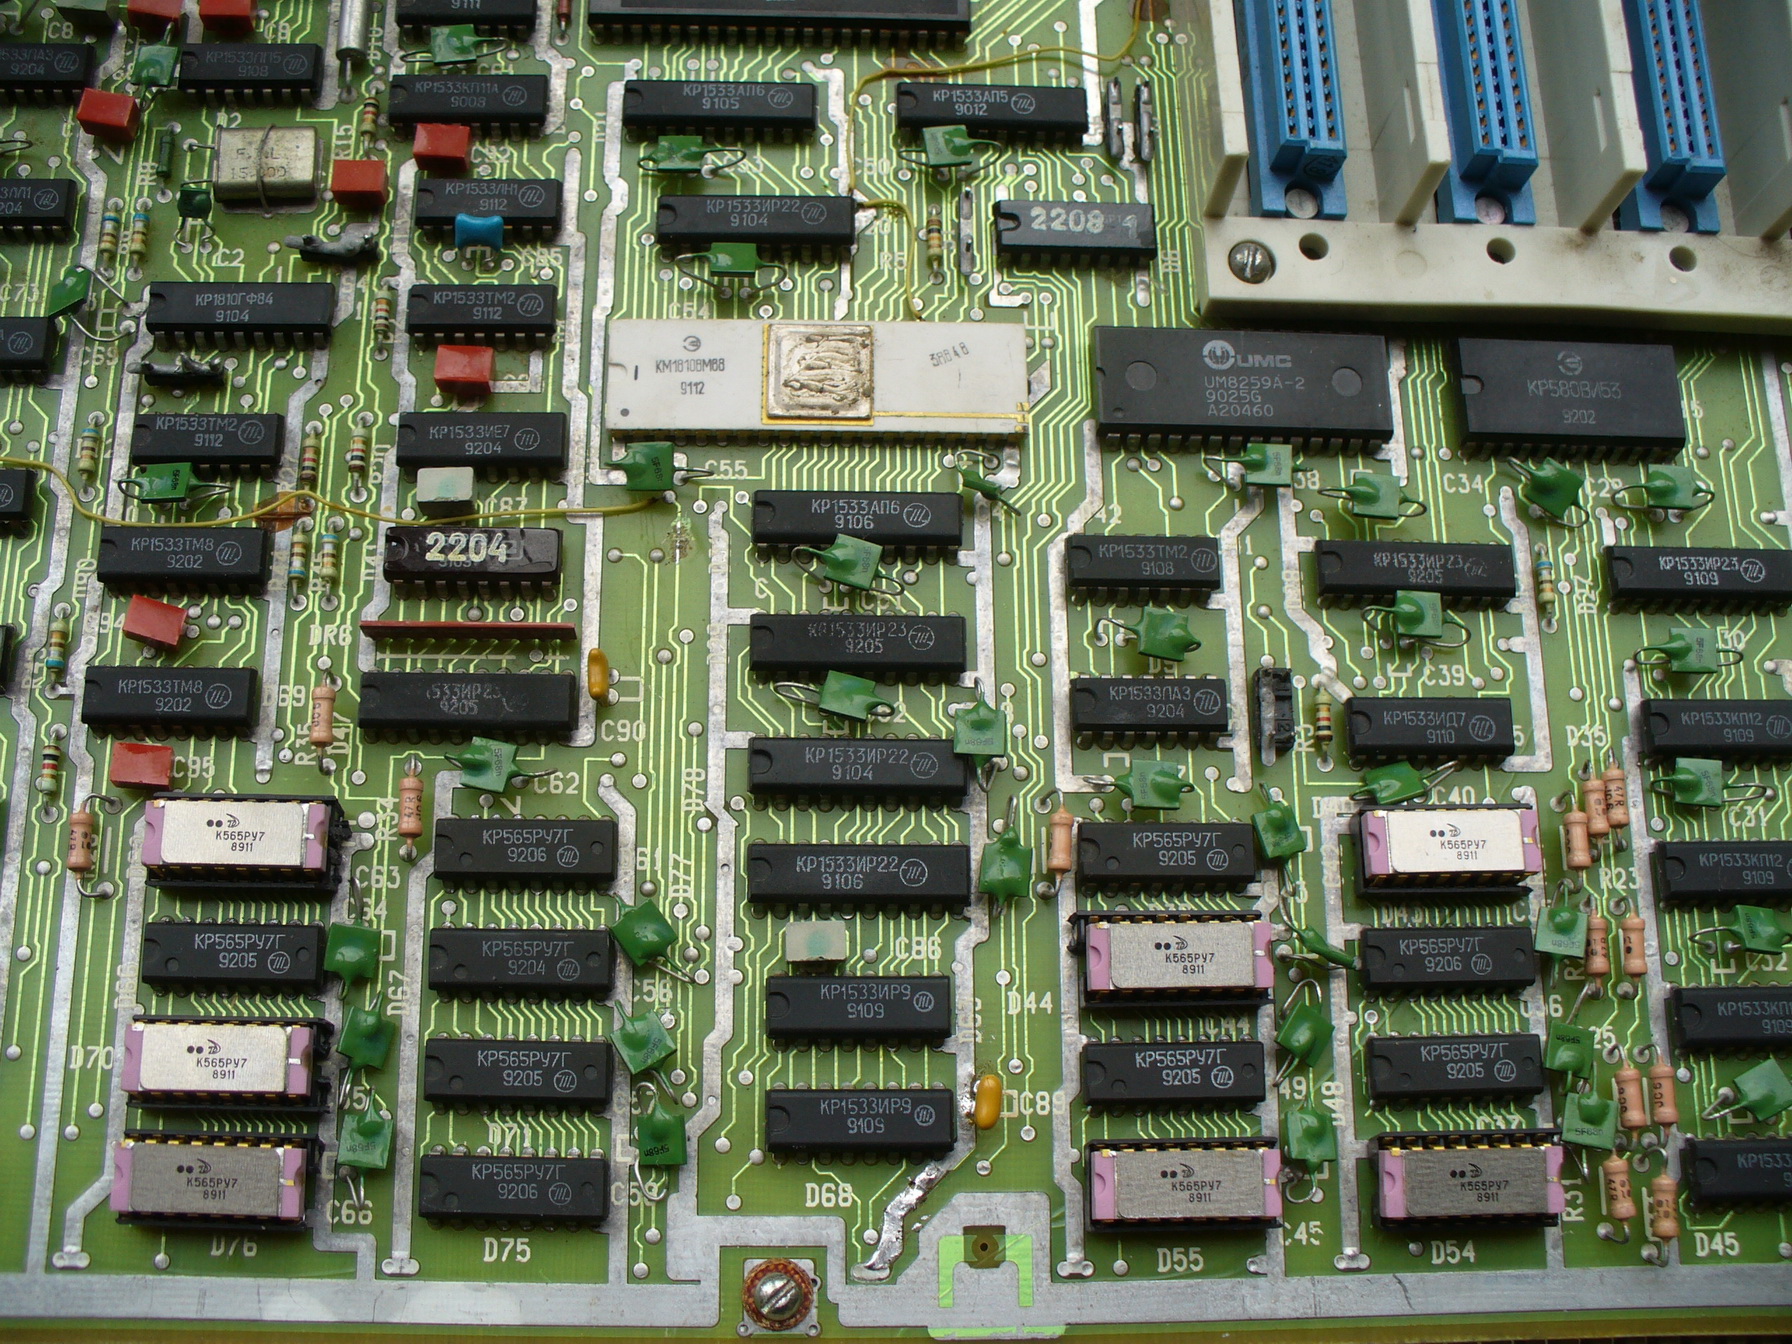
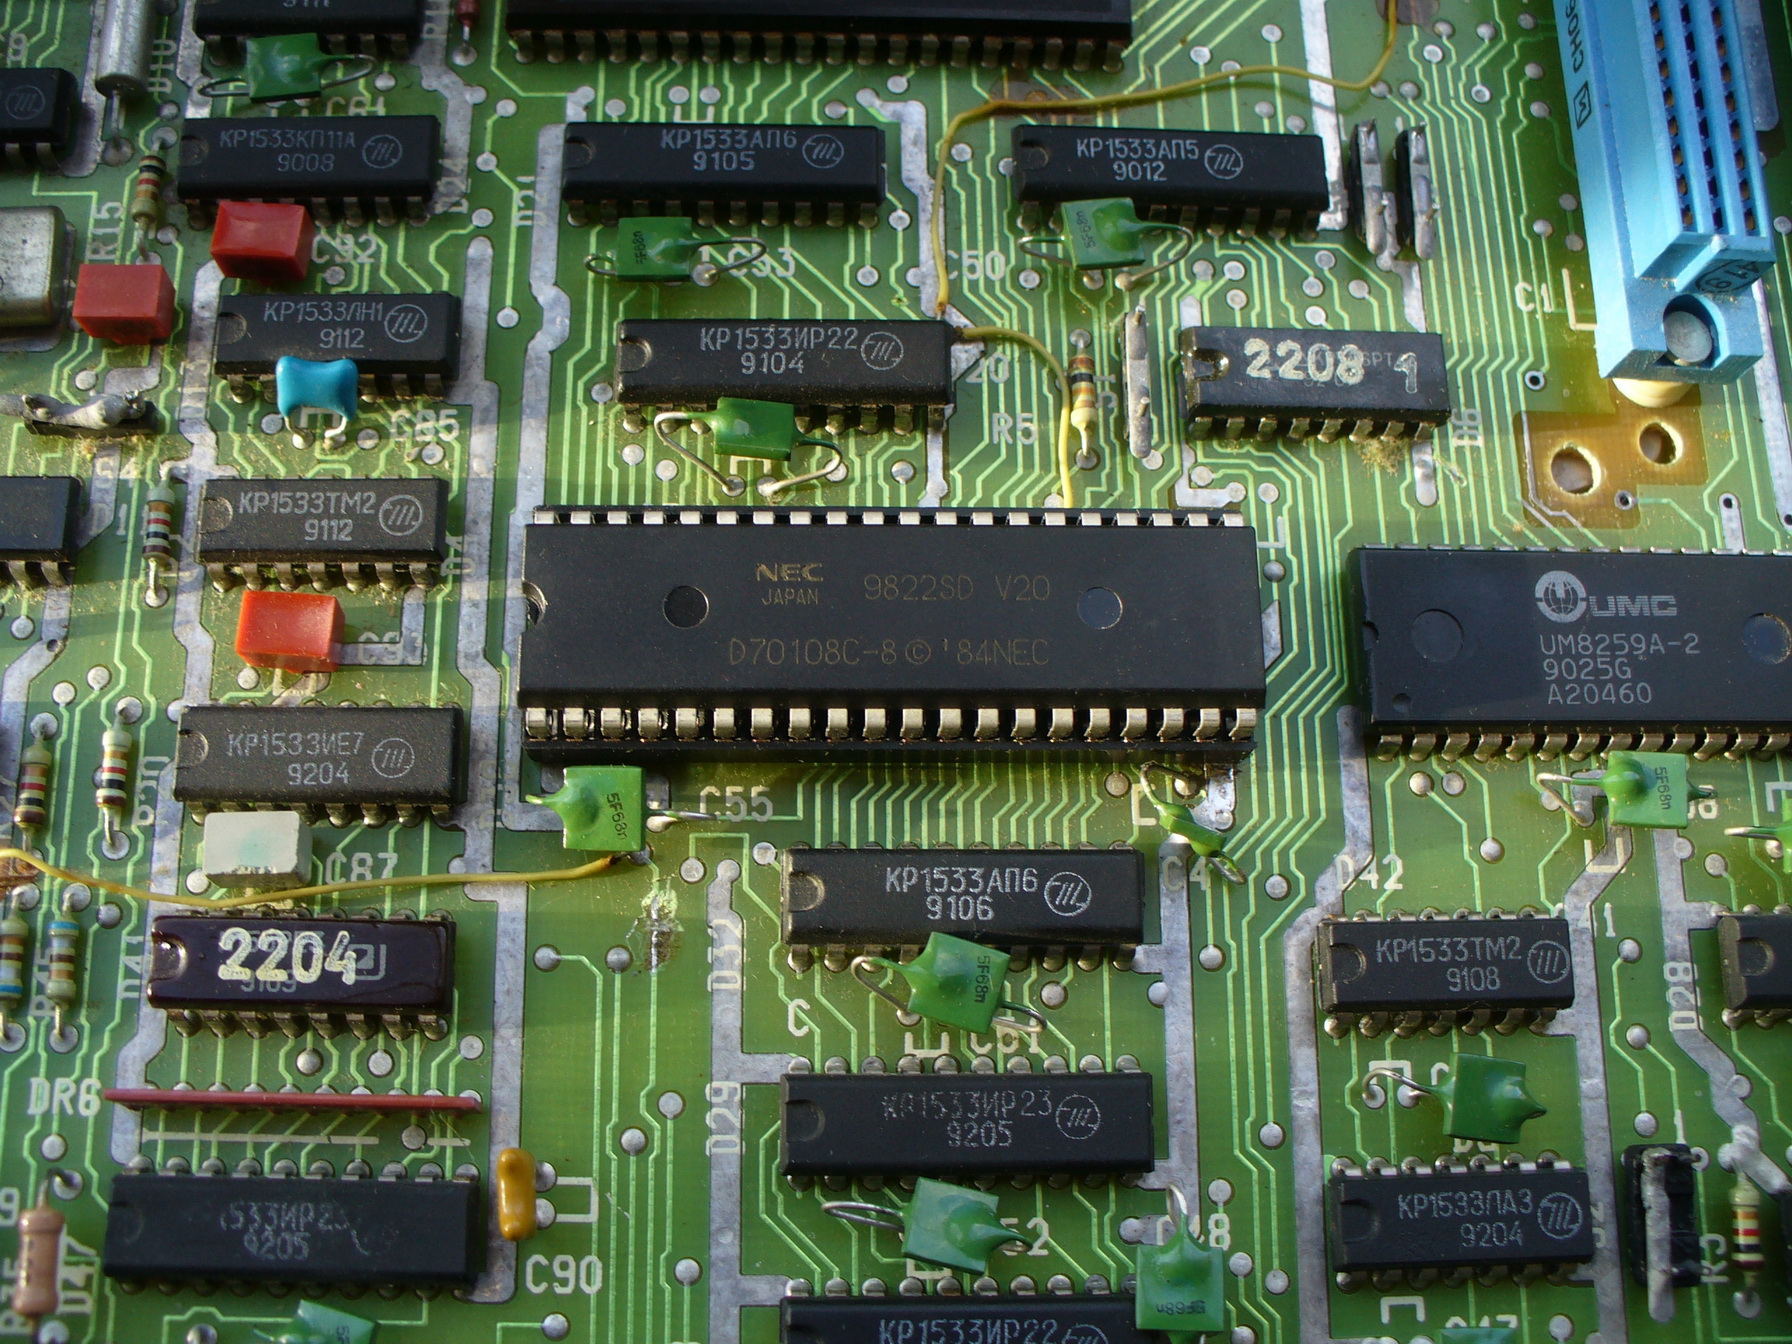
We take in hands a
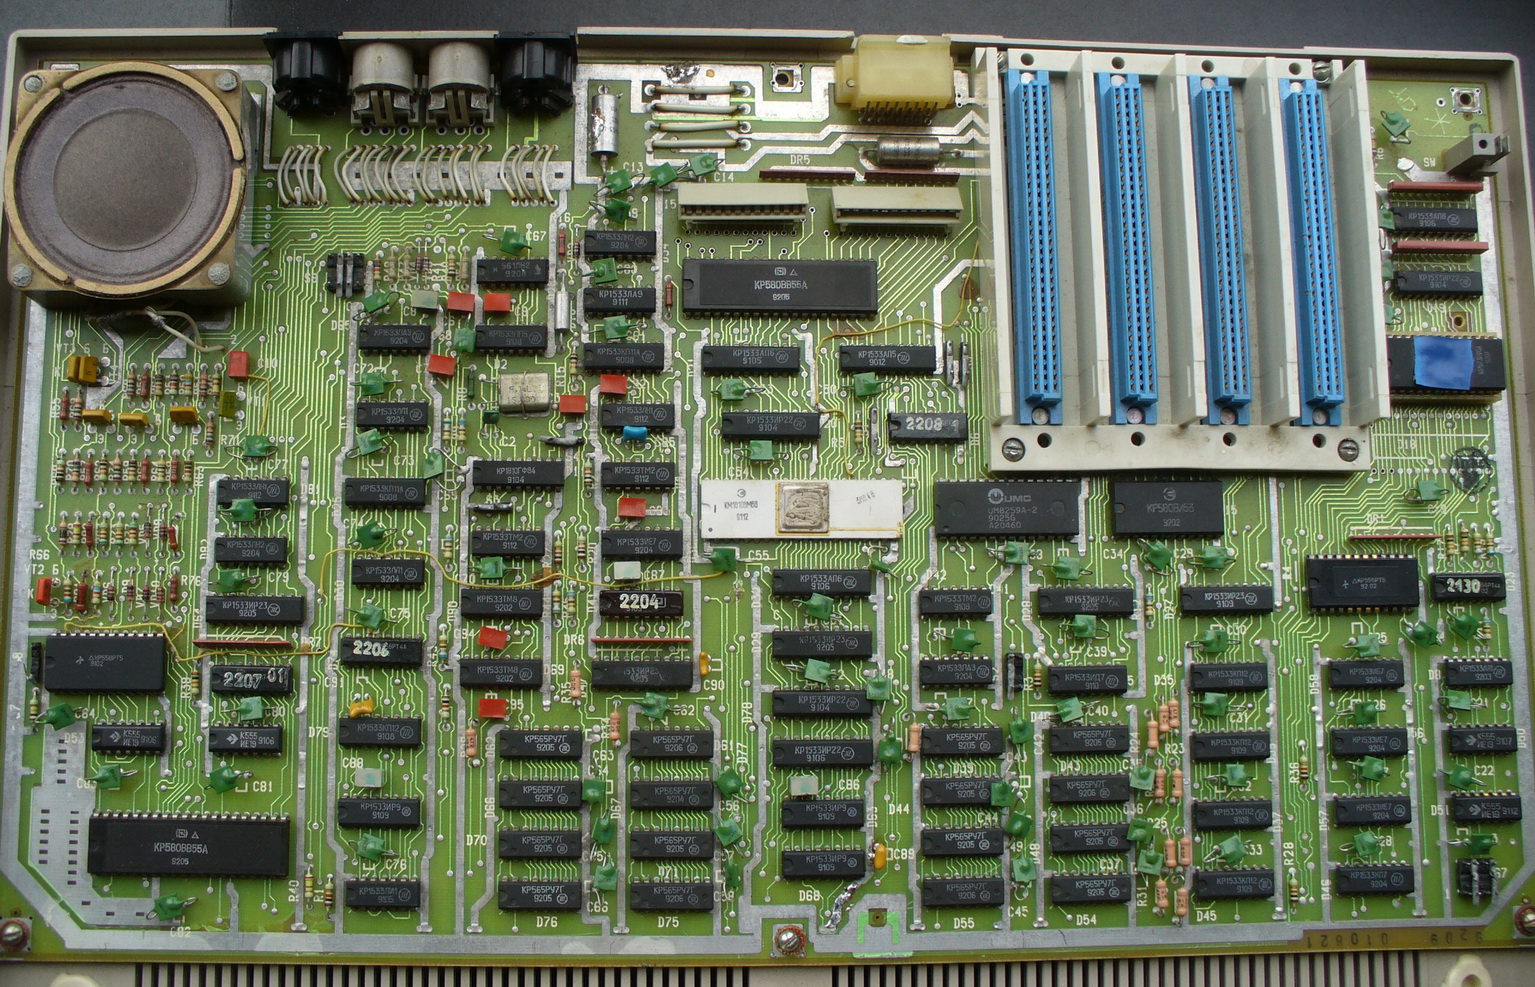
In the center there is a ceramic processor, in the upper right corner on the ROM panel with BIOS, and at the bottom there are 16 soldered K565RU7G microcircuits - this is memory. I did not want to get sixteen microcircuits, so I decided to try a method that I had heard somewhere: right on top of the legs of the old microcircuit to put on a new one and look at the memory test, whether the situation changes. If something changes, then replace the chip. Only one thing stopped me - every time you put on a new chip, you need to plug in a keyboard, load DOS, load CheckIT and run a test. And it would be fine with the time that is spent on downloading the program ... The keyboard is also not very reliable loop, and it will not be better for him to switch off the frequent switching on and off. In short, laziness is the engine of progress. The good old TASM (assembler) was pulled out of the archives. It was decided to write a test that would be stitched directly instead of the BIOS and started immediately when the computer was turned on.
 In general, writing a program in assembler instead of BIOS is a little different from writing a program in assembler under DOS, for example, in that we do not have the usual BIOS interrupts (because we write it) and DOS, and to display something on the screen need to draw the characters by hand. On the other hand, all the memory is at our disposal and you can do anything with it. Well, the truth is that in some registers you don’t save much data, so you have to keep some variables in memory. Well, of course, the stack too, because without a stack, neither the subroutine can be called, nor the register values are saved. In short, the stack is also a useful thing. Therefore, I first test the first kilobyte of memory - if there are errors, then we spike three times and hang the processor. If everything is fine, we install the stack, variables into the first kilobyte and the execution of the main test begins.
Total, a little

That's all, now I am gradually starting to “stick” the obviously good chip on top of the soldered ones. I quickly found the first failing one in the area of 152Kb, replaced it, and then spent a lot of time with errors in the area of 264Kb, but gradually reduced, reduced and reduced to zero. As a result, I replaced seven microcircuits (perhaps some in vain), at the same time I raised them to sockets:
Seven, though many, but not sixteen after all. My test passes without errors, CheckIT without errors and in general, all imaginable and not imaginable memory tests - without errors. Victory!
Soft
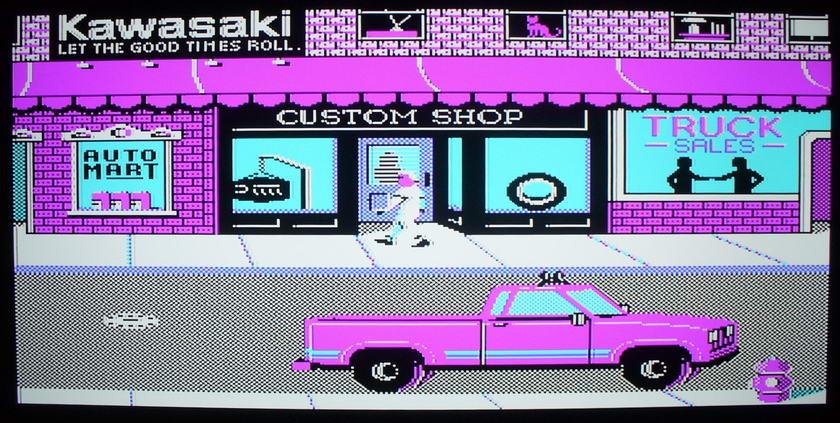
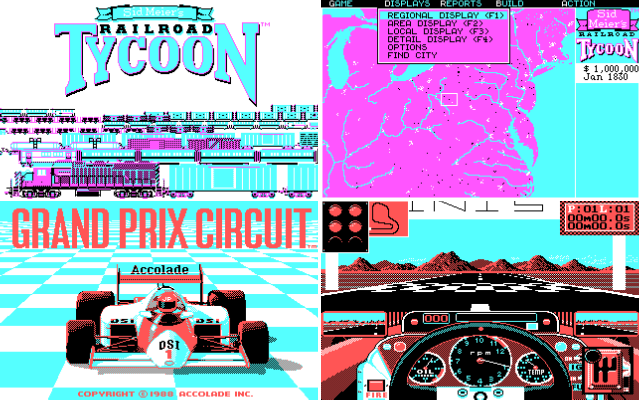
With the drive, and even more so with the hard drive, the search literally "came to life" and became a big serious computer. Where were those cassette toys, when you could play this:


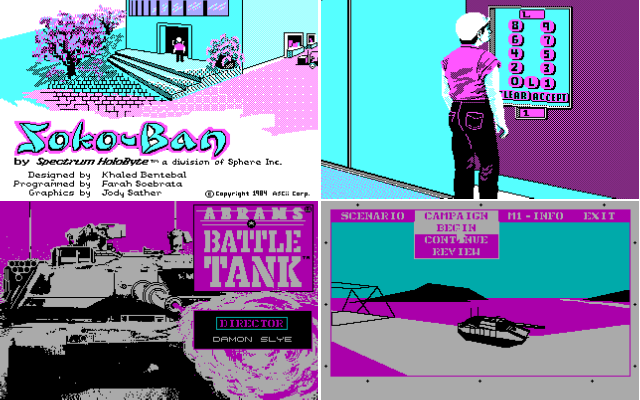
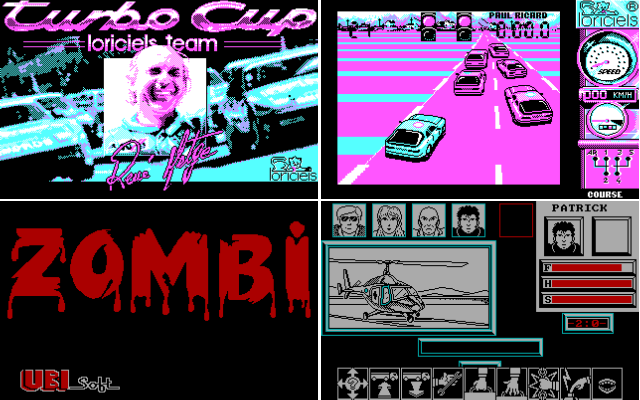
View other toys of the time.


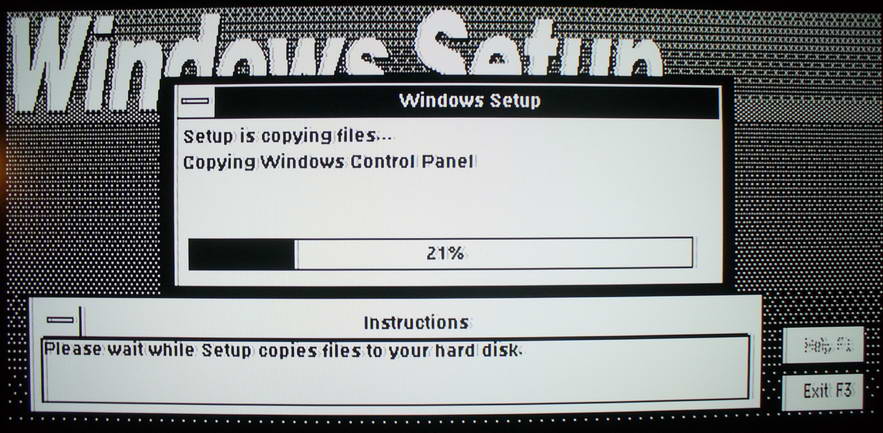
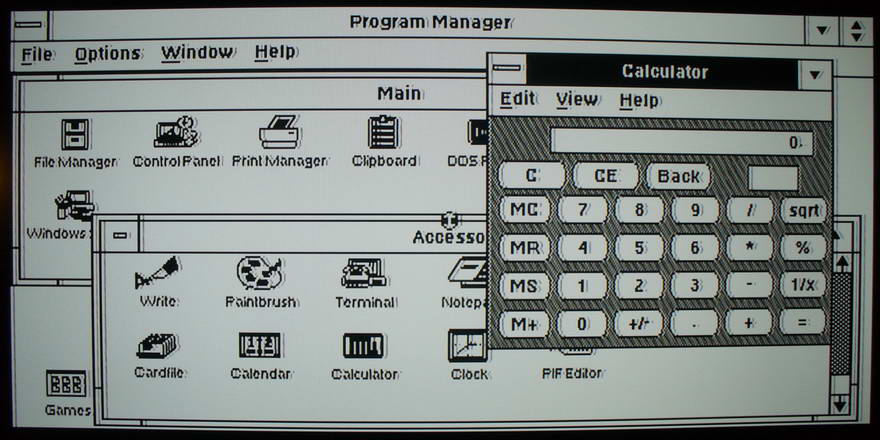
And of course, Windows, just for lulz, as they say. Version 3.0, does not work hastily (and what did you want from a 480 Kb RAM), but you can work.

Upgrade (half successful)
 Last winter, two NEC V20 processors came to me from China. In theory, it is fully compatible with the i8088, works somewhat faster due to improved hardware implementation of division and multiplication, contains a set of instructions 80186 processor (for example, such as shifts with an argument other than 1, saving all the registers to the stack and etc.) Almost 80286, except perhaps without protected mode. Well, as a nice bonus for retro fans, it has hardware support for processor i8080 commands, so you can run natively CP / M software for i8080 on it through a special program.
Therefore, we take into the hands of a
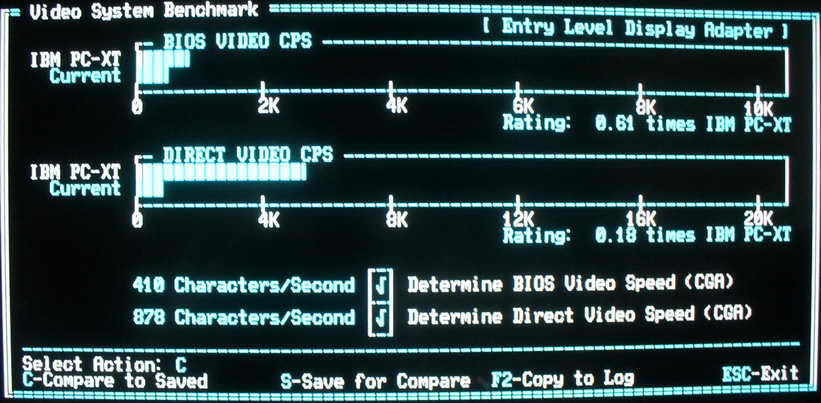
As expected, the computer starts without problems. Now you can measure a little parrots. First tests of the original KM1810VM88. Overall speed:

Video subsystem with KM1810VM88

And then the NEC V20:

CPU test with NEC V20:

And video subsystem:
It can be seen that the computer works somewhat faster with the V20, especially mathematics. The video subsystem also became somewhat faster due to the fact that in the BIOS functions of the software character rendering, in some places there are multiplication and division operations. Good processor, what to say. That's just further awaited me unpleasant surprise - when I tried after these tests to load the usual Volkov Commander, I saw the following:

It is noticeable that every second character on the screen is not drawn. I looked thoughtfully at the BIOS code for a long time, which was responsible for everything related to the output of characters, and looked through the int 10h processing programs. I thought it would be quite easy to patch the BIOS for incompatibility with the NEC V20, since I knew that even the NEC V20 and i8088 use the same instruction set, but there are differences. I checked the code for the following things:
1) POP CS , and generally two-byte POP 's I have not met in the listing. v20 does not eat them;
2) After MUL v20 does not reset the ZF, if the result is 0. There are several MUL in the code, but the ZF after the operations is not checked anywhere;
3) Exotic AAD / AAM is not found anywhere else. In Intel, instructions can take an argument, in V20 it is always = 0Ah;
4) The same applies to the SALC instruction (D6 opcode), which the v20 interprets as XLAT . There are no such instructions in the BIOS;
Fix the problem with a swoop failed. Further, at the prompt of one user from the forum ZX-PK.ru, I drew attention to the fact that programs that work with video memory directly are buggy in this way. The search, as already mentioned, does not have a physical text mode, so when a program tries to write something into the text memory area 0xB800 a non-maskable hardware interrupt is generated and control is passed to the Int 2 handler. The NMI handler in turn reads the value from port 0x28, in which there is an offset by which the recording into memory occurred, and starts pixelling pixel-by-pixel in the graphic video memory 0xBC00. After the character is drawn in the video memory, the output from the NMI handler occurs. This is approximately according to such a simplified scheme, and the characters are rendered from text mode in graphic mode. So, by trial and error, it turned out that when several characters are written to the memory at once with the REP STOSW command, say two, the hardware address trap does not work and the offset of the previous character sits in port 0x28 instead of being offset by the last character. NMI is also not invoked. We can assume that the V20 spends less cycles per REP STOSW cycle, and the circuit is designed for a larger number of clock cycles, so the circuit only works on every second cycle. So, the problem turned out to be hardware, unfortunately. Of course, you can also bypass it programmatically, for example, as a crutch in the NMI handler, draw not only the current symbol, but also the neighbor at once, but, as you understand, it is a crutch. If you do not pay attention to this drawback, the rest of the programs work fine, including games.
Finally
PC Search is my first computer, which is probably why more attention is paid to it than to my other old pieces of hardware. The forum ZK-PK.ru and its section “Search” help a lot in technical issues. Now several enthusiasts are preparing to release a replica board of MFM disk controllers, a disk drive. In general, there are many plans, for example, the manufacture of an IDE controller (especially since such a controller existed at the sunset of the release of Searches), possibly an IDE-CF controller (compact flash). If someone suddenly had recorded tapes, or some rare controllers (adapters), I would be happy to discuss the possibility of receiving them (in personal messages). Good luck to all!
Source: https://habr.com/ru/post/199044/
All Articles