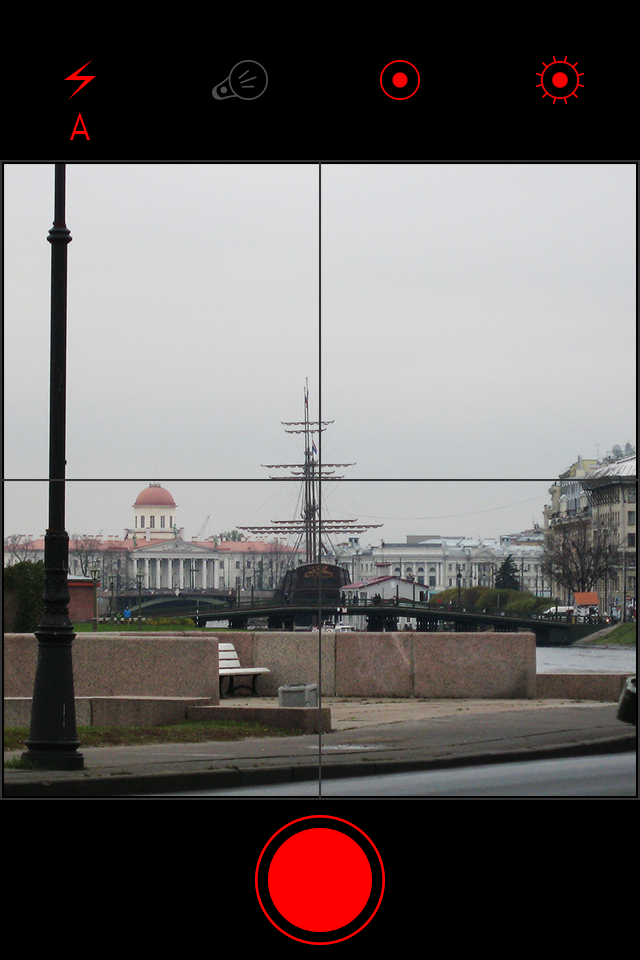
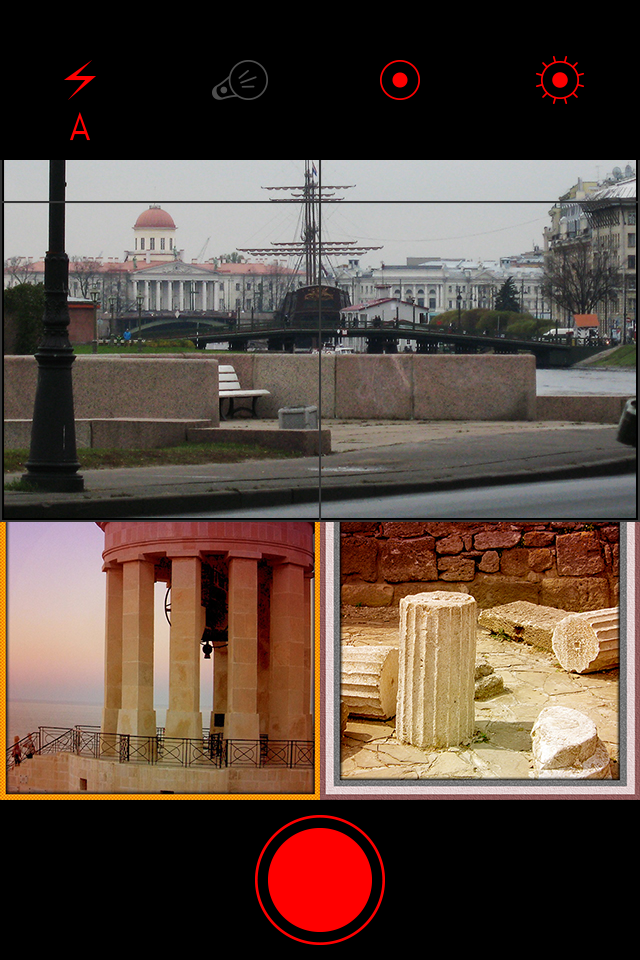
How we work with the iPhone camera in QCamplr

Greetings to all Habra community!
Today I would like to use the example of a new product, QCamplr , to tell you how to work with the camera of an iOS device.
In this post, I will discuss the basic aspects of setting up the camera and obtaining an image for later work with it.
Step 1: Import the frameworks
I've already started using Objective-C syntax in Xcode 5, which is why
#import @import To work with the iOS camera, we definitely need AVFoundation.framework , we may also need the capabilities from CoreMedia , CoreVideo and ImageIO . I advise you to import all these frameworks right now, so that later there would be no errors.
')
@import AVFoundation; @import CoreMedia; @import CoreVideo; @import ImageIO; Step 2: Declare properties and methods
@property (nonatomic, strong, readonly) AVCaptureSession *captureSession; @property (nonatomic, strong, readonly) AVCaptureDevice *captureDevice; @property (nonatomic, strong, readonly) AVCaptureVideoPreviewLayer *captureVideoPreviewLayer; @property (nonatomic, strong, readonly) AVCaptureDeviceInput *captureDeviceInput; @property (nonatomic, strong, readonly) AVCaptureStillImageOutput *captureStillImageOutput; + (QCCameraManager *)sharedManager; - (void)setupCaptureSessionWithSessionPreset:(NSString *)sessionPreset captureDevice:(AVCaptureDevice *)captureDevice captureViewLayer:(CALayer *)captureViewLayer; - (void)captureStillImageWithCompletionHandler:(void (^)(UIImage *capturedStillImage))completionHandler; - (BOOL)toggleCaptureDevice; - (AVCaptureDevice *)captureDeviceWithPosition:(AVCaptureDevicePosition)captureDevicePosition; - (BOOL)configureFocusModeOnDevice:(AVCaptureDevice *)captureDevice withFocusMode:(AVCaptureFocusMode)focusMode focusPointOfInterest:(CGPoint)focusPointOfInterest; - (BOOL)configureExposureModeOnDevice:(AVCaptureDevice *)captureDevice withExposureMode:(AVCaptureExposureMode)exposureMode exposurePointOfInterest:(CGPoint)exposurePointOfInterest; - (BOOL)configureWhiteBalanceModeOnDevice:(AVCaptureDevice *)captureDevice withWhiteBalanceMode:(AVCaptureWhiteBalanceMode)whiteBalanceMode; - (BOOL)configureFlashModeOnDevice:(AVCaptureDevice *)captureDevice withFlashMode:(AVCaptureFlashMode)flashMode; - (BOOL)configureTorchModeOnDevice:(AVCaptureDevice *)captureDevice withTorchMode:(AVCaptureTorchMode)torchMode torchLevel:(CGFloat)torchLevel; - (BOOL)configureLowLightBoostOnDevice:(AVCaptureDevice *)captureDevice withLowLightBoostEnabled:(BOOL)lowLightBoostEnabled; All our properties have readonly keyword . Since we do not want someone to change them directly, but there are situations when we need to quickly access the active session or any other property from the main AVFoundation stack , which is needed for taking pictures from the camera of an iOS device.
Next, we announced 11 methods, which I will discuss in more detail in the following steps.
Now you can safely open the .m file and start writing the implementation of our camera.
Step 3: Singleton
The fact is that the iOS device supports only one active AVCaptureSession . If you try to create and run several sessions at the same time, you will see an error in the Console . There are also a lot of moments when we need to access the camera properties from any class of our application, which is why we will create singleton . We support ARC, so we create singeton like this:
+ (QCCameraManager *)sharedManager { static dispatch_once_t dispatchOncePredicate; __strong static QCCameraManager *cameraManager = nil; dispatch_once(&dispatchOncePredicate, ^{ cameraManager = [[QCCameraManager alloc] init]; }); return cameraManager; } Step 4: Create and customize our AVFoundation Stack
- (void)setupCaptureSessionWithSessionPreset:(NSString *)sessionPreset captureDevice:(AVCaptureDevice *)captureDevice captureViewLayer:(CALayer *)captureViewLayer { [self setCaptureSession:[[AVCaptureSession alloc] init]]; if([[self captureSession] canSetSessionPreset:sessionPreset]) { [[self captureSession] setSessionPreset:sessionPreset]; } else { [[self captureSession] setSessionPreset:AVCaptureSessionPresetHigh]; } [self setCaptureDevice:captureDevice]; [self setCaptureDeviceInput:[[AVCaptureDeviceInput alloc] initWithDevice:[self captureDevice] error:nil]]; if(![[[self captureSession] inputs] count]) { if([[self captureSession] canAddInput:[self captureDeviceInput]]) { [[self captureSession] addInput:[self captureDeviceInput]]; } } [self setCaptureStillImageOutput:[[AVCaptureStillImageOutput alloc] init]]; [[self captureStillImageOutput] setOutputSettings:[[NSDictionary alloc] initWithObjectsAndKeys:AVVideoCodecJPEG, AVVideoCodecKey, nil]]; if ([[self captureSession] canAddOutput:[self captureStillImageOutput]]) { [[self captureSession] addOutput:[self captureStillImageOutput]]; } [self configureWhiteBalanceModeOnDevice:[self captureDevice] withWhiteBalanceMode:AVCaptureWhiteBalanceModeContinuousAutoWhiteBalance]; [self configureLowLightBoostOnDevice:[self captureDevice] withLowLightBoostEnabled:YES]; [self setCaptureVideoPreviewLayer:[[AVCaptureVideoPreviewLayer alloc] initWithSession:[self captureSession]]]; [[self captureVideoPreviewLayer] setVideoGravity:AVLayerVideoGravityResizeAspectFill]; [[self captureVideoPreviewLayer] setBounds:[captureViewLayer bounds]]; [[self captureVideoPreviewLayer] setFrame:[captureViewLayer bounds]]; [captureViewLayer setMasksToBounds:YES]; [captureViewLayer insertSublayer:[self captureVideoPreviewLayer] atIndex:0]; } It's all pretty simple:
- We create a session, and we give it a preset, it affects the quality and resolution of the image that you will receive during the output of the image on the screen and direct shooting.
- Choose the device that will be used for shooting, in our case, by default it is always the back camera
- Next we have to connect the input to our session. We will need it in order to display the image from the camera on the screen in real time. Session supports only one input , while the amount of output is not limited to one. Checks like "can I connect this input to a session?" Should always be done!
- We do about the same thing, only now we attach output , we will need it in order to take pictures and get a real image from the camera. Checks like "can I attach this output to a session?" Should be done, always!
- Further, we carry out a small configuration of those camera options to which we do not give access to the user. I will tell you more about them later.
- Finally, we create a layer on which the picture will be displayed in real time from our input device . We add the layer as a sublayer layer, which we passed as an argument to this method.
Session created! To start it, you need to call the startRunning method of the captureSession property, in order to terminate the session, you need to call the stopRunning method.
This is how a call to this method in your controller might look like:
[[QCCameraManager sharedManager] setupCaptureSessionWithSessionPreset:AVCaptureSessionPresetPhoto captureDevice:[AVCaptureDevice defaultDeviceWithMediaType:AVMediaTypeVideo] captureViewLayer:[[self view] layer]]; [[[[QCCameraManager sharedManager] captureSession] startRunning]; Step 5: Set up the camera
- (BOOL)configureTorchModeOnDevice:(AVCaptureDevice *)captureDevice withTorchMode:(AVCaptureTorchMode)torchMode torchLevel:(CGFloat)torchLevel { if([captureDevice hasTorch] && [captureDevice isTorchAvailable]) { if([captureDevice torchMode] != torchMode) { if([captureDevice isTorchModeSupported:torchMode]) { if(!(([captureDevice isTorchActive]) && (torchMode == AVCaptureTorchModeOn))) { if([captureDevice lockForConfiguration:nil]) { if((torchMode == AVCaptureTorchModeOn) && (torchLevel >= 0.0f)) { [captureDevice setTorchModeOnWithLevel:torchLevel error:nil]; } else { [captureDevice setTorchMode:torchMode]; } [captureDevice unlockForConfiguration]; } else { return NO; } } } else { return NO; } } return YES; } else { return NO; } } - (BOOL)configureFlashModeOnDevice:(AVCaptureDevice *)captureDevice withFlashMode:(AVCaptureFlashMode)flashMode { if([captureDevice isFlashAvailable] && [captureDevice isFlashModeSupported:flashMode]) { if([captureDevice flashMode] != flashMode) { if([captureDevice lockForConfiguration:nil]) { [captureDevice setFlashMode:flashMode]; [captureDevice unlockForConfiguration]; } else { return NO; } } return YES; } else { return NO; } } - (BOOL)configureWhiteBalanceModeOnDevice:(AVCaptureDevice *)captureDevice withWhiteBalanceMode:(AVCaptureWhiteBalanceMode)whiteBalanceMode { if([captureDevice isWhiteBalanceModeSupported:whiteBalanceMode]) { if([captureDevice whiteBalanceMode] != whiteBalanceMode) { if([captureDevice lockForConfiguration:nil]) { [captureDevice setWhiteBalanceMode:whiteBalanceMode]; [captureDevice unlockForConfiguration]; } else { return NO; } } return YES; } else { return NO; } } - (BOOL)configureFocusModeOnDevice:(AVCaptureDevice *)captureDevice withFocusMode:(AVCaptureFocusMode)focusMode focusPointOfInterest:(CGPoint)focusPointOfInterest { if([captureDevice isFocusModeSupported:focusMode] && [captureDevice isFocusPointOfInterestSupported]) { if([captureDevice focusMode] == focusMode) { if([captureDevice lockForConfiguration:nil]) { [captureDevice setFocusPointOfInterest:focusPointOfInterest]; [captureDevice setFocusMode:focusMode]; [captureDevice unlockForConfiguration]; } else { return NO; } } return YES; } else { return NO; } } - (BOOL)configureExposureModeOnDevice:(AVCaptureDevice *)captureDevice withExposureMode:(AVCaptureExposureMode)exposureMode exposurePointOfInterest:(CGPoint)exposurePointOfInterest { if ([captureDevice isExposureModeSupported:exposureMode] && [captureDevice isExposurePointOfInterestSupported]) { if([captureDevice exposureMode] == exposureMode) { if([captureDevice lockForConfiguration:nil]) { [captureDevice setExposurePointOfInterest:exposurePointOfInterest]; [captureDevice setExposureMode:exposureMode]; [captureDevice unlockForConfiguration]; } else { return NO; } } return YES; } else { return NO; } } - (BOOL)configureLowLightBoostOnDevice:(AVCaptureDevice *)captureDevice withLowLightBoostEnabled:(BOOL)lowLightBoostEnabled { if([captureDevice isLowLightBoostSupported]) { if([captureDevice isLowLightBoostEnabled] != lowLightBoostEnabled) { if([captureDevice lockForConfiguration:nil]) { [captureDevice setAutomaticallyEnablesLowLightBoostWhenAvailable:lowLightBoostEnabled]; [captureDevice unlockForConfiguration]; } else { return NO; } } return YES; } else { return NO; } } All possible camera settings are carried out by our own methods, they all work on the same principle. All you need to know is that before changing the parameters we need to call the lockForConfiguration: method, after we have completed the configuration process, we need to call the unlockForConfiguration method.
In QCamplr, we enable the user to configure 4 options: flash, flashlight (night shooting), focus and exposure.

Step 5: Photographing
- (void)captureStillImageWithCompletionHandler:(void (^)(UIImage *capturedStillImage))completionHandler { if(![[self captureStillImageOutput] isCapturingStillImage]) { [[NSNotificationCenter defaultCenter] postNotificationName:@"QCCameraManagedWillCaptureStillImageNotification" object:nil userInfo:nil]; [[self captureStillImageOutput] captureStillImageAsynchronouslyFromConnection:[[self captureStillImageOutput] connectionWithMediaType:AVMediaTypeVideo] completionHandler:^(CMSampleBufferRef imageDataSampleBuffer, NSError *error) { if (imageDataSampleBuffer) { UIImage *capturedStillImage = [[UIImage alloc] initWithData:[AVCaptureStillImageOutput jpegStillImageNSDataRepresentation:imageDataSampleBuffer]]; completionHandler([capturedStillImage croppedImageFromCaptureDevice:[self captureDevice]]); } }]; } } This method is called when you click on the big red “tugler” in QCamplr. In the completionHandler comes a picture in jpeg format, wrapped in an object of class UIImage.

Now a few helper methods that will help you in working with the camera.
Method # 1
You can access the front or rear camera using this method:
- (AVCaptureDevice *)captureDeviceWithPosition:(AVCaptureDevicePosition)captureDevicePosition { NSArray *captureDevices = [AVCaptureDevice devicesWithMediaType:AVMediaTypeVideo]; for(AVCaptureDevice *captureDevice in captureDevices) { if([captureDevice position] == captureDevicePosition) { return captureDevice; } } return nil; } Method # 2
You can switch from the front camera to the rear one and vice versa using this method:
- (BOOL)toggleCaptureDevice { if ([[AVCaptureDevice devicesWithMediaType:AVMediaTypeVideo] count] > 1) { AVCaptureDeviceInput *captureDeviceInput = [self captureDeviceInput]; if([[[self captureDeviceInput] device] position] == AVCaptureDevicePositionBack) { [self setCaptureDeviceInput:[[AVCaptureDeviceInput alloc] initWithDevice:[self captureDeviceWithPosition:AVCaptureDevicePositionFront] error:nil]]; } else if([[[self captureDeviceInput] device] position] == AVCaptureDevicePositionFront) { [self setCaptureDeviceInput:[[AVCaptureDeviceInput alloc] initWithDevice:[self captureDeviceWithPosition:AVCaptureDevicePositionBack] error:nil]]; } else if([[[self captureDeviceInput] device] position] == AVCaptureDevicePositionUnspecified) { return NO; } [self setCaptureDevice:[[self captureDeviceInput] device]]; [[self captureSession] beginConfiguration]; [[self captureSession] removeInput:captureDeviceInput]; if([[self captureSession] canAddInput:[self captureDeviceInput]]) { [[self captureSession] addInput:[self captureDeviceInput]]; } else { [[self captureSession] addInput:captureDeviceInput]; } [[self captureSession] commitConfiguration]; return YES; } else { return NO; } } Useful links
AVFoundation Documentation
QCamplr official website
PS I hope this article was useful to all those who wanted to get more freedom and flexibility in working with the camera device, but did not know where to start. I wish you all a lot more quality code, and good luck in our difficult task!
Source: https://habr.com/ru/post/197580/
All Articles