Launch Synology on ESXi
My acquaintance with home NAS began a few years ago with Synology 207+. While the NAS was empty, I really liked its capabilities. But it was enough to transfer his collection of films, music and photos to it, as it became clear that it was impossible to use it because of very poor performance. And the unit turned into a regular file storage room, and later it was completely removed to the storeroom as unnecessary. Synology itself scored on this line and stopped the release of new shells on it. I occasionally watched the latest from Synology, as there are always lots of eulogistic articles there, but they didn’t evoke trust.
I accidentally stumbled upon the XPEnology project, it turned out that you can try the new Synology shell on both the virtual machine and the usual computer.
I will discuss the installation of Synology DSM 4.2 on a virtual machine in ESXi in this article, installing on regular hardware is even easier, but if there is interest, I will write a separate topic.
A little time to accurately follow this guide, understanding and configuration skills.
Properly installed and configured on a 64-bit ESXi 5.5 machine (available on the VMmware website).
NOTE: It is not a requirement to support Vt-d and use VMDirectPath I / O for disks. Use this configuration only if performance is critical and absolutely necessary. Using a PVSCSI controller and creating physical RDM disks is preferred. Use VMDK data warehouses (as in this guide) for testing and training only, and do not use for sensitive data. Thin VMDK can be used for testing and evaluation, but as a result, performance will suffer.
Download the modified Synology DSM 4.2 from here: yadi.sk/d/fTRkFMyU3D8Yc (based on DS3612xs_3202, thanks to jukolaut), download Synology Assistant from Synology directly www.synology.com/support/download.php?lang=enu/b=12%20bays&m=DS3612xx
Download esxi_synoboot_3202_v2.vmdk disk image on the Datastore in ESXi. Place it in a directory, that is, pre-create a directory with the same name that you give to your Synology virtual machine instance, and upload the file to that directory.
')
VM configuration:
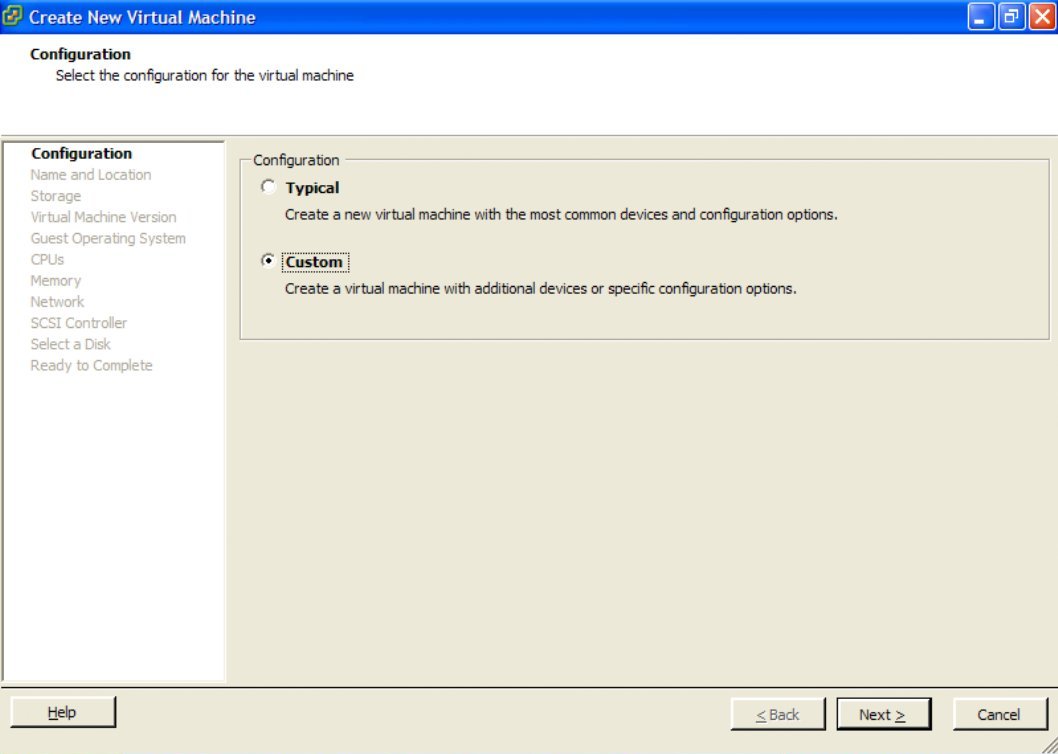
Create a new custom virtual machine.
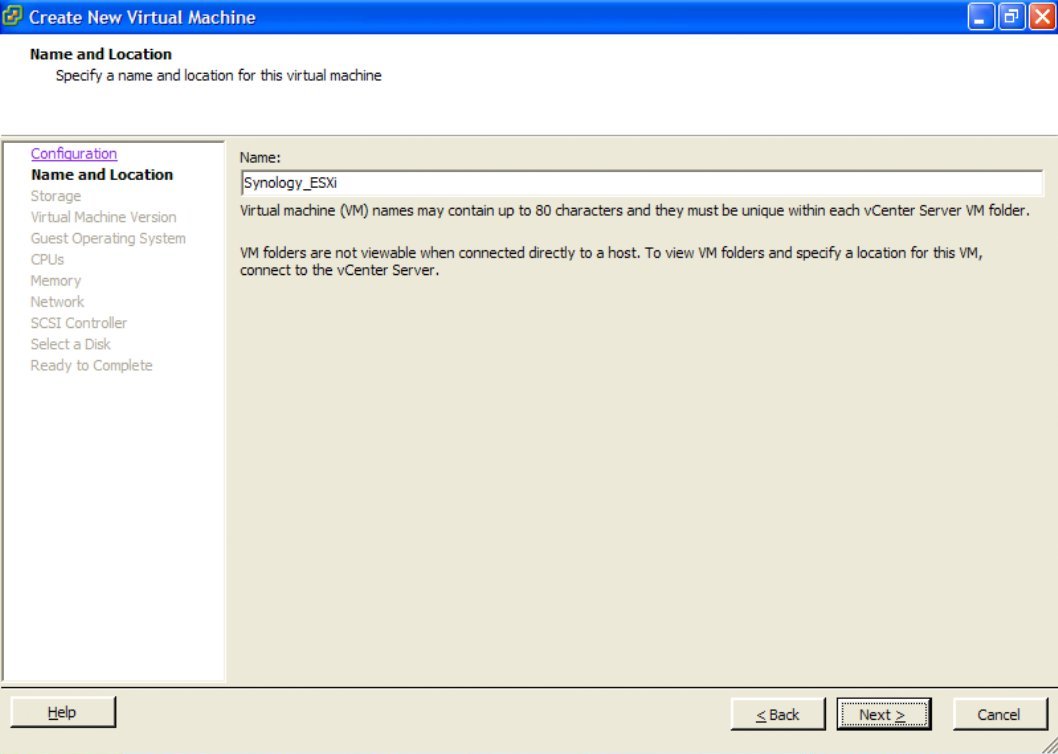
Give the virtual machine a convenient name.
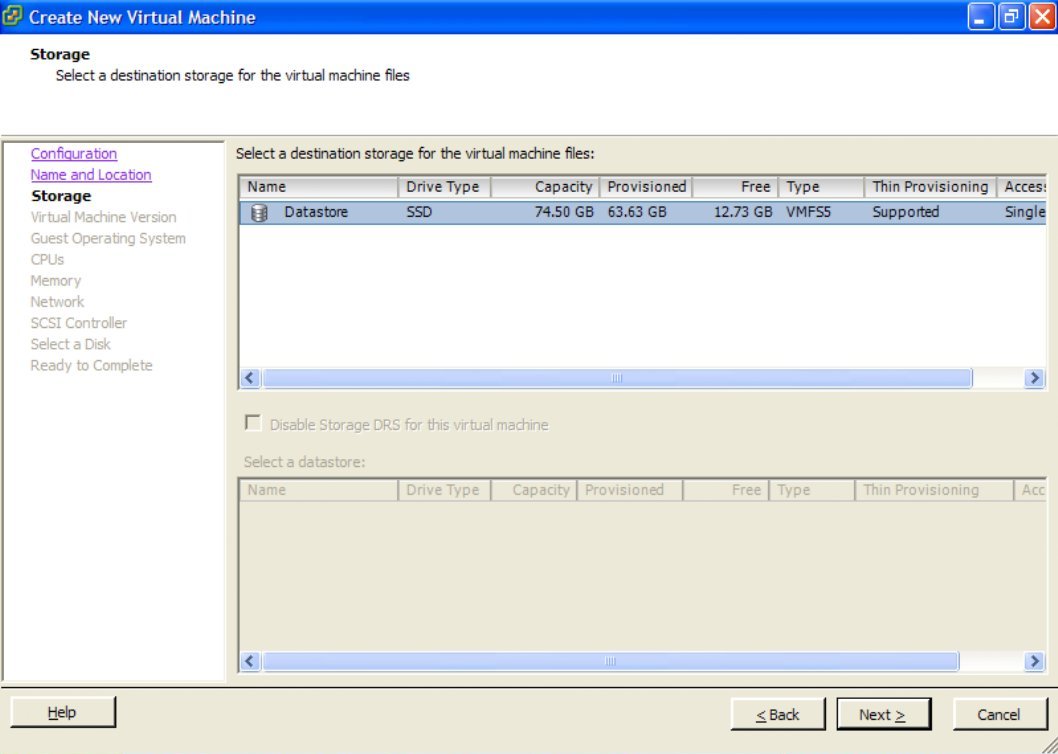
Put it on your datastore in ESXi, if possible use SSD.
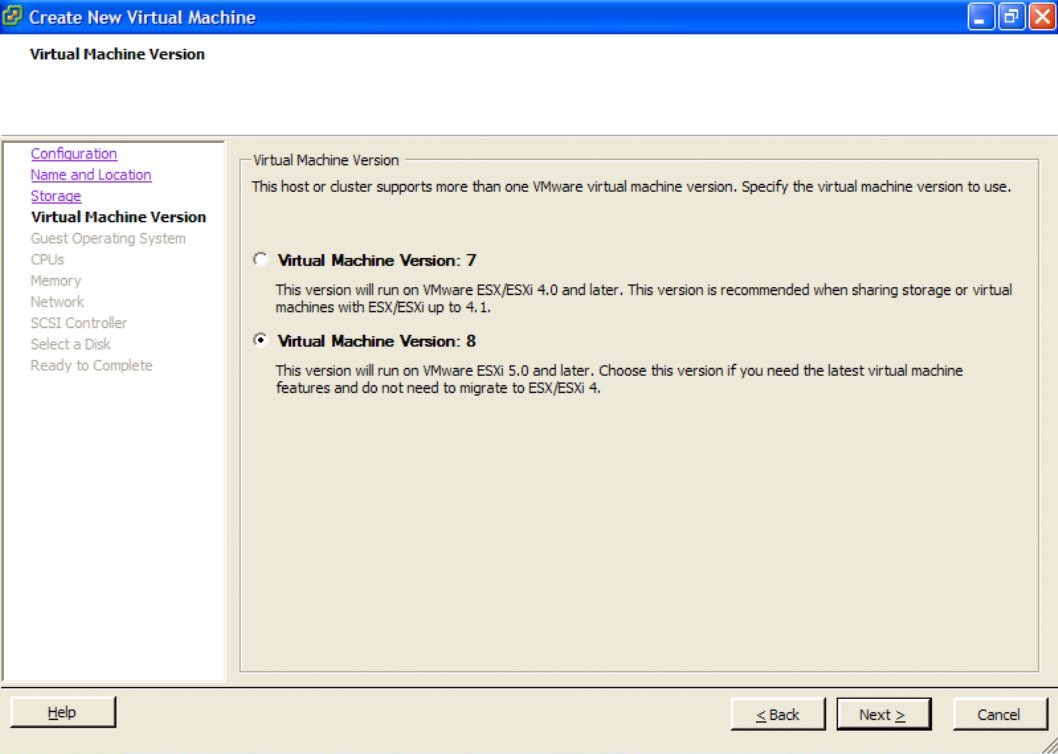
Use virtual machine version 8.
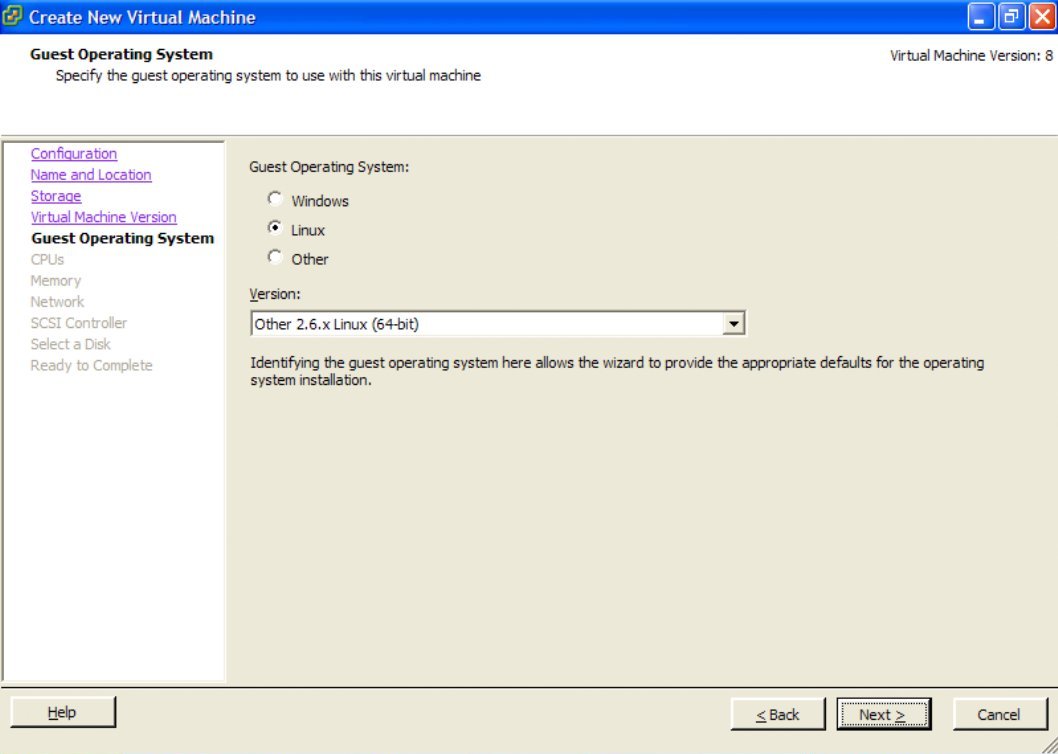
Synology DSM 4.2 is based on Linux 2.6.x (64-bit kernel).
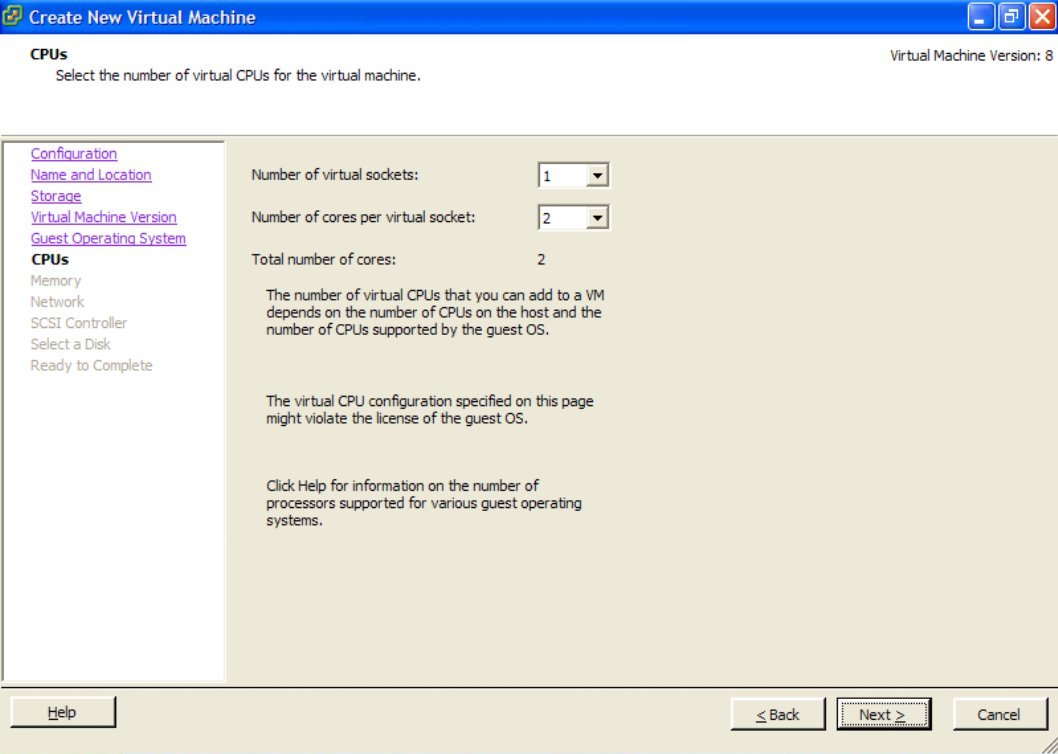
For proper performance, use 1 processor and 2 cores.
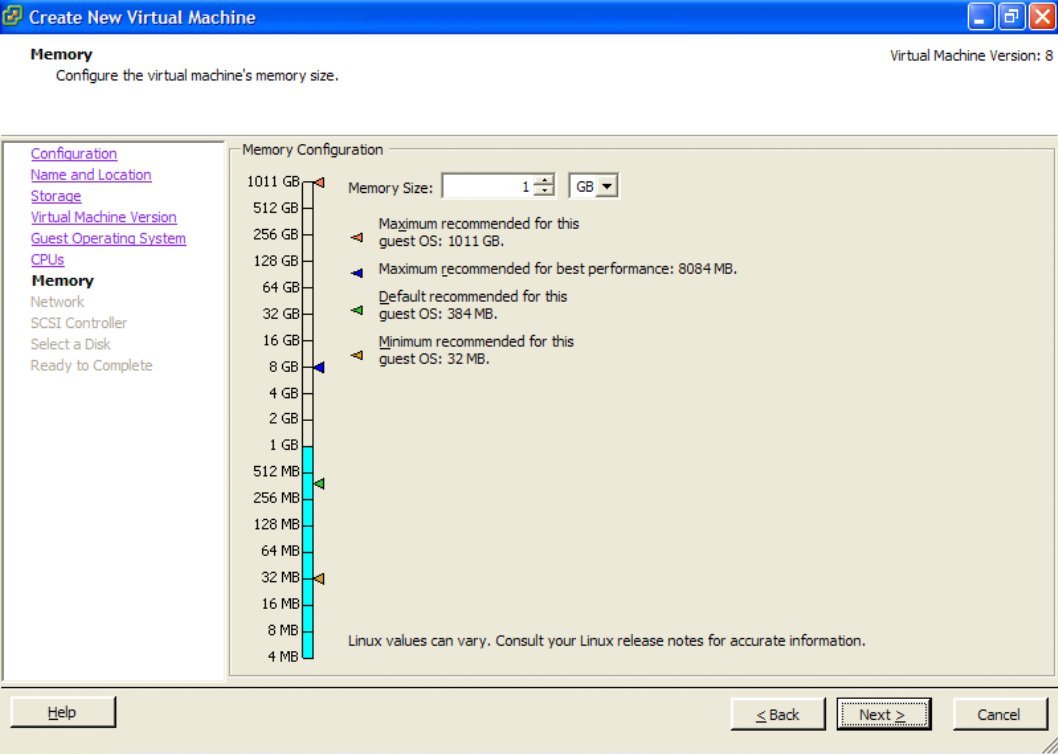
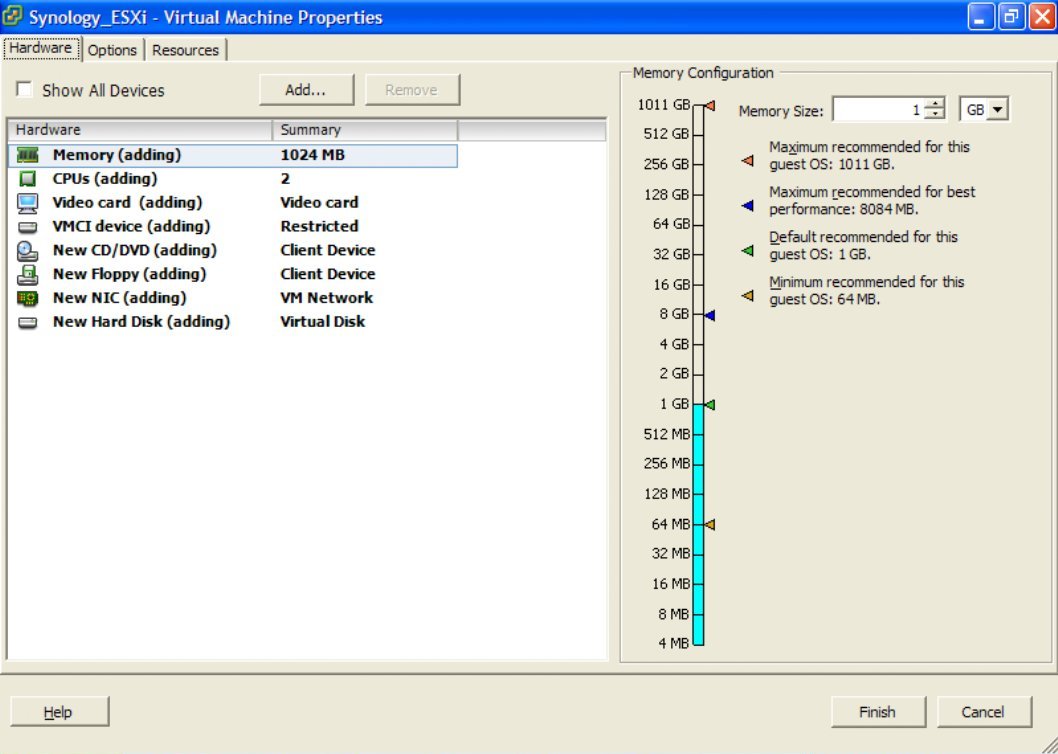
Assign 1 GB or more memory.
Note: for performance reasons, it is recommended to reserve this memory, so the memory used MUST be available on the ESXi server.
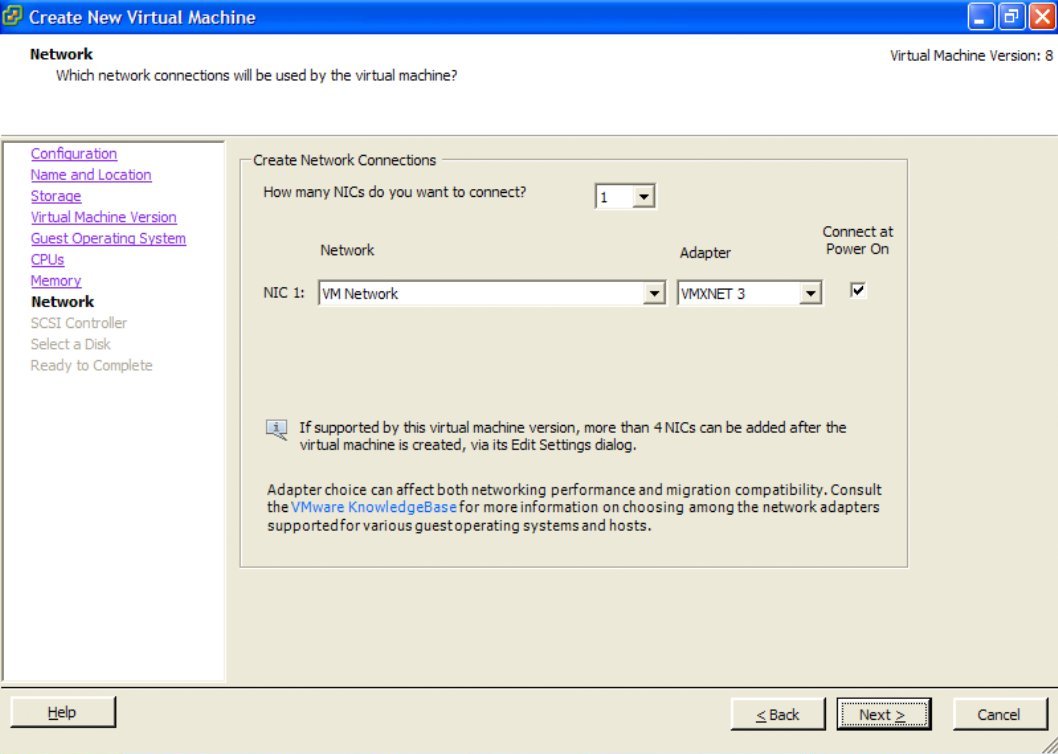
Create 1 network adapter, VM Network, VMXNET 3, Connected at Power On.
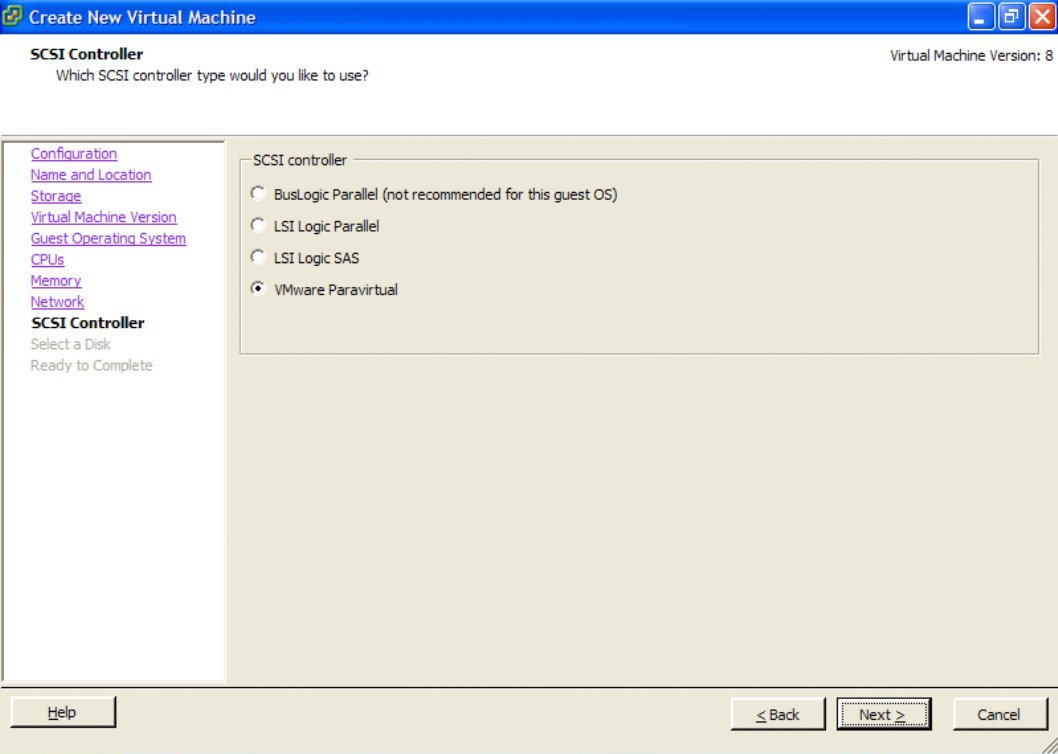
Use VMware paravirtual SCSI controller.
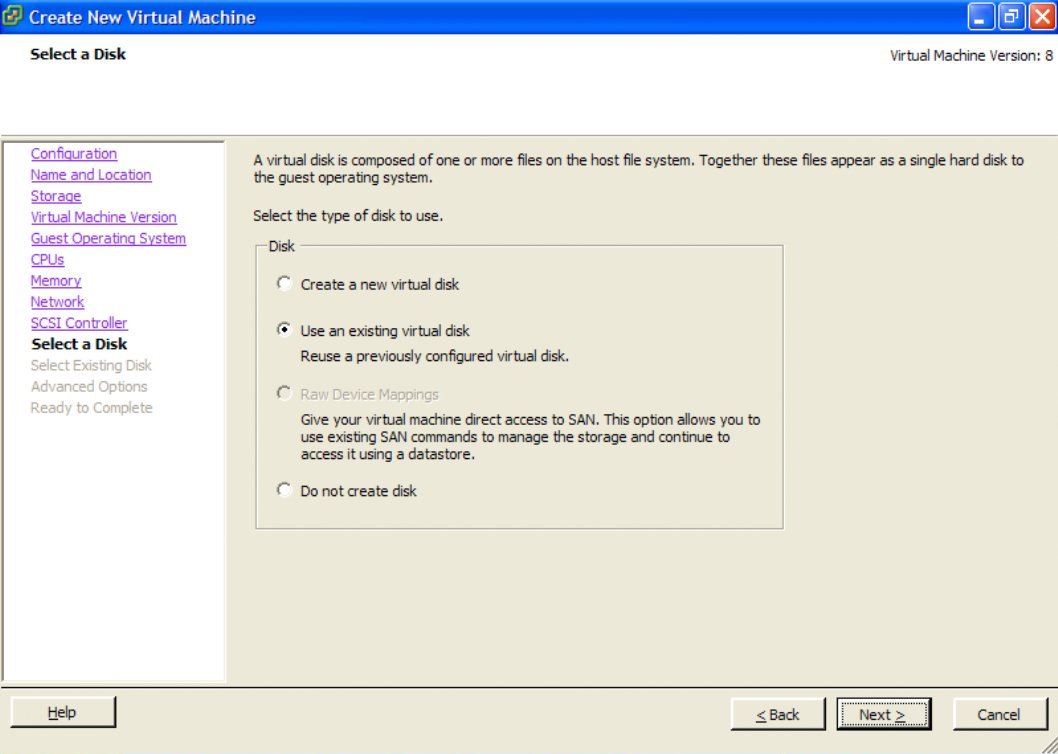
Use an existing virtual disk.
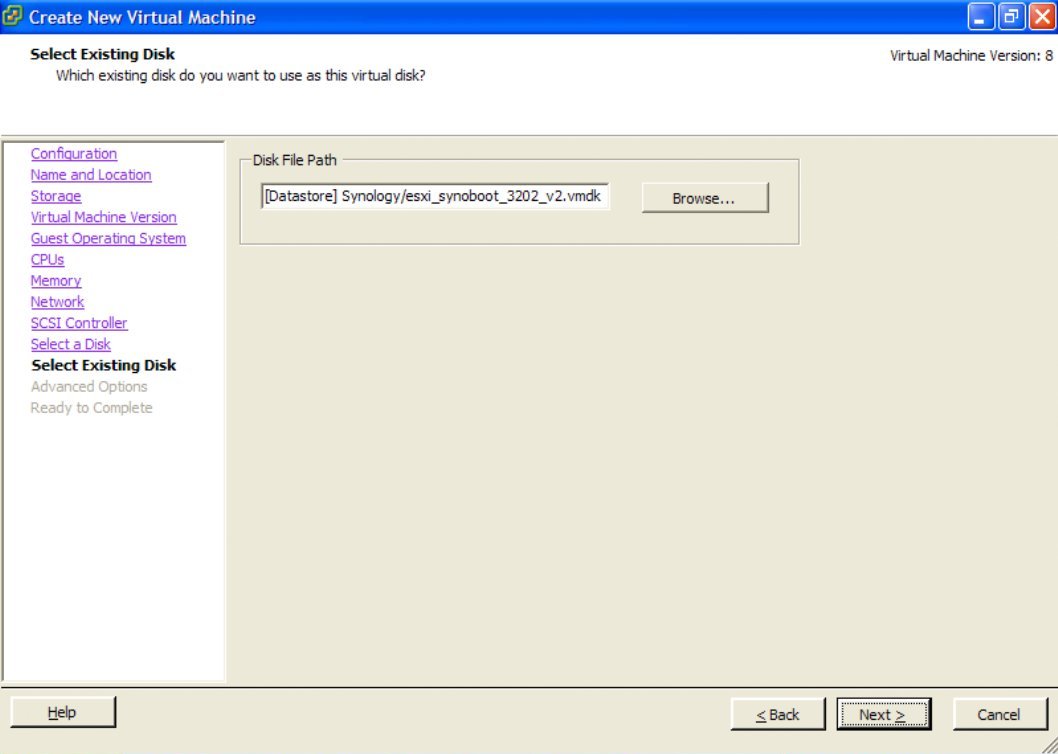
Select the image esxi_synoboot_3202_v2.vmdk, previously downloaded to the Datastore.
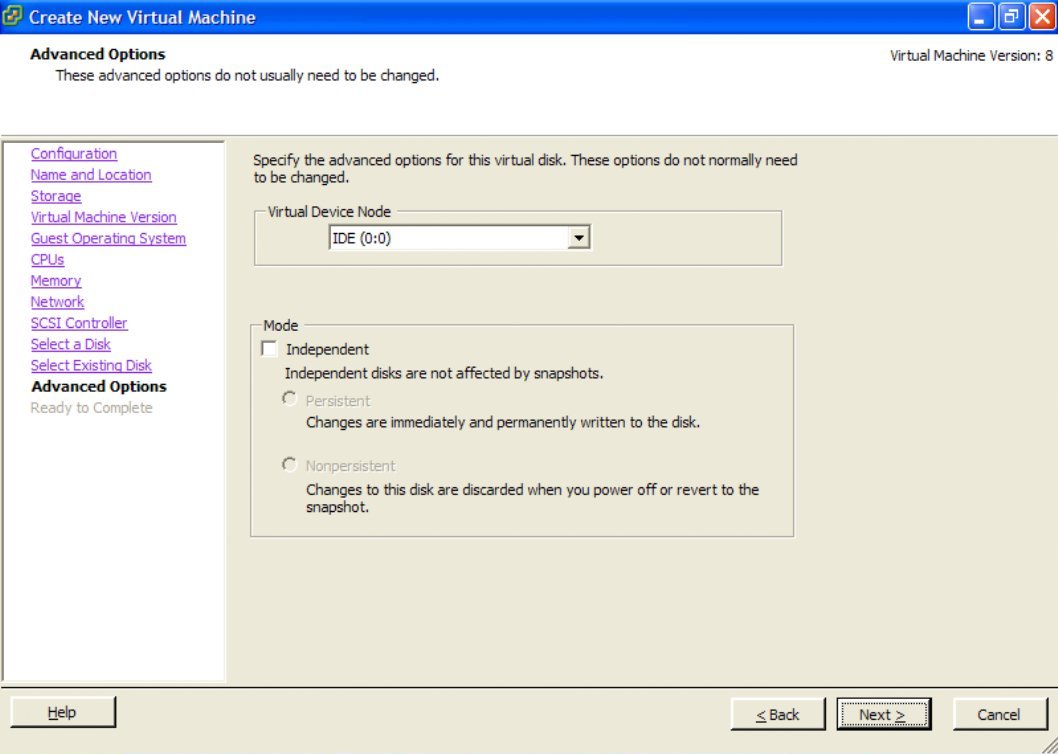
Use IDE (0: 0) as Virtual Device Node
Select "Edit the virtual machine settings before completion" and continue.

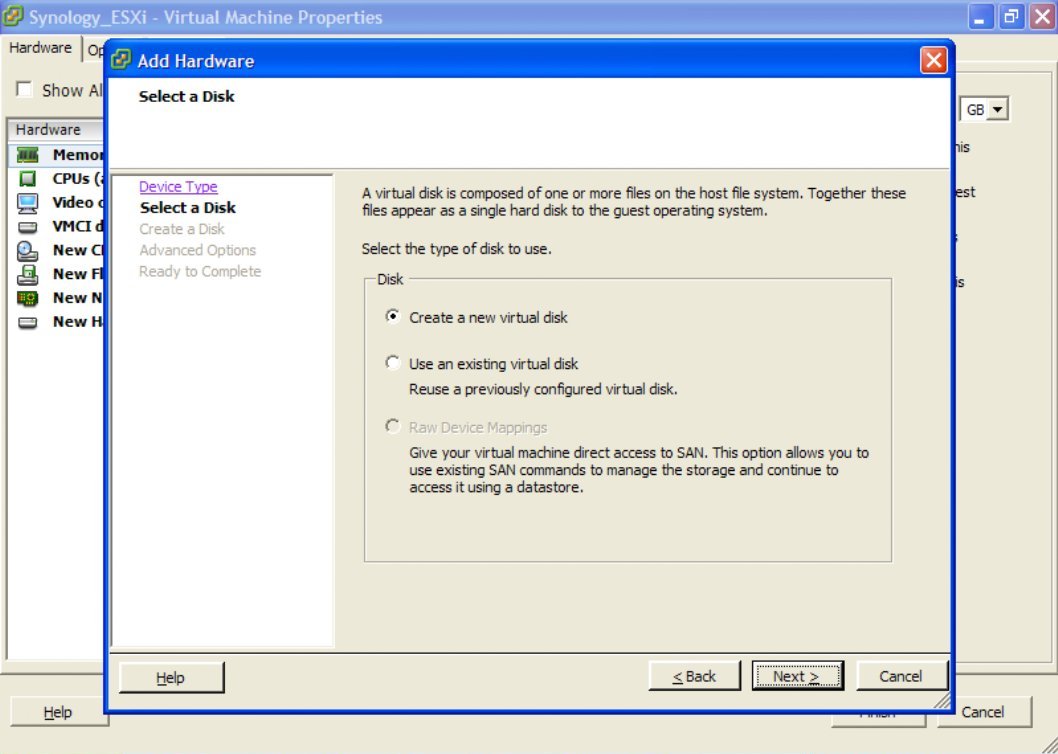
Now we will add at least one new hard disk or several disks to the virtual machine that will become your new Synology data disks.
Select from Hard Disk devices and add it.

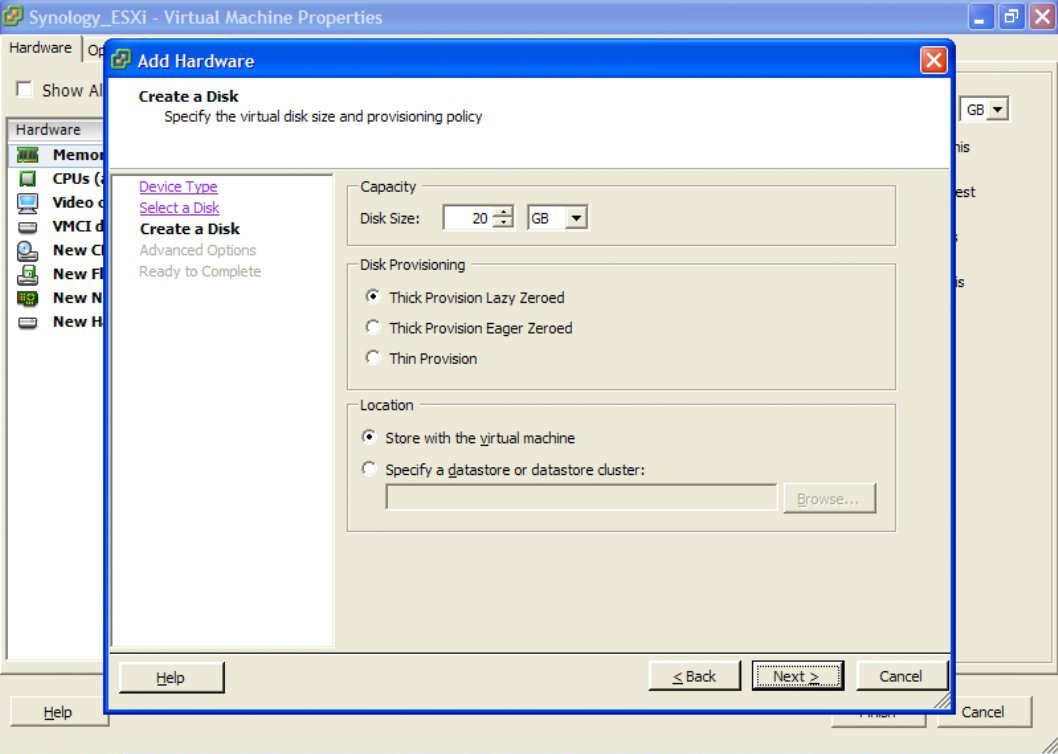
In this example, we will create a new VMFS virtual disk in the data store solely for testing. In a proper environment, use RDM PVSCSI or VMDirectPath I / O to connect the disk.
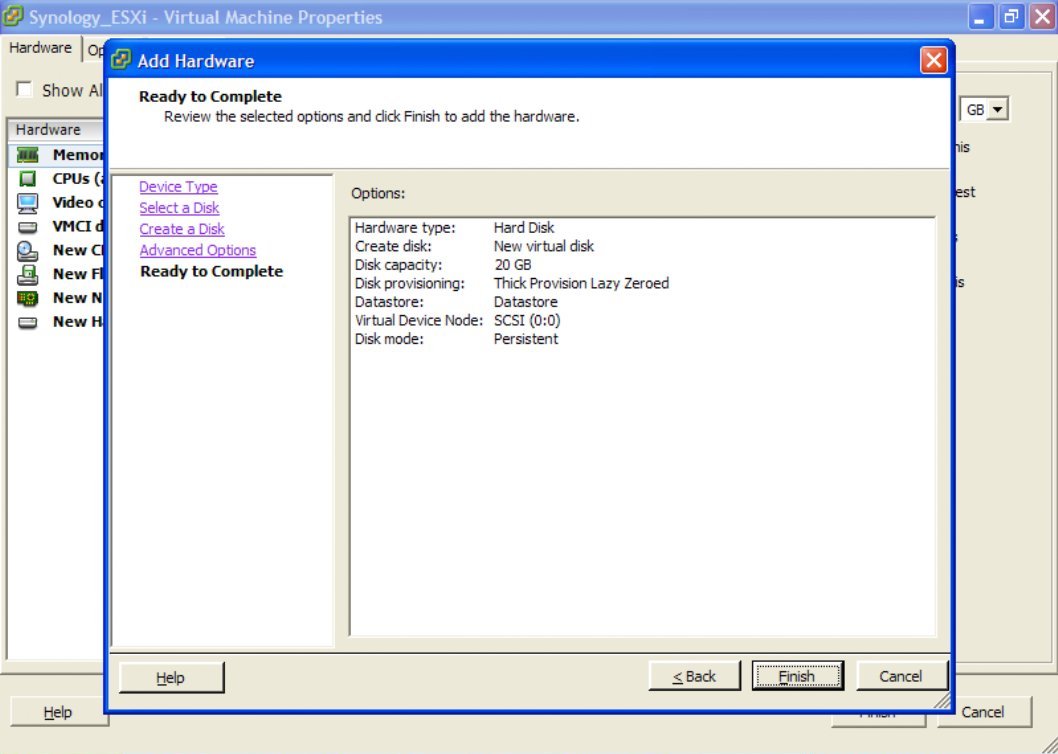
Now we will, for example only, create a 20 GB Thick Provisioned Lazy Zeroed disk.
NOTE: A thin disk will also work, but performance will be even worse.
Attach this new disk to SCSI (0: 0) Virtual Device Node (Disk 1 in Synology)
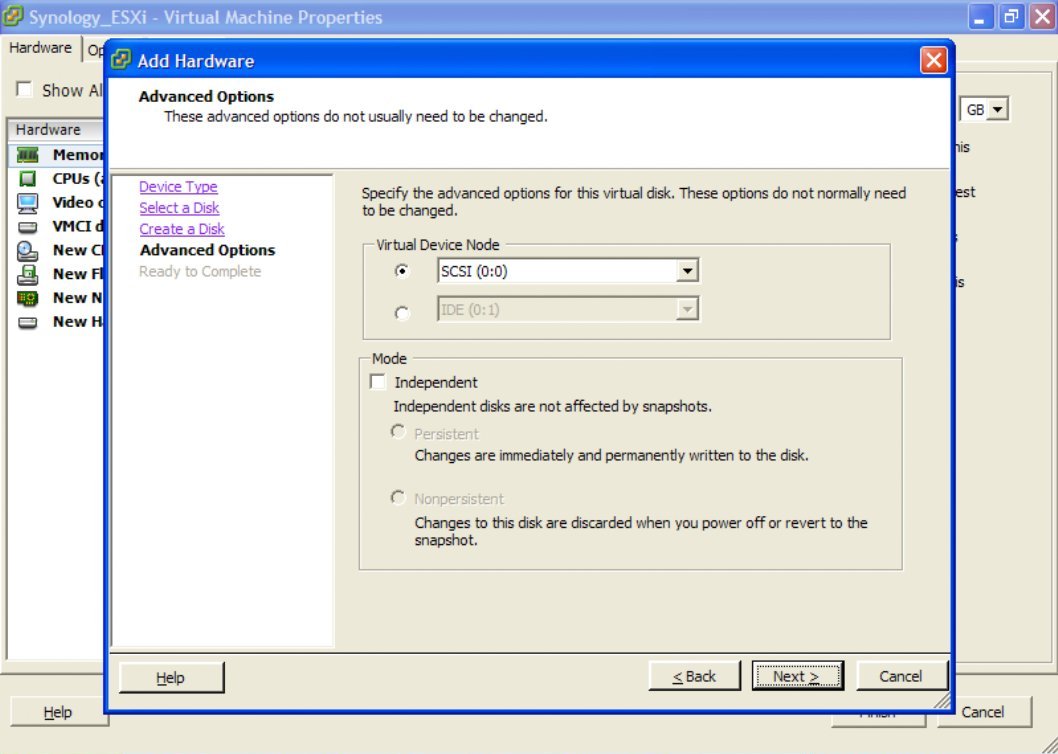
Double-check that everything is the way you want and click "Finish" to create disk storage.
NOTE: Repeat adding discs until all the discs you want to use are added.
Now make sure the Synology Virtual Machine has all the memory reserved for the guest. Currently, VMTools does not work, so it is better to leave memory management preallocated. In addition, it will allow you to use VM Vt-d connected PCI devices and, therefore, use VMDirectPath I / O and physically connected disks.
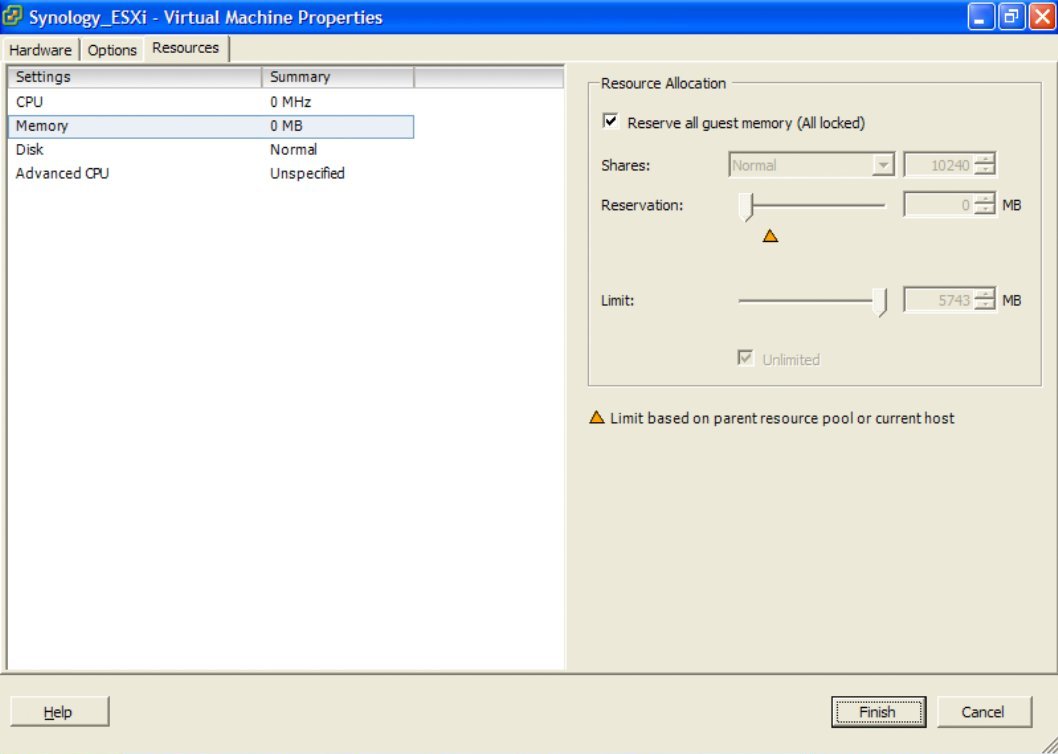
Click the “Finish” button and now everything is ready to start the virtual machine and start installing DSM 4.2.
When you start the virtual machine, the console will show the standard Linux startup sequence. Upon completion, you will notice a series of synobios_ioctl messages (SYNOIO_GET_HW_CAPABILITY, SYNOIO_GET_MODULE_TYPE, SYNOIO_GET_SYS_STATUS) in the console window. They can be ignored. As the Synology operating system loads, messages in the console will slow down in frequency.
Launch Synology Assistant and have it scan the network for new Synology NAS.
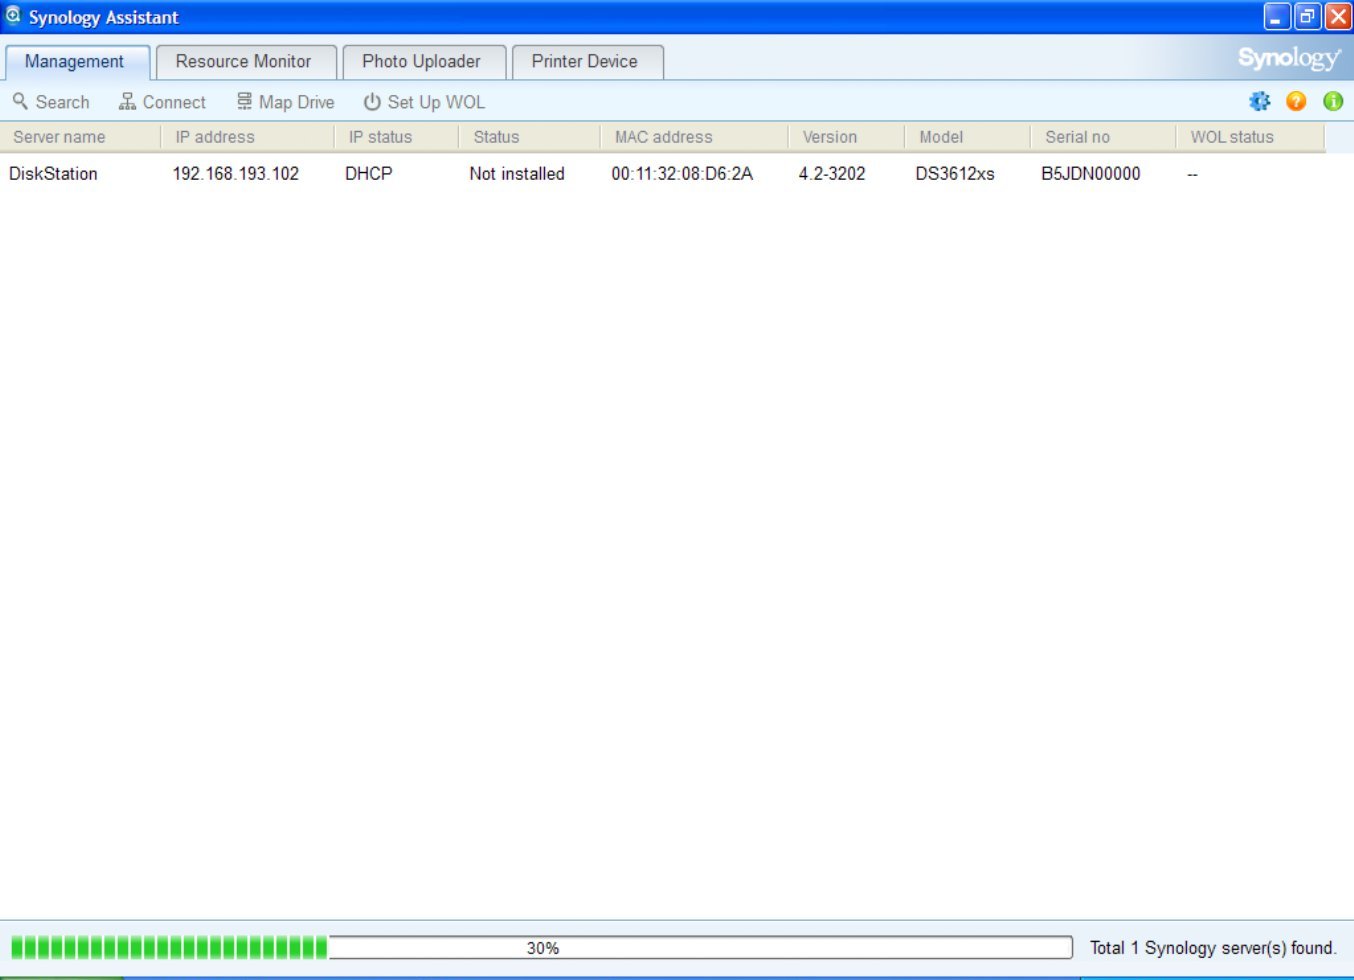
When the new NAS is found, select and connect it. A new web browser window will open.
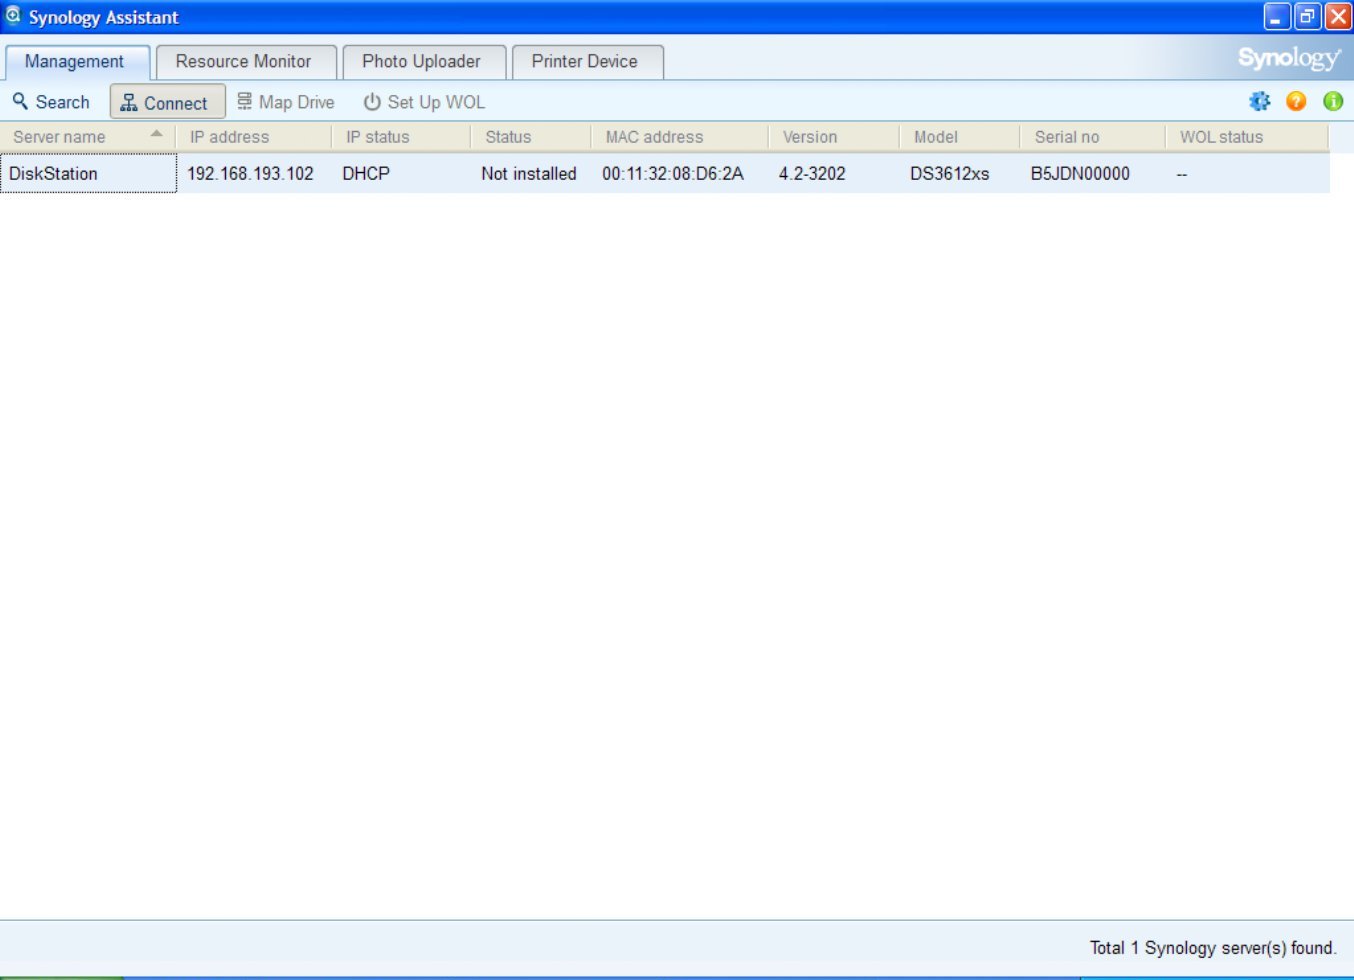
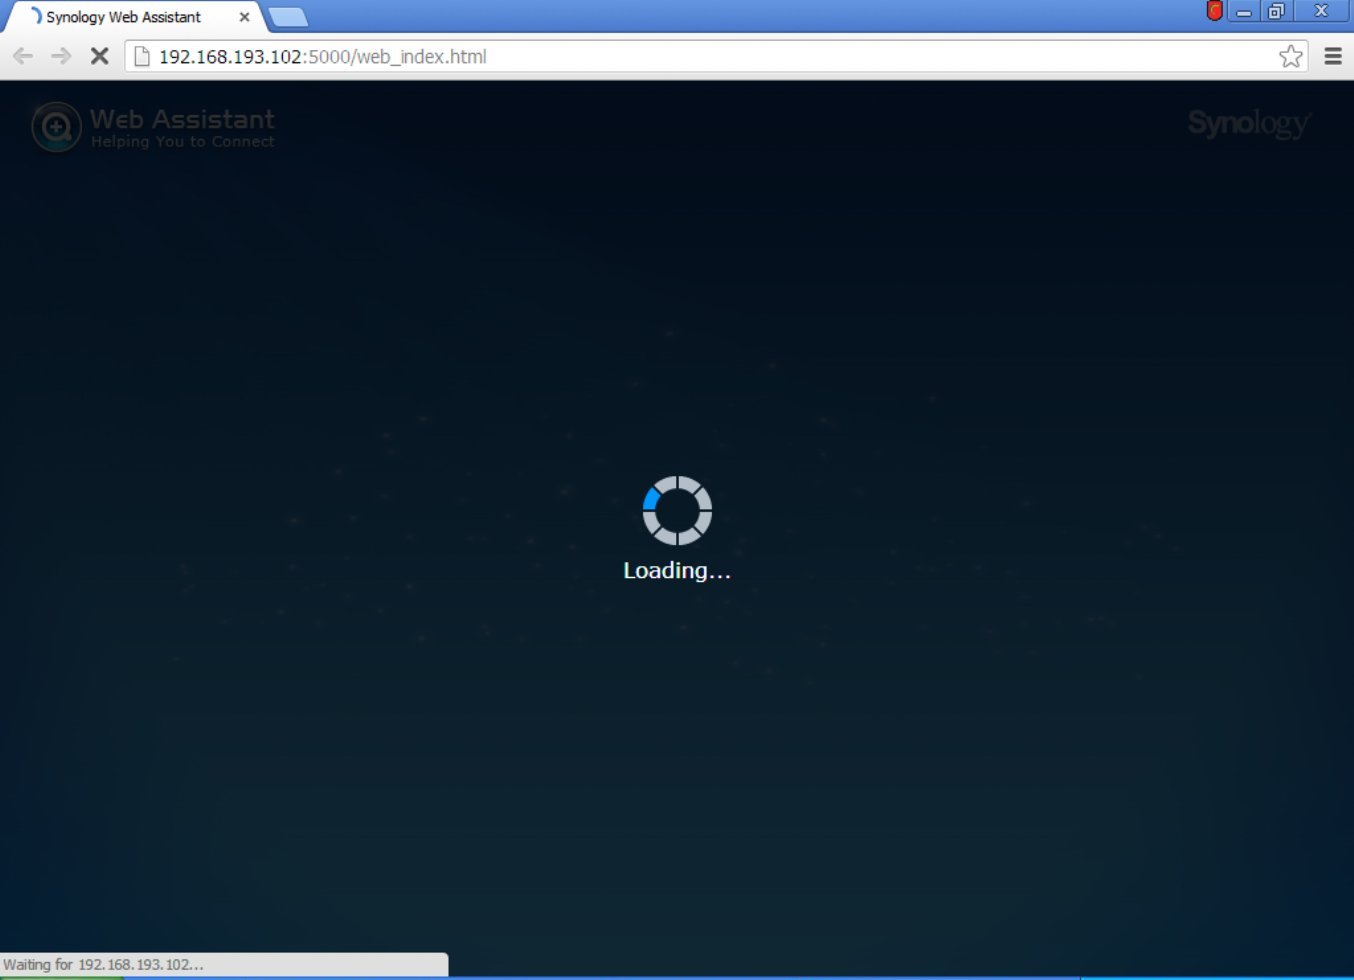
You will now see Synology Web Assistant download.
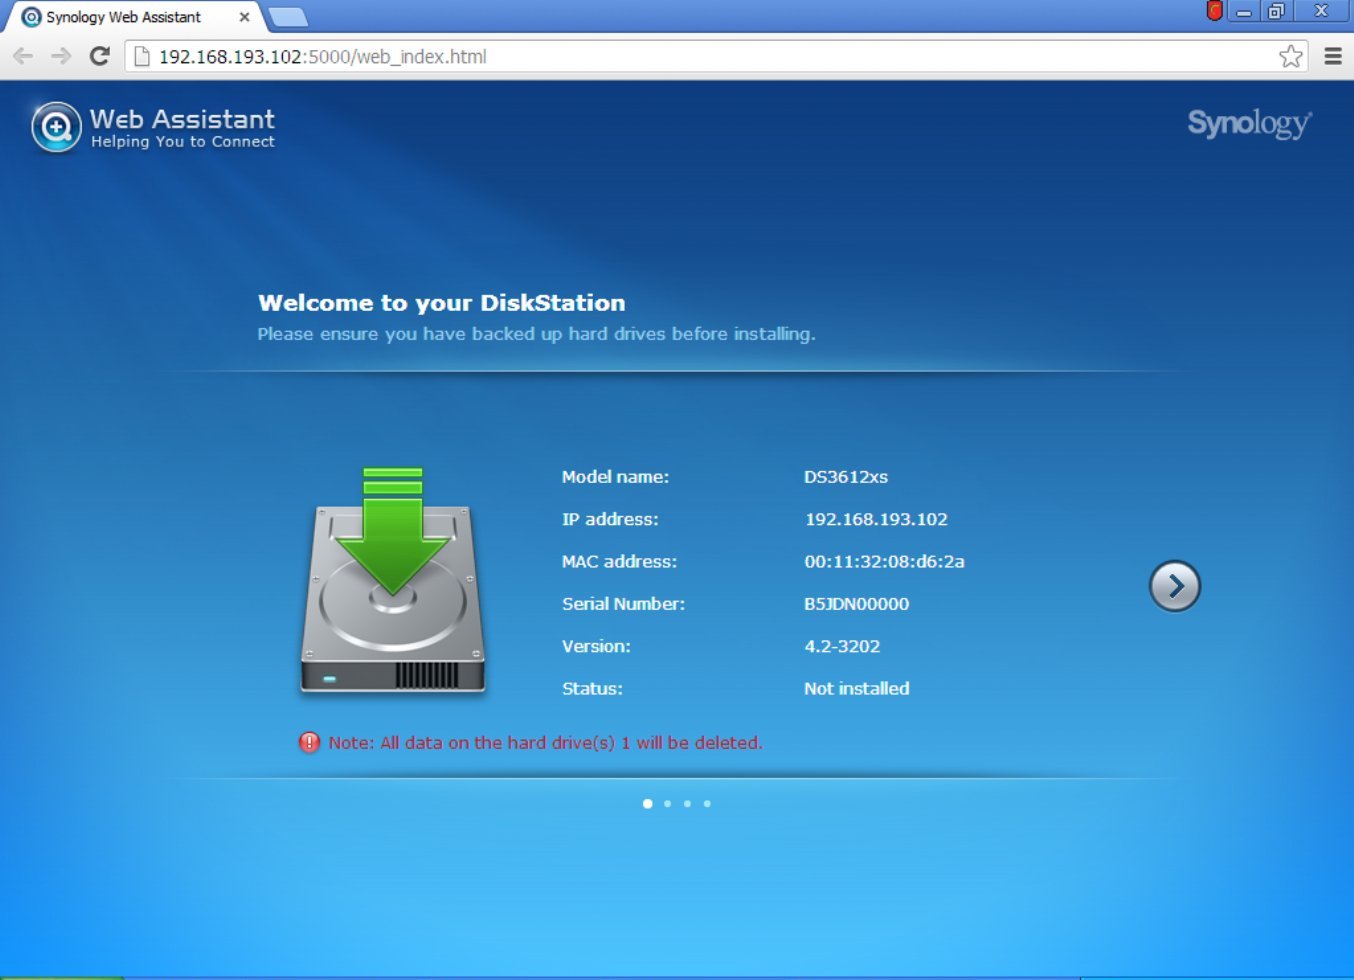
After downloading, you will be greeted by a new Synology DiskStation server.
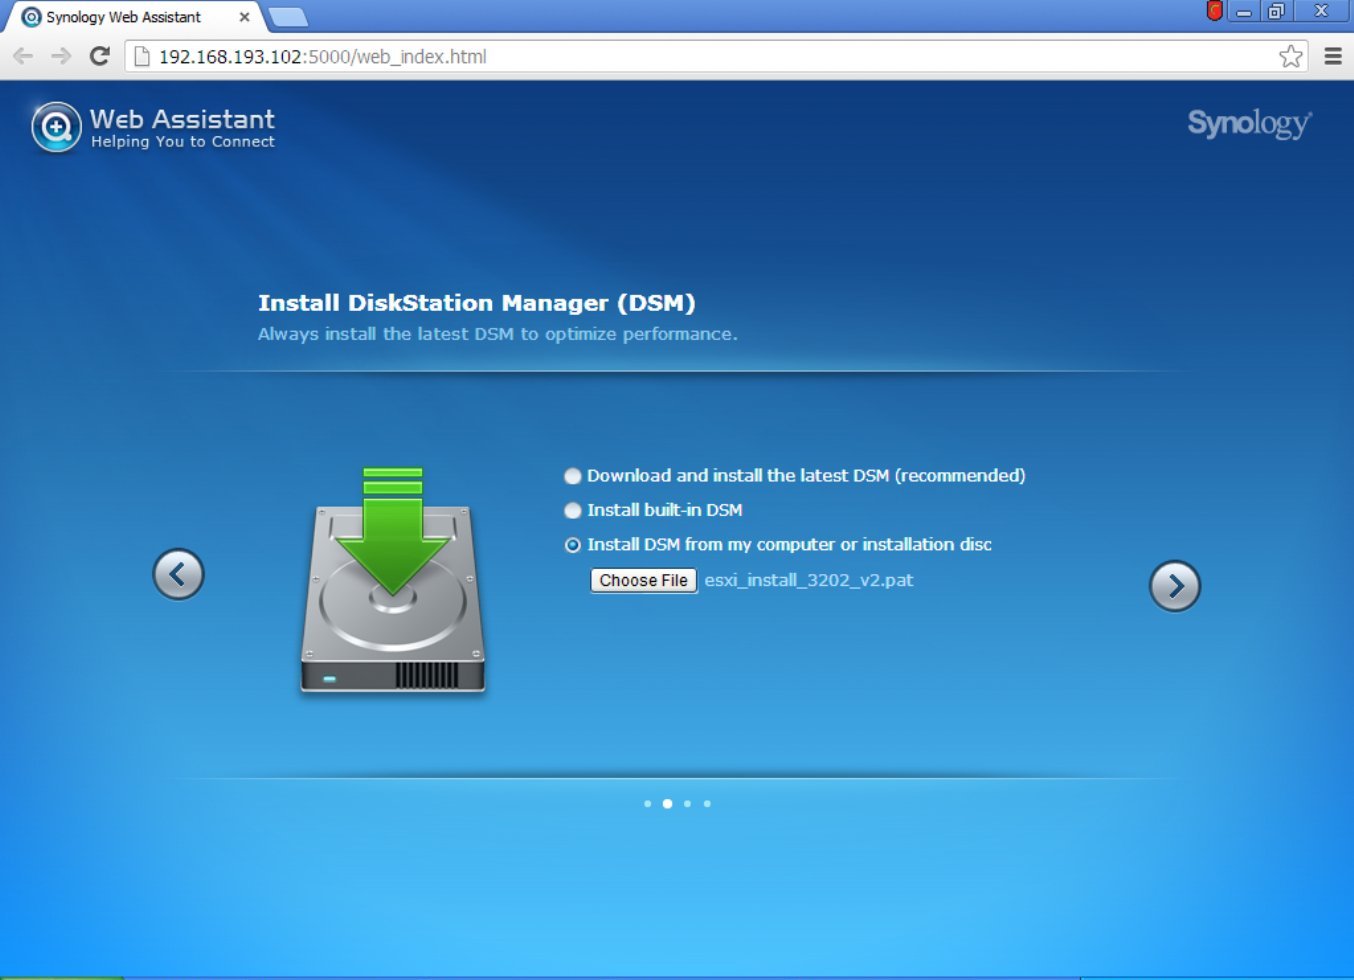
Select - install DSM from my computer or installation disk. Select the esxi_install_3202_v2.pat file from the previously downloaded archive.
Give your new DiskStation a suitable administrator name and secure password.
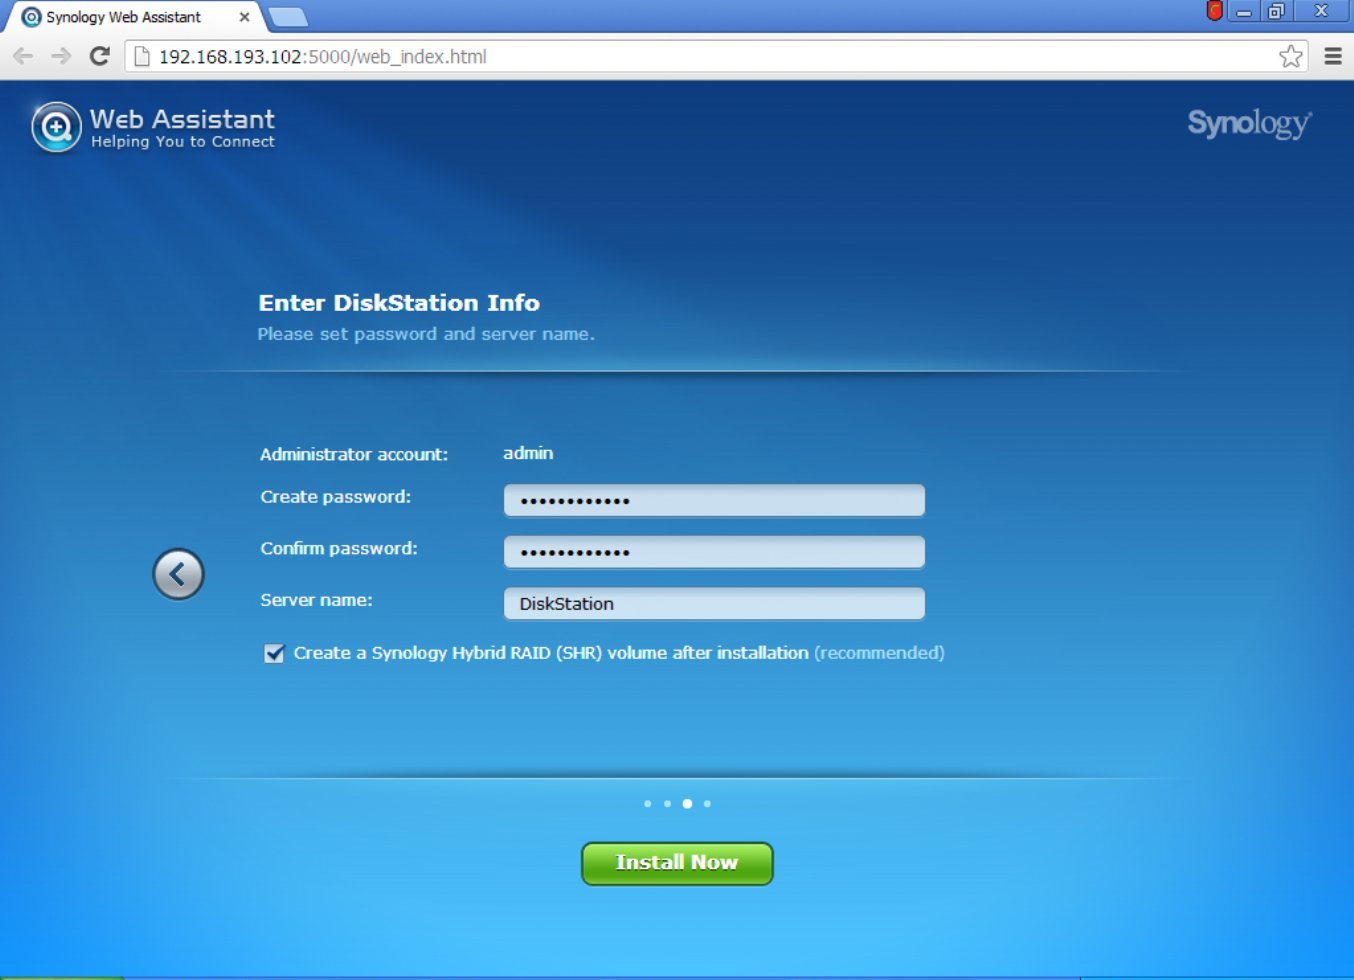
You will be warned that the installation will erase all data on the attached disks.

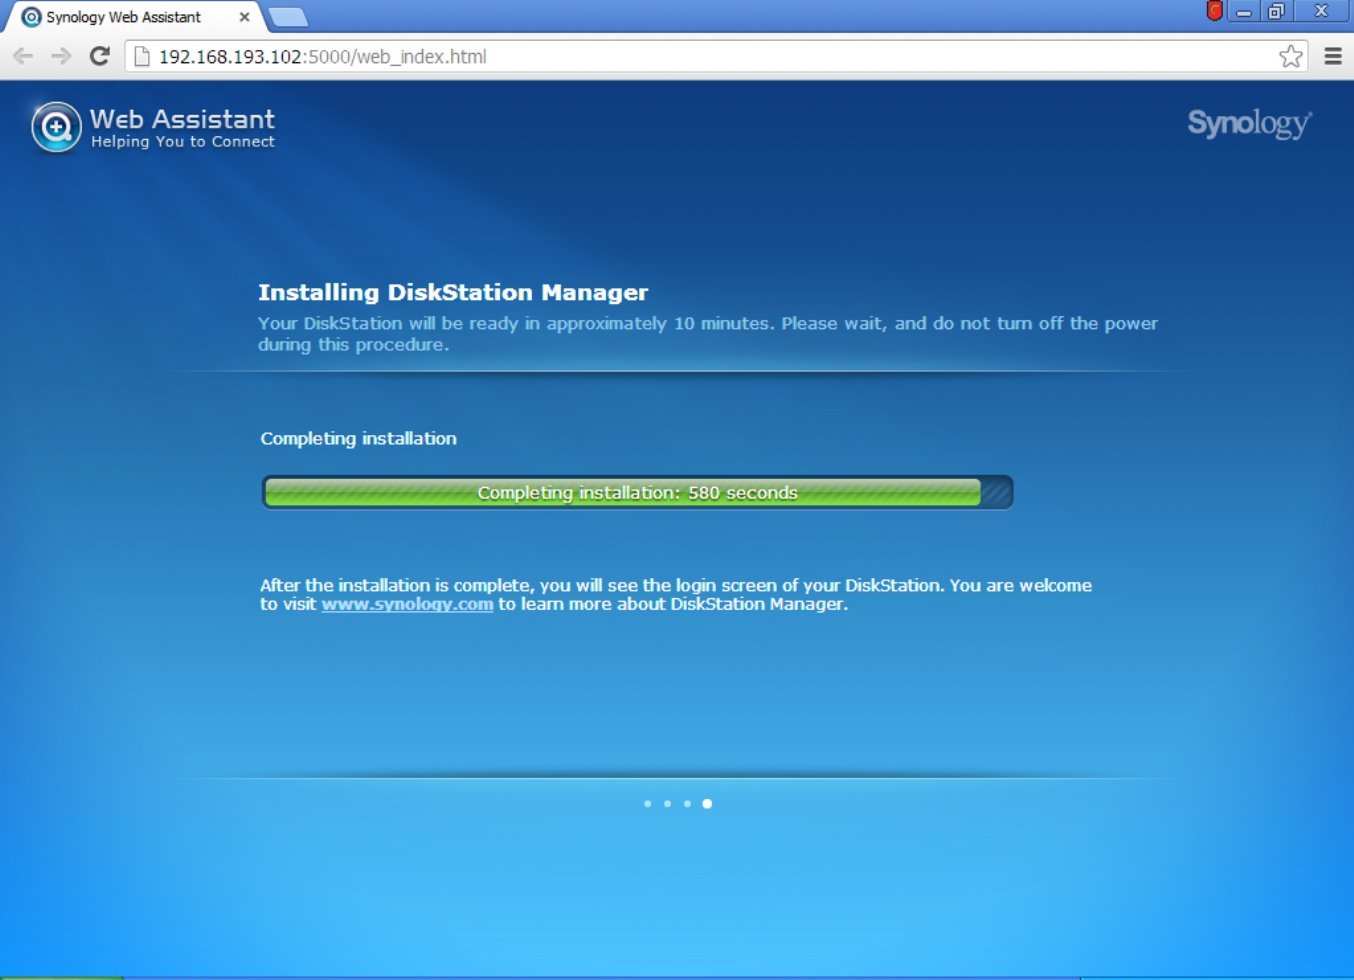
The disk (s) will be formatted, the DSM package will be downloaded and installed.

When this is completed, the DiskStation will pause to finish the configuration.
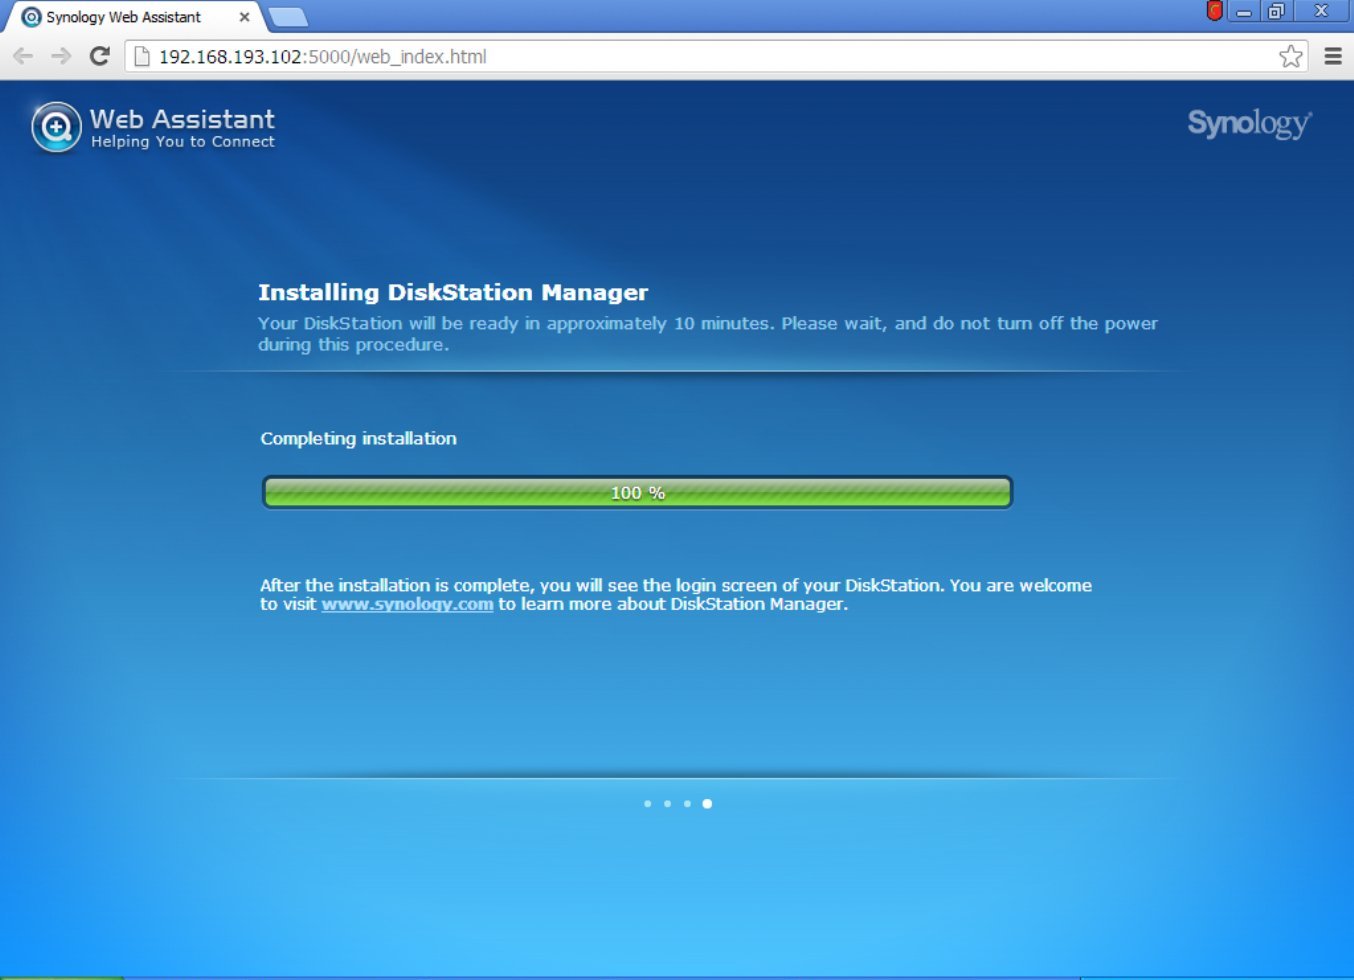
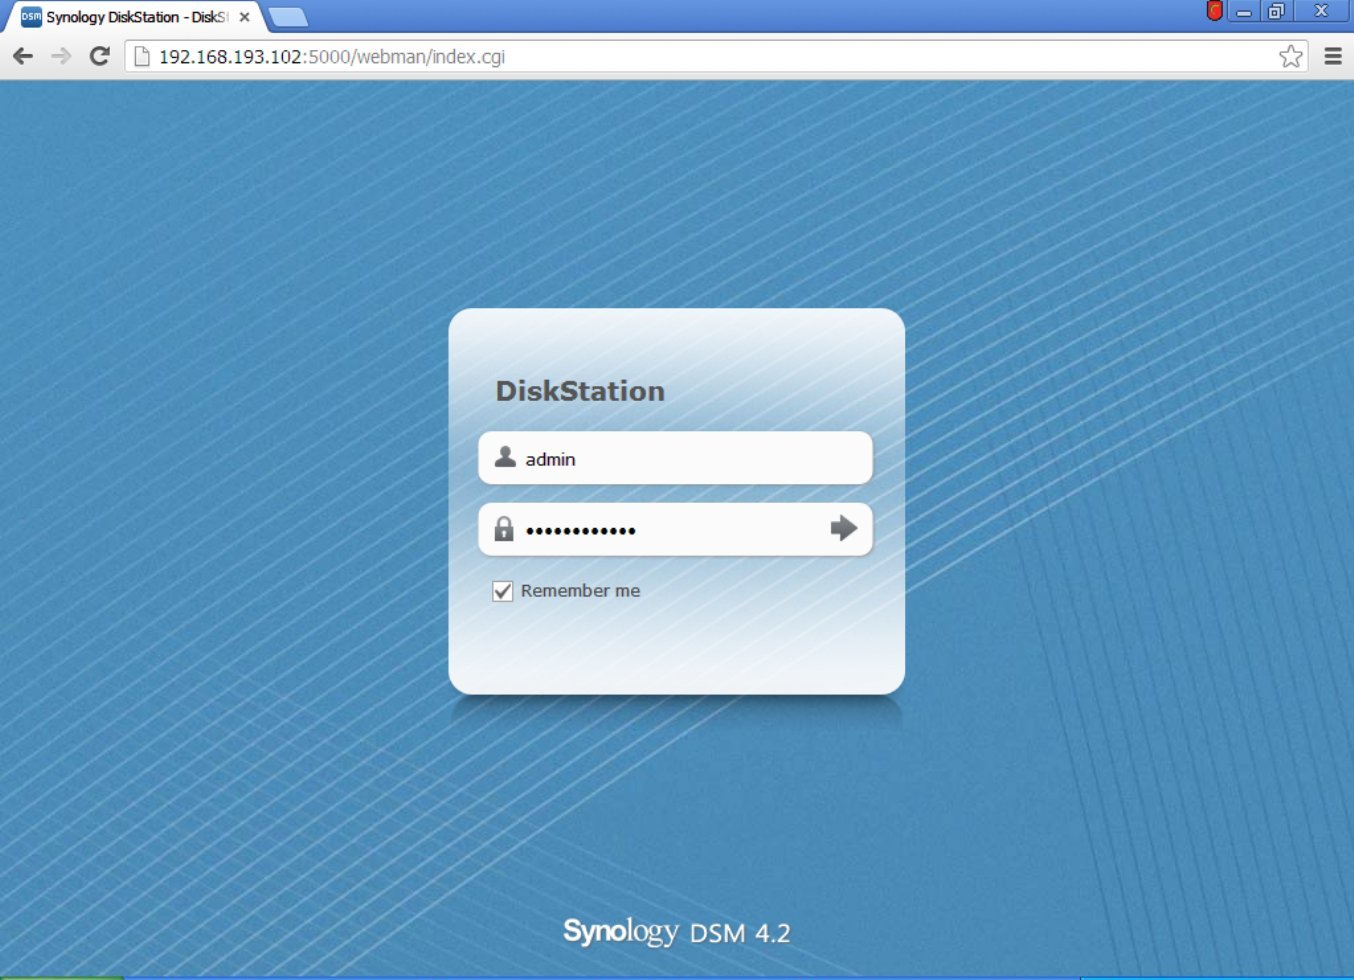
Then it will reboot with the newly installed DSM 4.2, be patient (or see the ESXi console).
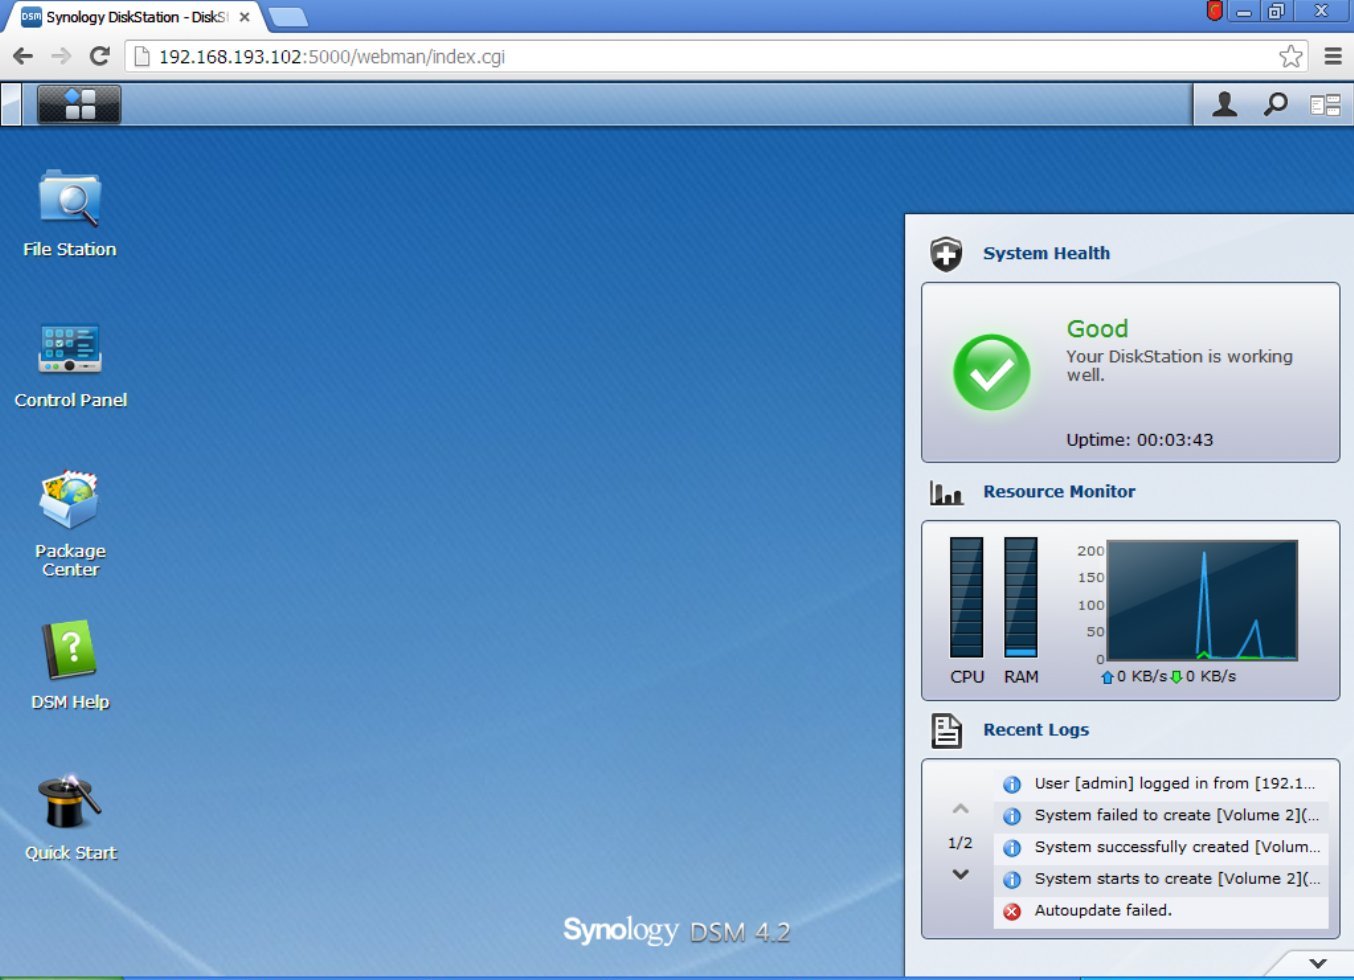
Now you have a working DiskStation!
Start testing
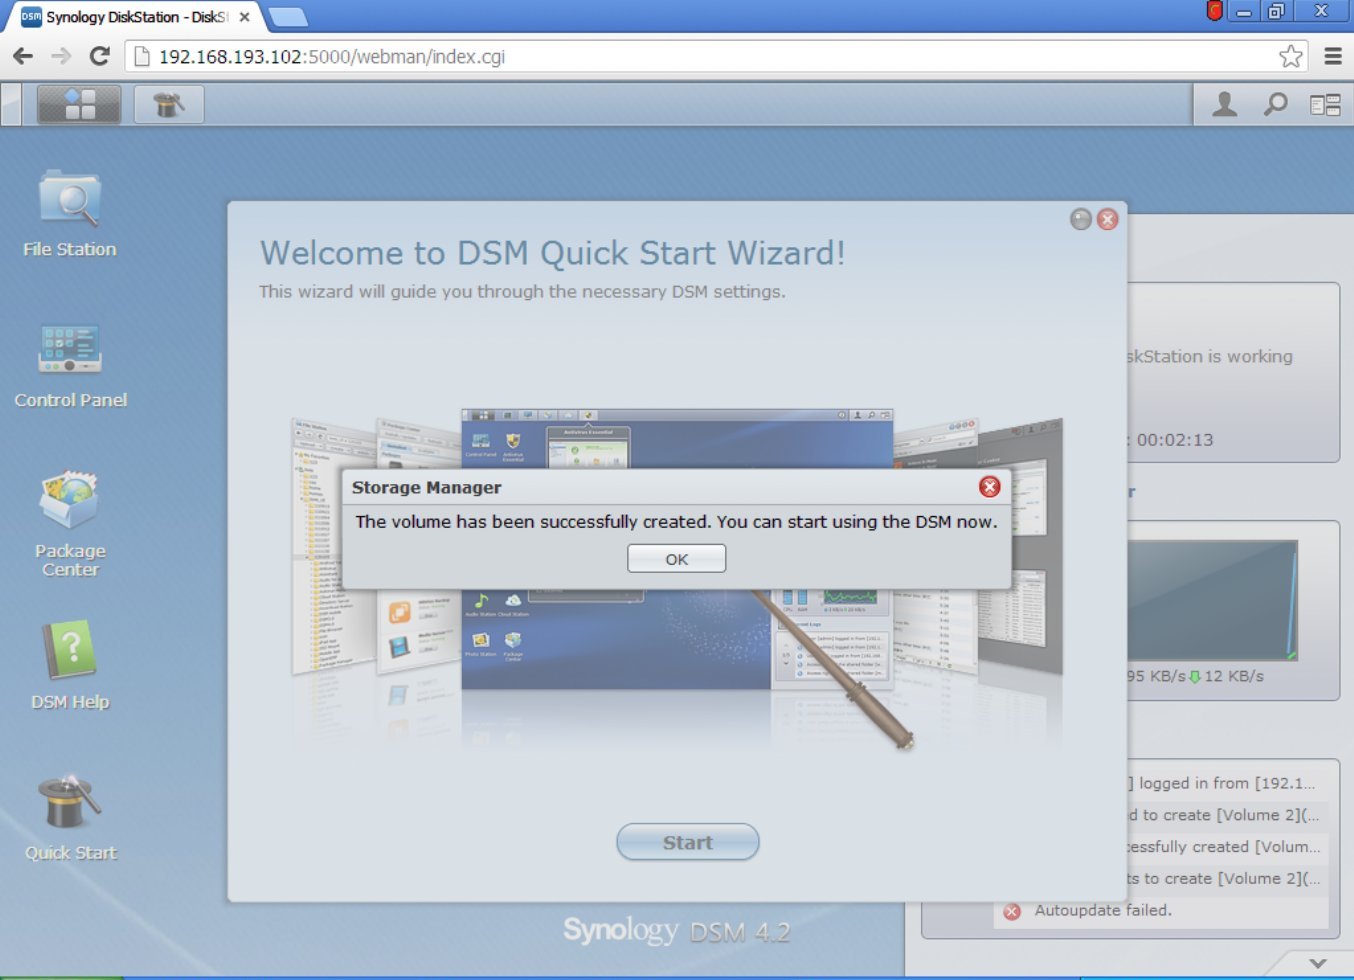
As usual, just complete the wizard.

And welcome to ESXi in the new virtual machine based on Synology DiskStation!
I accidentally stumbled upon the XPEnology project, it turned out that you can try the new Synology shell on both the virtual machine and the usual computer.
I will discuss the installation of Synology DSM 4.2 on a virtual machine in ESXi in this article, installing on regular hardware is even easier, but if there is interest, I will write a separate topic.
Required:
A little time to accurately follow this guide, understanding and configuration skills.
Properly installed and configured on a 64-bit ESXi 5.5 machine (available on the VMmware website).
NOTE: It is not a requirement to support Vt-d and use VMDirectPath I / O for disks. Use this configuration only if performance is critical and absolutely necessary. Using a PVSCSI controller and creating physical RDM disks is preferred. Use VMDK data warehouses (as in this guide) for testing and training only, and do not use for sensitive data. Thin VMDK can be used for testing and evaluation, but as a result, performance will suffer.
Download the modified Synology DSM 4.2 from here: yadi.sk/d/fTRkFMyU3D8Yc (based on DS3612xs_3202, thanks to jukolaut), download Synology Assistant from Synology directly www.synology.com/support/download.php?lang=enu/b=12%20bays&m=DS3612xx
ESXi Cooking:
Download esxi_synoboot_3202_v2.vmdk disk image on the Datastore in ESXi. Place it in a directory, that is, pre-create a directory with the same name that you give to your Synology virtual machine instance, and upload the file to that directory.
')
VM configuration:
Create a new custom virtual machine.
Give the virtual machine a convenient name.
Put it on your datastore in ESXi, if possible use SSD.
Use virtual machine version 8.
Synology DSM 4.2 is based on Linux 2.6.x (64-bit kernel).
For proper performance, use 1 processor and 2 cores.
Assign 1 GB or more memory.
Note: for performance reasons, it is recommended to reserve this memory, so the memory used MUST be available on the ESXi server.
Create 1 network adapter, VM Network, VMXNET 3, Connected at Power On.
Use VMware paravirtual SCSI controller.
Use an existing virtual disk.
Select the image esxi_synoboot_3202_v2.vmdk, previously downloaded to the Datastore.
Use IDE (0: 0) as Virtual Device Node
Select "Edit the virtual machine settings before completion" and continue.
Now we will add at least one new hard disk or several disks to the virtual machine that will become your new Synology data disks.
Select from Hard Disk devices and add it.
In this example, we will create a new VMFS virtual disk in the data store solely for testing. In a proper environment, use RDM PVSCSI or VMDirectPath I / O to connect the disk.
Now we will, for example only, create a 20 GB Thick Provisioned Lazy Zeroed disk.
NOTE: A thin disk will also work, but performance will be even worse.
Attach this new disk to SCSI (0: 0) Virtual Device Node (Disk 1 in Synology)
Double-check that everything is the way you want and click "Finish" to create disk storage.
NOTE: Repeat adding discs until all the discs you want to use are added.
Now make sure the Synology Virtual Machine has all the memory reserved for the guest. Currently, VMTools does not work, so it is better to leave memory management preallocated. In addition, it will allow you to use VM Vt-d connected PCI devices and, therefore, use VMDirectPath I / O and physically connected disks.
Click the “Finish” button and now everything is ready to start the virtual machine and start installing DSM 4.2.
When you start the virtual machine, the console will show the standard Linux startup sequence. Upon completion, you will notice a series of synobios_ioctl messages (SYNOIO_GET_HW_CAPABILITY, SYNOIO_GET_MODULE_TYPE, SYNOIO_GET_SYS_STATUS) in the console window. They can be ignored. As the Synology operating system loads, messages in the console will slow down in frequency.
Install DSM 4.2 on the Synology Virtual Machine
Launch Synology Assistant and have it scan the network for new Synology NAS.
When the new NAS is found, select and connect it. A new web browser window will open.
You will now see Synology Web Assistant download.
After downloading, you will be greeted by a new Synology DiskStation server.
Select - install DSM from my computer or installation disk. Select the esxi_install_3202_v2.pat file from the previously downloaded archive.
Give your new DiskStation a suitable administrator name and secure password.
You will be warned that the installation will erase all data on the attached disks.
The disk (s) will be formatted, the DSM package will be downloaded and installed.
When this is completed, the DiskStation will pause to finish the configuration.
Then it will reboot with the newly installed DSM 4.2, be patient (or see the ESXi console).
Now you have a working DiskStation!
Start testing
As usual, just complete the wizard.
And welcome to ESXi in the new virtual machine based on Synology DiskStation!
Source: https://habr.com/ru/post/197108/
All Articles