Customization of transitional animations between the Activity in Android OS
Good day! In this article, we will look at the process of creating custom animations for transitions between an Activity in Android using ObjectAnimator and AnimatorSet. Everyone who is interested is welcome under cat.

PS: the article is written mainly for novice developers.
All source code is available on GitHub.
We will consider 2 types of transition animations:
Two types of animation were chosen for the demonstration: simultaneous animation of several objects (door wings) and sequential animation of several objects (folding of a sheet of paper)

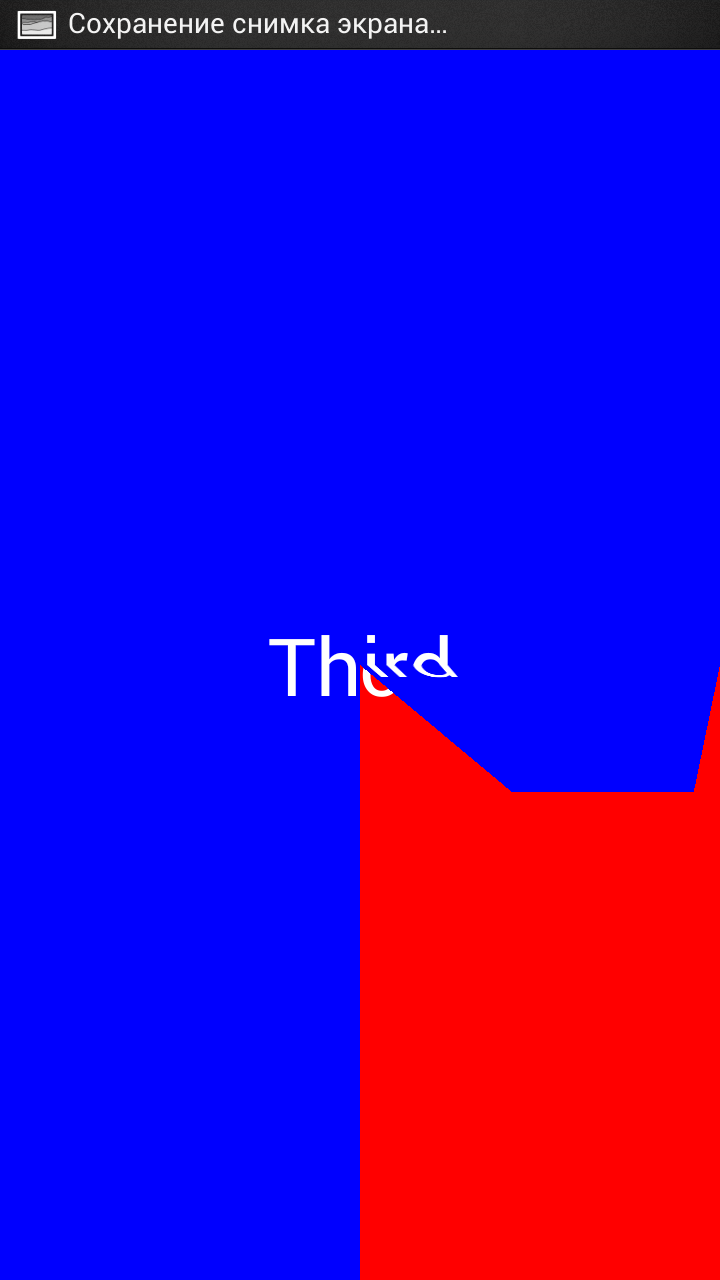
So, let's create 3 Activity: FirstActivity, SecondActivity and ThirdActivity.
')
FirstActivity code:
first.xml:
FirstActivity.java:
The getBitmap function returns the Bitmap of the current window. When you click on the main element of Activity, we create a new Intent, and as Extra we set our Bitmap, converted into a byte array. After that, run the SecondActivity.
SecondActivity code:
second.xml:
As a main element of our Activity, we set FrameLayout, which contains 2 LinearLayout. The first one contains all the necessary content (in our case, this is a TextView). In the second are 2 ImageView, which divide the screen in half. We need it for animation.
For the animation, we need to take the following steps:
In the onCreate function, we get a Bitmap from Extras, divide it into 2 Bitmap using Bitmap.createBitmap (), and set the resulting images to ImageView. After that, register the Observer, which will monitor the onDraw event of the ImageView and be called only once before the first drawing of the object. In it, we start the opening animation of the Activity.
The animation itself is described in the startEnterAnimation () function. Using the setPivotX () and setPivotY () functions, we set the points around which our images will rotate. Next we set the rotation animations themselves using ObjectAnimator.
ObjectAnimator is a system component introduced with Android 3.0. It helps to animate any property of any object. In this case, we are animating the rotationX property of type float of the left object.
Next, we create a set of animations AnimatorSet, set the duration of the animation to 500 ms and tell him that we will simultaneously play 2 animations.
Activity closing animation is set similarly. To launch it, we override the Activity onBackPressed () function. In it, we start the closing animation, without forgetting to add a listener with the finish () function.
In order to animate a new Activity against the background of an old one, we don’t need to transfer anything to a new Activity. You just need to make the background ACtivity transparent. To do this, we change the ThirdActivity theme in the AndroidManifest file to Transparent, and add this theme to styles.xml
The animation process itself will be as follows:
All animation is launched using the same AnimatorSet, only they are set using the playSequentially function. This means that all animations will be launched sequentially one after the other.
Activity closing animation is done in the same way, only in the reverse order.
We looked at 2 ways to create transition animation between an Activity. All the code in the article is adapted to the version of the system above 3.0, but it can be easily adapted to earlier versions, starting from 1.6, using the NineOldAndroids library from the well-known Jake Wharton. The only thing I would like to focus on is the installation of relative points for turning and increasing. In this library, they are installed using the AnimatorProxy object.
That's all, if you like this article - I will continue to publish on the theme of creating animations in the Android OS.
PS: the article is written mainly for novice developers.
All source code is available on GitHub.
We will consider 2 types of transition animations:
- animating the old Activity against the new
- animating a new activity against the background of the old
Two types of animation were chosen for the demonstration: simultaneous animation of several objects (door wings) and sequential animation of several objects (folding of a sheet of paper)
Old Activity Animation
So, let's create 3 Activity: FirstActivity, SecondActivity and ThirdActivity.
')
FirstActivity code:
first.xml:
<LinearLayout xmlns:android="http://schemas.android.com/apk/res/android" android:id="@+id/click_layout" android:orientation="vertical" android:layout_width="fill_parent" android:layout_height="fill_parent" android:background="#00ff00" > <TextView android:layout_gravity="center" android:gravity="center" android:layout_width="wrap_content" android:layout_height="fill_parent" android:textColor="#FFFFFF" android:textSize="40sp" android:text="First" /> </LinearLayout> FirstActivity.java:
public class FirstActivity extends Activity { @Override public void onCreate(Bundle savedInstanceState) { super.onCreate(savedInstanceState); setContentView(R.layout.first); LinearLayout click = (LinearLayout) findViewById(R.id.click_layout); click.setOnClickListener(new View.OnClickListener() { @Override public void onClick(View v) { Bitmap bmp = getBitmap(); ByteArrayOutputStream stream = new ByteArrayOutputStream(); bmp.compress(Bitmap.CompressFormat.PNG, 100, stream); byte[] byteArray = stream.toByteArray(); Intent intent = new Intent(FirstActivity.this, SecondActivity.class); intent.putExtra("picture", byteArray); startActivity(intent); overridePendingTransition(0,0); } }); } private Bitmap getBitmap(){ View root = getWindow().getDecorView().findViewById(android.R.id.content); root.setDrawingCacheEnabled(true); return root.getDrawingCache(); } } The getBitmap function returns the Bitmap of the current window. When you click on the main element of Activity, we create a new Intent, and as Extra we set our Bitmap, converted into a byte array. After that, run the SecondActivity.
SecondActivity code:
second.xml:
<?xml version="1.0" encoding="utf-8"?> <FrameLayout xmlns:android="http://schemas.android.com/apk/res/android" android:orientation="vertical" android:layout_width="fill_parent" android:layout_height="fill_parent" android:id="@+id/click_layout" android:background="#ff0000" > <TextView android:layout_gravity="center" android:gravity="center" android:layout_width="wrap_content" android:layout_height="fill_parent" android:textColor="#FFFFFF" android:textSize="40sp" android:text="Second" /> <LinearLayout android:orientation="horizontal" android:weightSum="100" android:layout_width="fill_parent" android:layout_height="fill_parent"> <ImageView android:layout_weight="50" android:layout_width="0dip" android:layout_height="fill_parent" android:id="@+id/left_image"/> <ImageView android:layout_weight="50" android:layout_width="0dip" android:layout_height="fill_parent" android:id="@+id/right_image"/> </LinearLayout> </FrameLayout> As a main element of our Activity, we set FrameLayout, which contains 2 LinearLayout. The first one contains all the necessary content (in our case, this is a TextView). In the second are 2 ImageView, which divide the screen in half. We need it for animation.
For the animation, we need to take the following steps:
- Create a Bitmap from the byte array passed from the first Activity
- Split Bitmap into 2 parts and load them into the appropriate ImageView.
- Using AnimatorSet simultaneously play the animation of the rotation of both ImageView
public void onCreate(Bundle savedInstanceState) { super.onCreate(savedInstanceState); setContentView(R.layout.second); Bundle extras = getIntent().getExtras(); byte[] byteArray = extras.getByteArray("picture"); Bitmap bmp = BitmapFactory.decodeByteArray(byteArray, 0, byteArray.length); left = (ImageView) findViewById(R.id.left_image); right = (ImageView) findViewById(R.id.right_image); int centerWidth = bmp.getWidth()/2; Bitmap bmpLeft,bmpRight; bmpLeft = Bitmap.createBitmap(bmp,0,0,centerWidth,bmp.getHeight()); bmpRight = Bitmap.createBitmap(bmp,centerWidth,0,bmp.getWidth() - centerWidth,bmp.getHeight()); left.setImageBitmap(bmpLeft); right.setImageBitmap(bmpRight); ViewTreeObserver observer = left.getViewTreeObserver(); observer.addOnPreDrawListener(new ViewTreeObserver.OnPreDrawListener() { @Override public boolean onPreDraw() { left.getViewTreeObserver().removeOnPreDrawListener(this); startEnterAnimation(); return true; //To change body of implemented methods use File | Settings | File Templates. } }); } In the onCreate function, we get a Bitmap from Extras, divide it into 2 Bitmap using Bitmap.createBitmap (), and set the resulting images to ImageView. After that, register the Observer, which will monitor the onDraw event of the ImageView and be called only once before the first drawing of the object. In it, we start the opening animation of the Activity.
private void startEnterAnimation() { left.setPivotY(left.getHeight()/2); left.setPivotX(0); right.setPivotY(left.getHeight()/2); right.setPivotX(right.getWidth()); Animator leftAnim = ObjectAnimator.ofFloat(left, "rotationY", 0, 90); Animator rightAnim = ObjectAnimator.ofFloat(right, "rotationY", 0, -90); AnimatorSet set = new AnimatorSet(); set.setDuration(500); set.playTogether(leftAnim, rightAnim); set.start(); } The animation itself is described in the startEnterAnimation () function. Using the setPivotX () and setPivotY () functions, we set the points around which our images will rotate. Next we set the rotation animations themselves using ObjectAnimator.
ObjectAnimator is a system component introduced with Android 3.0. It helps to animate any property of any object. In this case, we are animating the rotationX property of type float of the left object.
Next, we create a set of animations AnimatorSet, set the duration of the animation to 500 ms and tell him that we will simultaneously play 2 animations.
Activity closing animation is set similarly. To launch it, we override the Activity onBackPressed () function. In it, we start the closing animation, without forgetting to add a listener with the finish () function.
Animation of a new Activity
In order to animate a new Activity against the background of an old one, we don’t need to transfer anything to a new Activity. You just need to make the background ACtivity transparent. To do this, we change the ThirdActivity theme in the AndroidManifest file to Transparent, and add this theme to styles.xml
<style name="Transparent"> <item name="android:windowNoTitle">true</item> <item name="android:windowIsTranslucent">true</item> <item name="android:windowBackground">@android:color/transparent</item> </style> The animation process itself will be as follows:
- with the help of the OnPreDrawListener observer and the getBitmap function, we get the Bitmap of our Layout, after which we make it invisible and start the opening animation.
- we divide the received Bitmap into 4 parts, set each part into the corresponding Bitmap, after which we make all the images invisible except the initial one
- the opening animation will be similar to the previous one, except that after the animation of each piece of image is finished, we need to make the next piece of the image visible
- well, at the end of the whole animation we make visible the Layout from the contents of this Activity, and hide the images
All animation is launched using the same AnimatorSet, only they are set using the playSequentially function. This means that all animations will be launched sequentially one after the other.
Activity closing animation is done in the same way, only in the reverse order.
Conclusion
We looked at 2 ways to create transition animation between an Activity. All the code in the article is adapted to the version of the system above 3.0, but it can be easily adapted to earlier versions, starting from 1.6, using the NineOldAndroids library from the well-known Jake Wharton. The only thing I would like to focus on is the installation of relative points for turning and increasing. In this library, they are installed using the AnimatorProxy object.
That's all, if you like this article - I will continue to publish on the theme of creating animations in the Android OS.
Source: https://habr.com/ru/post/196224/
All Articles