Photoshop in Ubuntu
Summary
We will use VirtualBox with windows and photoshop installed, then integrate the virtual machine into ubuntu. As a result, we practically will not feel that an emulator is being used.
')
Install VirtualBox
VirtualBox is available in the ubunt repositories, but I recommend installing the package from the developer’s download page, with more features (such as USB support).
Install Windows
There should be no difficulties. Just in case, you can use this article .
Installing Photoshop
Put the program you want the version.
Configure VirtualBox for better integration with Ubuntu
This is where the fun begins.
Shared folders
In order to have access to your files in ubuntu, you must create a shared folder.
For this:
- open VirtualBox
- choose a virtual machine
- click Settings → shared Folders (Settings → Shared Folders)
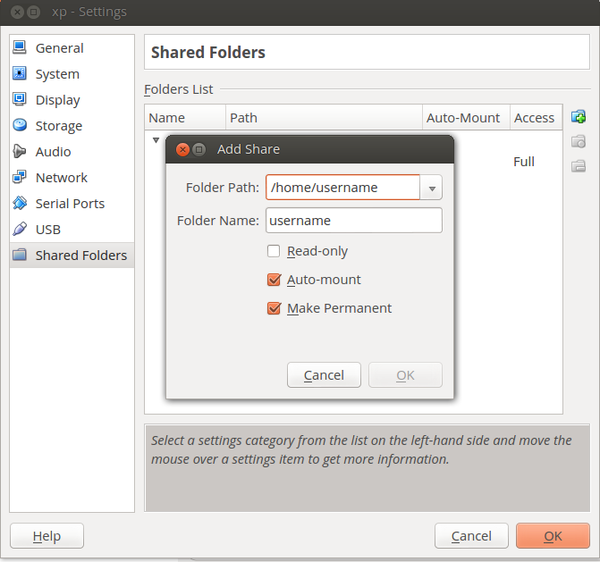
Make sure you select Auto-mount.
Saving machine status
Saving the state of the machine is what we need. It looks like a standby mode in ubuntu and allows us to load photoshop very quickly. Use state saving when you want to close the program.

VirtualBox command line utilities
So, we have a virtual machine with Photoshop installed. But in order to run it, we first need to open VirtualBox, which is not very convenient. Fortunately, the virtualbox provides the commands to start the virtual machine from the console directly.
VBoxManage startvm name-of-your-vm
or
VBoxManage startvm /home/user/path/to/your/vm.vbox
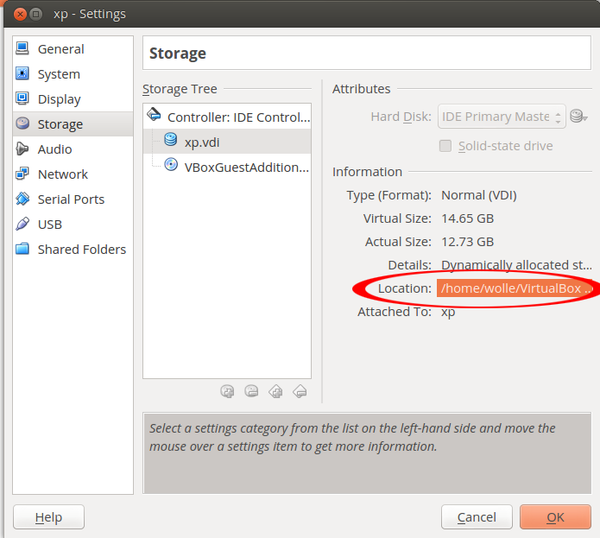
You can find the placement of the virtual machine image in "Configure → Media"
Create a bash script
Create a bin folder if it does not exist:
mkdir ~ / bin
Create the script itself:
vim ~ / bin / photoshop.sh
Paste this code (specify the path to your machine image):
#! / bin / bash
VBoxManage startvm /home/username/path/to/your/vm.vbox
Save and make this file executable:
chmod + x ~ / bin / photoshop.sh
Save the icon
You can take this and save it like this:
~ / .local / share / icons / hicolor / 128 × 128 / apps / photoshop.png
Create a label
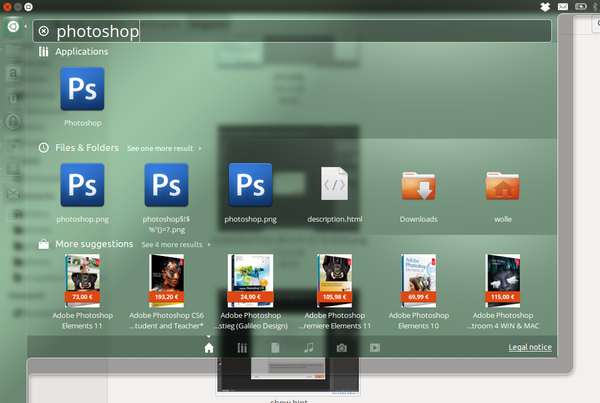
To make our photoshop available in Unity Launcher and Unity Dash, create a shortcut.
vim ~ / .local / share / applications / photoshop.desktop
And paste this code:
#! / usr / bin / env xdg-open
# Change your username in line 7 + 8
[Desktop Entry]
Version = 1.0
Name = Photoshop
Exec = / home / username / bin / photoshop.sh
Icon = / home / username / .local / share / icons / hicolor / 128 × 128 / apps / photoshop.png
Type = Application
StartupWMClass = VirtualBox
Categories = Development; Office;
Replace username with your username.
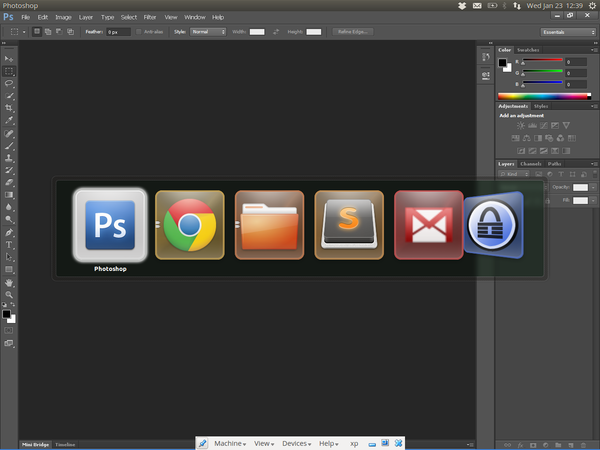
Conclusion
The integration is complete, the result can be seen below.
___________________
A source
Source: https://habr.com/ru/post/194546/
All Articles