Raspisco - remote access to Cisco via Raspberry Pi

In work (engineer | system administrator | just a good guy) sometimes it starts to seem like time is being spent inefficiently, tasks that are being solved, are being solved in a non-optimal way, then Rispac
Long time ago, in a distant, distant galaxy ...
In my work activity, I often had to deal with the situation when it is necessary to initially set up through the console port equipment operated at a facility that is quite far away and at the same time it is not possible to configure this equipment in advance. And as this situation began to arise more and more often, I decided to put some effort into wasting time more efficiently. After all, the lion's share of time is not taken by the setting itself, but by the time spent on delivering the specialist’s body to the console port of the switch, router, gateway,
')
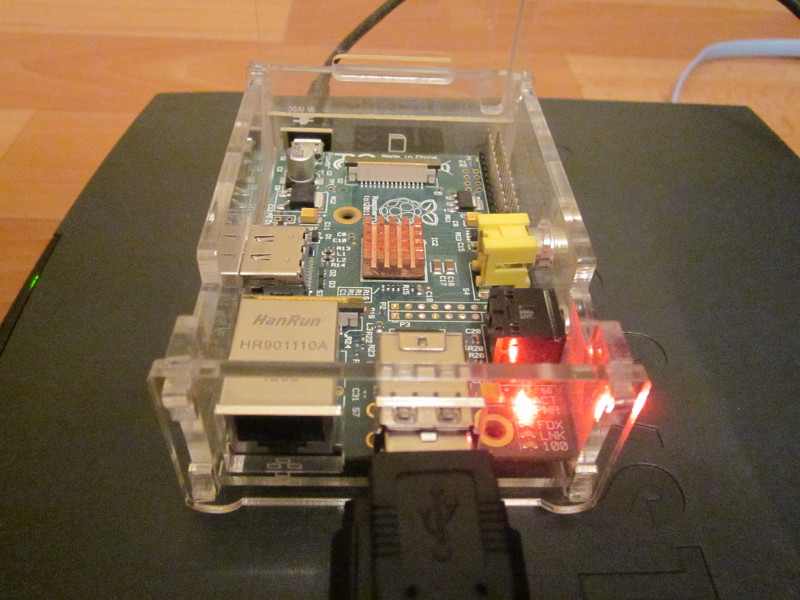
Equipment list:
| - Raspberry Pi | 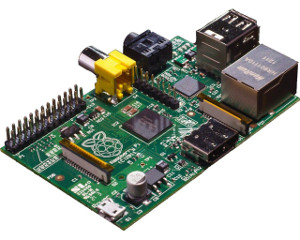 | - Power supply 5V / 1A |  |
| - SD card 4 Gb |  | - Huawei E1550 3G modem 12d1: 1446 (before usb_modeswitch) 12d1: 1001 (after usb_modeswitch) |  |
| - USB to RS232 Serial Port Adapter |  | - Cisco Console Cable DB9 Female to RJ45 Male | 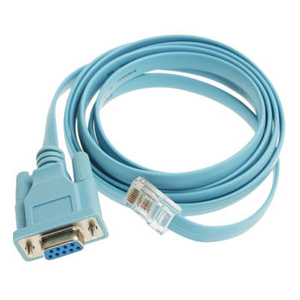 |
1. Preparation of Raspberry Pi
Install the operating system image on the Raspberry Pi memory card. In the instructions we use the distribution of Raspbian Wheezy, but the following is also true for other similar OS images. To do this, download the image from the page www.raspberrypi.org/downloads 2013-02-09-wheezy-raspbian.zip, unpack the archive and install it on the SD card using the utility sourceforge.net/projects/win32diskimager (a 4 Gb card will do)
For the initial configuration of the Raspberry Pi, we run the raspi-config from the command line and set the necessary parameters, for example, expanding the amount of memory occupied by the root file system.
2. Preparation of Raspberry Pi, Part Two
We update the software, install the missing software:
apt-get update
apt-get upgrade
apt-get install usb-modeswitch ( 3G )
3. Automatic internet connection
To work via the 3G network, you must install the ppp package:
apt-get install ppp
It is convenient to use a universal Internet connection script via 3G - sakis3g and a wrap for it umtskeeper:
wget "http://www.sakis3g.org/versions/latest/armv4t/sakis3g.gz"
gunzip sakis3g.gz
chmod +x sakis3g
Run the auto connect wizard:
./sakis3g --interactive
If you manage to establish a connection, then to automatically start the connection with the mobile packet network you need to add the following lines to the /etc/rc.local file:
/ home / pi / umtskeeper / umtskeeper --sakisoperators “USBINTERFACE = '0' OTHER = 'USBMODEM' USBMODEM = '12d1: 1001' APN = 'internet.mts.ru' CUSTOM_APN = 'internet.mts.ru' SIM_PIN = ' 1234 'APN_USER =' mts' APN_PASS = 'mts' "--sakisswitches" --sudo --console "--devicename' Huawei '--log --silent --monthstart 8 --nat' no '&
4. Application Software
Install other necessary software:
apt-get install openvpn ckermit
In my case, as the mobile operator does not provide a “white” IP address by default, I didn’t want to pay additionally for the Real IP service
its openvpn server. I don’t see the point here in detail, there are many step-by-step instructions for setting up Openvpn on the Internet .
Copy the client's openvpn configuration file in / etc / openvpn and add the lines to the end of the /etc/rc.local file:
sleep 100
/etc/init.d/openvpn start
Also, solely for convenience, you can configure an SMS alert, after successfully connecting Raspisco to the VPN server, an SMS message arrives on the phone with the IP address to which I later connect via Telnet / SSH . You can use email2sms gateway, Google Calendar , Mail Agent SMS or even a dozen alternatives.
We will connect directly to Cisco via kermit :
Add the following spells to the kermrc configuration file:
root@Raspisco:~# cat .kermrc
set flow control none
set carrier-watch off
set speed 9600
set reliable
set flow none
set prefixing all
set file type bin
set handshake none
connect
5. How it all works
In field conditions, the algorithm is as follows:
After powering on, Raspisco loads, connects to the Internet, then connects to the openvpn server, the engineer receives sms with an IP address, connects via SSH to the Raspberry PI, starts kermit, performs the initial hardware configuration.
Naturally, instead of Cisco, equipment from any other manufacturer can be used.
We assume that the time was not wasted
Now even a cleaning manager can gofor a beer a hundred versts.
Now even a cleaning manager can go
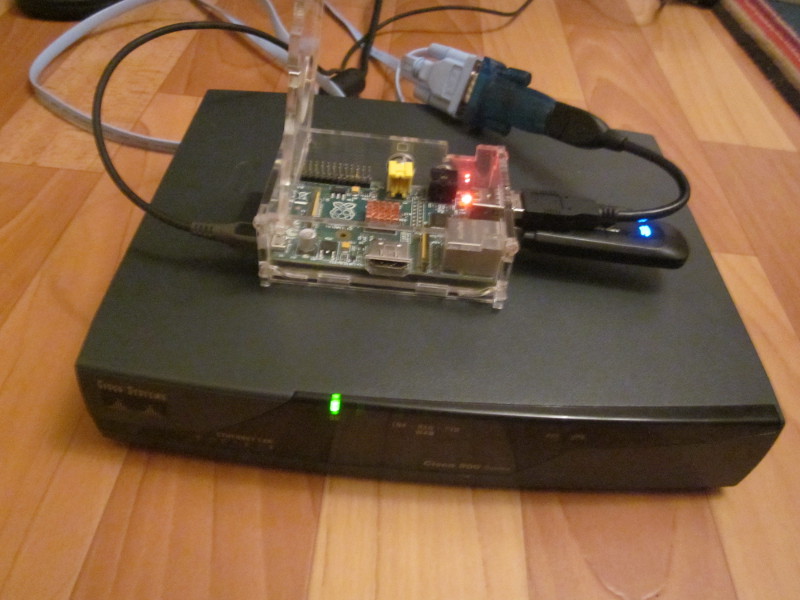
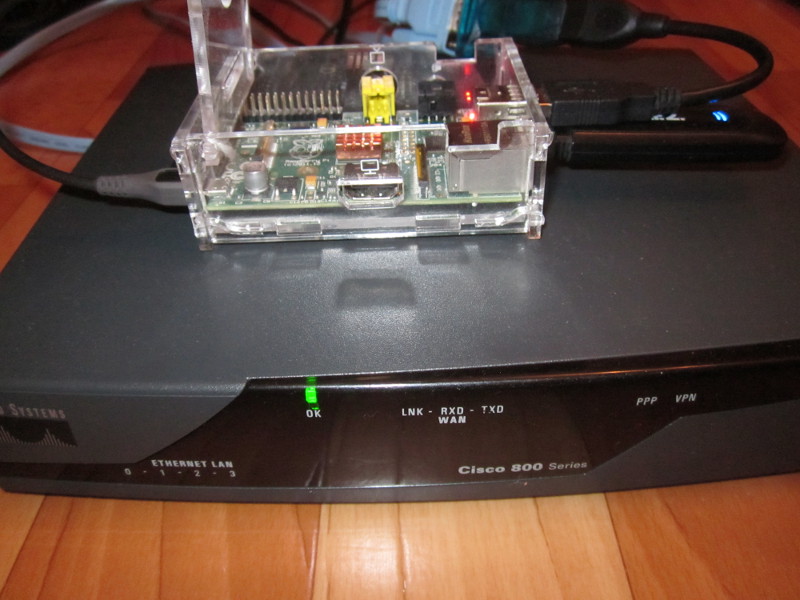
Below is a photo report.
Source: https://habr.com/ru/post/192188/
All Articles