OpenWRT, or What else can you do with your router?
Hello, I was prompted to write a similar article, but the server was Raspberry Pi. In my opinion, using this small, but powerful enough handkerchief for this purpose is a little unwise, many have a wi-fi router with a USB port, and therefore why plug into the outlet a whole power supply from a computer while still allowing a small one, but all the same power consumption when all that is needed is already plugged into the outlet.
In this article, we will consider installing a torrent on almost any router with USB and support for OpenWRT firmware. I have a Linksys E3000, but there is no specific difference in the installation and configuration of OpenWRT. What we will need for this:
First of all, I’ll immediately make a reservation that you are doing everything at your own peril and risk, since there is a possibility that your router will be “scorched”. Check if your router is in the list of supported devices, for this we go to the website OpenWrt
')

Click on the appropriate link and look for your device there in the list. In principle, the information there is not always up-to-date, I was convinced of this on my own personal experience with my router, which in this list is listed as not fully supported , although it is already included in the trunk. It is advisable to remember on which chipset your router is built to facilitate the search for your particular firmware.

After that go to the tab "Downloads"
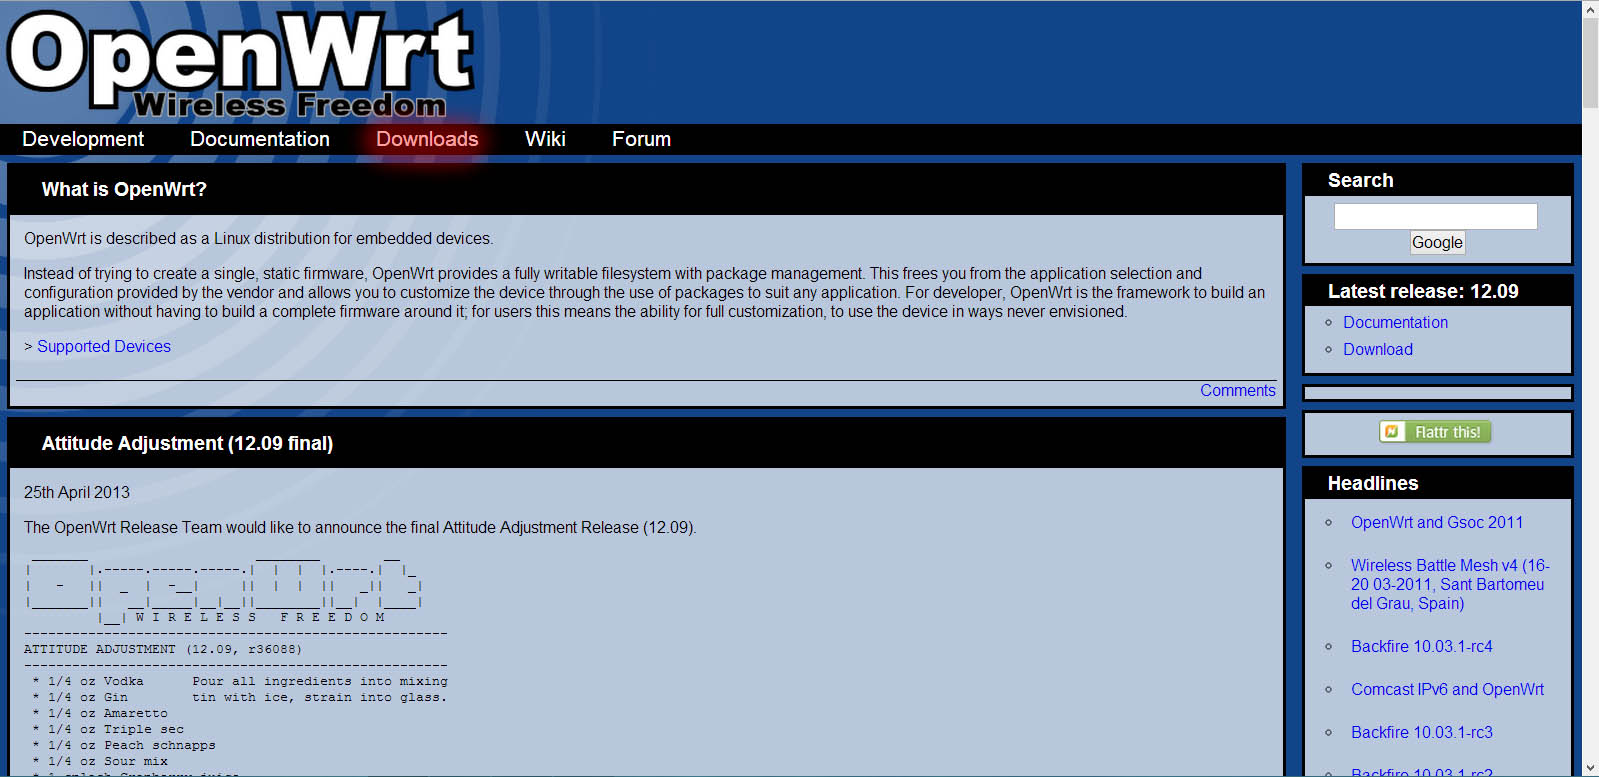
Here you should choose which branch to use stable (Attitude Adjustment) or, accordingly, “trunk” in the snapshots folder, I’ll immediately notice if your router is a less or less new model, then you will most likely not find it in a stable branch.

We proceed directly to downloading the firmware.

After the firmware has been downloaded, proceed to the firmware of your router. To do this, go to its web interface, which is usually located at 192.168.1.1 or 192.168.0.1 , depending on the manufacturer of the router. For more information on the process of firmware and Wi-Fi settings and everything else for a particular router, you can contact Google , otherwise this article can stretch to indecent sizes, but we will focus on installing and configuring Transmission.
After the firmware of the router, start PuTTY if your Windows OS, if Linux, then just start the terminal. In the address field we drive in 192.168.1.1 for PuTTY or the
Before downloading the package should be a small digression. Since the physical memory router is small enough, varies from 4 to 16 megabytes depending on the advancement and price of your router, we should worry about increasing it in advance. After all, in any case, we are going to connect a USB flash drive or hard drive to it, so why don't we make the router boot directly from the partition on our media? Let's do that! Before all manipulations with the router, you need to "split" your HDD / USB flash drive into several sections.
Of course, all this could be done on the router, but on the computer it all happens much faster and you can use programs with a graphical interface, and not just the command line of the terminal, which for a beginner greatly speeds up the process. How to do all this on Windows and Linux, again, you can look at Google for the same reason as the first call to this source.
Let's get started Enter sequentially commands in the terminal
Here, instead of
This command writes all the found sections to automatically connect to the
Open this file for editing:
How to use this editor you can see here or again go to Google .
Reboot the router. Again we go into the console and check whether everything was correctly mounted:
Here you should pay attention to the fact that
Open the client settings file and edit to fit your needs:
We start and check:
We launch the browser and enter 192.168.1.1:9091 if everything works, that's all.
If this article is of interest to anyone, I’m also ready to tell you about setting up a “file dump”, raising a VPN server, setting IPTV on OpenWRT.
I foresee the opinion of many that on Habré and indeed throughout the Internet is full of similar instructions, but I have tried as much as possible in detail and simply to paint the entire process of installation and configuration. Just recently, the principle of using a flash drive as the root partition has slightly changed in OpenWRT, now this information is already available on the project wiki, but only in English.
UPD: This article does not describe how to configure the Internet connection from your provider, as there are too many nuances of settings. Without connecting the router to the Internet, of course, nothing will come of it.
In this article, we will consider installing a torrent on almost any router with USB and support for OpenWRT firmware. I have a Linksys E3000, but there is no specific difference in the installation and configuration of OpenWRT. What we will need for this:
- Directly USB router, ideally of course with two.
- USB flash drive / USB HDD of arbitrary size for your needs, the more the better.
- Literally half an hour of free time to put everything up and adjust.
- Straight arms.
Install / configure OpenWRT
First of all, I’ll immediately make a reservation that you are doing everything at your own peril and risk, since there is a possibility that your router will be “scorched”. Check if your router is in the list of supported devices, for this we go to the website OpenWrt
')
Click on the appropriate link and look for your device there in the list. In principle, the information there is not always up-to-date, I was convinced of this on my own personal experience with my router, which in this list is listed as not fully supported , although it is already included in the trunk. It is advisable to remember on which chipset your router is built to facilitate the search for your particular firmware.
After that go to the tab "Downloads"
Here you should choose which branch to use stable (Attitude Adjustment) or, accordingly, “trunk” in the snapshots folder, I’ll immediately notice if your router is a less or less new model, then you will most likely not find it in a stable branch.
We proceed directly to downloading the firmware.
After the firmware has been downloaded, proceed to the firmware of your router. To do this, go to its web interface, which is usually located at 192.168.1.1 or 192.168.0.1 , depending on the manufacturer of the router. For more information on the process of firmware and Wi-Fi settings and everything else for a particular router, you can contact Google , otherwise this article can stretch to indecent sizes, but we will focus on installing and configuring Transmission.
Installing and configuring Transmission
After the firmware of the router, start PuTTY if your Windows OS, if Linux, then just start the terminal. In the address field we drive in 192.168.1.1 for PuTTY or the
telnet 192.168.1.1 command telnet 192.168.1.1 for Linux. After successful connection, proceed to installing / configuring packages.Before downloading the package should be a small digression. Since the physical memory router is small enough, varies from 4 to 16 megabytes depending on the advancement and price of your router, we should worry about increasing it in advance. After all, in any case, we are going to connect a USB flash drive or hard drive to it, so why don't we make the router boot directly from the partition on our media? Let's do that! Before all manipulations with the router, you need to "split" your HDD / USB flash drive into several sections.
- Section for swap (100-200 MB will be enough) * when using HDD, when using a USB flash drive, it is not recommended, as there is at least a large but still limited supply of rewriting cycles
- The partition from which the router will be loaded (at your discretion from 50 MB and higher) with the Ext3 or Ext4 file system * This is where we can use the second flash drive, where it is better to place the boot area and the area for storing downloads on different devices so that you can safely retrieve it for discarding information without turning off the router.
- The partition for your downloads / storage, the remaining space is also desirable in Ext3 / 4, if you want to periodically use media on a computer, then NTFS but be prepared for periodic errors, since Linux is “friendly” with this type of file system, you will also have to install one more
ntfs-3gpackage.
Of course, all this could be done on the router, but on the computer it all happens much faster and you can use programs with a graphical interface, and not just the command line of the terminal, which for a beginner greatly speeds up the process. How to do all this on Windows and Linux, again, you can look at Google for the same reason as the first call to this source.
Let's get started Enter sequentially commands in the terminal
opkg update opkg install block-mount kmod-usb-core kmod-usb2 kmod-usb-ohci kmod-usb-storage kmod-fs-ext4 With these commands we updated the database of the repositories on the router and installed the packages we need: kernel modules for USB support and file system modules
block info And we are looking for our partitions on a flash drive / HDD * You did not forget to connect your flash drive / HDD to the router, right?
mount /dev/sdaX /mnt mkdir /tmp/cproot mkdir /home mount --bind / /tmp/cproot tar -C /tmp/cproot -cvf - . | tar -C /mnt -x sync umount /mnt umount /tmp/cproot Here, instead of sdaX you need to select the partition from which we are going to perform the download in the future. All other commands are designed to copy the boot partition of the router to a USB flash drive / HDD.
block detect > /etc/config/fstab This command writes all the found sections to automatically connect to the /etc/config/fstab . Next we need to slightly edit this file to the form:
config 'global' option anon_swap '0' option anon_mount '0' option auto_swap '1' option auto_mount '1' option delay_root '0' option check_fs '0' config 'mount' option target '/' option uuid '7d3abfaf-493a-46bb-9730-1d793ecb9783' option enabled '1' config 'mount' option target '/home' option uuid '7d3abfaf-463a-46db-9730-1d793ecb4593' option enabled '1' config 'swap' option uuid '76d36596-5710-4b77-a3a7-02a66d469750' option enabled '1' Open this file for editing:
vi /etc/config/fstabHow to use this editor you can see here or again go to Google .
Reboot the router. Again we go into the console and check whether everything was correctly mounted:
root@OpenWrt:~# df Filesystem 1K-blocks Used Available Use% Mounted on rootfs 2758072 118004 2501828 5% / /dev/root 2048 2048 0 100% /rom tmpfs 63340 76 63264 0% /tmp tmpfs 512 0 512 0% /dev /dev/sda1 2758072 118004 2501828 5% Here you should pay attention to the fact that
rootfs matches the parameters with /dev/sda1 , if this is the case, then everything rootfs out for us. Moving on to the next item.Installing the torrent Transmission client.
opkg update opkg install transmission-daemon transmission-cli transmission-web transmission-remote /etc/init.d/transmission enable Open the client settings file and edit to fit your needs:
vi /etc/config/transmission config transmission option enable 1 # option config_dir '/etc/transmission' # option alt_speed_down 50 # option alt_speed_enabled false option alt_speed_time_begin 540 option alt_speed_time_day 127 option alt_speed_time_enabled false option alt_speed_time_end 1020 option alt_speed_up 50 option bind_address_ipv4 '0.0.0.0' option bind_address_ipv6 '::' option blocklist_enabled false option dht_enabled true option download_dir '/home/' # option encryption 0 # option incomplete_dir '/home' # option incomplete_dir_enabled false # / option lazy_bitfield_enabled true option lpd_enabled false option message_level 2 option open_file_limit 32 option peer_limit_global 240 option peer_limit_per_torrent 60 option peer_port 51413 option peer_port_random_high 65535 option peer_port_random_low 49152 option peer_port_random_on_start false option peer_socket_tos 0 option pex_enabled true option port_forwarding_enabled false option preallocation 1 option proxy "" option proxy_auth_enabled false option proxy_auth_password '' option proxy_auth_username '' option proxy_enabled false option proxy_port 80 option proxy_type 0 option ratio_limit 2.0000 option ratio_limit_enabled false option rename_partial_files true option rpc_authentication_required false option rpc_bind_address '0.0.0.0' option rpc_enabled true option rpc_password '' option rpc_port 9091 option rpc_username '' option rpc_whitelist '127.0.0.1,192.168.1.*' option rpc_whitelist_enabled false option script_torrent_done_enabled false option script_torrent_done_filename '' option speed_limit_down 100 option speed_limit_down_enabled false option speed_limit_up 40 option speed_limit_up_enabled true option start_added_torrents false option trash_original_torrent_files false option umask 18 option upload_slots_per_torrent 14 option watch_dir_enabled false option watch_dir '' We start and check:
/etc/init.d/transmission start We launch the browser and enter 192.168.1.1:9091 if everything works, that's all.
If this article is of interest to anyone, I’m also ready to tell you about setting up a “file dump”, raising a VPN server, setting IPTV on OpenWRT.
I foresee the opinion of many that on Habré and indeed throughout the Internet is full of similar instructions, but I have tried as much as possible in detail and simply to paint the entire process of installation and configuration. Just recently, the principle of using a flash drive as the root partition has slightly changed in OpenWRT, now this information is already available on the project wiki, but only in English.
UPD: This article does not describe how to configure the Internet connection from your provider, as there are too many nuances of settings. Without connecting the router to the Internet, of course, nothing will come of it.
Source: https://habr.com/ru/post/191990/
All Articles