Using Drag & Drop in HTML 5

For a long time, JavaScript functions were used to create the Drag & Drop functionality, but browsers did not always correctly display the result. In HTML 5 there is a way to competently support Drag & Drop, with a little use of JavaScript. In this article, a detailed example of using Drag & Drop in HTML 5 is analyzed in detail.
Browser Support
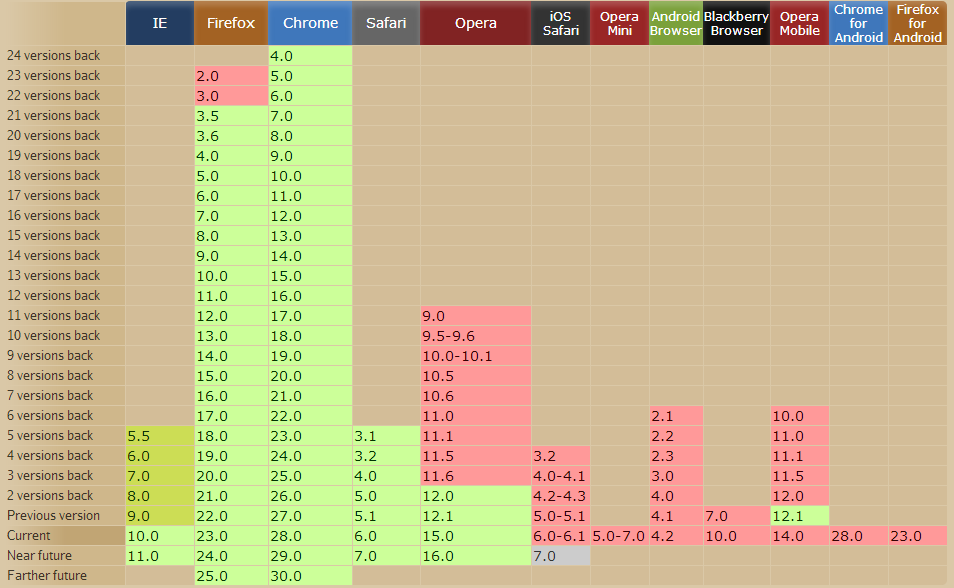
To date, the Drag & Drop function in HTML 5 is correctly handled by all modern desktop browsers (partially, even IE 5.5!), But mobiles do not support this feature. See more details in the caniuse.com table .
')
Drag & Drop Events
The following are Drag & Drop events that can be used to control the dragging process:
- dragStart: the user starts dragging the item.
- dragEnter: the drag element reaches the end element.
- dragOver: mouse cursor hovers over an item while dragging.
- dragLeave: the mouse cursor leaves the element being dragged.
- drag: the cursor moves as you drag.
- drop: the item is dropped.
- dragEnd: the user releases the mouse cursor while dragging.
DataTransfer object
Here is the process of dragging. The most important parameters are:
- dataTransfer.effectAllowed = value: returns the type of action available - none, copy, copyLink, copyMove, link, linkMove, move, all, or uninitialized.
- dataTransfer.setData (format, data): adds data in the correct format.
- dataTransfer.clearData (format): removes data.
- dataTransfer.setDragImage (element, x, y): sets the image for dragging with the coordinates of the cursor (0, 0 is the upper left corner).
- data = dataTransfer.getData (format): returns data.
Drag & Drop Example
Now let's look at a vivid, simple example of using Drag & Drop , where two small blue divs can be moved to a big red one, as well as returned to their original place.
Start dragging an object
The first step is to create HTML block markup by adding the draggable attribute:
<div id="boxA" draggable="true"></div> Then define the JavaScript function to start the process:
function dragStart(ev) { ev.dataTransfer.effectAllowed='move'; ev.dataTransfer.setData("Text", ev.target.getAttribute('id')); ev.dataTransfer.setDragImage(ev.target,100,100); return true; } The first line specifies a possible type of dragging - move, the second - sets the process data - type (Text) and ID. In the third line, setDragImage defines the position of the cursor, in this case in the middle of a 200x200 pixel square.
Finishing dragging an object
You need to set three events: dragEnter, dragOver and drop:
<div id="big" ondragenter="return dragEnter(event)" ondrop="return dragDrop(event)" ondragover="return dragOver(event)"></div> You also need to add JavaScript functions to complete the drag and drop process — determine what should happen to the elements when the cursor is released:
function dragEnter(ev) { event.preventDefault(); return true; } function dragOver(ev) { event.preventDefault(); } In this simple example, only basic actions are set, but others can be added — changing the background color, adding text, etc. Next - the final stage. Here you can specify the end of drag action:
function dragDrop(ev) { var data = ev.dataTransfer.getData("Text"); ev.target.appendChild(document.getElementById(data)); ev.stopPropagation(); return false; } As you can see from the example , the blue blocks after dragging can be returned to their original place. Fortunately, this is easy to do. All functions are declared, it remains to add the following code:
<section id="section" ondragenter="return dragEnter(event)" ondrop="return dragDrop(event)" ondragover="return dragOver(event)"> Conclusion
Using JavaScript libraries, a large number of solutions for Drag & Drop have been created, and they are often easier to use than the described example. However, most likely in the future will be increasingly used a bunch of HTML5 & JavaScript.
Used materials and useful reading
- HTML5 Drag and Drop on W3C
- HTML 5 Drag & Drop Basics
- How to use HTML5′s drag and drop
- HTML5 Drag and drop

Source: https://habr.com/ru/post/187582/
All Articles