Step-by-step firmware OpenWRT to TP-LINK TL-WR741ND router from Windows
 Routers lose their native firmware for various reasons. The desire to add functionality, solder the USB port, or simply add stability to the operation of the router.
In my case, the router on the latest stable native firmware with 1-5 WiFi and 1-2 Ethernet consumers hung 1-2 times a week. This is not very scary, but it also bothered to restart it. I wanted stability. After a long search and reading reviews, the choice fell on OpenWRT. The article already provides step by step instructions without trial and error, which I had to go through.
Step 0
I hope that by holding the firmware of the router you understand that at one of the steps you can lose access to the Internet. So, I strongly advise you to completely read the article, download all the necessary files in advance and after that proceed to the firmware.
')
Step 1
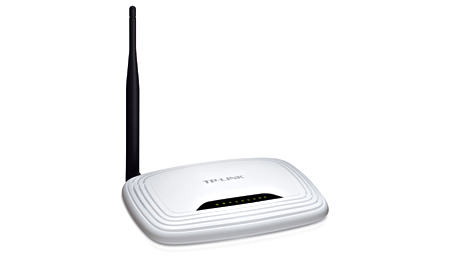
The first thing to do is upgrade and install the latest native firmware.
Here you can find the latest firmware for the TL-WR741ND , for the corresponding hardware version.
- Turn the router over and check the version of the hardware in it using the sticker on the case.
- Download the archive with the latest firmware.
- Sew the router with firmware from the archive in the usual way (System Tools -> Firmware Upgrade).
Step 2
Next, you need to select the firmware version of OpenWRT.
You should use exactly the file that is consistent with the version of the iron of your model. Do not neglect this rule! There are two possible file system options for booting: JFFS2 and SquashFS. Judging by the reviews it is worth stopping at SquashFS files. The word factory in the file name means that you should upload such a file to your device over the factory (native) firmware. The file with the word sysupgrade is applicable only for updating OpenWRT, i.e. Filled after factory firmware.
Versions of SquashFS:
Versions of JFFS2:
Download factory firmware and sew in the usual way (System Tools -> Firmware Upgrade).
Step 3 or all is gone
After successful firmware, we get a working router with the web interface turned off. Therefore, to enter the settings through the browser is no longer possible. Further actions are as follows:
Download PuTTY
Download WinSCP
Open PuTTY , select Telnet protocol, address 192.168.1.1, port 23 , click "Connection".
We enter the router. Initially, you are a root user without a password.
We type the command:
passwd root And two times we write a new password for the root user . Further we write:
exit Open WinSCP , select SCP protocol, address 192.168.1.1, port 22 , User name: root , Password that was set earlier, click “Login”.
We answer all vague questions and see a window with files on your computer and on the router. Next, take the second part of the firmware (the one that is sysupgrade), rename it to code.bin and throw it into the router / tmp folder on the router. Close the program.
Open PuTTY , select the SSH protocol, address root@192.168.1.1, port 22 , click "Connection". We type the password that was set earlier for root. We enter the router and type the command for its firmware:
sysupgrade -n /tmp/code.bin We are waiting for the router to flash and reboot. Focus on light bulbs. Next, repeat the step:
Open PuTTY , select Telnet protocol, address 192.168.1.1, port 23 , click "Connection".
We enter the router. Initially, you are a root user without a password.
We type the command:
passwd root And two times we write a new password for the root user .
Further we write:
/etc/init.d/uhttpd enable /etc/init.d/uhttpd start These two commands enable and autoload the web-interface of the router.
Turn off the router, turn on the router.
At 192.168.1.1, you can access the LuCI web interface. Log in as root and the password that was set earlier for root.
UPD. After a long operation, a single glitch was noticed. When the MAC address is changed on the WAN port, it is reset to the factory after 1-2 days. The rest of the router shows the wonders of stability.
Source: https://habr.com/ru/post/186760/
All Articles