Simple NAS-based Web Server
Due to numerous requests from users, I decided to write instructions on how to organize a practically full-fledged LAMP server based on D-Link DNS-325/345.
Many administration gurus will grab at heart, drink valerian and recommend me to smoke something less downhole;)
And I totally agree with that. Well, not at the expense of smoking, but about the fact that doing so is very, very not recommended. The hardware parameters of such a device have not been calculated for the operation of a full-fledged LAMP, it will not pull a good load. Well, as they say, the owner is a master. Once the user wants, you need to at least send it in the right direction. Otherwise, everyone begins to reinvent his own bicycle, build something based on fun_plug & optware, sometimes simply following fragmented instructions, not always understanding what he is doing.
As a website in this example, one of the most famous CMS of Joomla! Today will be used. Of course, instead of it, you can use other systems (Drupal, WordPress, SugarCRM, etc.) as well as self-written sites using PHP & MySQL.
Why Joomla !? Well, probably just the first Add-On CMS that caught my eye. Well, I also found a fairly good description of Joomla!
Once there is a good description, talk about setting up and working with Joomla! I will not, especially myself in it, unfortunately, is not yet strong, I use it simply as a web block.
And so, first we need to install a terminal daemon on the NAS. I strongly recommend sshd, not telnetd. Take dlink.ua/dns here, after installation it is necessary to change the password.
Add-on is placed like this:
1. We download Add-On itself to a local disk. If it is packed with an archiver, unpack it.
2. Go to the web interface DNS-325/345 section "Application Management / Add-Ons" and install Add-On.
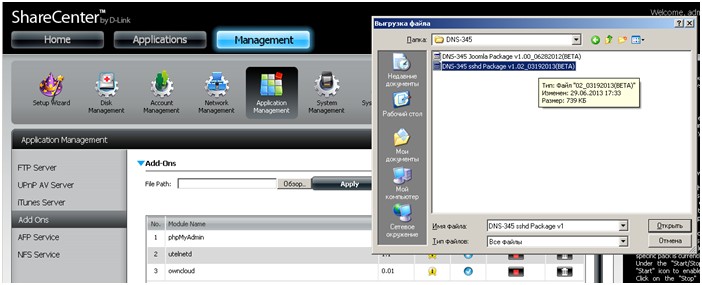
')
3. Run it.
4. By the same principle, download, install and run Joomla!
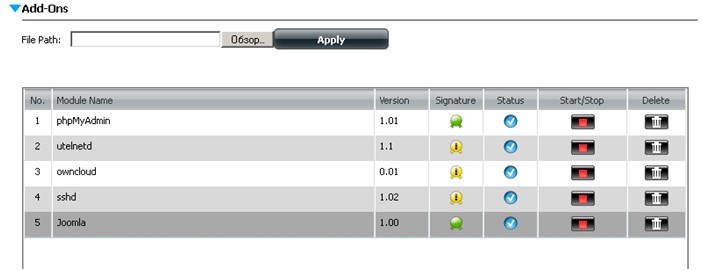
5. For MySQL in this Add-On, they did not provide for their own login / password, apparently it is assumed that phpMyAdmin Add-On will be installed, which has admin / admin login / password. Install phpMyAdmin.
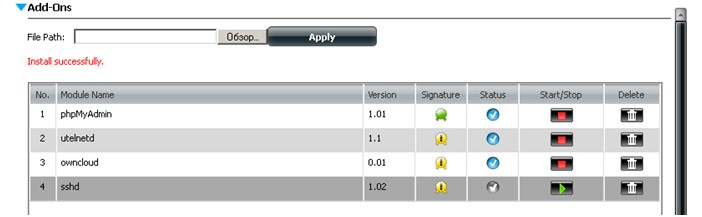
6. Check the installed Add-Ons.
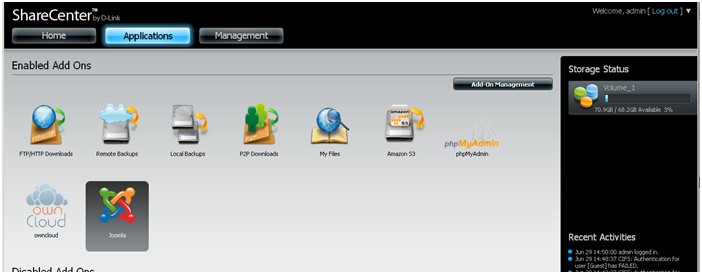
sshd does not light up here, because it is a pure CLI (command line) client, and has no web interface. "You do not see the woodchuck, but he is!";)
If we open "Applications / Joomla" we see the following

Click "Launch"
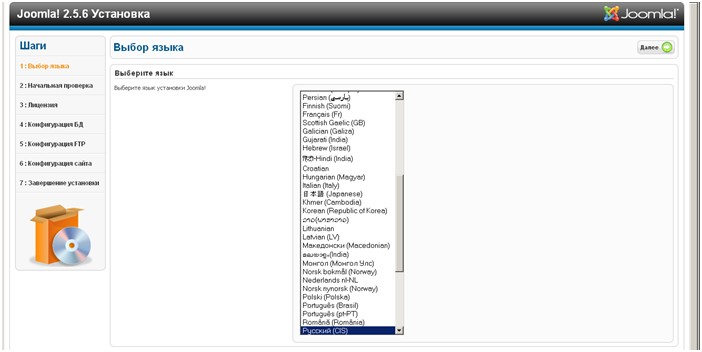
Click "Next" and follow the instructions.
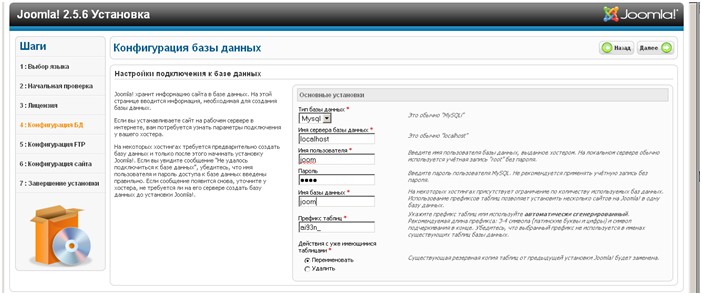
MySQL username and password are those used in phpMyAdmin. The default is admin / admin. Continue the installation.
In this case, in the "Control Panel" Joomla! we get
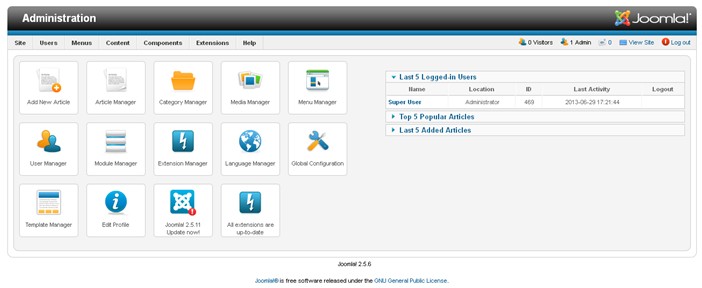
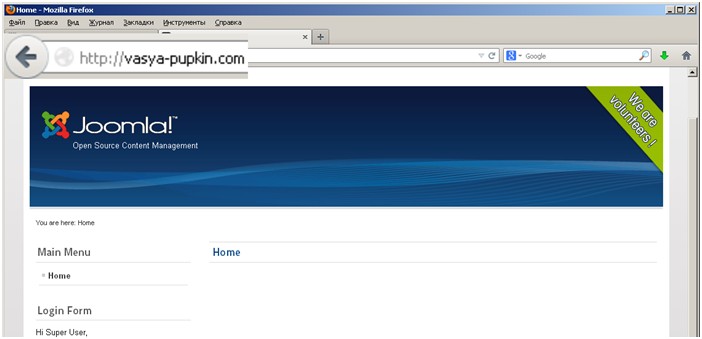
if we select "Site" we see

Further configuration, Russification and configuration of Joomla!, As I wrote, according to the instructions.
At this stage, the site with Joomla!
http://ip_address_dns-3x5/Joomla/ 
All Add-Ons web interfaces and its own are located in the / var / www / directory
That is, if you use, for example, vTigerCRV - this will be the directory / var / www / vTigerCRM, and the link is accordingly
http://ip_address_dns-3x5/vTigerCRM/ Now we will decide on TCP port. The basic interface of the NAS remains on the standard http port - 80. This of course can be changed, which fun_plug does, but I would not recommend it. Therefore, I will not consider changing the TCP port for the basic NAS interface. Who wants to change - please, but yourself. And so I propose port 81. Moreover, I often encounter such a problem - some operators “historically” have filters on some ports, including the 80th. Once it protected the subscriber from unnecessary traffic, at a time when the Internet was considered pomegbyte. Now it’s mostly unlimited, but the operators still have filtering rules on most of the basic routers. Although the support service may not know anything about these filters.
Well, back to setting up the website. This moment, for “non Linux fans,” will be the hardest. If you installed sshd, you need an ssh client. There are a lot of them, but I personally use PuTTY for Windows. Someone prefers a setup, but I always use the “For unattended access” version
And so, we installed the ssh service on your NAS. Start Putty and do the following.

Click "Open", we get a proposal for the first call to accept the certificate

We say "Yes." On the “login as” clause, enter “root” and 2 times Enter. We see

Do not forget to change your password!
We create a copy of the config of the basic web server.
cp /etc/lighttpd/lighttpd.conf /mnt/HD/HD_a2/Nas_Prog/Joomla/ Edit the configuration file.
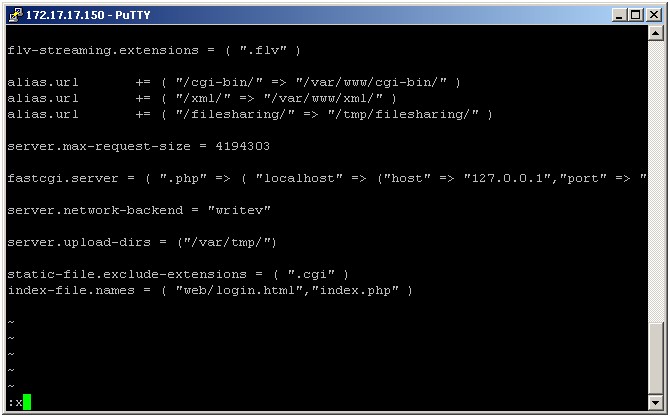
vi /mnt/HD/HD_a2/Nas_Prog/Joomla/lighttpd.conf To enter the editing mode, press "i", to return to the viewing mode, press "Esc". Change the following lines:
server.document-root = "/var/www/" server.document-root = "/var/www/Joomla/" server.port = 80 server.port = 81 $SERVER["socket"] == ":80" { $SERVER["socket"] == ":81" { $SERVER["socket"] == "[::]:80" { $SERVER["socket"] == "[::]:81" { index-file.names = ( "web/login.html","index.php" ) index-file.names = ( "index.html","index.php" ) Remove the HTTPS section. Delete line - 2 times press "d".
$SERVER["socket"] == "172.17.17.150:443" { ssl.engine = "enable" ssl.pemfile = "/etc/server_v4_bond0.pem" Close the file with saving. Press ": x" + Enter.
If for some reason you need to exit without saving, press ": q!" + Enter.
We check the performance of the web server. To do this, run
for DNS-345
/usr/sbin/lighttpd-angel -D -m /usr/lighty_lib -f /mnt/HD/HD_a2/Nas_Prog/Joomla/lighttpd.conf & for other models
/usr/sbin/lighttpd-angel -D -m /usr/local/lib -f /mnt/HD/HD_a2/Nas_Prog/Joomla/lighttpd.conf & If the line with “server started” is displayed, you have done everything correctly. If “exited normally with exitcode: 0” is an error somewhere, for example, they did something wrong when editing, or port 81 may be busy with another program. There may be many options, so send me a screenshot or error text, I will try to help.
Well, we assume that the server has started. Check in the browser
http://ip_address_DNS:81/ 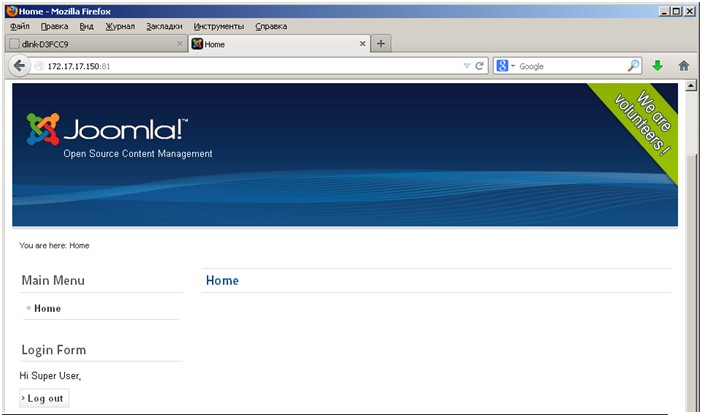
Now add a web server to autorun. To do this, return to PuTTY.
vi /mnt/HD/HD_a2/Nas_Prog/Joomla/init.sh Add a start line to the end of the file and exit with saving.
/usr/sbin/lighttpd-angel -D -m /usr/local/lib -f /mnt/HD/HD_a2/Nas_Prog/Joomla/lighttpd.conf & 
With the configuration and startup of the web server, everyone, “not Linux lovers”, can breathe a sigh of relief, and the guru can take another bite of valerian;)
Now we organize access to your site from the Internet. To do this, you need to do a port forwarding on the router. Briefly tell on the example of D-Link DIR-651. For everyone else, read the documentation for your router.
Go to the web interface of the router. For most, these are default addresses.
http://192.168.0.1/ http://192.168.1.1/ 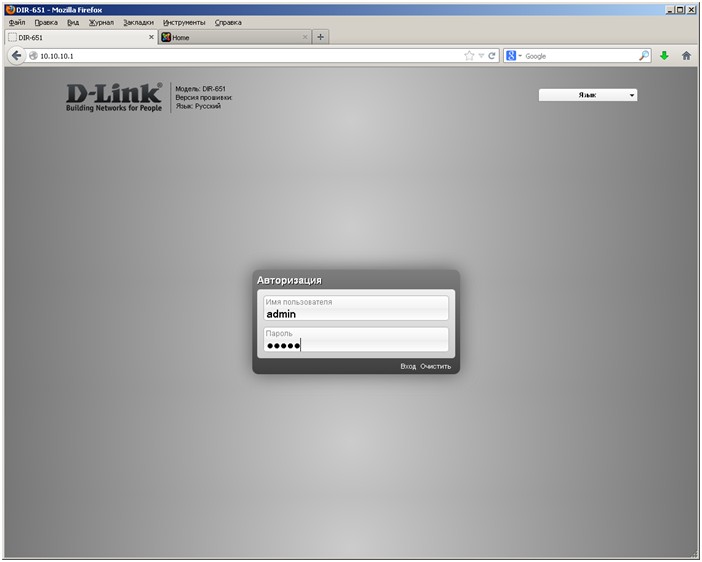
In this case, the username is “admin”, the password is “admin”.
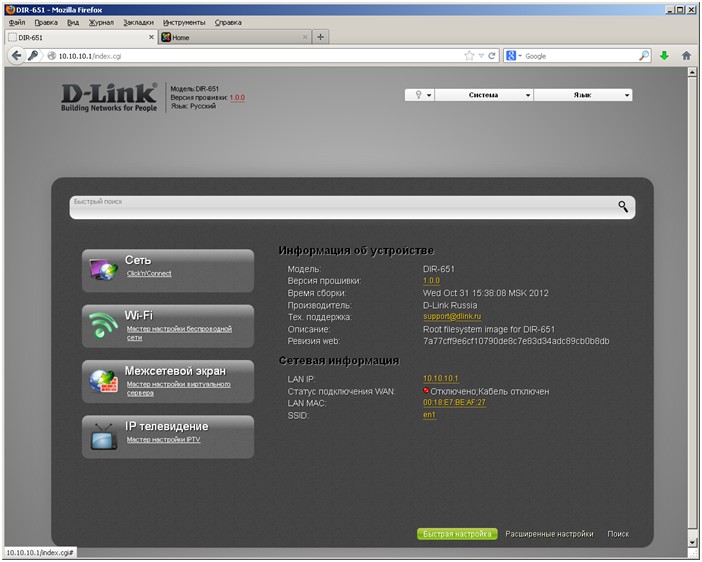
Go to the "Advanced Settings" section "Firewall / Virtual Servers."

Click "Add".

"Template" select "Virtual Server HTTP". "Name" enter any, for example Joomla. The “external port” is standard for HTTP - 80. We change the internal port to the one you assigned to your web server. In our case, 81. “Internal IP” is the IP address of your DNS-325/345. In this example, 192.168.0.100. Click "Change" and "Save."
If the 80th port is closed by the provider, the “External port” is also changed, for example, to 81.

Now any Internet user, having entered your external static IP address or domain name associated with this IP address in the browser, will see your website.
In conclusion, I want to say a few words.
I repeat that NAS is still not a web server and it is better to do the same on specialized machines. But on the other hand, if the site does not provide for active visits or is informational intracorporate, in principle it can be so. Although you should not forget that in your chosen CMS system there may be a hole in security. And there are a lot of “well-wishers” on the Internet.
Nevertheless, if you decide to use the NAS as a web server, I hope this guide will help you. If there are any questions in the process, there is a Feedback form on dlink.ua/dns . Write, as they say help than I can. On the same page there are other interesting Add-Ons. New Add-Ons are quickly uploaded to the Facebook page . Use on health!
Source: https://habr.com/ru/post/185152/
All Articles