Building a Qt 5.1 Android application on a Mac seriously?

Hi QHabr.
Today I would like to tell you about the ad, which lies behind the Qt 5.1 build for Android applications on Mac OS X. So that no one of them can get there for 7-8 hours, I decided to make a detailed step-by-step guide. Well, let's get down to business.
Most recently, Qt Project announced Qt 5.1 RC1. This is still quite a working svezhak, but with good innovations. One of them is support for Android cross-compilation. Great, isn't it? They even lovingly provided us with an assembly of a kyut for android ... for Linux. But what about those who use a Mac, or much more destructive Windows for development? And nothing, collect yourself.
')
But the build of the last Qt from Git, with the necessary parameters under the poppy, not to mention Windows is ad. Today I will help you save your soul!
Step 1. Prepare the system
At this point in the PATH should be:
- Git> = 1.6
- Perl> = 5.14
- Python> = 2.6
- Latest Xcode with its Command Line Tools
- Latest Android SDK
- Latest Android NDK
- Mighty handful of patience
Maybe I missed something, but still we continue.
Step 2. Getting and configuring Qt
Now open the console, go to your convenient empty folder and execute:
git clone git://gitorious.org/qt/qt5.git qt5 cd qt5 Now it's time to configure our local version:
perl init-repository --no-webkit # , And now the most difficult is the configuration. I used these keys:
./configure -prefix <installation directory> -release -shared -opensource -nomake examples -nomake tests -nomake tools -confirm-license -developer-build -xplatform android-g++ -android-ndk <android ndk root path> -android-sdk <android sdk root path> -android-ndk-host darwin-x86_64 -skip qttranslations -skip qtserialport Congratulations, comrades! The local copy of Qt from Git is configured!
Step 3. Building Qt from Git
Everything is much more interesting here - you need to set several environment variables (I have the following paths):
export JAVA_HOME=/Library/Java/Home export ANDROID_HOME=/usr/local/Android/sdk export ANDROID_NDK_ROOT=/usr/local/Android/ndk export ANDROID_NDK_HOST=darwin-x86_64 export ANDROID_NDK_PLATFORM=android-17 export ANDROID_NDK=/usr/local/Android/ndk export MAKE=/usr/bin/make Now it is worthwhile to build and install Qt 5.1 by running the commands.
make make install Step 4. We need the latest Qt Creator
We return to the folder where we executed git clone (at the very beginning of the article) and do the following:
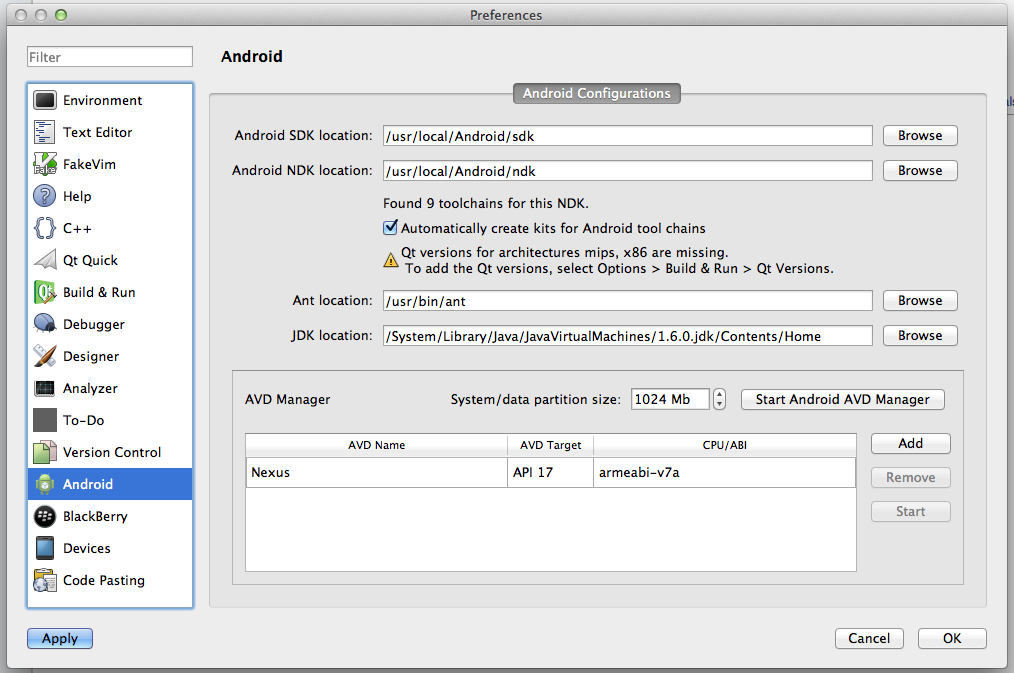
git clone git://gitorious.org/qt-creator/qt-creator.git qtc cd qtc qmake # make Launch it and go to Preferences -> Android. Customize the path and create an Android Virtual Device.
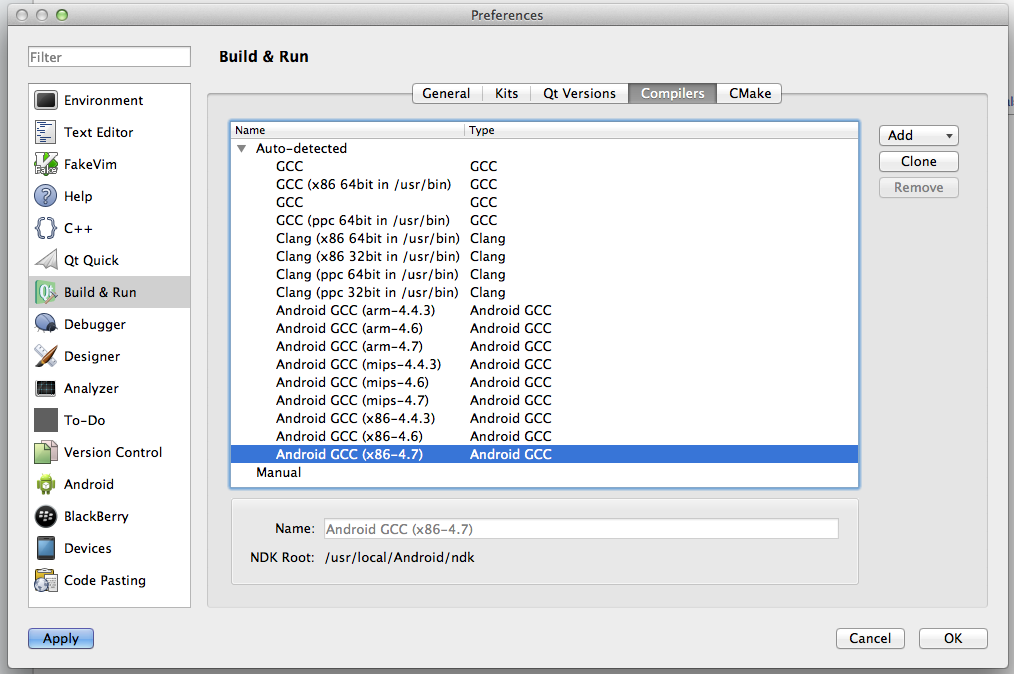
Now we are going to Compilers and we should see something like this (I have a few more compilers, it should look like):
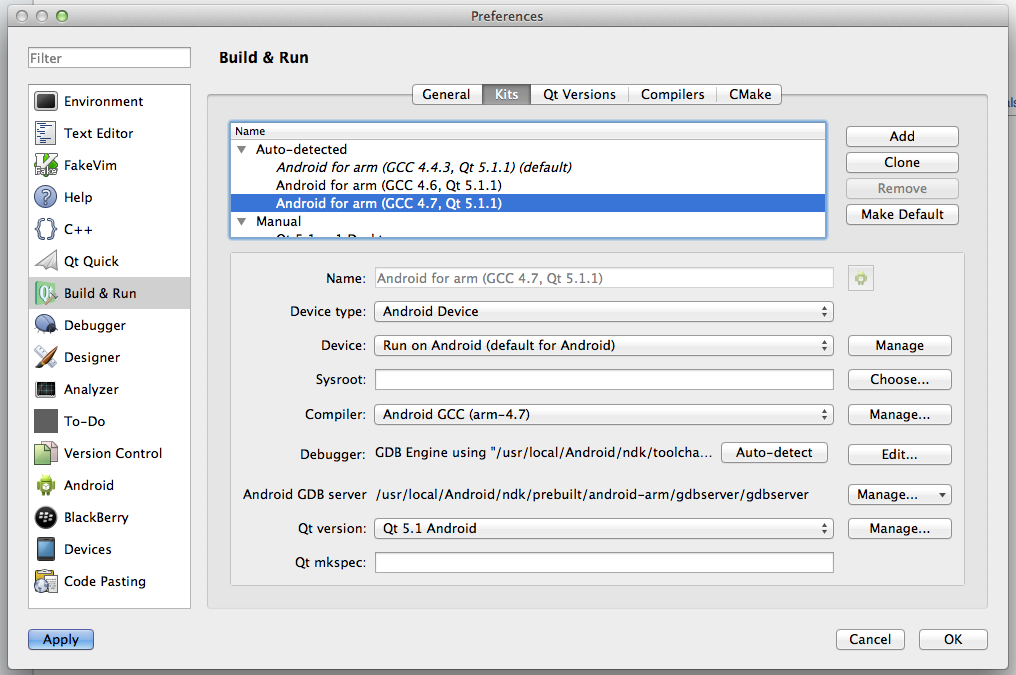
Qt Version's turn has come, we go in and create Qt for Android, indicating the path to qmake in the installation folder of the kit that we have collected today

And under the tap and fanfare modify, already created automatically Kit
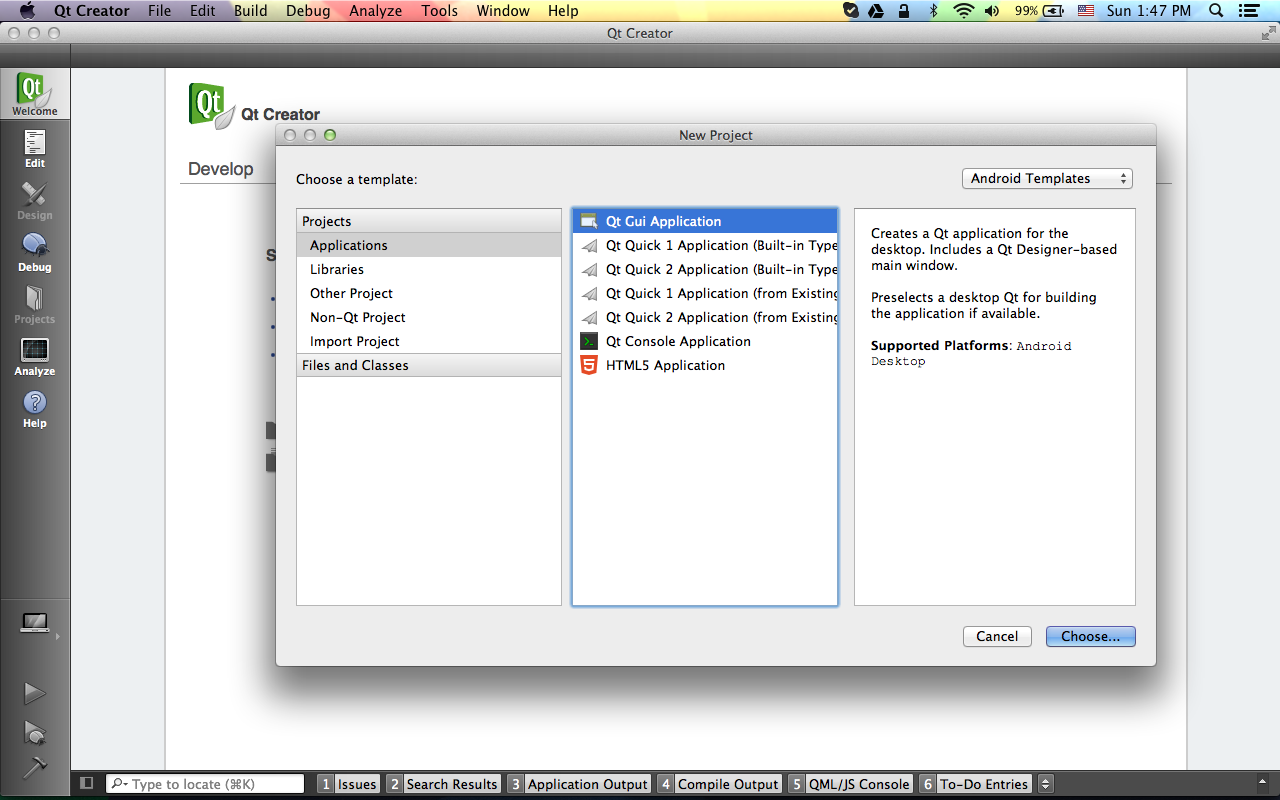
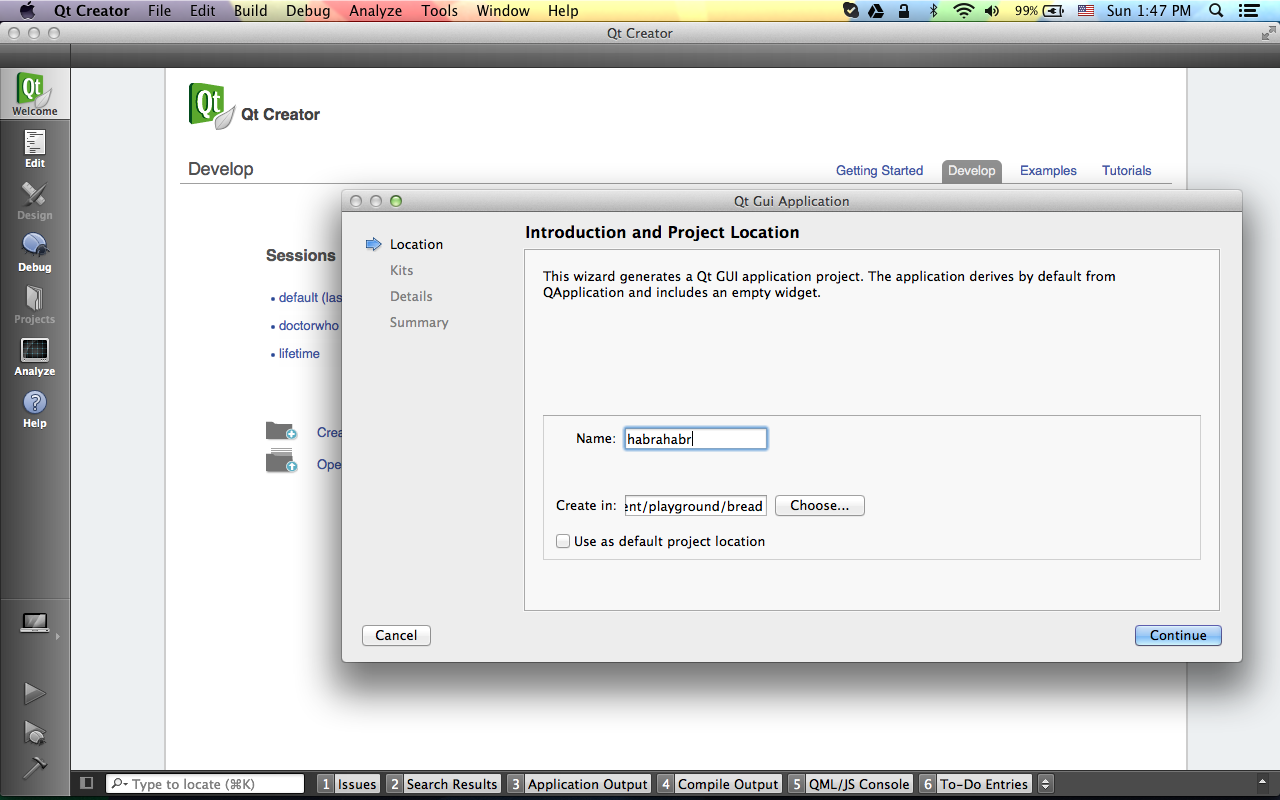
Step 5. Putting the application!
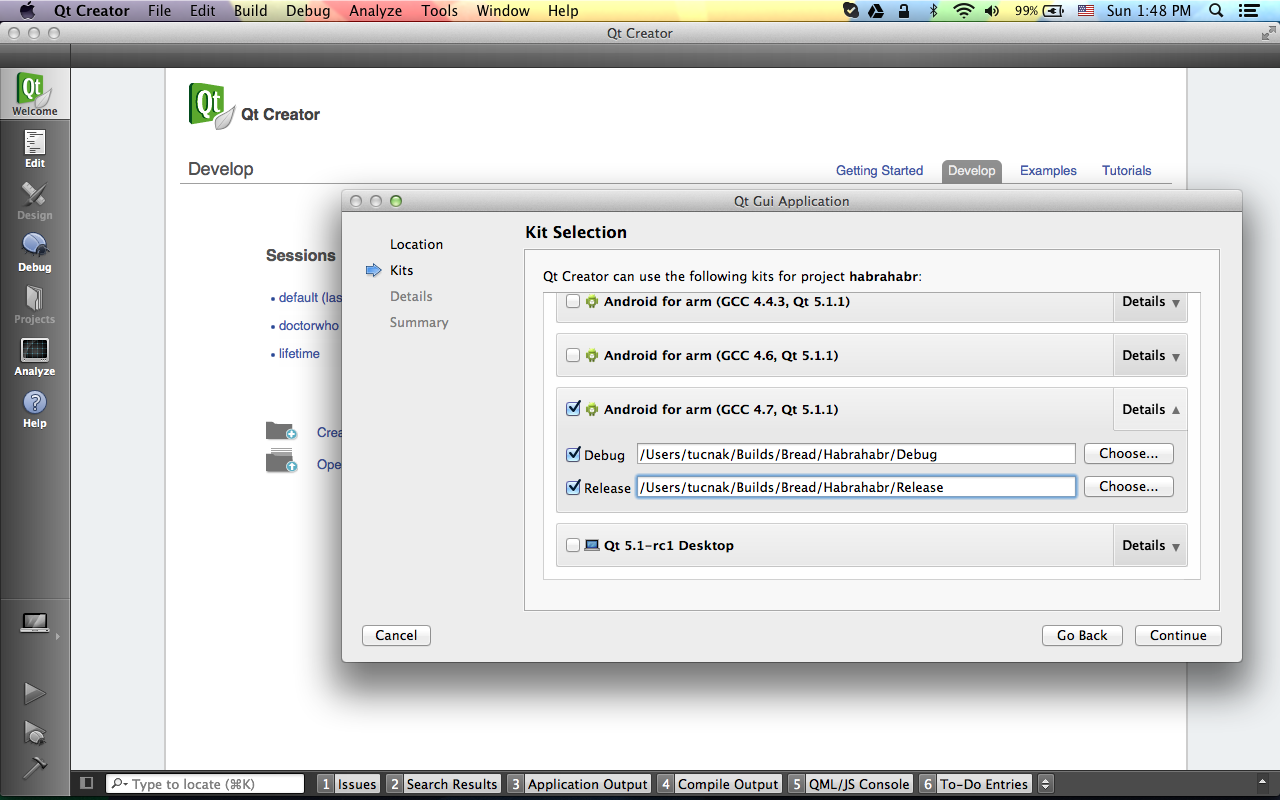
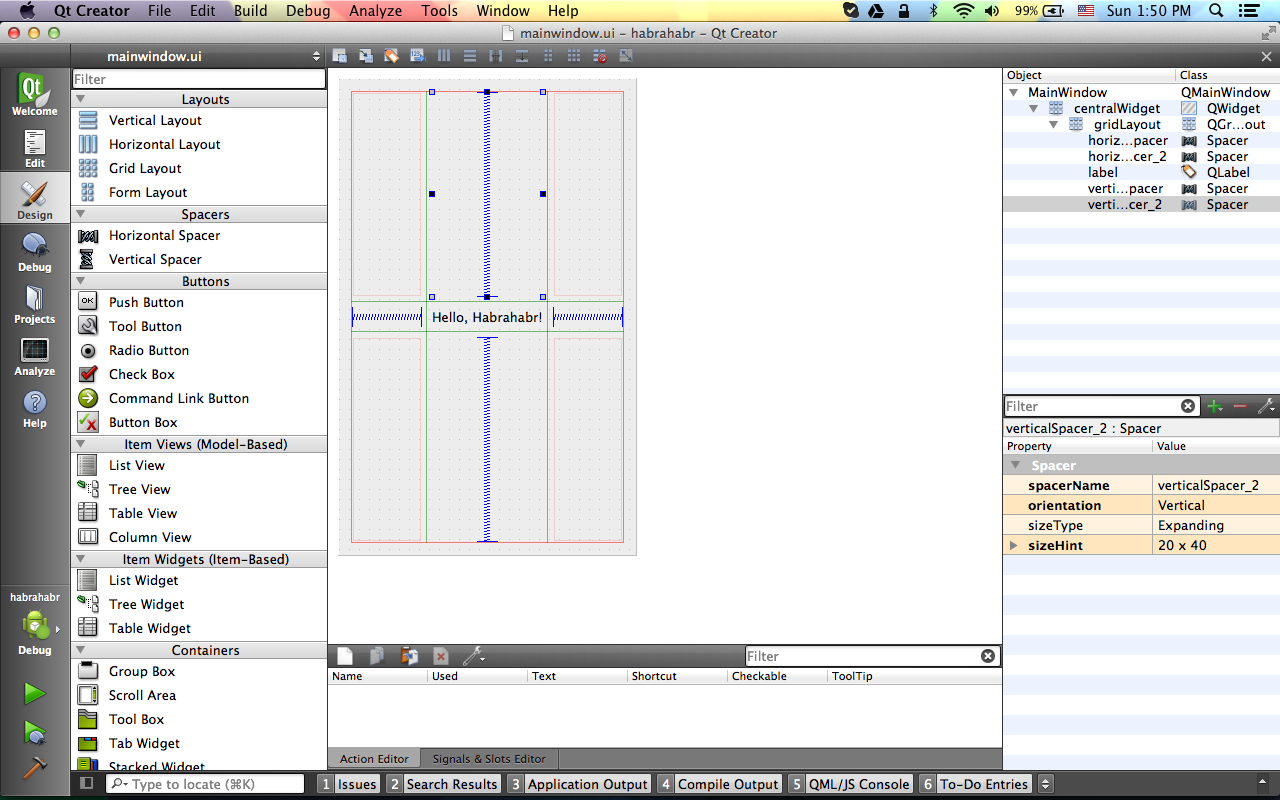
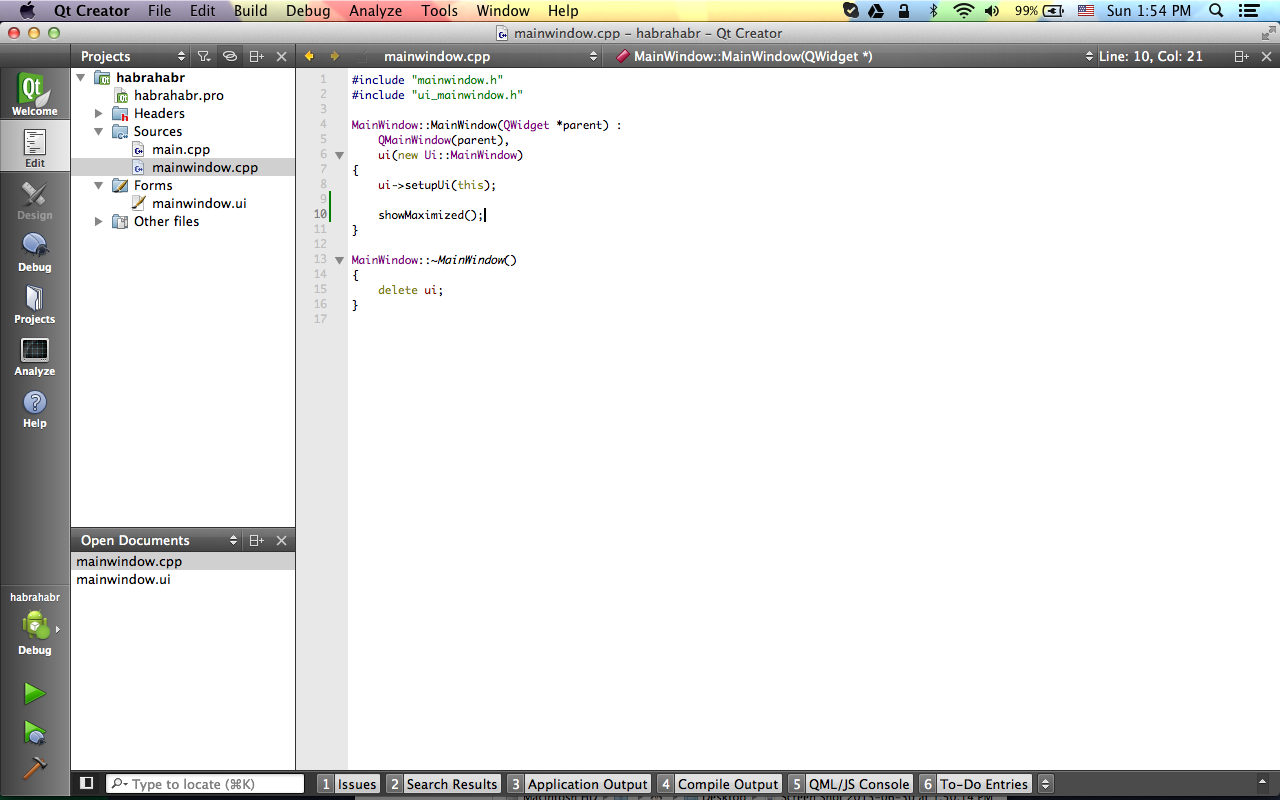
Create a normal Qt GUI application, set the Kit - Qt 5.1 Android, or as you call it there. We work within the MainWindow and press Command + R.

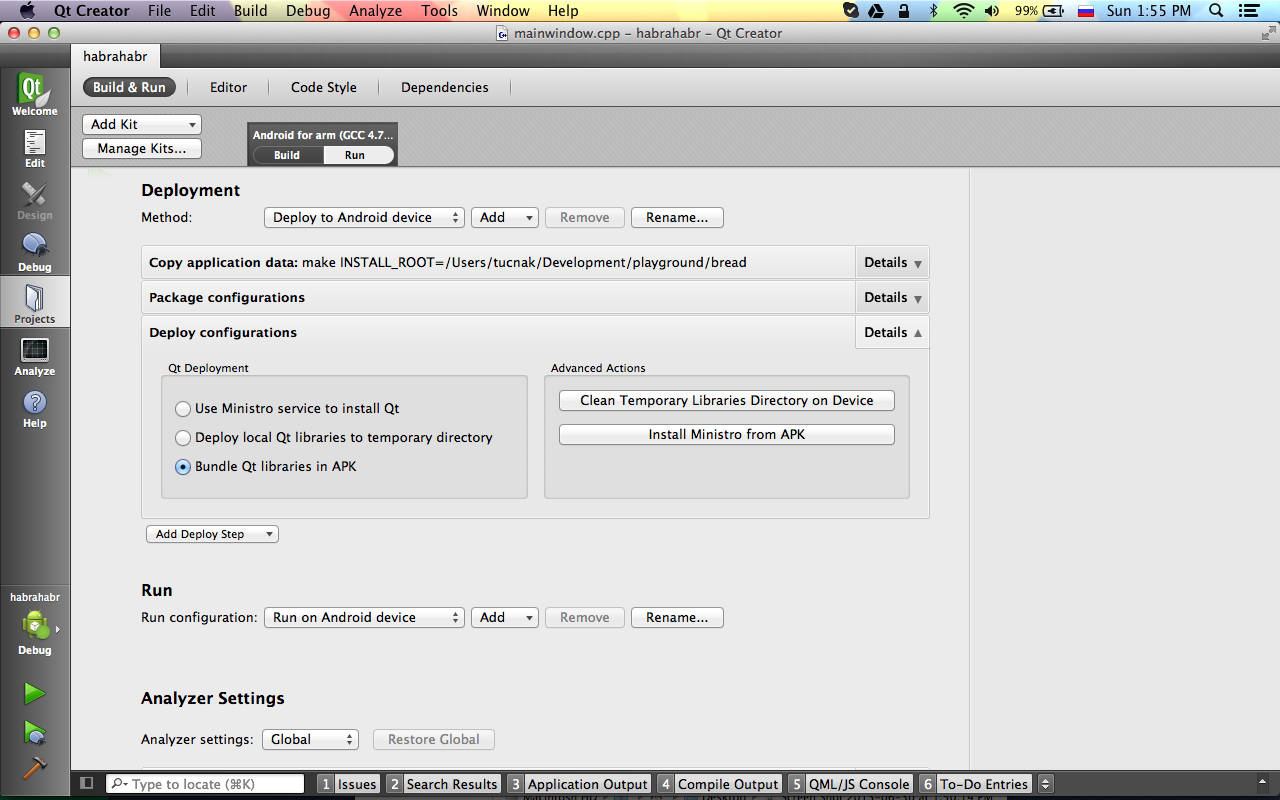
Most likely you will have to poshamanit with the settings of deployment
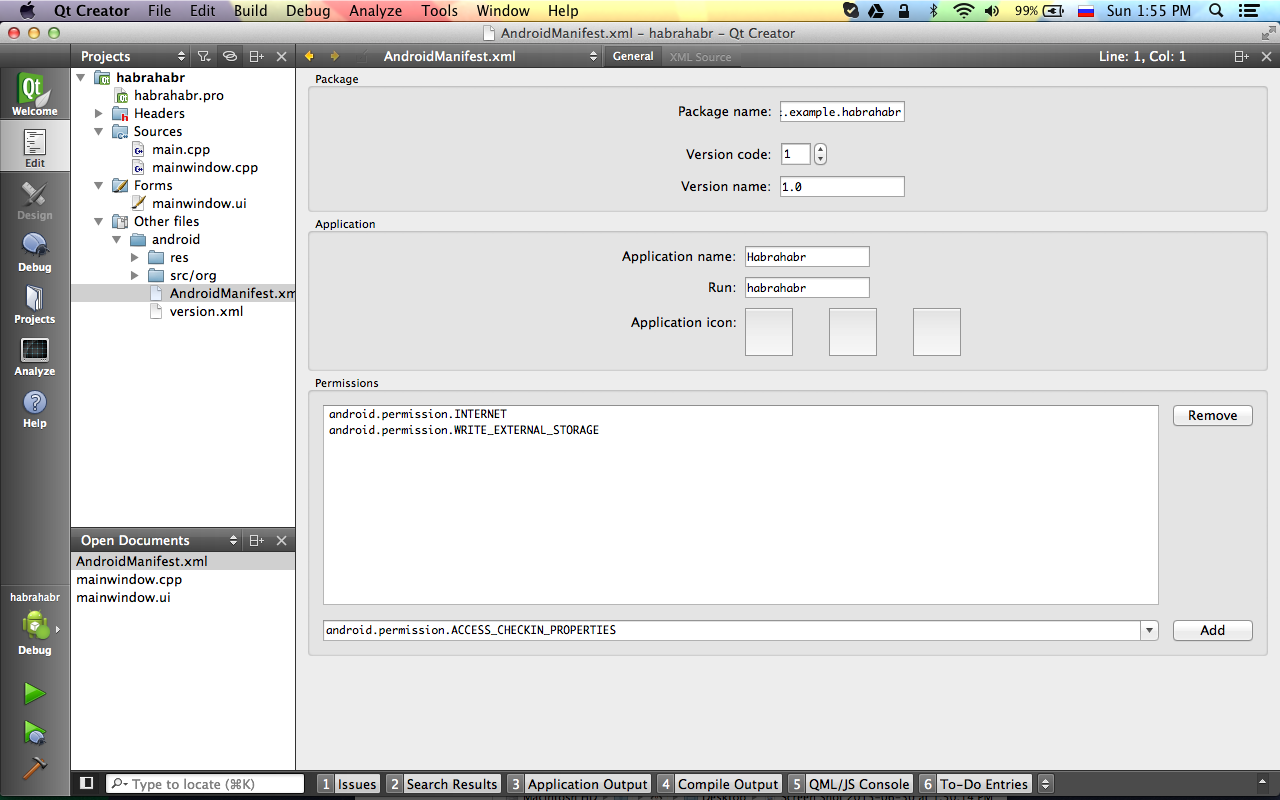
and application manifest
Afterword
Habrahabr::Reader *reader = this->reader(); reader->thankYou(); Source: https://habr.com/ru/post/185140/
All Articles