DIY-dimmer: what is it like to be behind the switch?
It turns out that not everyone was able to correctly understand exactly how our DIY-dimmer is supposed to be installed. A decent amount of questions in PM is related to this. Today we will try to show everything in the photo.
A brief introduction to the course for those who first saw our project
We are developing a complete system of smart home. The “first sign” of our system is a DIY-dimmer. Here are its main characteristics:
')
If you want to join the discussion of the features of the system, please read all our previous articles and comments to them. Most likely the questions after such an introduction will be much less.
- 2.4 GHz radio channel operation (own protocol, without licensing restrictions, or ZigBee implementation based on Atmtel BitCloud)
- Encrypted connection
- Installation without changing the standard wiring of an ordinary apartment
- Low power consumption
- The usual look of switches
- The possibility of independent expansion of both hardware and software functionality
- Open source code of both software and hardware
')
If you want to join the discussion of the features of the system, please read all our previous articles and comments to them. Most likely the questions after such an introduction will be much less.
Want to keep abreast of all project events? It is not difficult at all!
You just need to subscribe to the update of our company in Habré and in the VKontakte group .
With VKontakte questions usually does not arise. To subscribe to Habr's updates, you need to go to the company’s page and click the “Subscribe” button in the block on the right.
With VKontakte questions usually does not arise. To subscribe to Habr's updates, you need to go to the company’s page and click the “Subscribe” button in the block on the right.
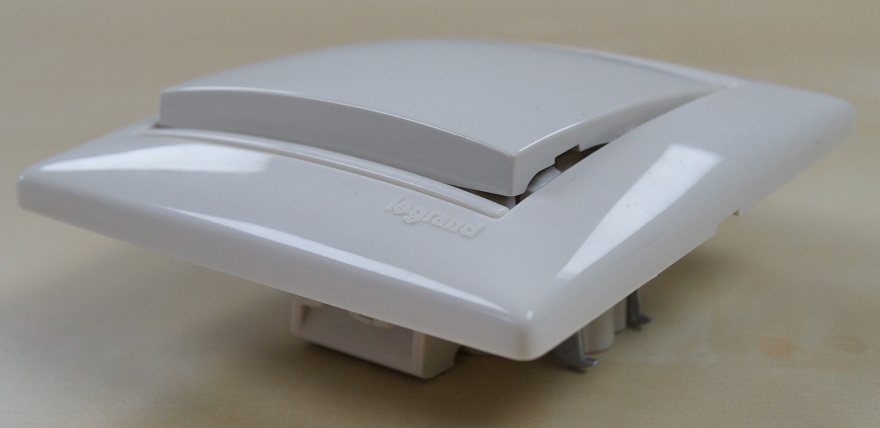
Switch button
Presented in the header photo. "Face-to-face" it looks like this:

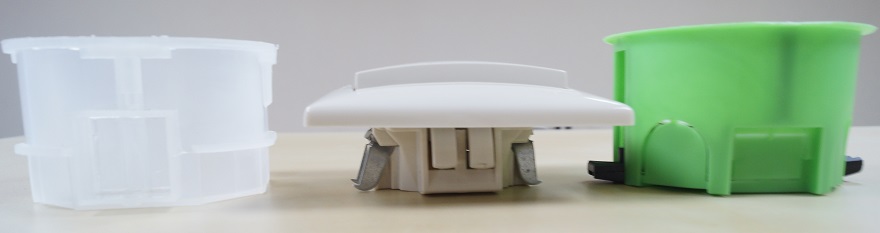
Viewers
(Or how are these boxes called switches correctly?) There are different, with different dimensions. We bought two kinds of experiments. Transparent - wider, green - deeper.
In the green podrozetnik our module enters the "thread-in-thread". When placing the current version of the dimmer in such dimensions, problems with wire removal from the wall are likely to occur - quite a lot of space remains for it.
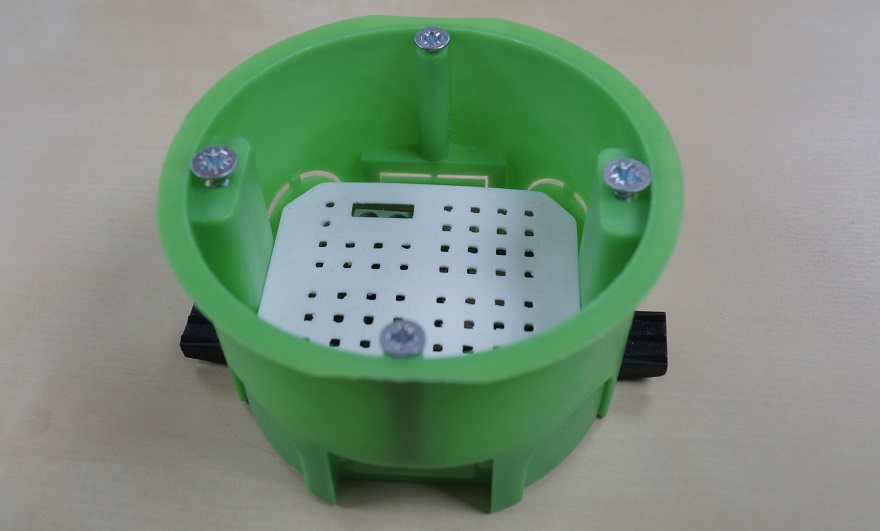
We will think about reducing the size in the following revisions ... Everything is fine in height, both the dimmer and the switch went in:

With a transparent view, everything is much more interesting:
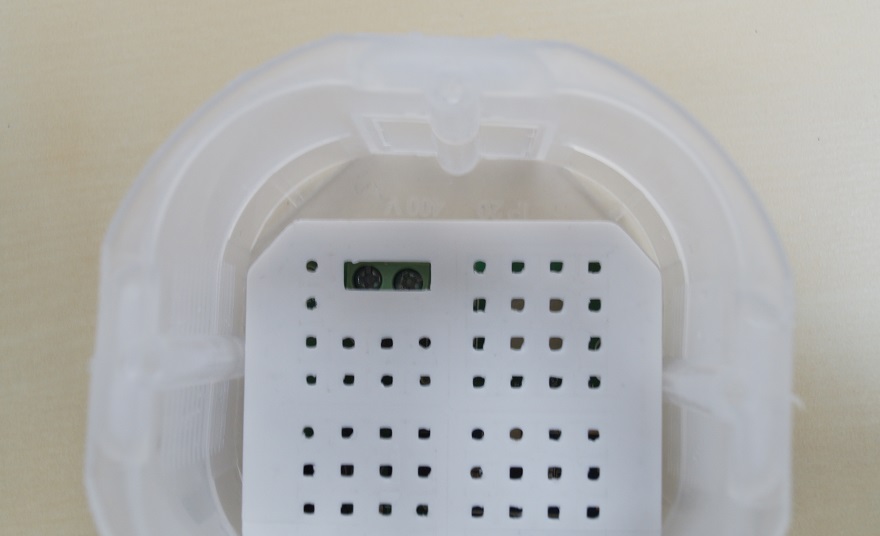
As you can see, there is plenty of space for the wire. The height still comes with a small margin:

What does the real wall look like?
These photos should be done next week. A set of parts for the first dimmer assembled and waiting for a soldering iron alexmgf . There is every chance very soon to see how a real dimmer controls a real lamp from a real wall.
Source: https://habr.com/ru/post/181295/
All Articles