How I Fought Sublime Text 2
Hello! If you are reading this, then you know what Sublime Text 2 is or have heard of it at least something.
Today we will talk about how I set it up and tormented my brains. Everything will be easy here, everything will be laid out on the shelves, but as I got information on various foreign forums, I reviewed all the files to find these settings - it’s just pipets, to say the least. Okay, no more complaining, let's get started.
And so, I will tell about how I:
1. Struggled with the encoding when opening. When opening the file with windows-1251 encoding, Russian letters turned into cracks.
2. Installation of the dictionary, for highlighting, if not correctly written word.
3. Install the SFTP plugin and connect to the server.
')
Go!
1. Let's understand the coding
I read a lot of information on the Internet how to do this, tried to do it didn’t work, I don’t know if the version is not the same, or if it’s the wrong one, so what I’m doing, from all the information I found, I only got what I need Something, somewhere to change, I'm here, I climbed through all the files and look for some lines with a reminder about the encoding, or the name of the encoding itself.
Having a little run through the files, I finally found what I needed and it was the “Preferences.sublime-settings” file, it is located in “C: \ Users \ your login \ AppData \ Roaming \ Sublime Text 2 \ Packages \ Default ”, open it and look for
// The encoding to use when the encoding can't be determined automatically. // ASCII, UTF-8 and UTF-16 encodings will be automatically detected. "fallback_encoding": "Western (Windows 1251)", I really do not remember what encoding was there, but it seems to be this, so here's a line for us:
"fallback_encoding": "Western (Windows 1251)", need to be replaced by
"fallback_encoding": "Cyrillic (Windows 1251)", Press the keyboard shortcut Ctrl + S, reboot ST2, and enjoy life.
2. Installing dictionaries
Then I begged the same for you, no need to download a bunch of unnecessary files to change them, adapt, etc., you need to download 2 files and drop them into a folder.
Download archive - Download
Two files that are there, we upload to the folder % appdata% / Sublime Text 2 / Packages /
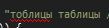
Now we need to put them View → Dictionary → russian_english (View → Dictionary → russian_english) and turn on the spell-checking mode F6

and check
But there is a problem: the dictionary does not offer options for replacement, Sublime Text 2 underlines, but does not provide correction options.
3. Install the SFTP plugin and connect to the server.
In order for us to install SFTP, we need the " Sublime Package Control ", let's install it first.
Open the console with the keyboard shortcut ctrl + ` in the opened console insert the following lines:
import urllib2,os; pf='Package Control.sublime-package'; ipp=sublime.installed_packages_path(); os.makedirs(ipp) if not os.path.exists(ipp) else None; urllib2.install_opener(urllib2.build_opener(urllib2.ProxyHandler())); open(os.path.join(ipp,pf),'wb').write(urllib2.urlopen('http://sublime.wbond.net/'+pf.replace(' ','%20')).read()); print('Please restart Sublime Text to finish installation') This command creates the Installed Packages folder (if necessary) and then loads the Package Control.sublime-package into it.
Restart the program.
It remains a bit. Run the program.
Come here:
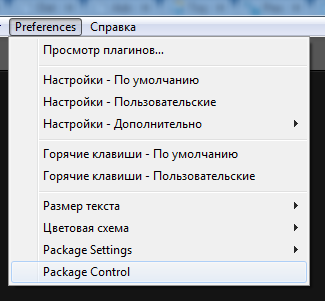
And click on "Package Control", then we see:

Select Install Packages, we have a search window, enter “sftp” there and select the first request

once the plugin starts loading, below you can see something like this

Well, then the words about the completion of the operation.
All set.
Go to create a connection, for this we need to create a configuration file for this go (see the map below)

We will open a new tab.
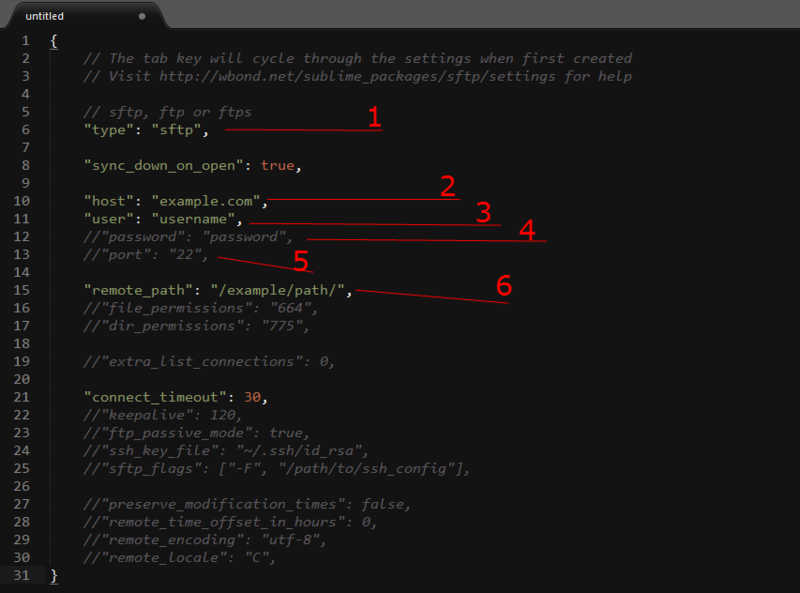
1. Here instead of “fstp” we put “ftp”
2. This is your host you are connecting to.
3. Your login to connect
4. If you connect "anonymously", then leave as is. If you need to enter a password, then uncomment this line and write your password.
5. The port, if necessary, uncomment the same.
6. Here I had problems with the connection, I will not explain what and how, I will write simply. Here you just need to go to the main directory, and for this instead of "/ example / path /", we write "/" and that's it. Click ctrl + s and go ahead.
Now, in order to connect, we go here (see picture below)
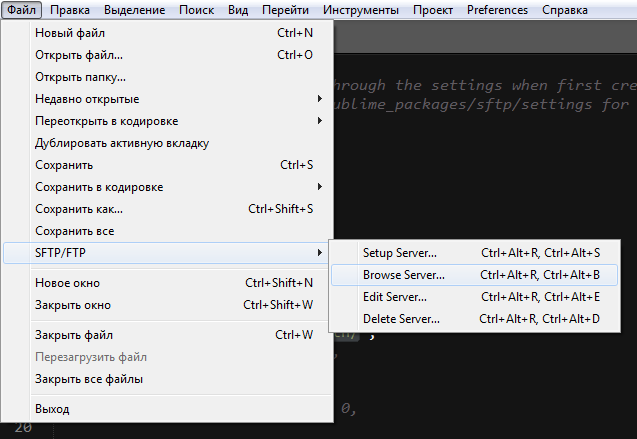
You have such a window and you see your server there, click on it and connect.


These are your folders, well, what to do with them, I think you will understand.
Thank!
Source: https://habr.com/ru/post/180857/
All Articles