Toy FPV
The idea and variant of the implementation of the system for flying from the first person on the radio-controlled models are hidden under the cut.
Almost a year has passed since the day when, after reading very interesting articles , I decided to build my quadrocopter. It took some time to estimate the characteristics, the selection of components, the search for the perfect balance between quality and price. Then there were months of anxious waiting for packages from around the world. Designing and manufacturing a frame, assembling heaps of parts into a single system, soldering, flashing, adjusting, checking, the first timid flights in the room, all this lasted until winter and non-flying weather for a beginner. Then came the understanding that the frame should be collapsible to simplify the transportation of the quad to the site of the airplanes, again design, manufacture, assembly, etc.
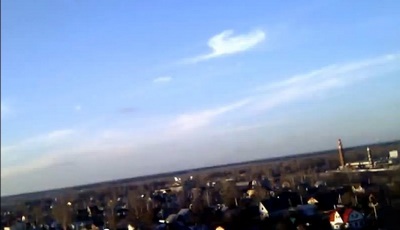
After multiple flights on a virtual quadrocopter in a simulator, on a room micro-helicopter and a micro-quad in the room, piloting skills appeared sufficient to control the “big” quad. At the beginning of the May holidays, opened its first season, flown enough and almost did not fall. The next flight day I wanted more, shoot a video from a height. The camera was only in the phone. He was secured with screeds and tape on board. Everything went well, even though the video leaves much to be desired.
The next stage of development is flying from the first person (First Person View (FPV) - the first person view). Wait for the parcels with the necessary details for this more than a month, and I want to try now.
This is where the idea emerged, the implementation of which I would like to share in this short article, and not boast of my toys, as it might seem from the lengthy introduction.
To fly around the camera requires the camera itself, the transmitter, receiver and monitor. This is a necessary minimum. It is also very desirable to know what is happening with the model in the air. The OSD (On Screen Display) system superimposes the service information (artificial horizon, compass, direction to take-off, current coordinates, altitude, speed, battery voltage, current consumption, consumed battery capacity, flight time, everything you need) directly from the camera .
See what it looks like FPV-flight can be, and with a minimum set. The camera is in the phone, it also has a Wi-Fi module (to be used for video transmission) and an android with many useful programs. As a monitor on the ground, I used a tablet (but a second mobile phone would do) with the same android on board and a Wi-Fi module, of course.
And then everything is simple, we take quadr, control equipment, mobile phone, tablet (in my case),blue duct tape, screeds, 1-2 friends for a deserted field suitable for flying and fly around the camera from the first person!
It is worth noting that the take-off and landing is better to make looking at the model from a third person.
It is necessary to switch to the camera gradually, without losing sight of the model, clearly representing where, in what position and orientation it is.
You also need to remember a small radius of our “field” wireless LAN, you should not fly far and high.
The picture comes with a slight delay. You need to be always ready to switch to third party management.
The downside can be one frequency range of Wi-Fi and control equipment (2.4GHz), but I have no problems.
And do not forget, this is not a real FPV , but only a way to see what it looks like while you wait for a complete set!
I hope this information will be useful, I wish you all good luck and soft landings.
Almost a year has passed since the day when, after reading very interesting articles , I decided to build my quadrocopter. It took some time to estimate the characteristics, the selection of components, the search for the perfect balance between quality and price. Then there were months of anxious waiting for packages from around the world. Designing and manufacturing a frame, assembling heaps of parts into a single system, soldering, flashing, adjusting, checking, the first timid flights in the room, all this lasted until winter and non-flying weather for a beginner. Then came the understanding that the frame should be collapsible to simplify the transportation of the quad to the site of the airplanes, again design, manufacture, assembly, etc.
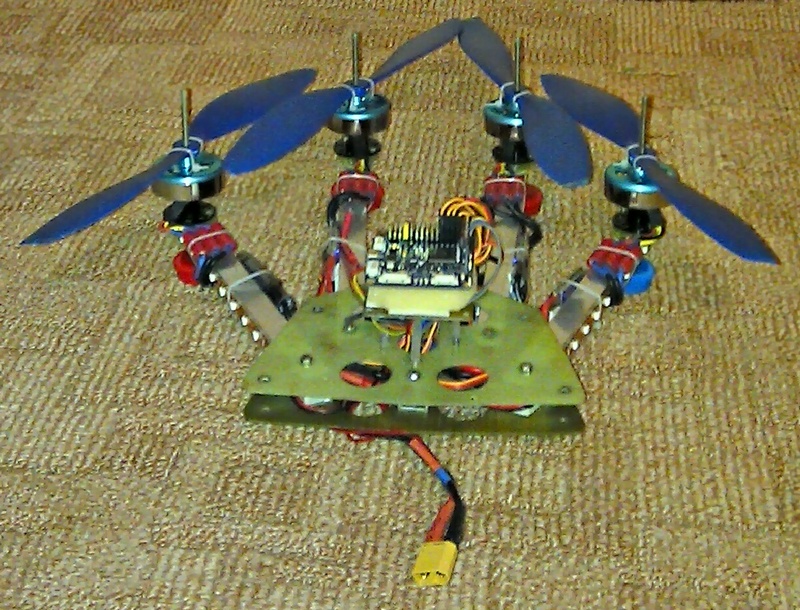
Photo handsome
assembled
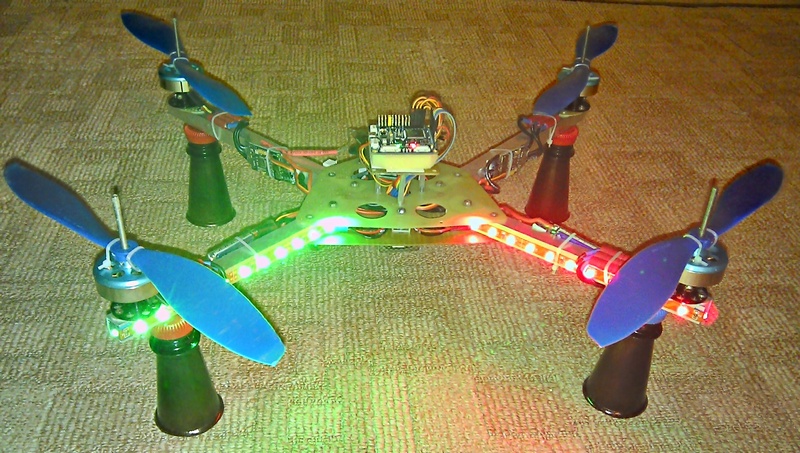
ready to fly
')
ready to fly
')
After multiple flights on a virtual quadrocopter in a simulator, on a room micro-helicopter and a micro-quad in the room, piloting skills appeared sufficient to control the “big” quad. At the beginning of the May holidays, opened its first season, flown enough and almost did not fall. The next flight day I wanted more, shoot a video from a height. The camera was only in the phone. He was secured with screeds and tape on board. Everything went well, even though the video leaves much to be desired.
The next stage of development is flying from the first person (First Person View (FPV) - the first person view). Wait for the parcels with the necessary details for this more than a month, and I want to try now.
This is where the idea emerged, the implementation of which I would like to share in this short article, and not boast of my toys, as it might seem from the lengthy introduction.
Idea itself
To fly around the camera requires the camera itself, the transmitter, receiver and monitor. This is a necessary minimum. It is also very desirable to know what is happening with the model in the air. The OSD (On Screen Display) system superimposes the service information (artificial horizon, compass, direction to take-off, current coordinates, altitude, speed, battery voltage, current consumption, consumed battery capacity, flight time, everything you need) directly from the camera .
See what it looks like FPV-flight can be, and with a minimum set. The camera is in the phone, it also has a Wi-Fi module (to be used for video transmission) and an android with many useful programs. As a monitor on the ground, I used a tablet (but a second mobile phone would do) with the same android on board and a Wi-Fi module, of course.
Procedure:
- Install the application ( WebOfCam ) on both devices. It allows you to turn the phone on the copter into a webcam, and the second device into the terminal to view the stream of video from this camera in almost real time. Roles are selected when you first start the application or in its settings.
- on one of the devices by means of the operating system (on cyanogen 2.3.7 Settings => Wireless networks => Modem mode, here the settings of the access point and a tick for on / off) or third-party applications (WiFi Tethering, for example) create a Wi-Fi access point , after disconnecting the mobile Internet.
- Connect from the second device to the created wireless LAN.
- We run the application on both devices and see the image from the camera of the first on the screen of the second, which was achieved.
And then everything is simple, we take quadr, control equipment, mobile phone, tablet (in my case),
Notes and Cautions
It is worth noting that the take-off and landing is better to make looking at the model from a third person.
It is necessary to switch to the camera gradually, without losing sight of the model, clearly representing where, in what position and orientation it is.
You also need to remember a small radius of our “field” wireless LAN, you should not fly far and high.
The picture comes with a slight delay. You need to be always ready to switch to third party management.
The downside can be one frequency range of Wi-Fi and control equipment (2.4GHz), but I have no problems.
And do not forget, this is not a real FPV , but only a way to see what it looks like while you wait for a complete set!
I hope this information will be useful, I wish you all good luck and soft landings.
Source: https://habr.com/ru/post/178991/
All Articles