Self-made mechanical keyboard on a standard controller
The decision to make your own keyboard came after the announcement of the Truly Ergonomic keyboard. Everything about her was fine, except for the price. $ 220 + $ 50 for delivery somewhat exceeded the psychological threshold of the cost of the board with buttons.
Donors
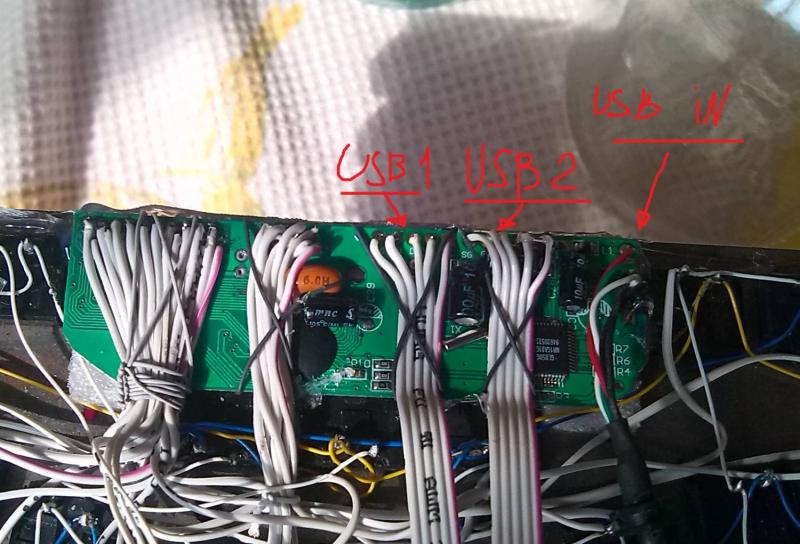
With microcontrollers, as well as with programming, I am on “you”, because I immediately decided to use a standard controller. I purchased one of the most affordable compact delux keyboard DL-K1100U
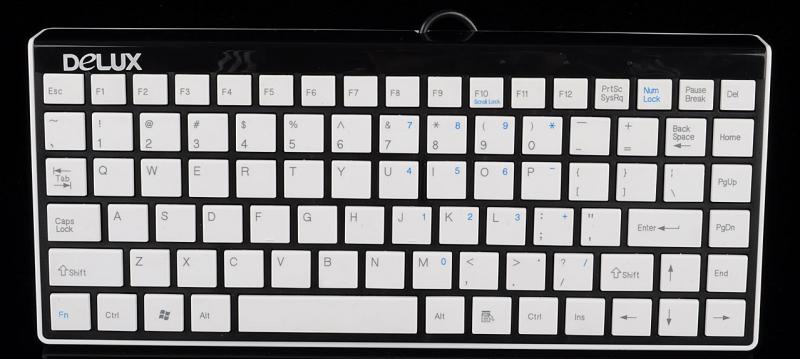
I liked the product by the presence of a built-in USB hub for 2 ports and the presence of an FN layer in most laptops.
Thoughtful reading of the datasheet on the used controller HT82K629A confirmed the correctness of the choice of donor
(I’m not going to carry out the pieces from the specifications;
On this chip, you can implement not only the layout presented above, but a full-fledged right-hand digital block, any multimedia keys and support for Korean and Japanese layouts (these are 5 additional modifier buttons).
The ability to combine built-in modifiers made it possible to turn on the FN layer and turn off NumLock simultaneously, which made the 8UOK keys cursors.
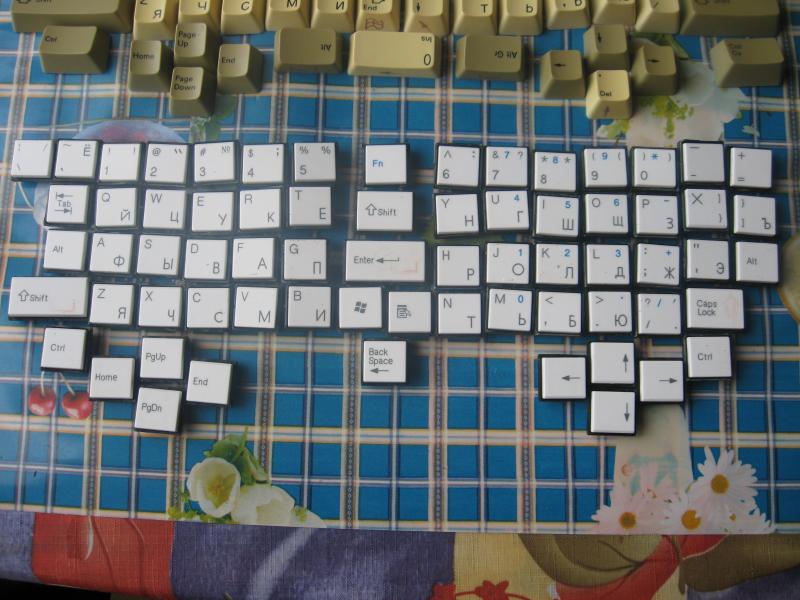
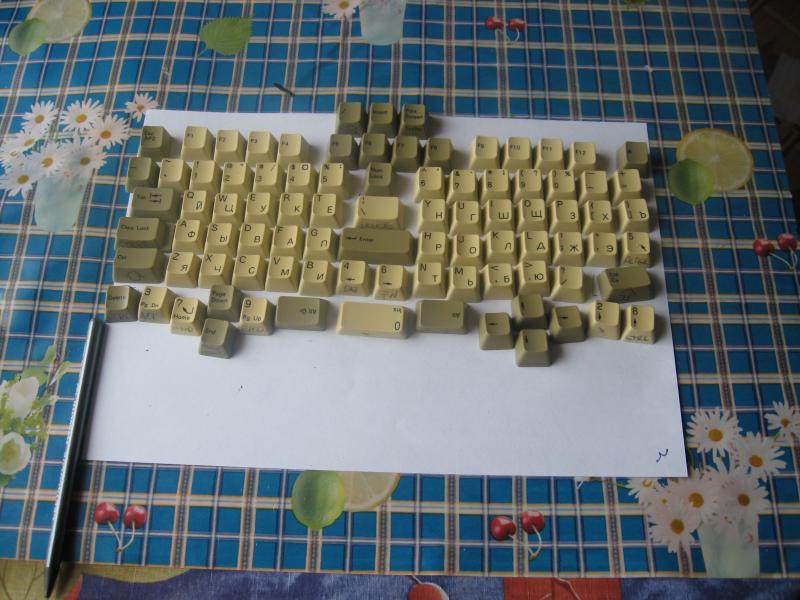
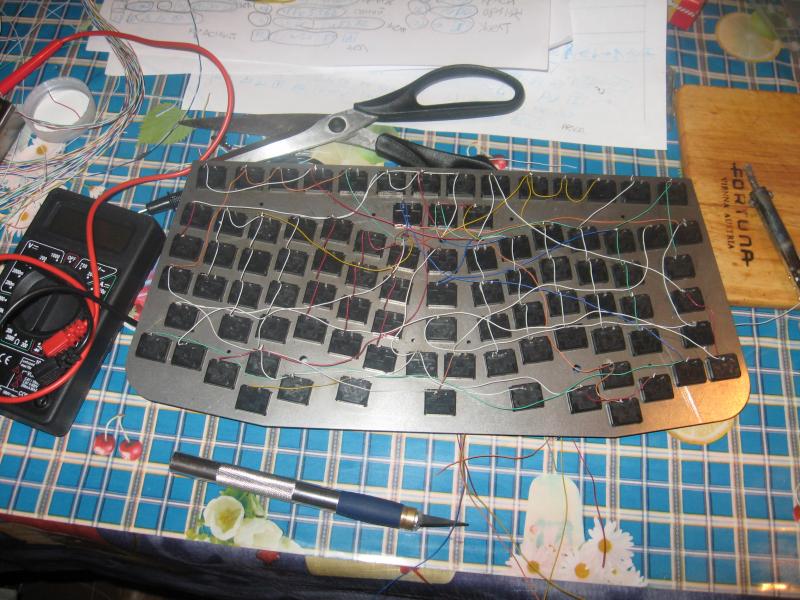
After the disassembly, I was in for the first surprise. The layout of the buttons in modern keyboards can not be changed. Everything is tied to film contact groups. The decision to cut and build tracks on films was rejected, the keyboard must be mechanical.

The clock buttons of various sizes, bought for testing, showed their complete unsuitability: slow speed, great effort to operate, too loud click.
The second donor was the nameless mechanical keyboard from the 90s.
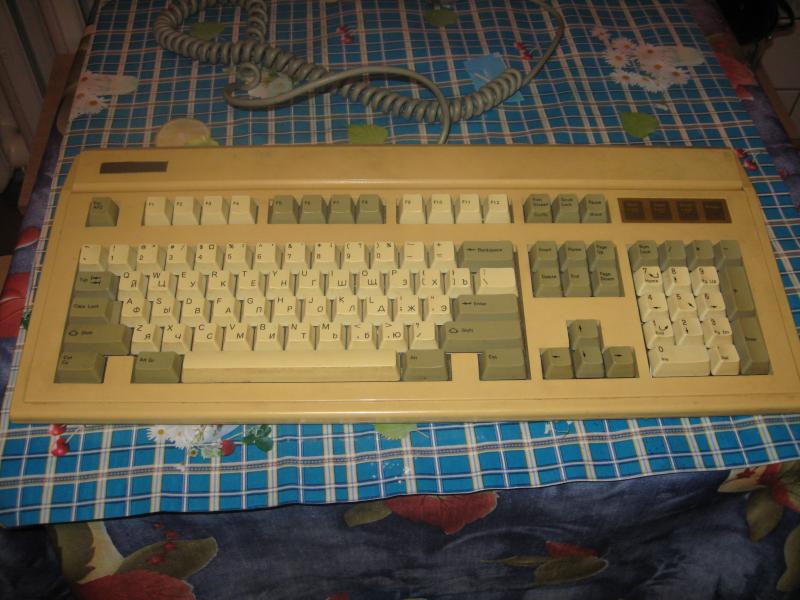
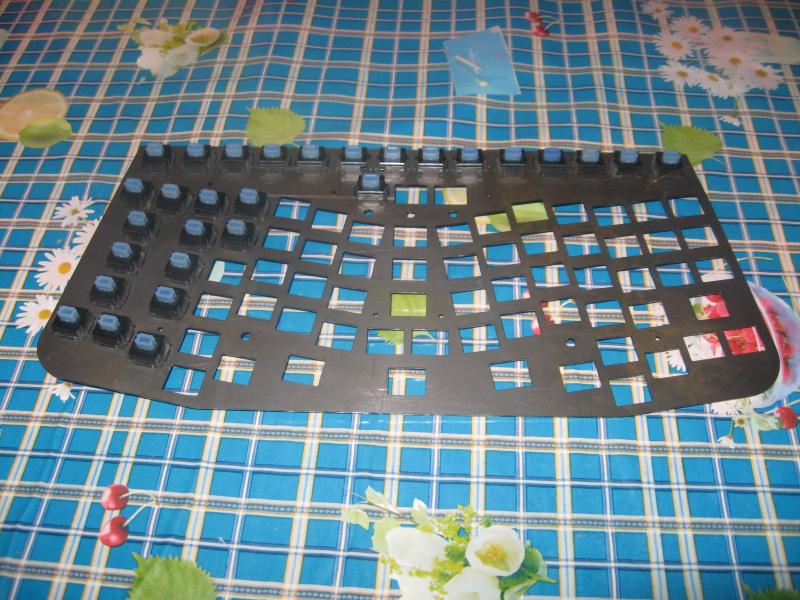
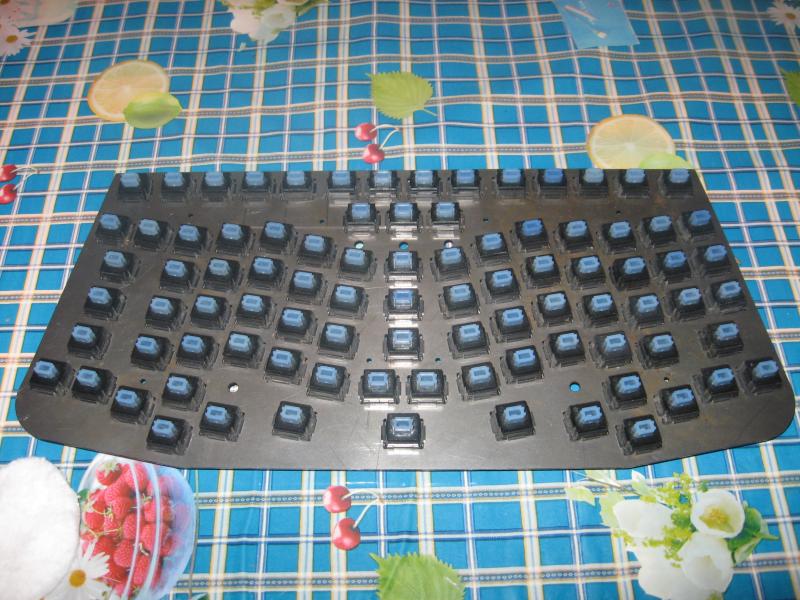
The device was monumental. Keys mounted on a massive metal frame
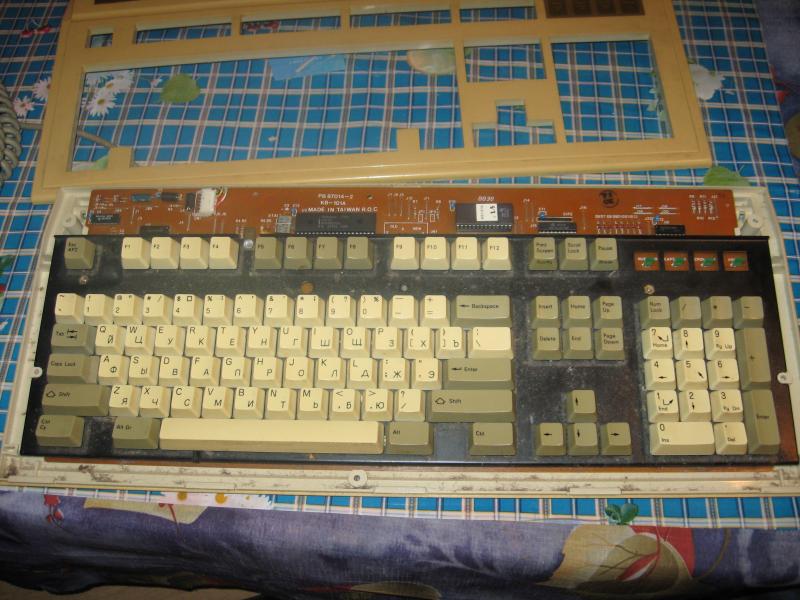
The reverse side is shielded with thick foil.
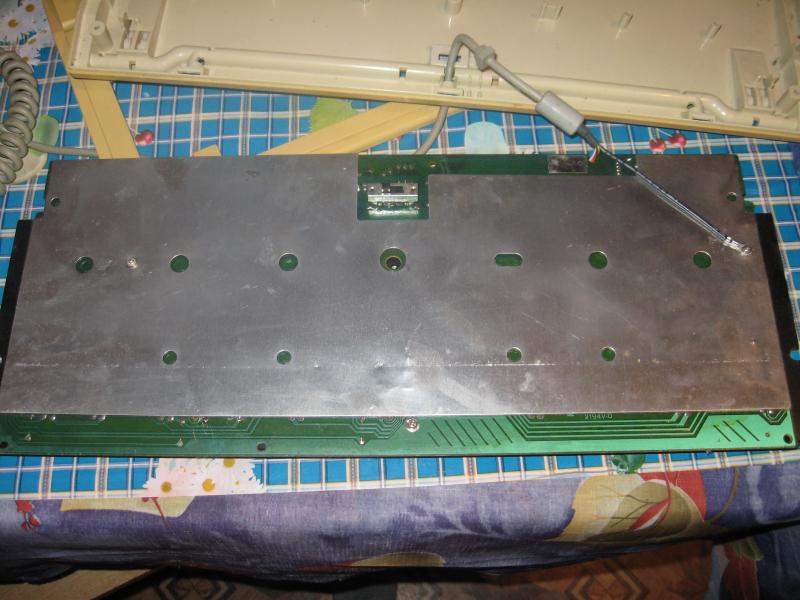
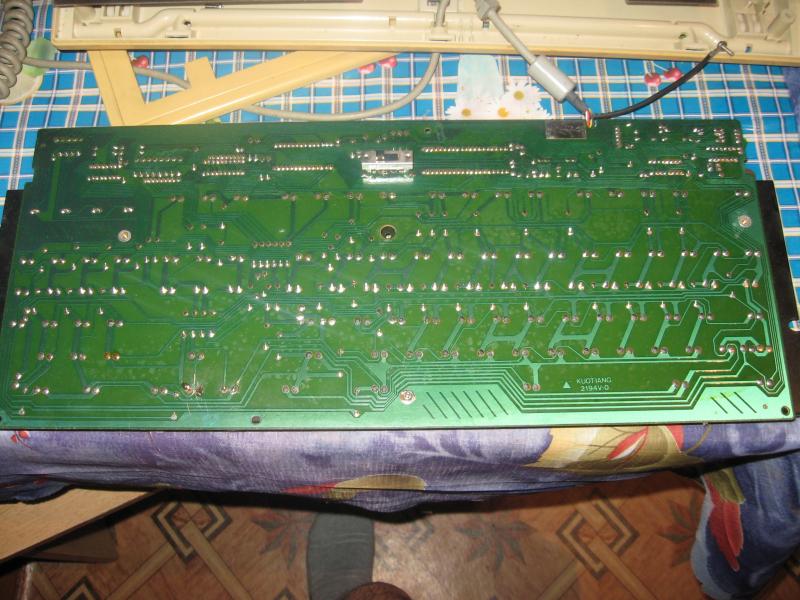
Solid motherboard
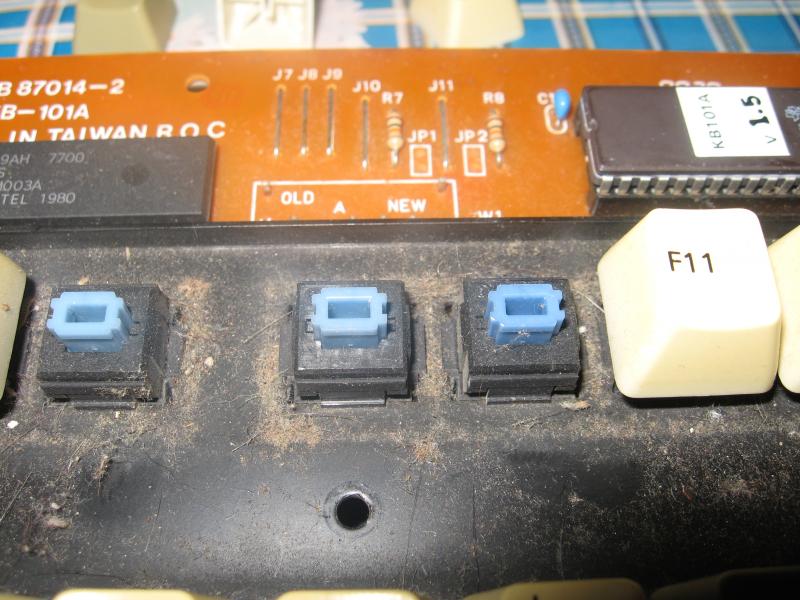
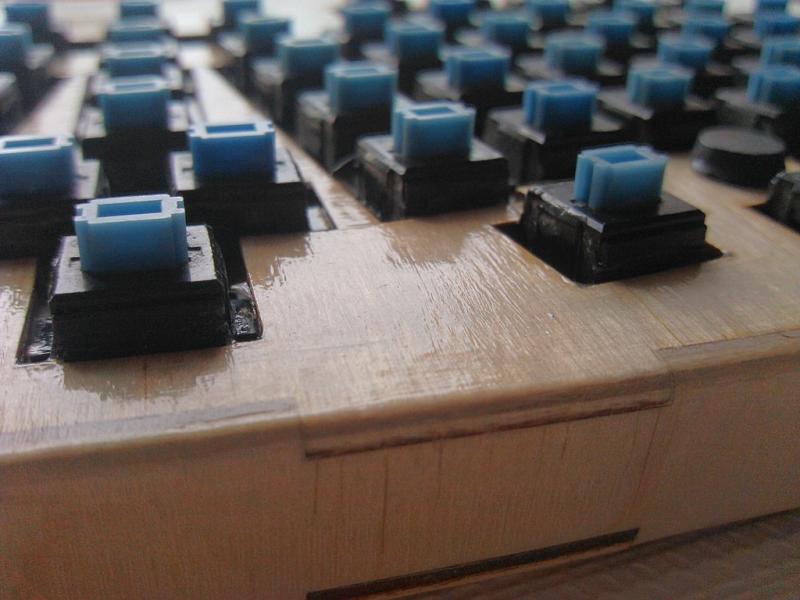
Buttons (switches) turned out to be “thoroughbred” Alps. It was on such that all Apple keyboards were made before the transition to slim solutions.
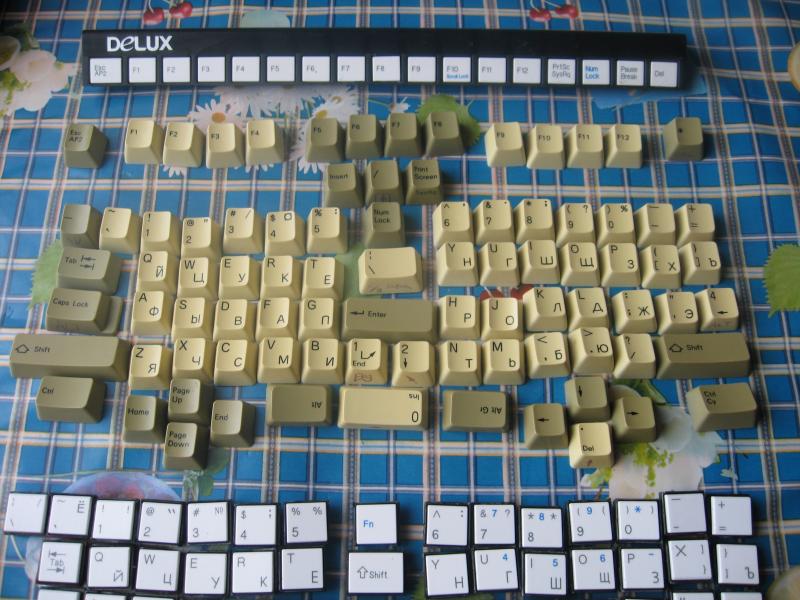
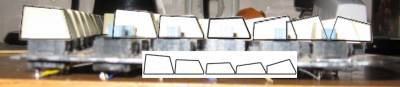
Prototyping and selection of layouts.
I will not dwell on the many options for choosing the location of the keys, just a few photos.
')
Manufacturing
As a basis, it was decided to use a metal frame and abandon the PCB. Metal 1.5 mm was cut by a laser and did not require any additional processing (I had to double the saying about 7 times measure, and measure everything 20 times with an accuracy of 0.05 mm)
Ergonomic test and comparison with home keyboard
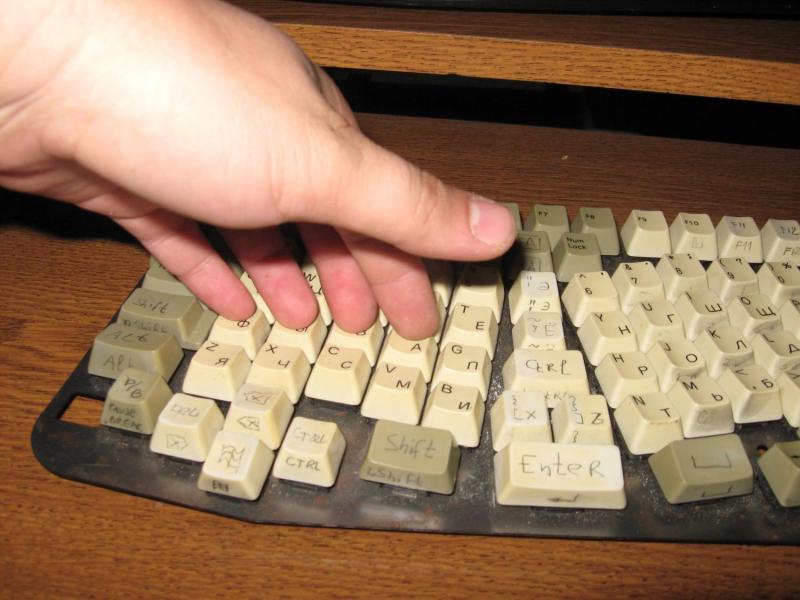
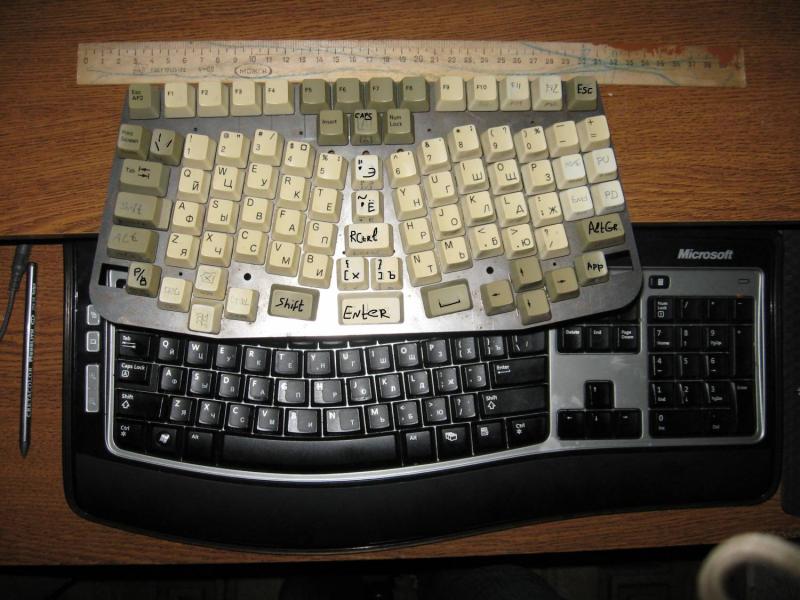
Continuation of experiments with the layout
The failure of the PCB led to the installation of hinged and broach a large number of wires
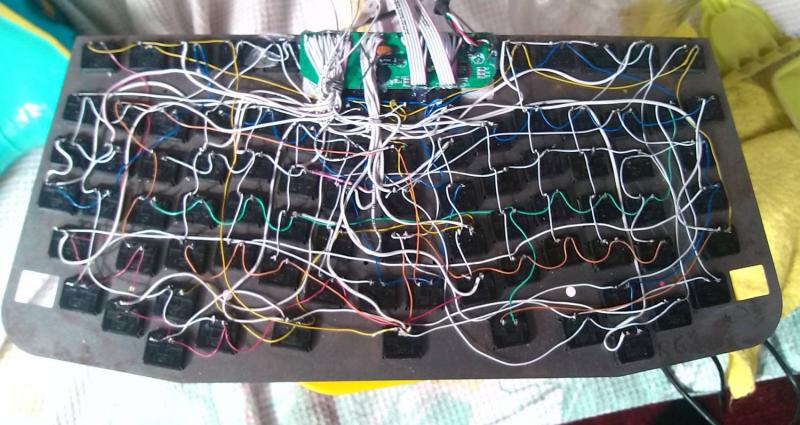
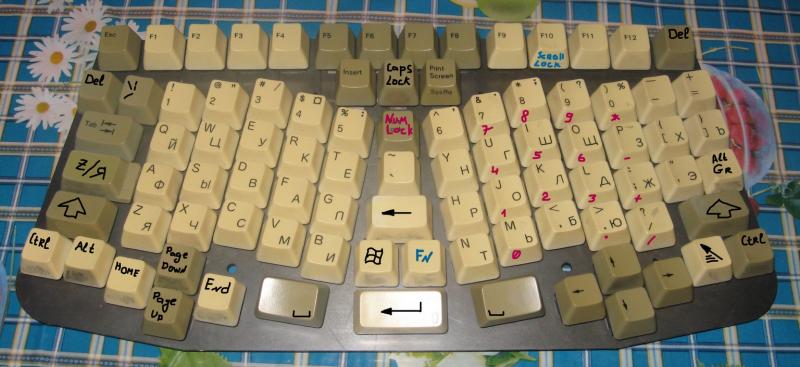
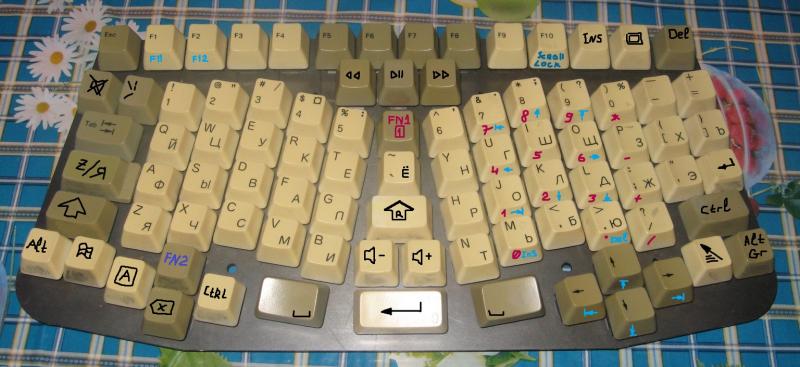
Installing the controller required to change the layout once again: the final version
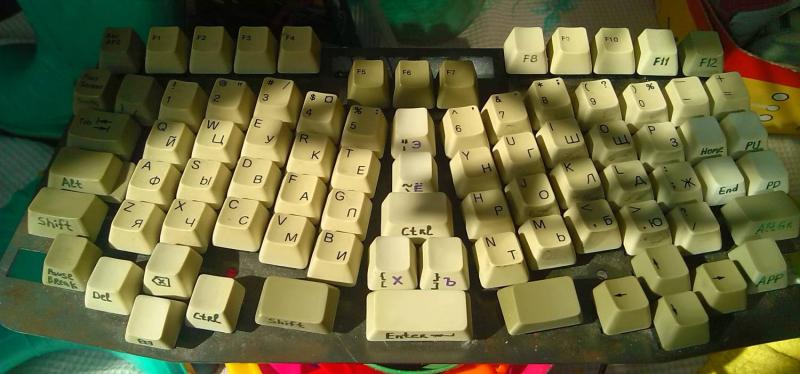
Each row of keys has its own individual form. Win, Shift, Enter and Space are turned upside down for easier pressing
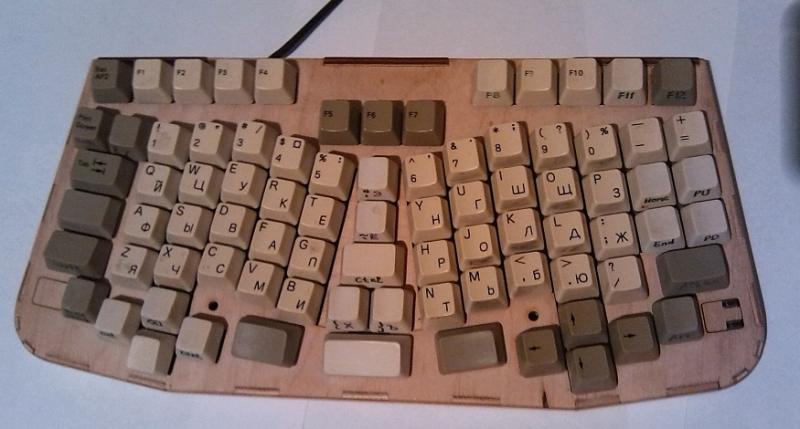
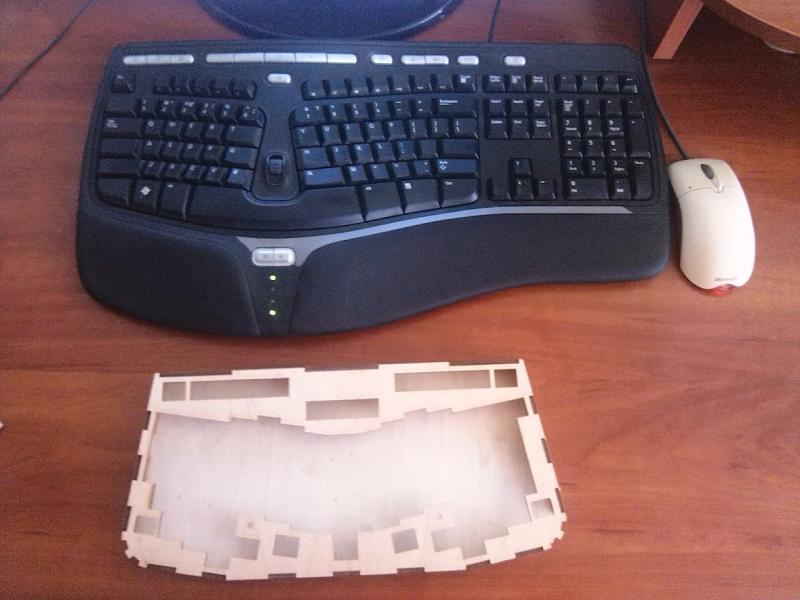
As an experiment, the hull was made of wood (simultaneously checking out several new ideas).
3.5 mm plywood, laser cutting. Details are assembled with each other "in the hook"


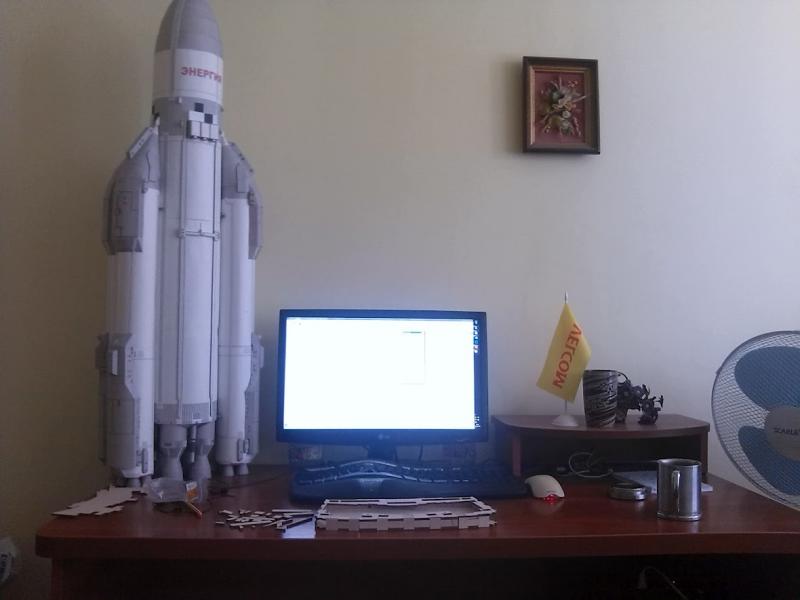
Comparison in size with a working keyboard and a rocket instead of a cat :)
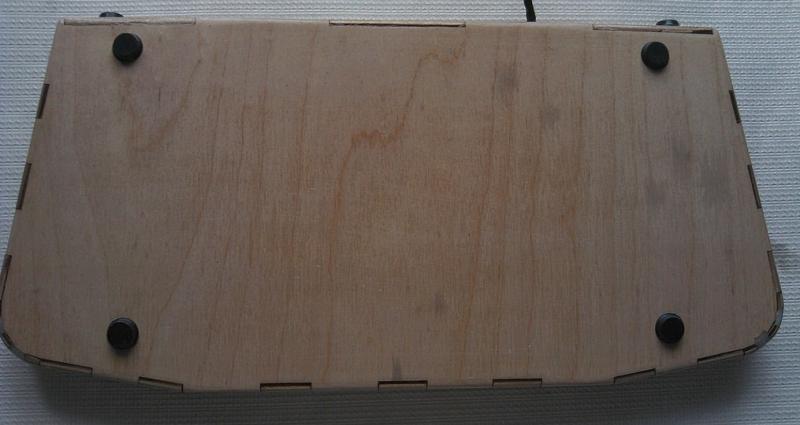
Plywood was glued with cyanoacrylate (superglue).

After laser cutting, the plywood “led a little”, but the presence of hooks along the entire perimeter of the case made it possible to straighten out irregularities

The roundings were sealed with small pieces of plywood and filled with a mixture of cyanoacrylate and baking soda. The polymer obtained is not inferior in strength plastic.
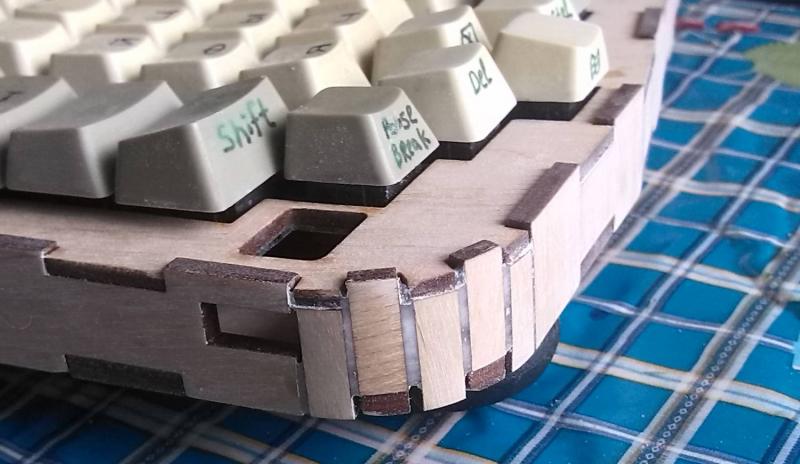
Then all corners and protruding edges were rounded off with emery paper.
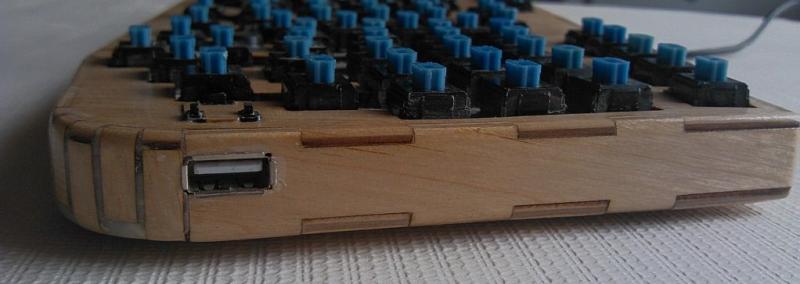
In the sides of the keyboard were installed USB hub outputs, and headset jacks.
Clock buttons with rarely used functionality are installed in the right technical hatch (Caps, Num and Scrol Lock)
Then the keyboard was coated with acrylic varnish. Rubber feet stickers are installed on the bottom.

Outcome and conclusions
I was satisfied with the work :). But there is no keyboard. The layout and ergonomics suited me completely, but the increased noise made me nervous all at home and at work. Switchers from the 90s turned out to be no idea, jamming, contact bounce and frequent sticking nullified all other advantages.
Source: https://habr.com/ru/post/177405/
All Articles