Client VPN to VMware vCloud Director 5.1
In VMware vCloud Director, there are two types of external networks - routed network and direct network.
When creating a second type of network on VDS, a port is created to which the machine is directly forwarded.
When creating a second type of network for each organization, a virtual router is created - vShield Edge, which allows you to build site-to-site VPN, make publications, forward ports to internal virtual machines, be DHCP, NAT, load balancer (despite the fact that in 5.1 it can still put in HA mode) and other useful functions of the router function.
Read more about it here .
')
From the vCloud Director interface you cannot configure a VPN to connect to it from ordinary PCs, but sometimes it is necessary and not to install any server inside the organization (be it OpenVPN or MS TMG) you can configure vShield so that it will serve as an access server.
Only a vSphere administrator can configure - the rights of an organization administrator in vCloud Director are not enough. And I will show you how to do it.
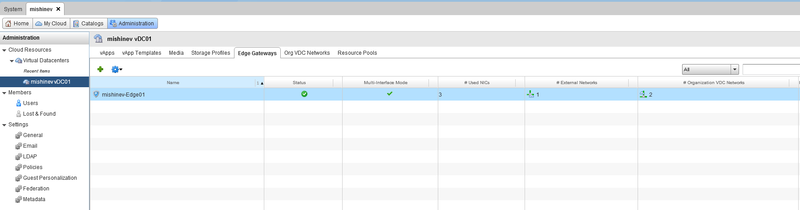
1) First you need to create an Edge GW in your organization:
2) Let's go to the vShield Manager, in it you need to select the Datacenter in which the organization is located and select the desired vShield Edge.
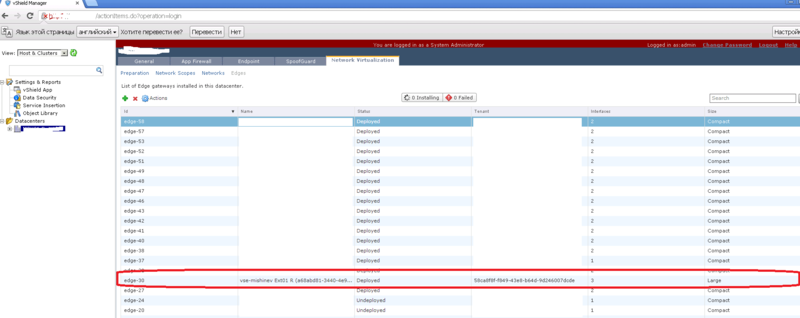
You can see that the vShield Manager indicates the id of the organization in which the vShield Edge is located - this is done so that if you use the same names for the Edge - you can determine which organization it belongs to.
In the “interfaces” field you can see the number 3 - this means that 3 grids are connected to the vShield Manager (one external from vSphere and two internal).
In the size field, you can see that it is large — in general, in version 5.1, two types of compact and large can be deployed — they differ in the resources consumed and, accordingly, the maximum load on them, you can read more here .
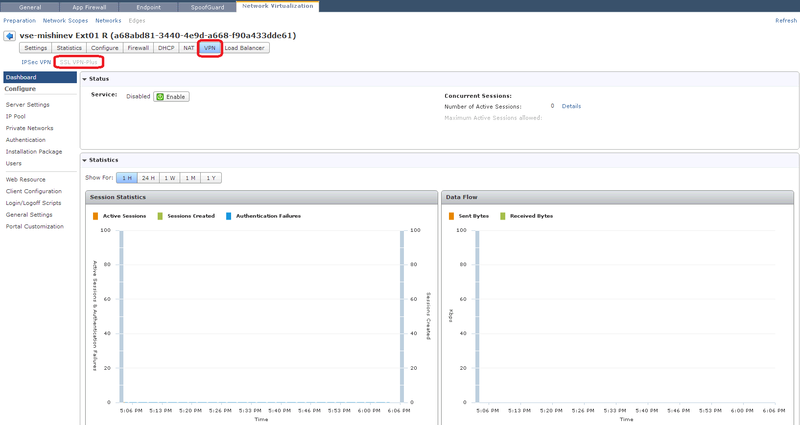
3) After selecting the desired router, go to the Network virtualization tab, open the VPN tab and the SSL VPN-Plus section.
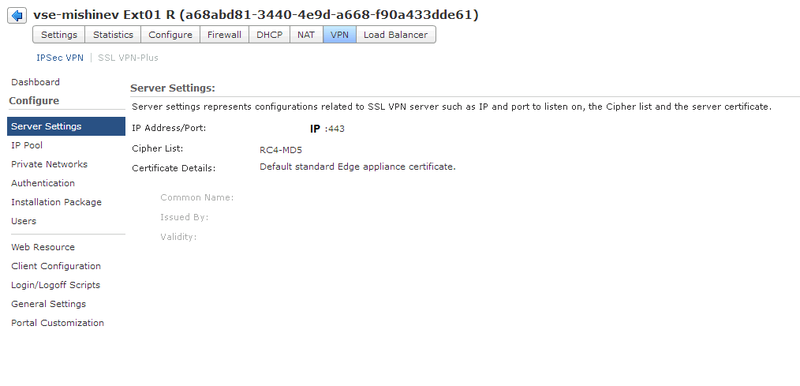
4) In the Server Settings section, you must select an external IP and port for connecting users. On vShield Edge, you can add several external IPs - so you need to select one of them. There is also a choice of encryption method and certificate, I will use the internal certificate Edge.
5) In the next tab, we configure the IP pool that will be issued to clients connecting via VPN.
This IP pool should be different from the internal internal subnets used by the organization in the vCloud Director. In the internal network, networks with addresses 10.1.0.0/24 and 10.1.1.0/24 are configured - I will specify the IP pool 10.1.2.0/24 for the pool.
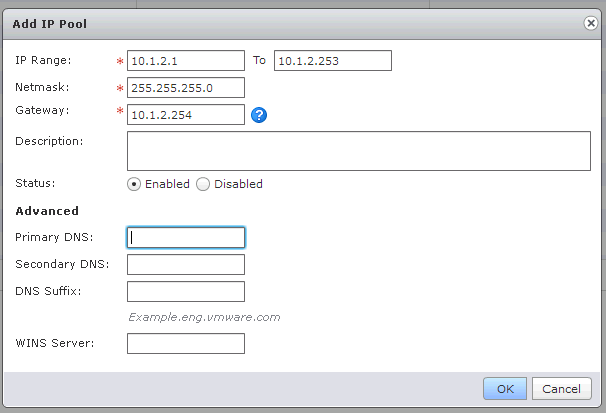
Here, respectively, is the pool that will be issued, the mask and the gateway - the address that will be assigned to the Edge.
6) In the “Private Networks” tab, add the grid to which the connected clients will have access. In our case, this is the 10.1.1.0/24 network. It is also necessary to choose how the traffic will go, by default it is SSL VPN over Tunnel.
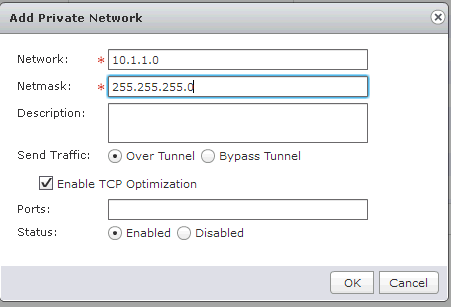
There are three parameters, the first is how the traffic will go - through the tunnel or around the tunnel, with this parameter everything is clear.
The second parameter is responsible for optimizing the TCP protocol — the included parameter will help optimize the data transfer rate.
The SSL VPN tunnel sends data at the second (network) level of the TCP / IP stack, which means that the fourth (application) level data when passing through the tunnel is encapsulated and de-encapsulated in two streams. This means that global TCP over TCP can occur with packet loss and the transmission rate will drop dramatically. The included optimization checkbox can solve this problem.
Finally, you need to specify the ports that will be open for VPN users, if you leave the field blank, then all ports will be open.
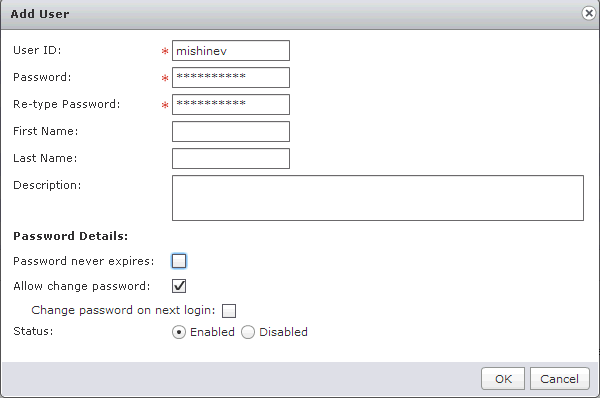
7) The next step is authentication, you can choose local, LDAP, AD, RSA-ACE and Radius. I choose local, because I do not want to configure groups in AD. You can also customize the password complexity and other parameters.
8) In the “Installation Package” section, the application parameters are specified, which will be installed on the local machine to connect to vShield Edge.
Gateway - external IP Edge to which you will connect, we chose it in step 4.
You can also choose under which OS the applications will be compiled - Windows, Linux or MacOS.
9) If you specified a local user in the authentication section, you need to specify it.
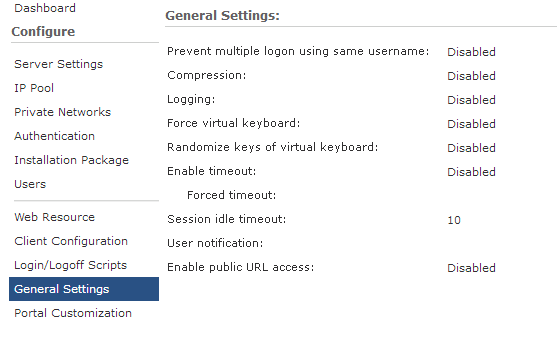
10) The following item “General settings” - in which you can configure:
 "
"
alt = "image" />
11) At this point, the VPN settings are complete - now you need to enable the service by clicking Enable on the main tab to enable VPN:

If everything is ok, we will see the inscription “Service enabled successfully!”
12) Follow the link IP_EDGE / sslvpn-plus and download the client to connect. Where IP_EDGE is the external address of your virtual switch.
We will see the following window:
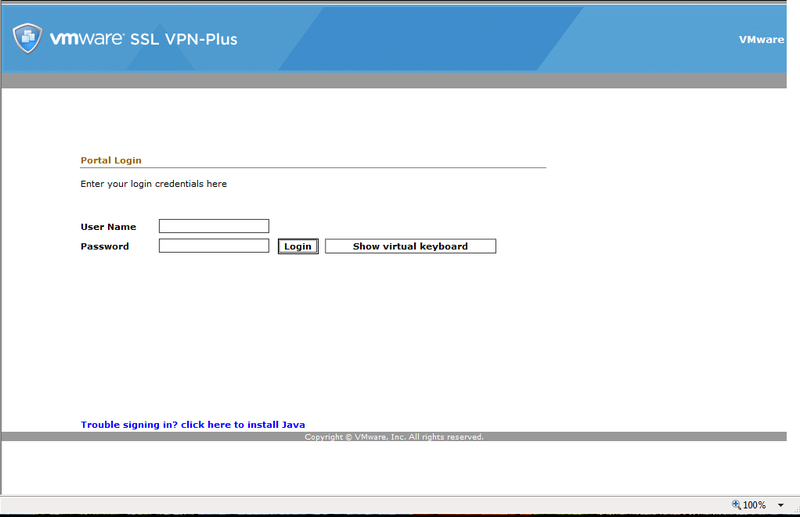
13) Login with the created account earlier.
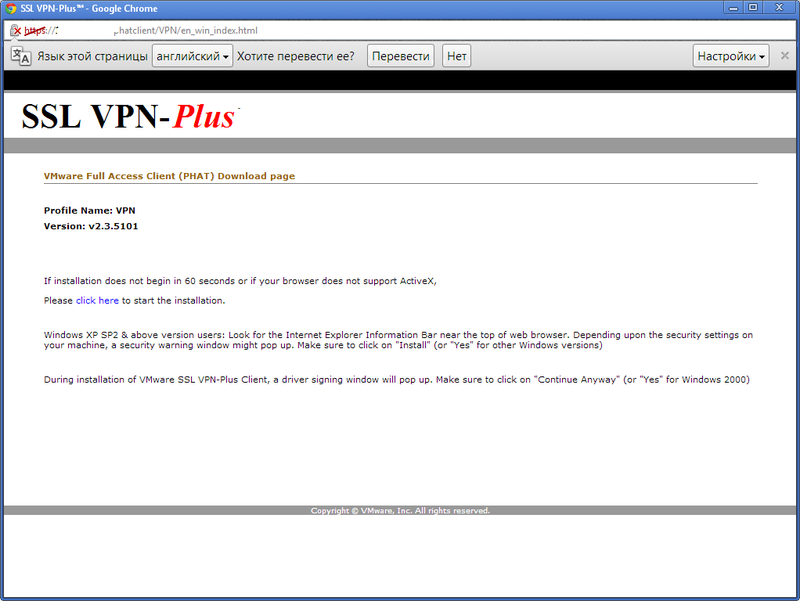
Download the distribution:
14) Install and run SSL VPN-Plus Client.


15) Enter the username and password to connect.
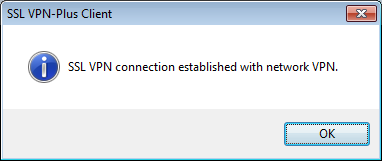
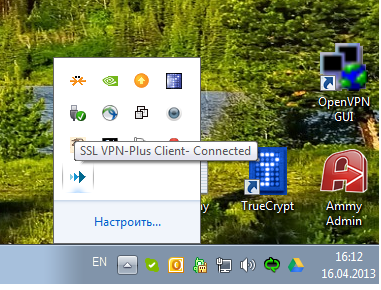
The connection was successful, check if we got the IP:

As seen above, the IP is obtained from the pool.
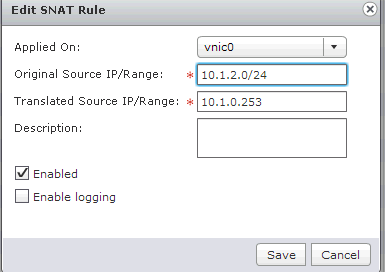
16) Now for access to the internal subnet 10.1.0.0/24, you need to configure the rule on vShield Edge.
At this setting is over.
If it is interesting, in the next post I can tell you how to build a site-to-site VPN between the Cisco router and vShield Edge versions 5.0 - 5.1.
Well, if you have any questions, please write below.
When creating a second type of network on VDS, a port is created to which the machine is directly forwarded.
When creating a second type of network for each organization, a virtual router is created - vShield Edge, which allows you to build site-to-site VPN, make publications, forward ports to internal virtual machines, be DHCP, NAT, load balancer (despite the fact that in 5.1 it can still put in HA mode) and other useful functions of the router function.
Read more about it here .
')
From the vCloud Director interface you cannot configure a VPN to connect to it from ordinary PCs, but sometimes it is necessary and not to install any server inside the organization (be it OpenVPN or MS TMG) you can configure vShield so that it will serve as an access server.
Only a vSphere administrator can configure - the rights of an organization administrator in vCloud Director are not enough. And I will show you how to do it.
1) First you need to create an Edge GW in your organization:
2) Let's go to the vShield Manager, in it you need to select the Datacenter in which the organization is located and select the desired vShield Edge.
You can see that the vShield Manager indicates the id of the organization in which the vShield Edge is located - this is done so that if you use the same names for the Edge - you can determine which organization it belongs to.
In the “interfaces” field you can see the number 3 - this means that 3 grids are connected to the vShield Manager (one external from vSphere and two internal).
In the size field, you can see that it is large — in general, in version 5.1, two types of compact and large can be deployed — they differ in the resources consumed and, accordingly, the maximum load on them, you can read more here .
3) After selecting the desired router, go to the Network virtualization tab, open the VPN tab and the SSL VPN-Plus section.
4) In the Server Settings section, you must select an external IP and port for connecting users. On vShield Edge, you can add several external IPs - so you need to select one of them. There is also a choice of encryption method and certificate, I will use the internal certificate Edge.
5) In the next tab, we configure the IP pool that will be issued to clients connecting via VPN.
This IP pool should be different from the internal internal subnets used by the organization in the vCloud Director. In the internal network, networks with addresses 10.1.0.0/24 and 10.1.1.0/24 are configured - I will specify the IP pool 10.1.2.0/24 for the pool.
Here, respectively, is the pool that will be issued, the mask and the gateway - the address that will be assigned to the Edge.
6) In the “Private Networks” tab, add the grid to which the connected clients will have access. In our case, this is the 10.1.1.0/24 network. It is also necessary to choose how the traffic will go, by default it is SSL VPN over Tunnel.
There are three parameters, the first is how the traffic will go - through the tunnel or around the tunnel, with this parameter everything is clear.
The second parameter is responsible for optimizing the TCP protocol — the included parameter will help optimize the data transfer rate.
The SSL VPN tunnel sends data at the second (network) level of the TCP / IP stack, which means that the fourth (application) level data when passing through the tunnel is encapsulated and de-encapsulated in two streams. This means that global TCP over TCP can occur with packet loss and the transmission rate will drop dramatically. The included optimization checkbox can solve this problem.
Finally, you need to specify the ports that will be open for VPN users, if you leave the field blank, then all ports will be open.
7) The next step is authentication, you can choose local, LDAP, AD, RSA-ACE and Radius. I choose local, because I do not want to configure groups in AD. You can also customize the password complexity and other parameters.
8) In the “Installation Package” section, the application parameters are specified, which will be installed on the local machine to connect to vShield Edge.
Gateway - external IP Edge to which you will connect, we chose it in step 4.
You can also choose under which OS the applications will be compiled - Windows, Linux or MacOS.
9) If you specified a local user in the authentication section, you need to specify it.
10) The following item “General settings” - in which you can configure:
"alt = "image" />
11) At this point, the VPN settings are complete - now you need to enable the service by clicking Enable on the main tab to enable VPN:
If everything is ok, we will see the inscription “Service enabled successfully!”
12) Follow the link IP_EDGE / sslvpn-plus and download the client to connect. Where IP_EDGE is the external address of your virtual switch.
We will see the following window:
13) Login with the created account earlier.
Download the distribution:
14) Install and run SSL VPN-Plus Client.
15) Enter the username and password to connect.
The connection was successful, check if we got the IP:
As seen above, the IP is obtained from the pool.
16) Now for access to the internal subnet 10.1.0.0/24, you need to configure the rule on vShield Edge.
At this setting is over.
If it is interesting, in the next post I can tell you how to build a site-to-site VPN between the Cisco router and vShield Edge versions 5.0 - 5.1.
Well, if you have any questions, please write below.
Source: https://habr.com/ru/post/177263/
All Articles