Setting the environment for building and testing the application in a closed perimeter
Good afternoon, habrochiteli.
Again, I want to share with you some practical insights.
Most recently, as part of one project, I was tasked with preparing for the testers team a standard environment for building and testing an application (Jenkins + SVN + Maven).
All tests should be carried out in a private virtual network, access to which is organized through vpn-connection.
The server on which the installation is made does not have access to the Internet.
The customer decided not to issue any rights to install for security reasons. And for the same reason only 22 and 8080 ports were available.
Not much, but as it turned out, quite enough.
First of all, download the latest version of Apache-Tomcat and Jenkins locally.
Then on scp we upload the archive and jenkins.war to our server.
Unpack the archive and put jenkins.war in the folder / path / to / my / home / apache-tomcat / webapps.
We try to run:
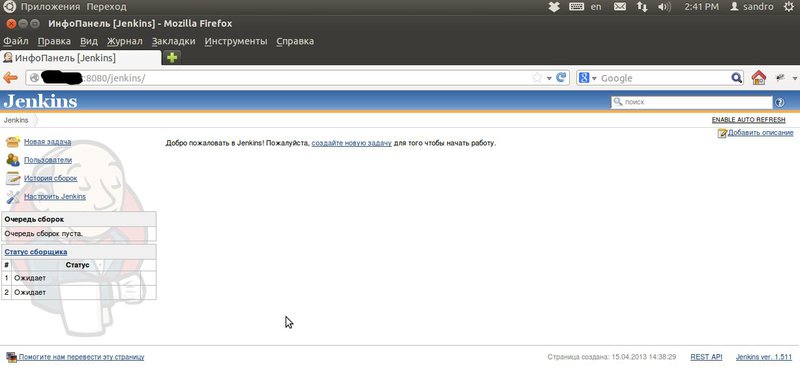
We check that Jenkins started correctly on the link your_server_ip : 8080 / jenkins
Now you need to implement the work of svn (in my case it is Subversion, which comes in delivery with redhat) via Tomcat.
After some search for ready-made solutions found SCM Manager .
We download the latest version of SCM WebApp and upload it via scp to the server in the folder / path / to / my / home / apache-tomcat / webapps.
Restart Tomcat.
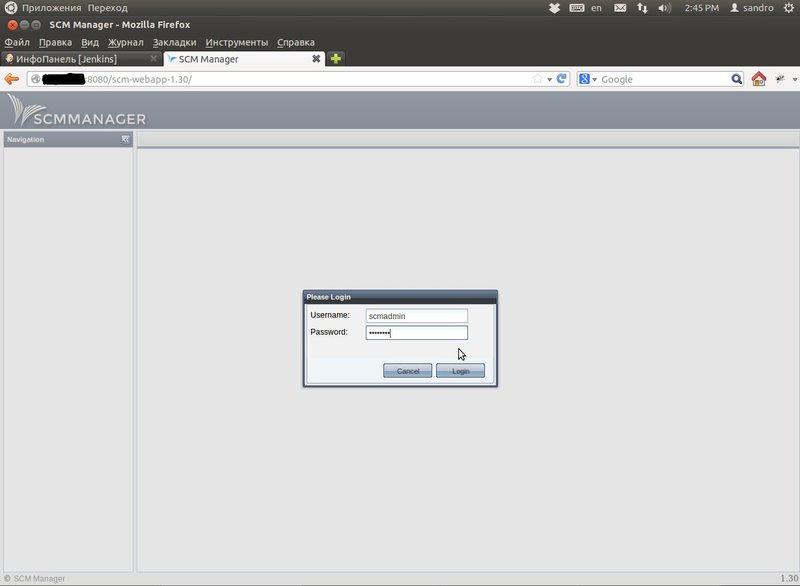
We are going to get acquainted with the SCM Manager under the link your_server_ip : 8080 / scm-webapp-1.30.
Standard login / password - scmadmin / scmadmin.
')
Functionally pleased. The application can work with SVN and GIT.
The menu is simple and straightforward.
Create a user with “READ” rights to use it in Jenkins tasks.

Create a repository.
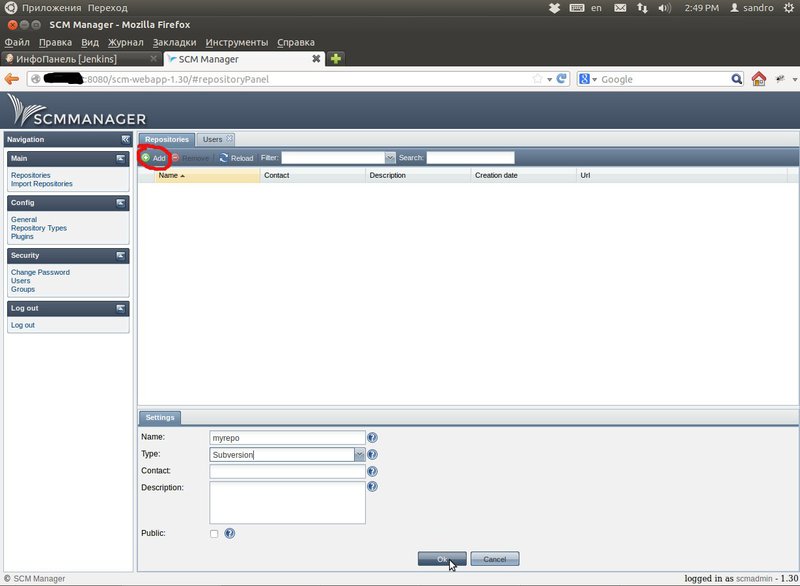
We give access to the user in the repository.

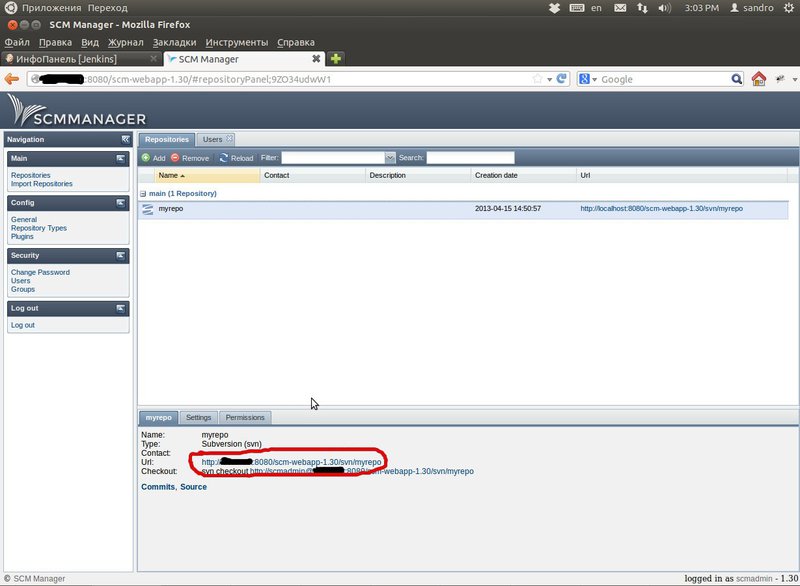
We look at the url of our repository and try to make a checkout.
Maven install in the same way.
We extort the Apache-Maven package locally, send it via scp to the server and unpack it there.
Since the server does not have access to the Internet, you need to immediately take care of the presence of all assembly dependencies locally on the server.
To do this, I just asked one of the application testers to give me an archive of its local repository (for those who are not familiar with maven, this is the .m2 folder).
I also sent this archive via scp to the server and unpacked it.
Configure maven to use the local repository:
Open maven / conf / settings.xml, find it and bring it to the following line type:
We configure Jenkins to use our Maven.
To do this, open the tab "Configure Jenkins" -> "Configuring the system"
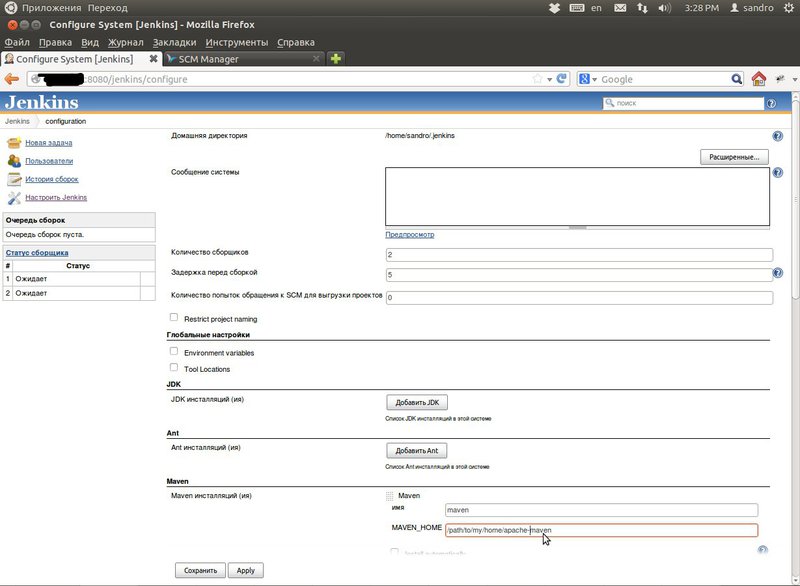
This completes the configuration. Environment is ready to go.
Again, I want to share with you some practical insights.
Most recently, as part of one project, I was tasked with preparing for the testers team a standard environment for building and testing an application (Jenkins + SVN + Maven).
All tests should be carried out in a private virtual network, access to which is organized through vpn-connection.
The server on which the installation is made does not have access to the Internet.
The customer decided not to issue any rights to install for security reasons. And for the same reason only 22 and 8080 ports were available.
Not much, but as it turned out, quite enough.
First of all, download the latest version of Apache-Tomcat and Jenkins locally.
Then on scp we upload the archive and jenkins.war to our server.
Unpack the archive and put jenkins.war in the folder / path / to / my / home / apache-tomcat / webapps.
We try to run:
/path/to/my/home/apache-tomcat/bin/startup.sh Using CATALINA_BASE: /path/to/my/home/apache-tomcat Using CATALINA_HOME: /path/to/my/home/apache-tomcat Using CATALINA_TMPDIR: /path/to/my/home/apache-tomcat/temp Using JRE_HOME: /usr/java/latest Using CLASSPATH: /path/to/my/home/apache-tomcat/bin/bootstrap.jar:/path/to/my/home/apache-tomcat/bin/tomcat-juli.jar We check that Jenkins started correctly on the link your_server_ip : 8080 / jenkins
Now you need to implement the work of svn (in my case it is Subversion, which comes in delivery with redhat) via Tomcat.
After some search for ready-made solutions found SCM Manager .
We download the latest version of SCM WebApp and upload it via scp to the server in the folder / path / to / my / home / apache-tomcat / webapps.
Restart Tomcat.
We are going to get acquainted with the SCM Manager under the link your_server_ip : 8080 / scm-webapp-1.30.
Standard login / password - scmadmin / scmadmin.
')
Functionally pleased. The application can work with SVN and GIT.
The menu is simple and straightforward.
Create a user with “READ” rights to use it in Jenkins tasks.
Create a repository.
We give access to the user in the repository.
We look at the url of our repository and try to make a checkout.
sandro@sandro-VirtualBox:~/myrepo$ svn checkout http://jenkins@your_server_ip:8080/scm-webapp-1.30/svn/myrepo Authentication realm: <http://your_server_ip:8080> SONIA :: SCM Manager : jenkins 'jenkins': 0. Maven install in the same way.
We extort the Apache-Maven package locally, send it via scp to the server and unpack it there.
Since the server does not have access to the Internet, you need to immediately take care of the presence of all assembly dependencies locally on the server.
To do this, I just asked one of the application testers to give me an archive of its local repository (for those who are not familiar with maven, this is the .m2 folder).
I also sent this archive via scp to the server and unpacked it.
Configure maven to use the local repository:
Open maven / conf / settings.xml, find it and bring it to the following line type:
<localRepository>/path/to/my/home/.m2/repository</localRepository> <offline>true</offline> We configure Jenkins to use our Maven.
To do this, open the tab "Configure Jenkins" -> "Configuring the system"
This completes the configuration. Environment is ready to go.
Source: https://habr.com/ru/post/176719/
All Articles