Websphere mq for beginners
Introduction
In one of the tasks, it was necessary to integrate with the external system. In the prom and all developers, IBM WebSphere is worth it, so WebSphere MQ fits perfectly, considering also the fact that with IBM WebSphere they have excellent integration out of the box. To begin, install and configure WebSphere and WebSphere MQ, then write a simple application to send and receive data from the queue and complete everything by installing and configuring HermesJMS and see how to send and view messages from it. Everything will be done in Windows 7. Before you continue, download the above listed programs.
Caution traffic!
Installing and configuring WebSphere and WebSphere MQ
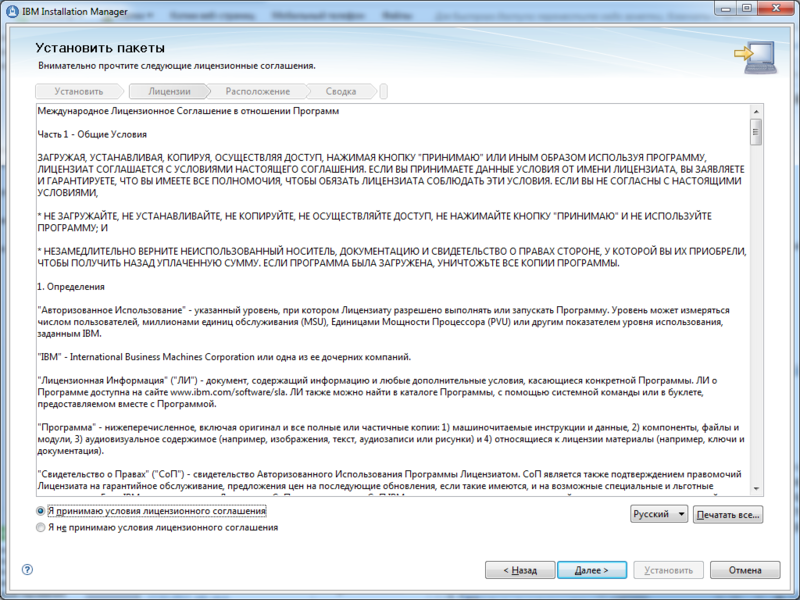
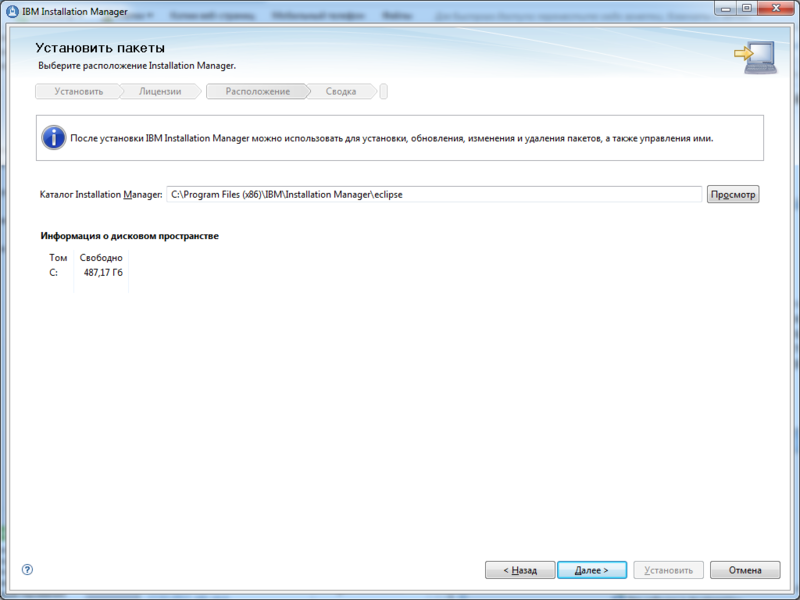
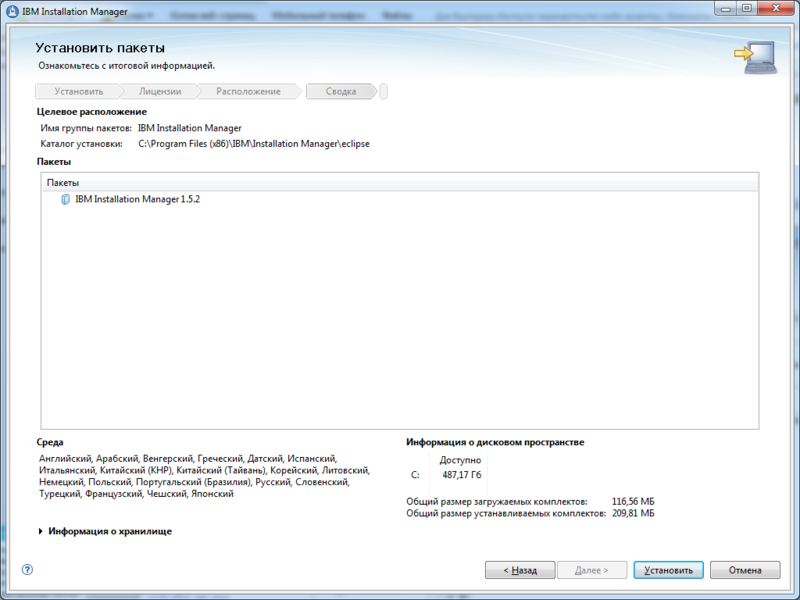
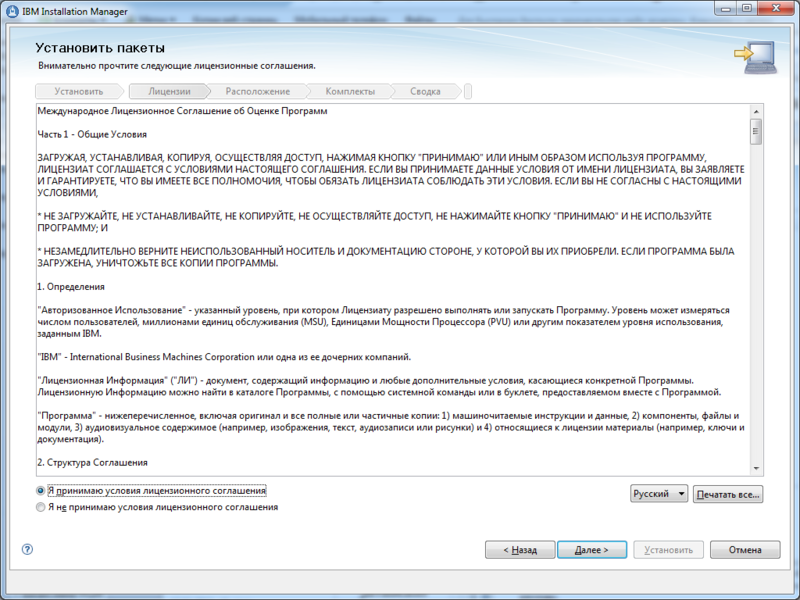
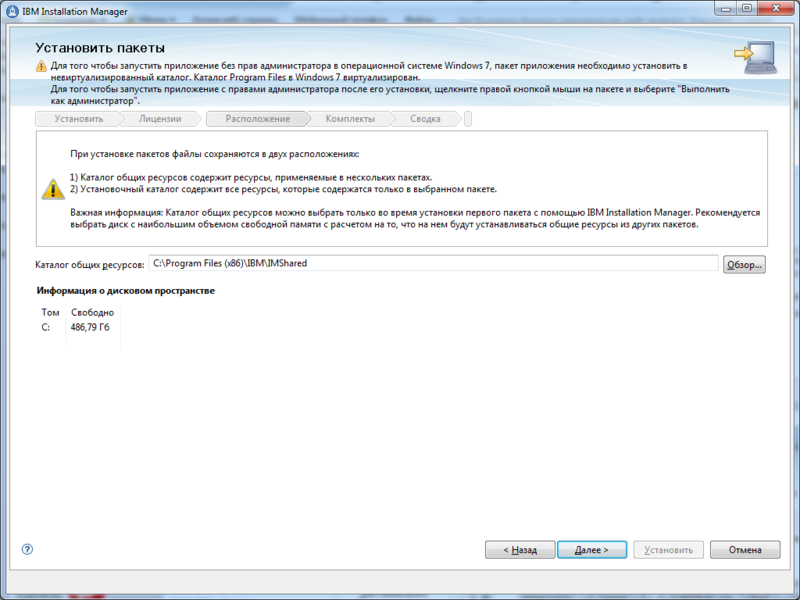
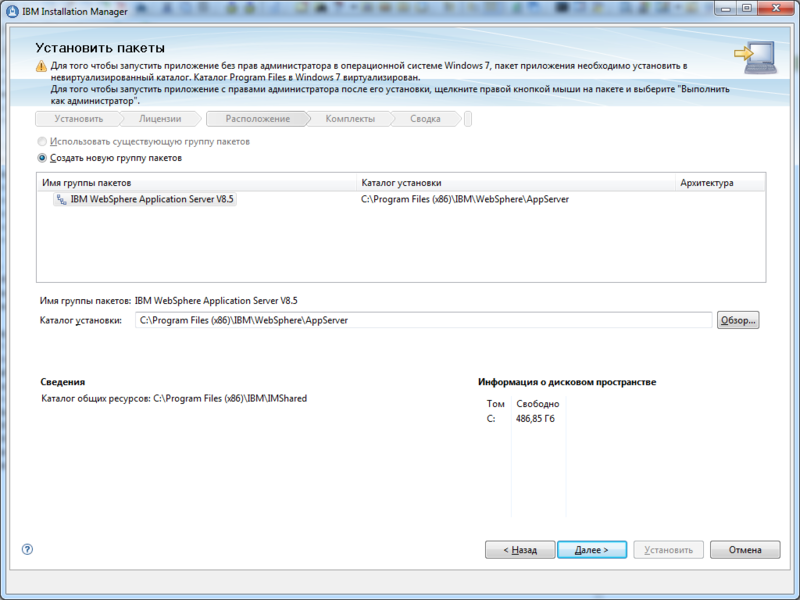
I hope you have already downloaded all the necessary programs and are ready to begin the installation. First, run the IBM Installation Manager installer. In order not to increase the size of the article screenshots that do not have a special semantic load, I will remove spoilers, because I think it's completely wrong to delete from the article. they give you an understanding that you are doing everything right.
Screenshots
')

')
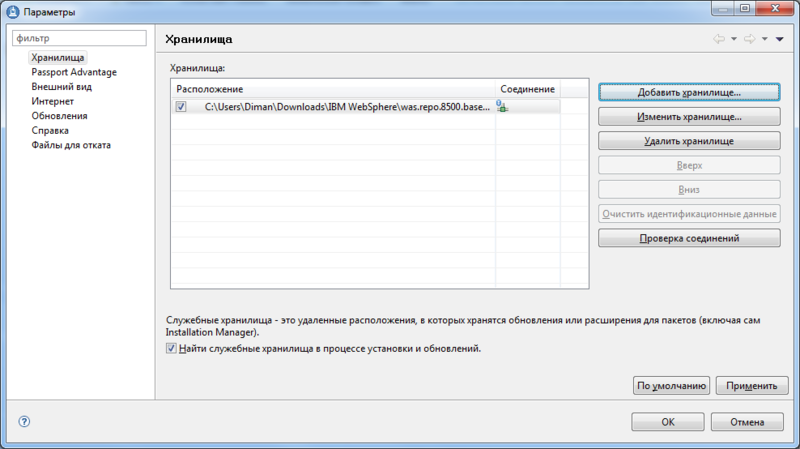
Restart the Instalation Manager and go to File -> Options. Add storage from the first disk.
Click OK and start the installation.
Screenshots with a description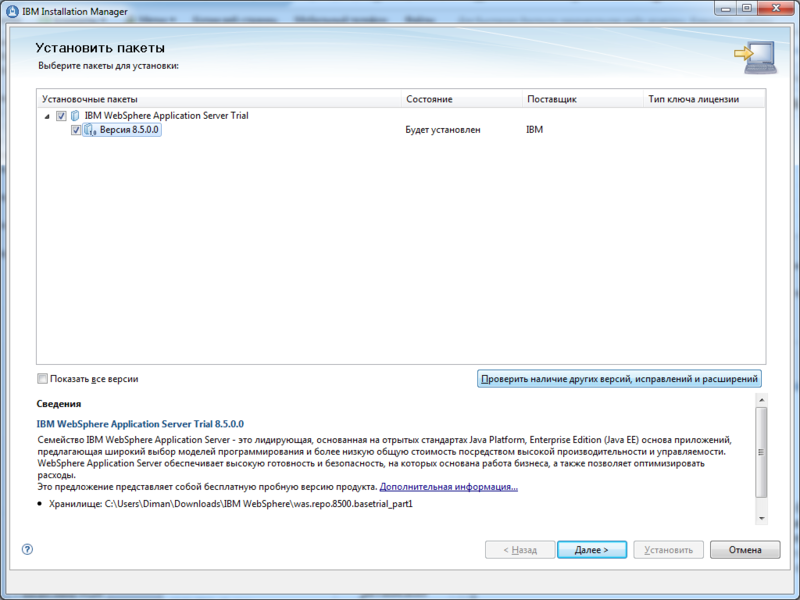
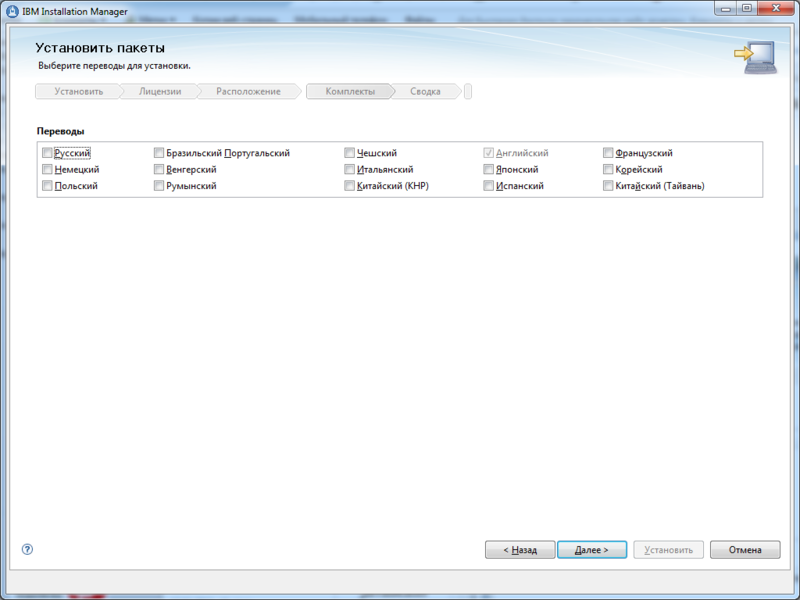
We remove the flag from the Russian translation.
Next, the installer will ask to insert disks 2 and 3. Insert them.
We remove the flag from the Russian translation.
Next, the installer will ask to insert disks 2 and 3. Insert them.
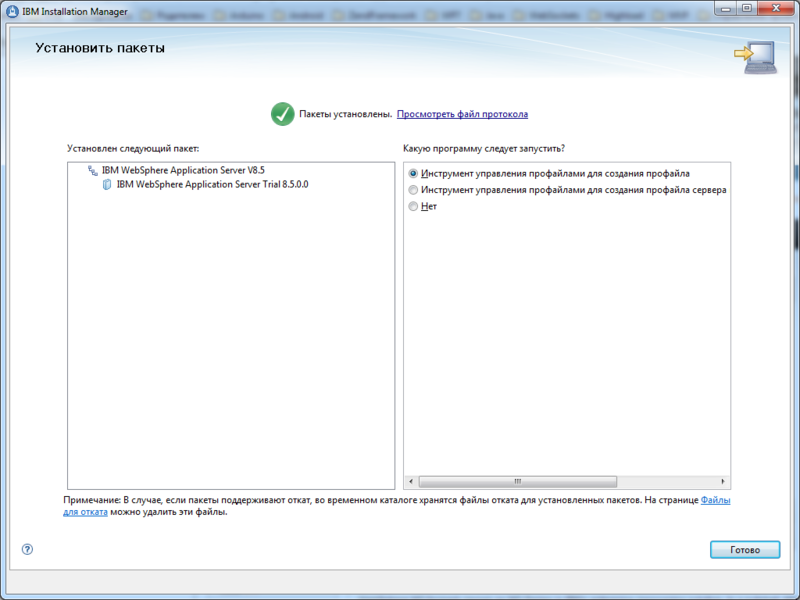
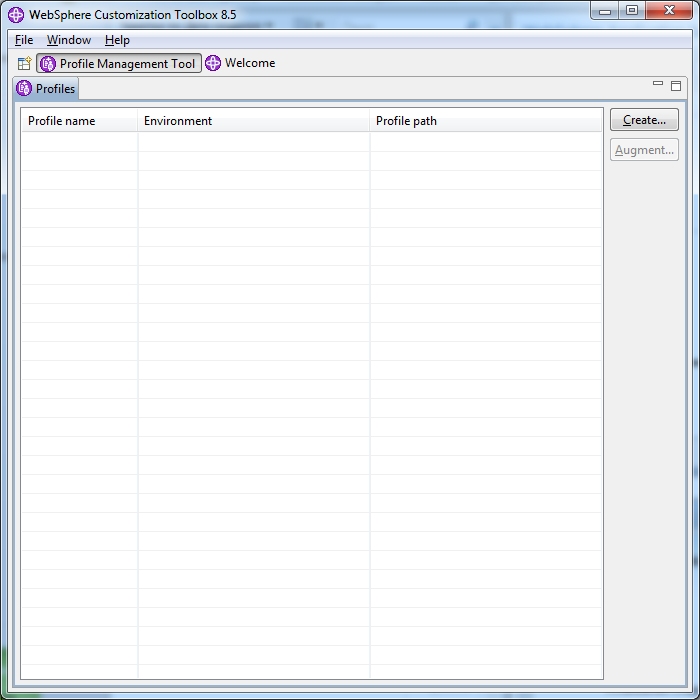
After installation, the profile manager will automatically start.
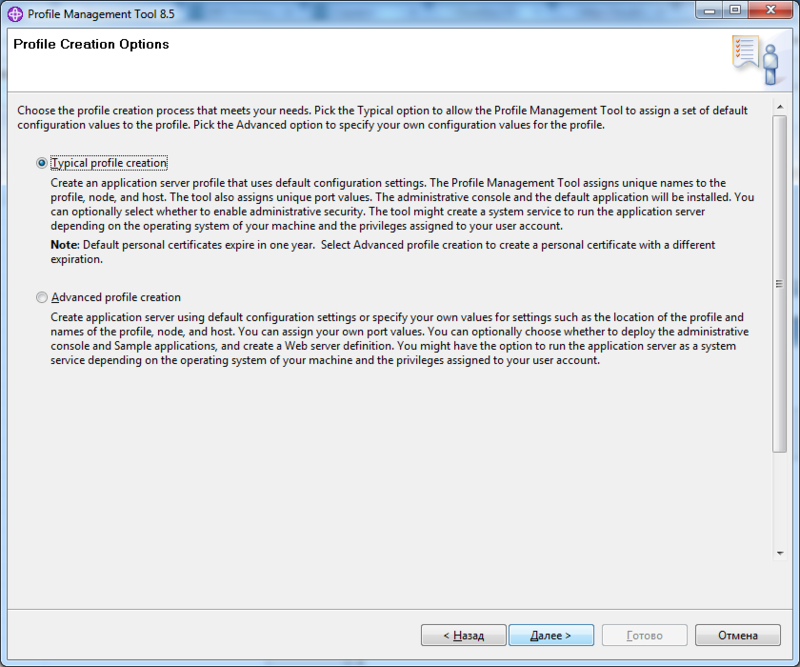
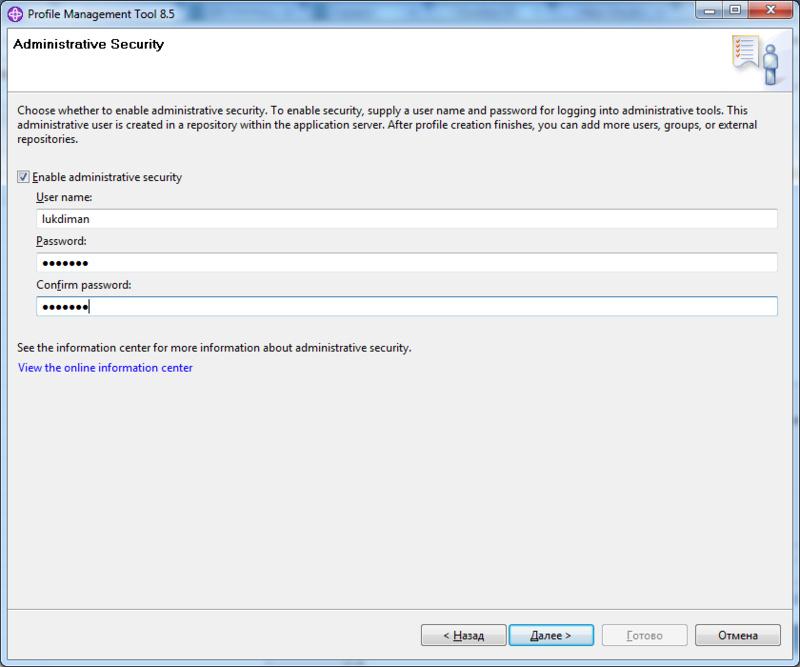
Click the button "Create ..." and then do as in the screenshots below.
Screenshots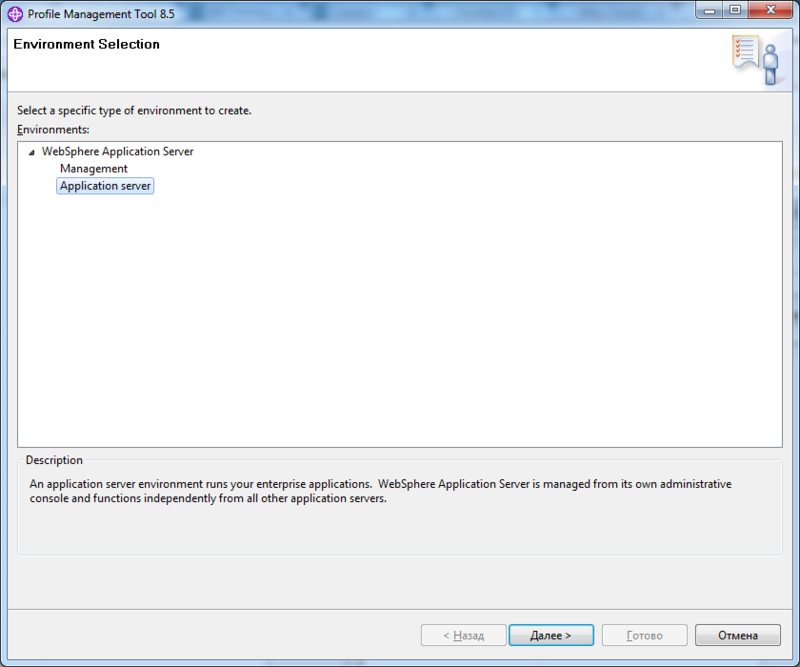


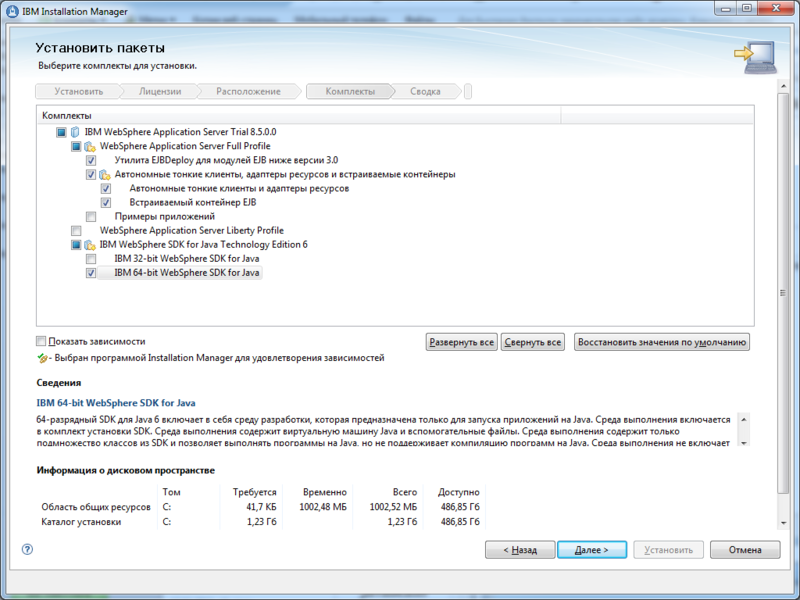
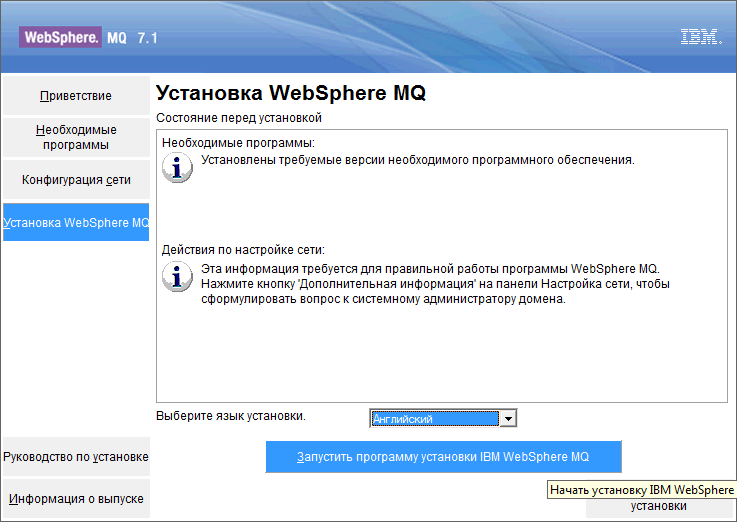
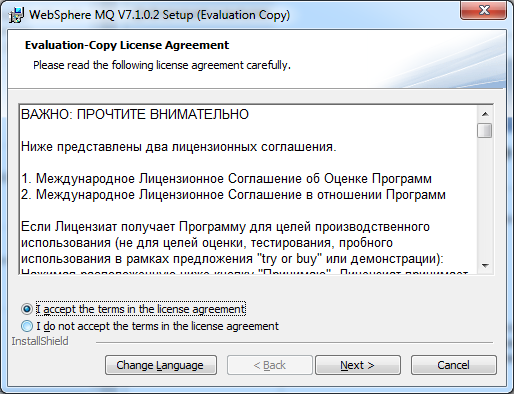
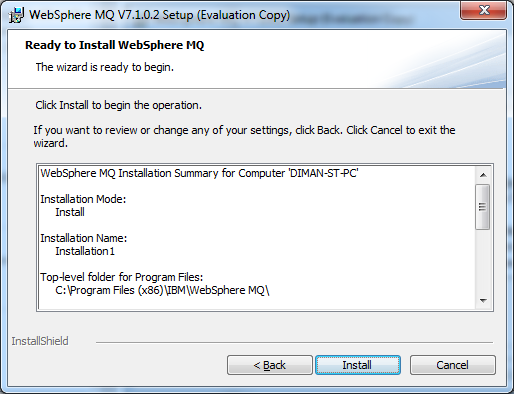
Now install the WebSphere MQ.
Screenshots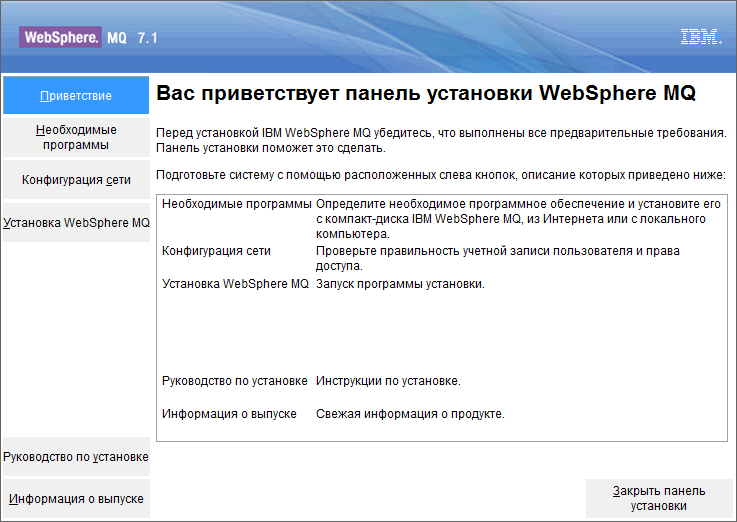


After the installation is complete, let's configure WebSphere MQ and WebSphere. We’ll start with WebSphere MQ because we’ll need queue names and a queue manager when setting up WebSphere. All commands are executed from the bin directory of the WebSphere MQ directory. First, create the queue manager and name it HABR_QUEUE_MANAGER using the crtmqm.exe command HABR_QUEUE_MANAGER .

Run our newly created queue manager using the strmqm.exe command HABR_QUEUE_MANAGER .
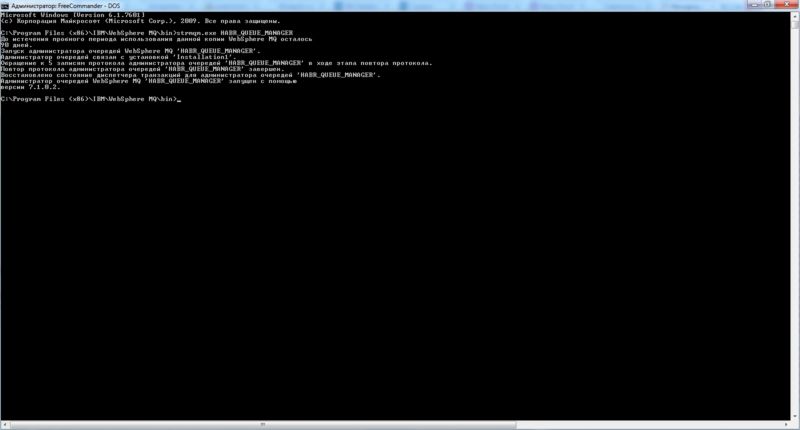
In order to create our inbound and outbound queues, run the MQ command line by calling runmqsc.exe HABR_QUEUE_MANAGER and execute 2 commands in a row:
- DEFINE QLOCAL (HOME.TO.ES) - the queue for sending messages from our application to an external system
- DEFINE QLOCAL (ES.TO.HOME) - queue for receiving messages from an external system
It remains to create a listener and a channel and start it and WebSphere MQ can be considered configured. To do this, run the following commands:
- DEFINE LISTENER (HABR_QUEUE_MANAGER.LISTENER) TRPTYPE (TCP) PORT (1414)
- START LISTENER (HABR_QUEUE_MANAGER.LISTENER)
- DEFINE CHANNEL (SYSTEM.ADMIN.SVRCONN) CHLTYPE (SVRCONN)
Remember port 1414 . Useful in configuring WebSphere Application Server.
Let's get started with configuring WebSphere Application Server.
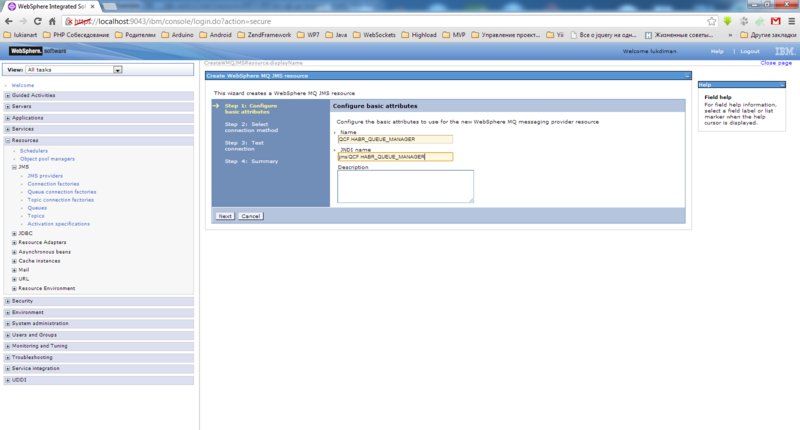
Create a Connection factory. To do this, launch the administrator console and select Resources-> JMS providers-> WebSphere MQ messaging provider-> Queue connection factories-> New (As shown in the screenshot below).
Next, enter the name and jndi name.
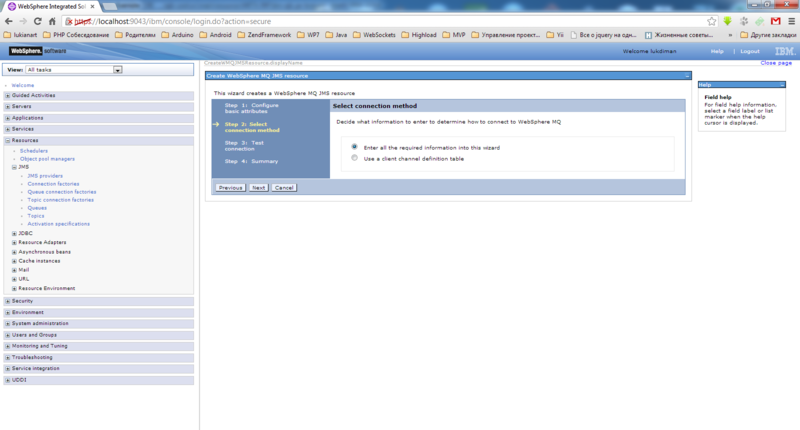
Enter the name of the queue manager.


If during the connection check a message appears (which is shown in the screenshot below), then perform the following actions.
- Run the MQ command line again and run runmqsc.exe HABR_QUEUE_MANAGER
- Dial ALTER QMGR CHLAUTH (DISABLED)
- Go to the services section in Windows and replace the IBM MQSeries service in the “Login” section with your account. Do the same for the WebSphere Application Server 8.5 service.
- Reboot the system and run HABR_QUEUE_MANAGER and start LISTENER (HABR_QUEUE_MANAGER.LISTENER)
- Now everything has to earn

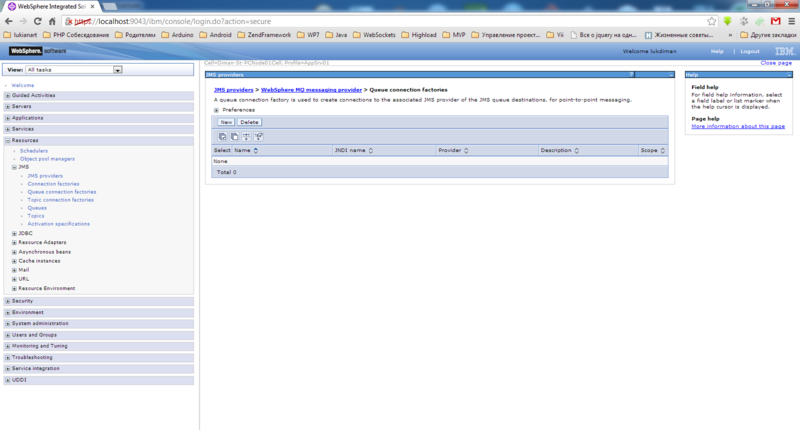
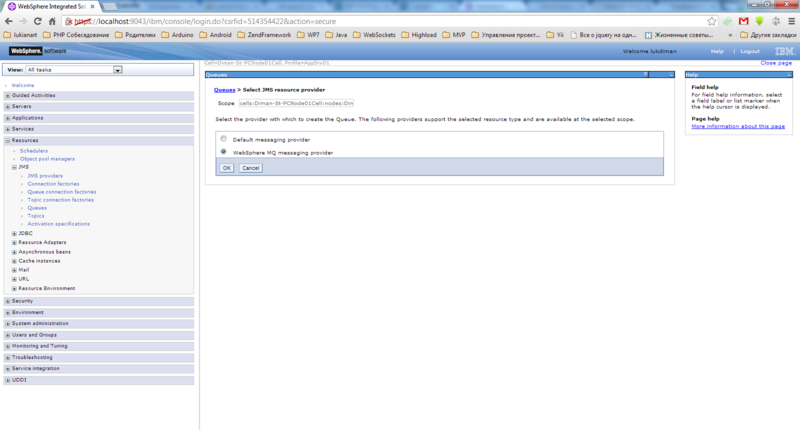
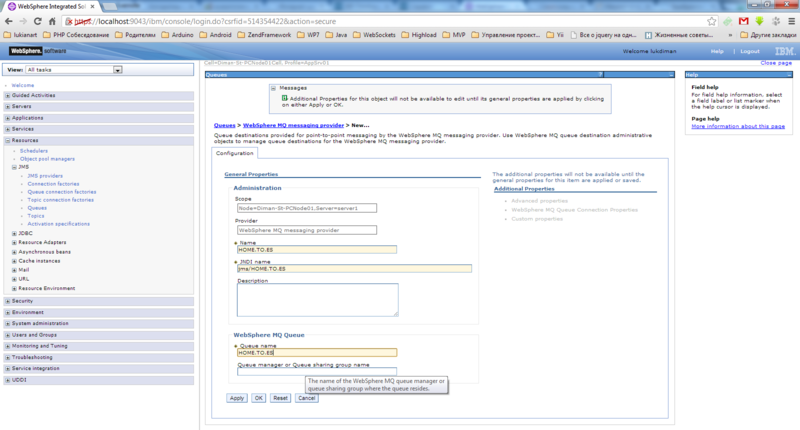
Now create a queue. We need to create 2 queues. Their names will be the same as queues created in WebSphere MQ. If anyone forgot, they are called ES.TO.HOME and HOME.TO.ES. Go to the point Resources-> JMS-> Queues-> New
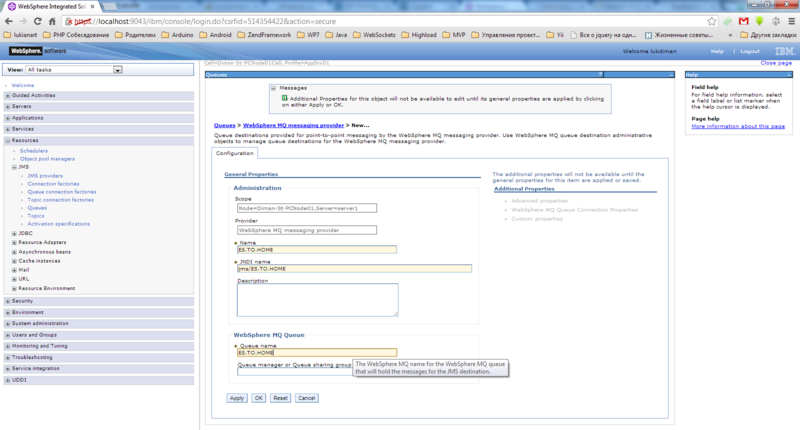
The second is created by analogy.
It remains to configure the Listener port. Go to Application servers -> server1 -> Message listener service -> Listener ports and add a new one.
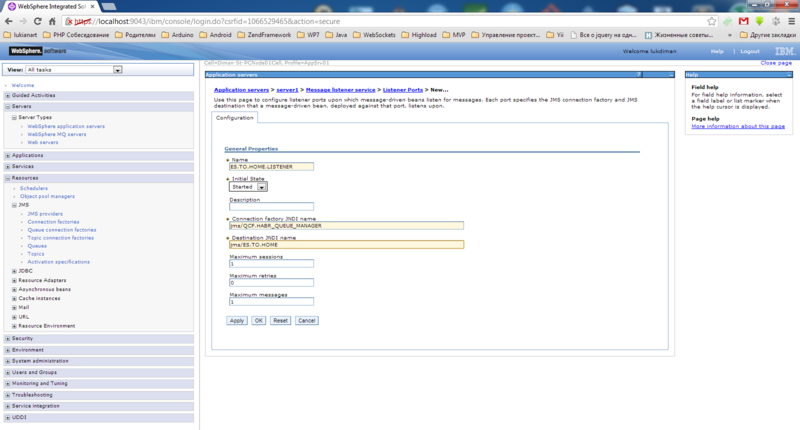
Save the configuration. We specified jndi the name of the queue connection manager and jndi the name of the queue to which messages from the external system will come. Start the port.
We now have configured WebSphere Application Server and WebSphere MQ. You can start creating a simple test application.
Creating a simple application to send and receive messages from the queue
I deliberately will not use various tools for building projects such as Maven, Gradle or ant when developing an application so that you can understand what is happening behind the scenes. But still, for convenience, I will write a couple of scripts that will be used to build the project in ear. I posted the whole project on github . Below I will describe only the main points.
Sending a message to the queue
To send a message, create a servlet, a bin, and a form for entering a message.
Let's start with the JMSMessageBean class from the ejb-core module. In the ejbCreate method, we get references to the Connection factory and the queue to which we will send messages. The processMessage method is designed to create a text message and send it to the queue.
public class JMSMessageBean implements SessionBean { private SessionContext sessionContext; private QueueConnectionFactory connectionFactory; private Queue destination; public boolean processMessage(String message) { QueueConnection jmsConnection = null; QueueSession jmsSession = null; try { jmsConnection = connectionFactory.createQueueConnection(); jmsSession = jmsConnection.createQueueSession(true, Session.AUTO_ACKNOWLEDGE); TextMessage jmsMessage = jmsSession.createTextMessage(); jmsMessage.setText(message); jmsSession.createSender(destination).send(jmsMessage); } catch (JMSException e) { return false; } finally { try { if (jmsSession != null) { jmsSession.close(); } if (jmsConnection != null) { jmsConnection.close(); } } catch (JMSException e) { e.printStackTrace(); } } return true; } public void ejbCreate() throws EJBException { try { Context ctx = new InitialContext(); connectionFactory = (QueueConnectionFactory) ctx.lookup("java:comp/env/QMHabr"); destination = (Queue) ctx.lookup("java:comp/env/jms/HOME.TO.ES"); } catch (NamingException e) { throw new EJBException(e); } } @Override public void ejbActivate() throws EJBException { } @Override public void ejbPassivate() throws EJBException { } @Override public void ejbRemove() throws EJBException { } @Override public void setSessionContext(SessionContext sessionContext) throws EJBException { this.sessionContext = sessionContext; } } Below is our SendJMSMessageServlet servlet. In the init method, we get a link to the bin, which is described above. Further, in the doPost method, it takes a message from the form and sends it to the bean's processMessage method. The rest of the work is done by bin.
public class SendJMSMessageServlet extends HttpServlet { private static final String MESSAGE_PARAMETER_NAME = "message"; private static final String MESSAGE_SENDING_SUCCESS = " "; private static final String MESSAGE_SENDING_ERROR = " "; private JMSMessage jmsMessage = null; @Override public void init() throws ServletException { super.init(); try { Context ctx = new InitialContext(); Object objHome = ctx.lookup("java:comp/env/ejb/JMSMessageLocal"); JMSMessageHome jmsMessageHome = (JMSMessageHome) PortableRemoteObject.narrow(objHome, JMSMessageHome.class); jmsMessage = jmsMessageHome.create(); } catch (Exception e) { throw new ServletException(e); } } @Override protected void doGet(HttpServletRequest request, HttpServletResponse response) throws ServletException, IOException { request.getRequestDispatcher("/sendMessage.jsp").forward(request, response); } @Override protected void doPost(HttpServletRequest request, HttpServletResponse response) throws ServletException, IOException { request.setCharacterEncoding("UTF-8"); String message = request.getParameter(MESSAGE_PARAMETER_NAME); request.setAttribute(MESSAGE_PARAMETER_NAME, (jmsMessage.processMessage(message)) ? MESSAGE_SENDING_SUCCESS : MESSAGE_SENDING_ERROR); request.getRequestDispatcher("/viewMessage.jsp").forward(request, response); } } Html form to send the most elementary. This is not the most important part. The message could be hard-coded or received from the file properties. But I’ll give you the code anyway.
<%@ page language="java" contentType="text/html; charset=UTF-8" pageEncoding="UTF-8" %> <html> <head> <meta http-equip="Content-Type" content="text/html; charset=UTF-8"/> <title> </title> </head> <body> <form action="sendMessage" method="POST"> <table> <tr> <td> :</td> <td><input type="text" name="message" size="70"/></td> </tr> <tr> <td colspan="2"><input type="submit" name="submitMessage" value=""/></td> </tr> </table> </form> </body> </html> Install and configure HermesJMS
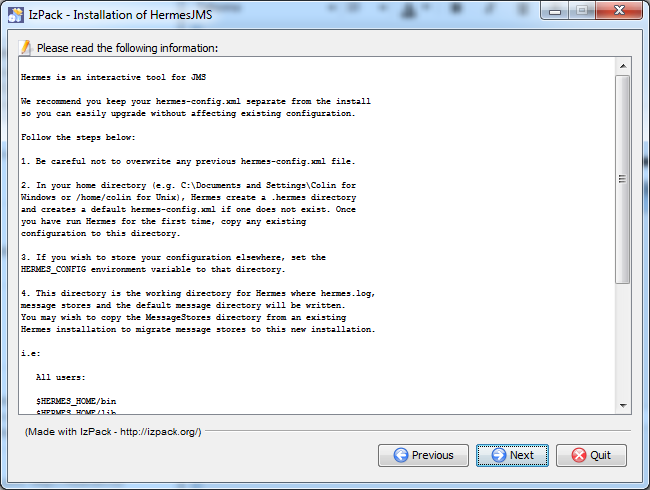
If WebSphere MQ is installed on a different machine and you are tired of running around to check messages in the queue or just want a convenient means to send test messages to the queue, then you can use HermesJMS. Perhaps there are analogues, but those that I found were paid. Advise in the comments good free analogues if you know. I am pleased to consider other similar systems. Specifically, in HermesJMS some UI bugs are not completely satisfied and resources are not released if you send a message from a file (keep it tight), but you can live with them.
And so, we proceed to the installation and configuration.
Screenshots
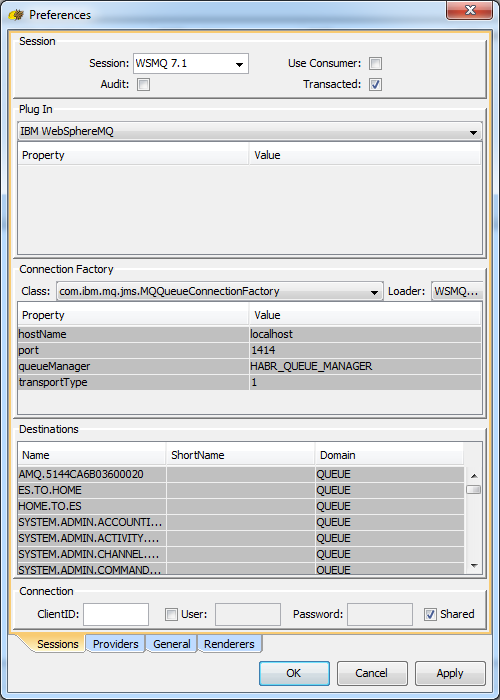
Start HermesJMS and add a new session. First, go to the Providers tab and add a new group. Call it as in the screenshot (although it does not matter) and add all the jar files listed below.

After adding a provider in the Session item, select it from the drop-down list. An example of setting up other fields is shown in the screenshot below.
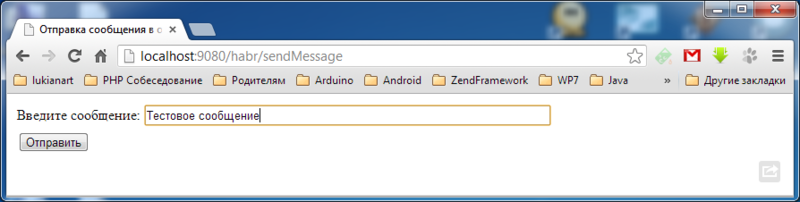
Now we will try to send a message to our queue. To do this, go to http: // localhost: 9080 / habr / sendMessage and enter any message in the input field and click on the "Send" button.
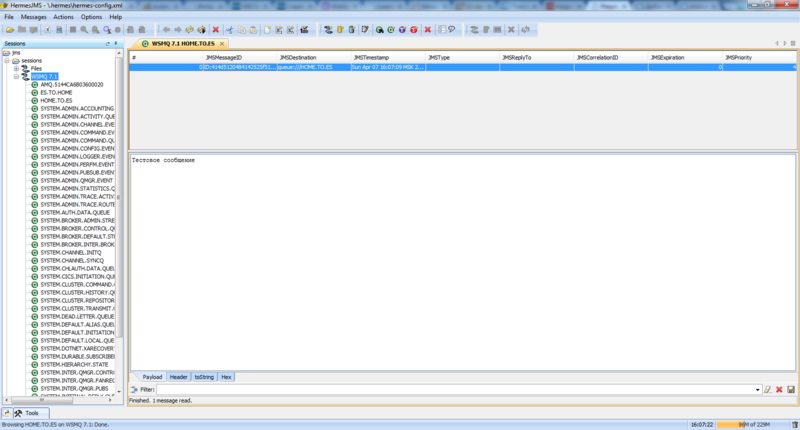
Now open HermesJMS and open the HOME.TO.ES queue for viewing. If you saw the message as shown below in the screenshot, then you performed all the above actions correctly.
This concludes the article. Thank you all for your attention! I hope it will be useful to someone.
Source: https://habr.com/ru/post/176209/
All Articles